The Cody Corner to Corner Blanket

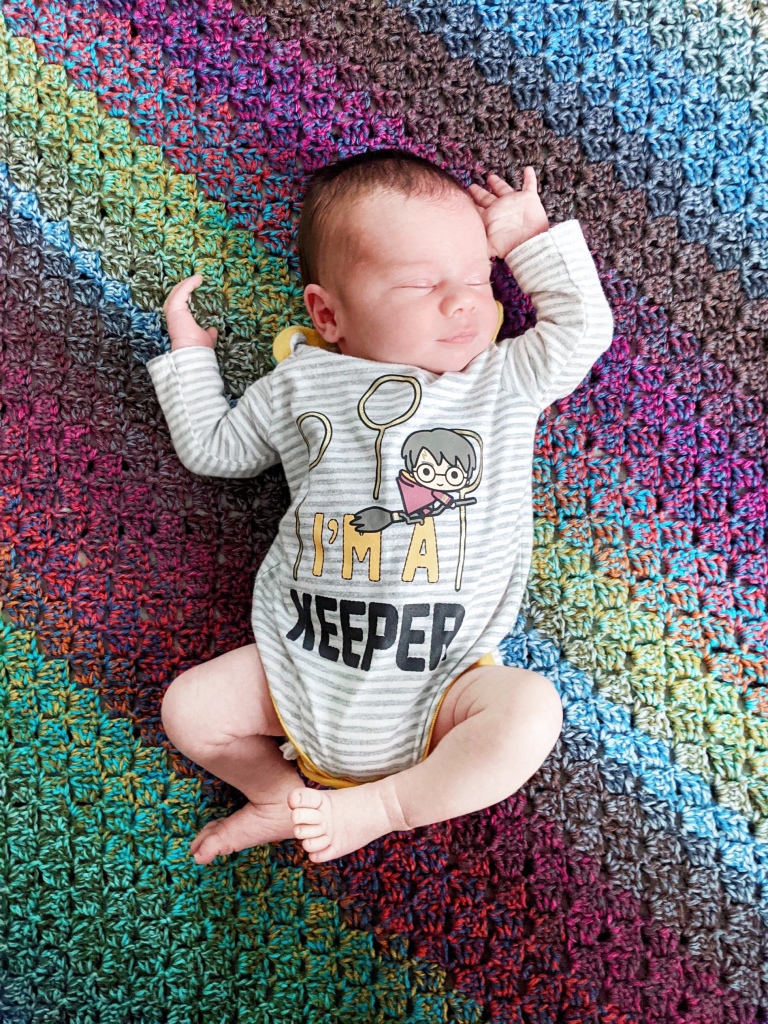
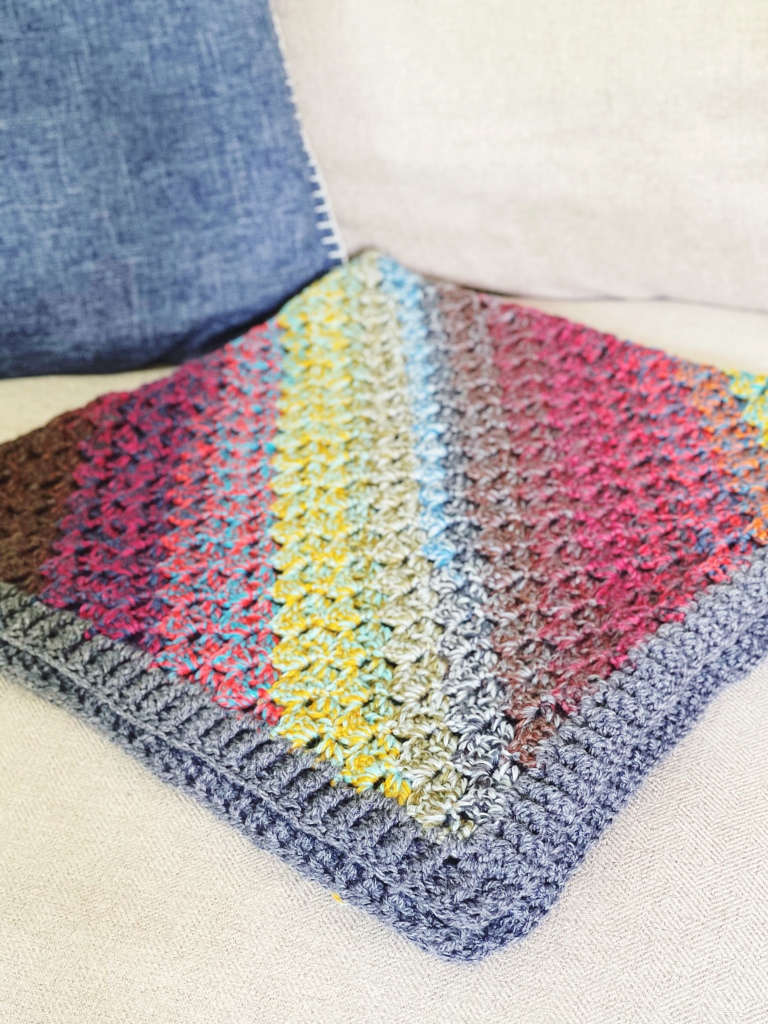
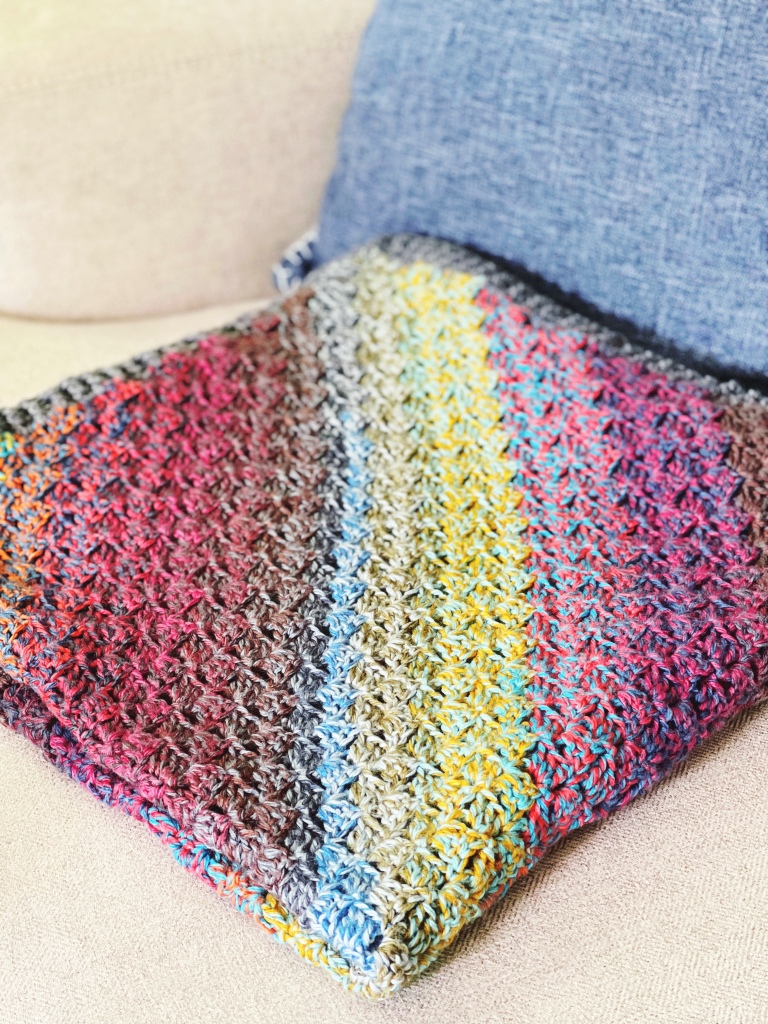
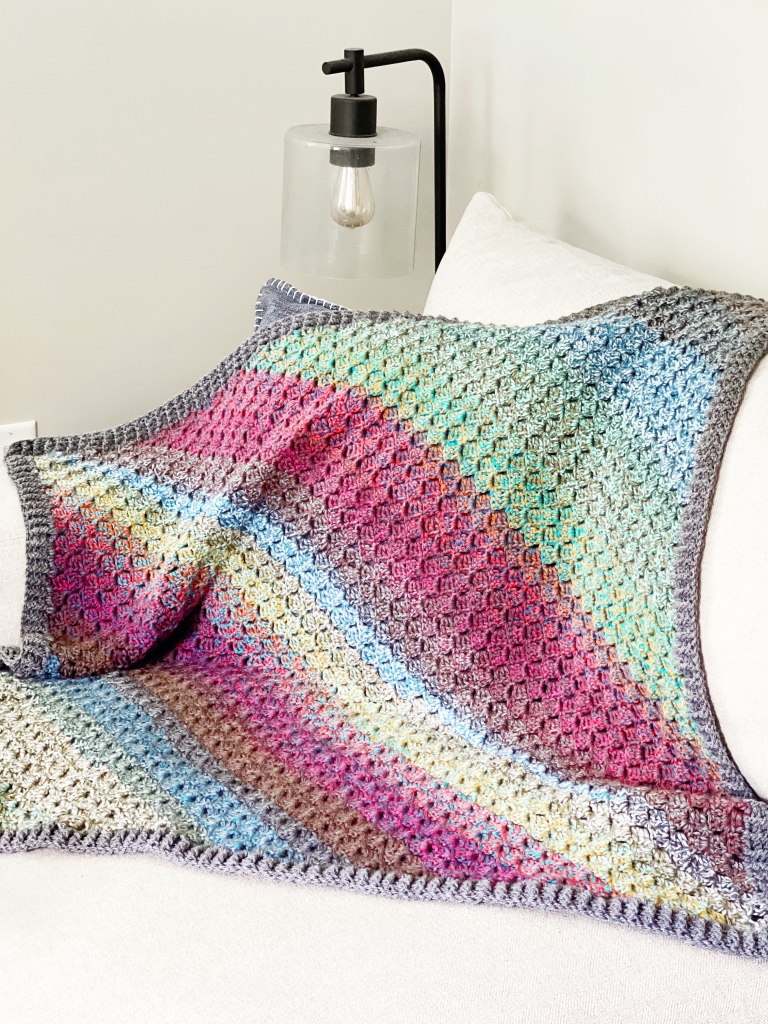
When I’m looking for a new project, I usually fall into two camps- trying something I’ve never experienced before (new yarn, new stitches, new construction), or a simple project that I can do almost without thinking. This lovely blanket falls into the second category for me, and it was a relaxing pleasure to work on. It has: one stitch throughout, no color changes, only a few ends to weave in, and it can be easily customized to any size you want. It doesn’t get any easier than that!

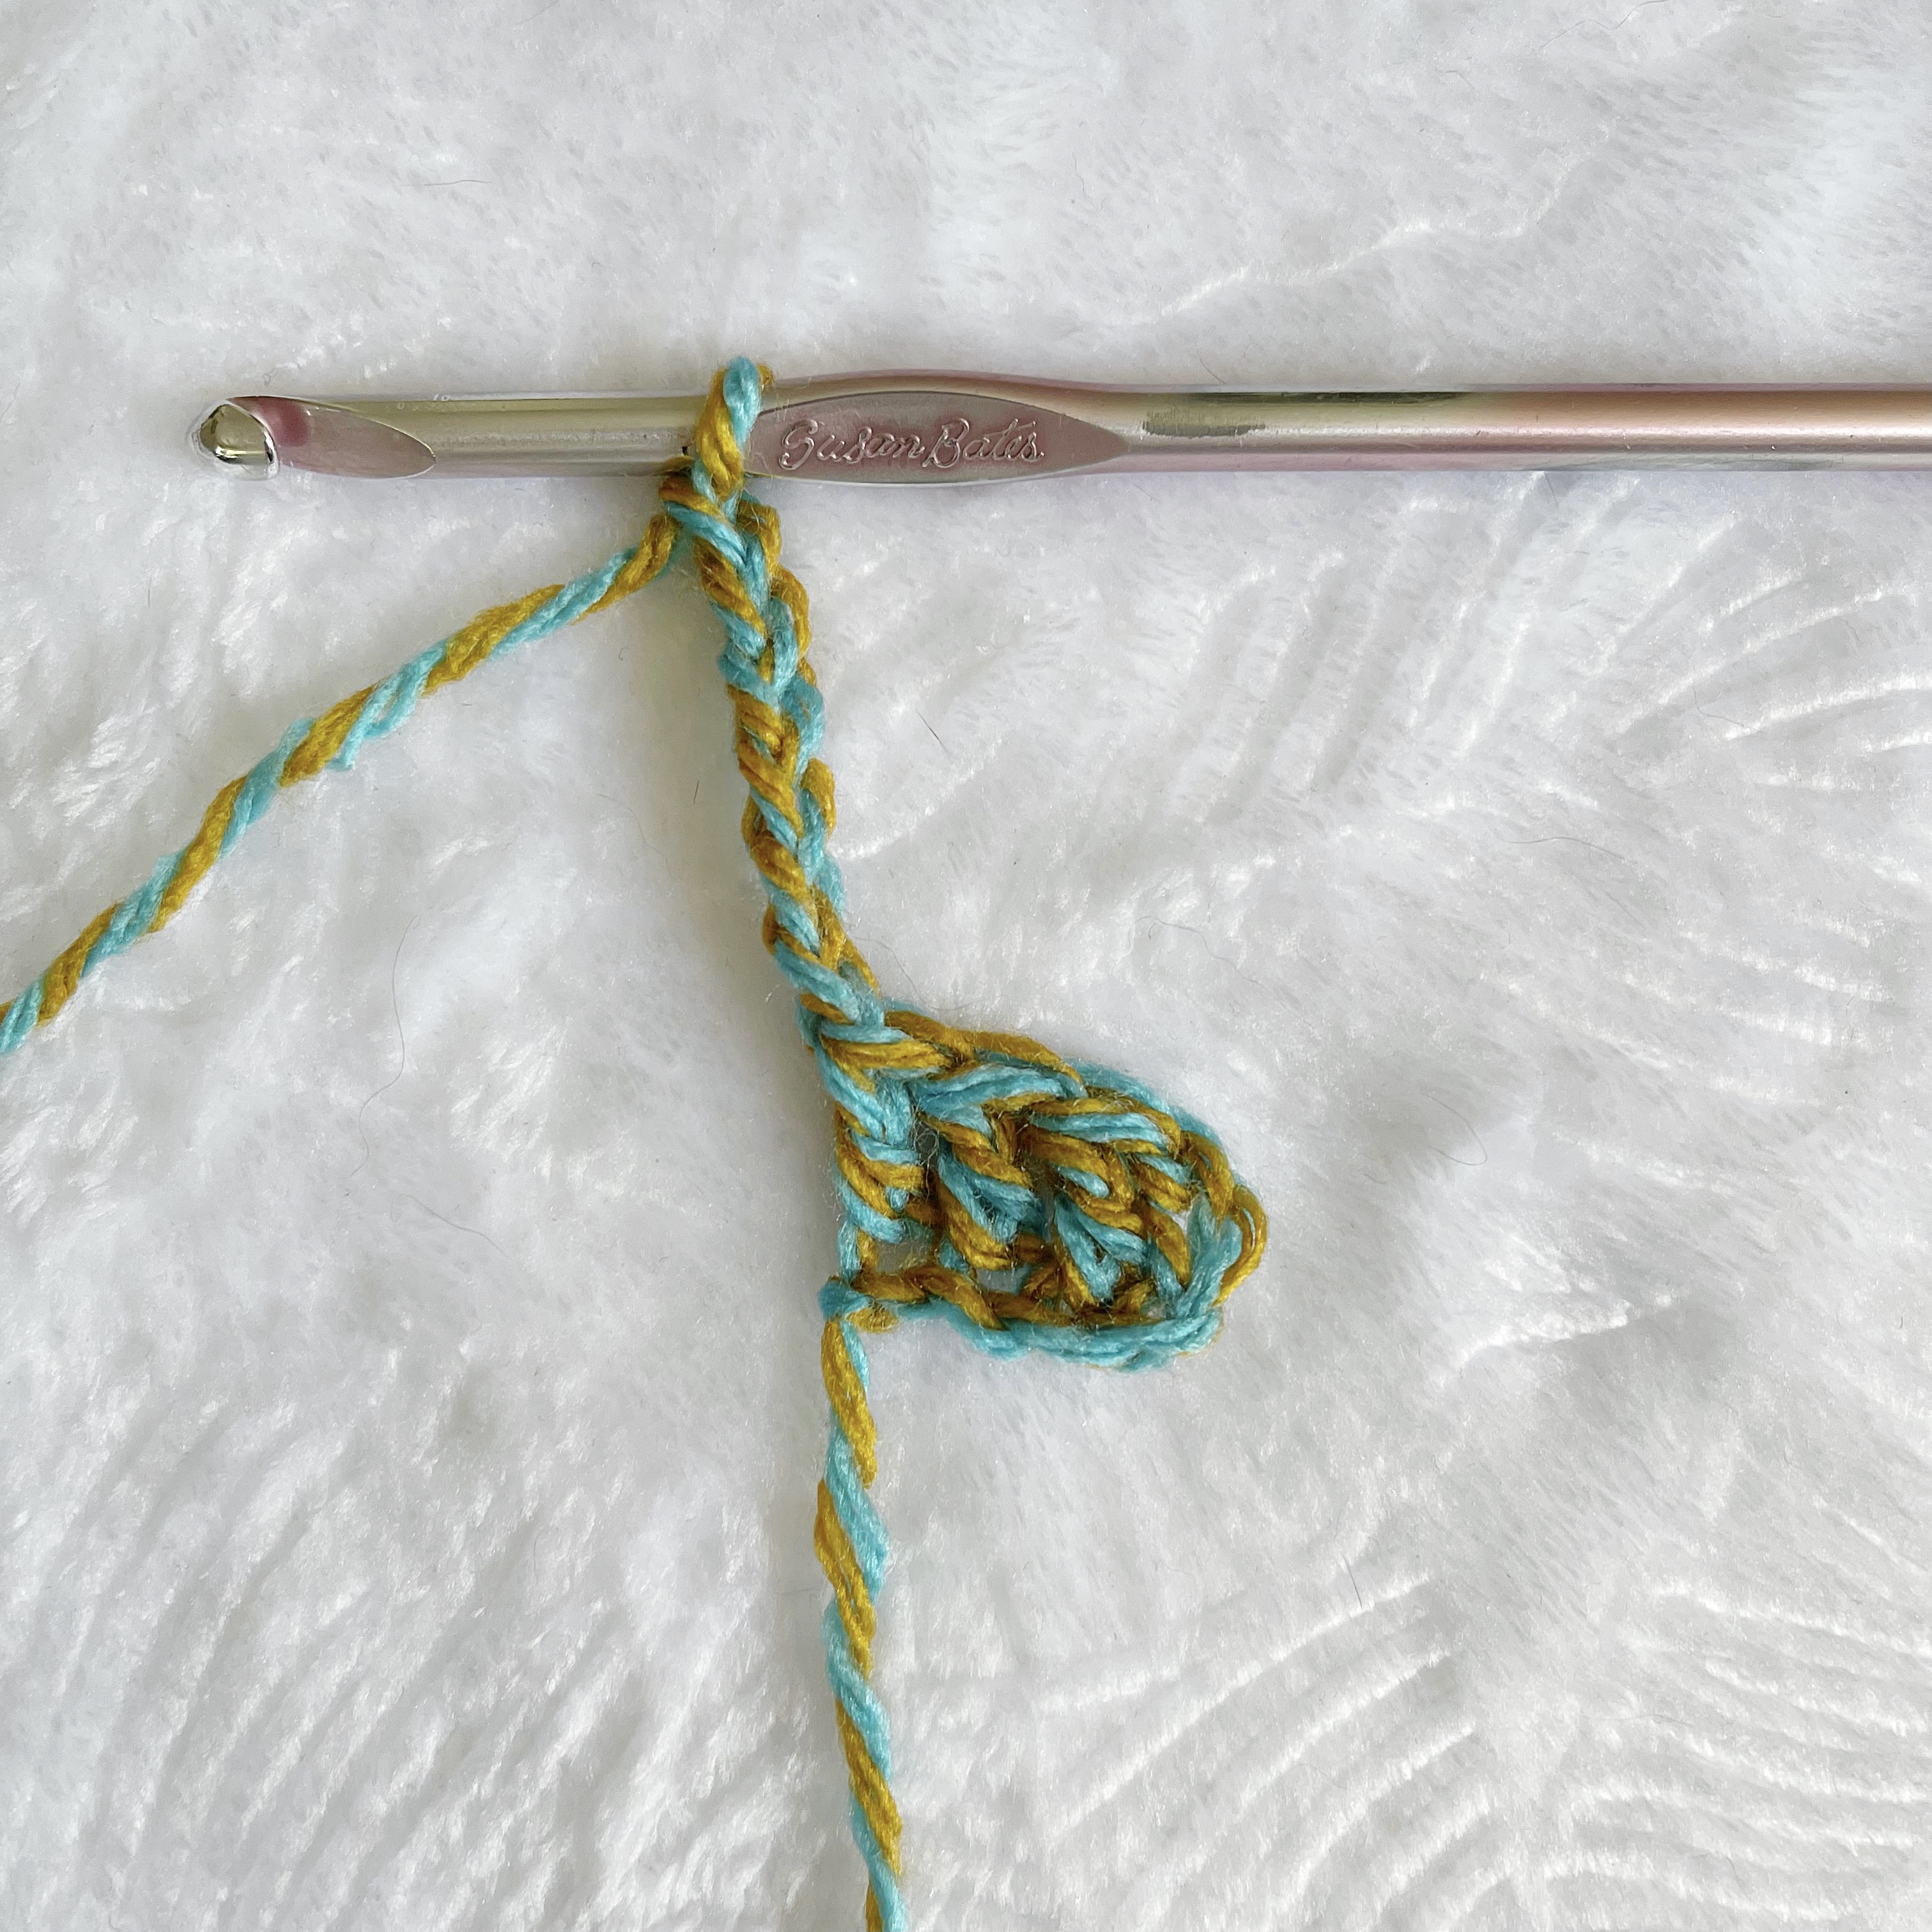
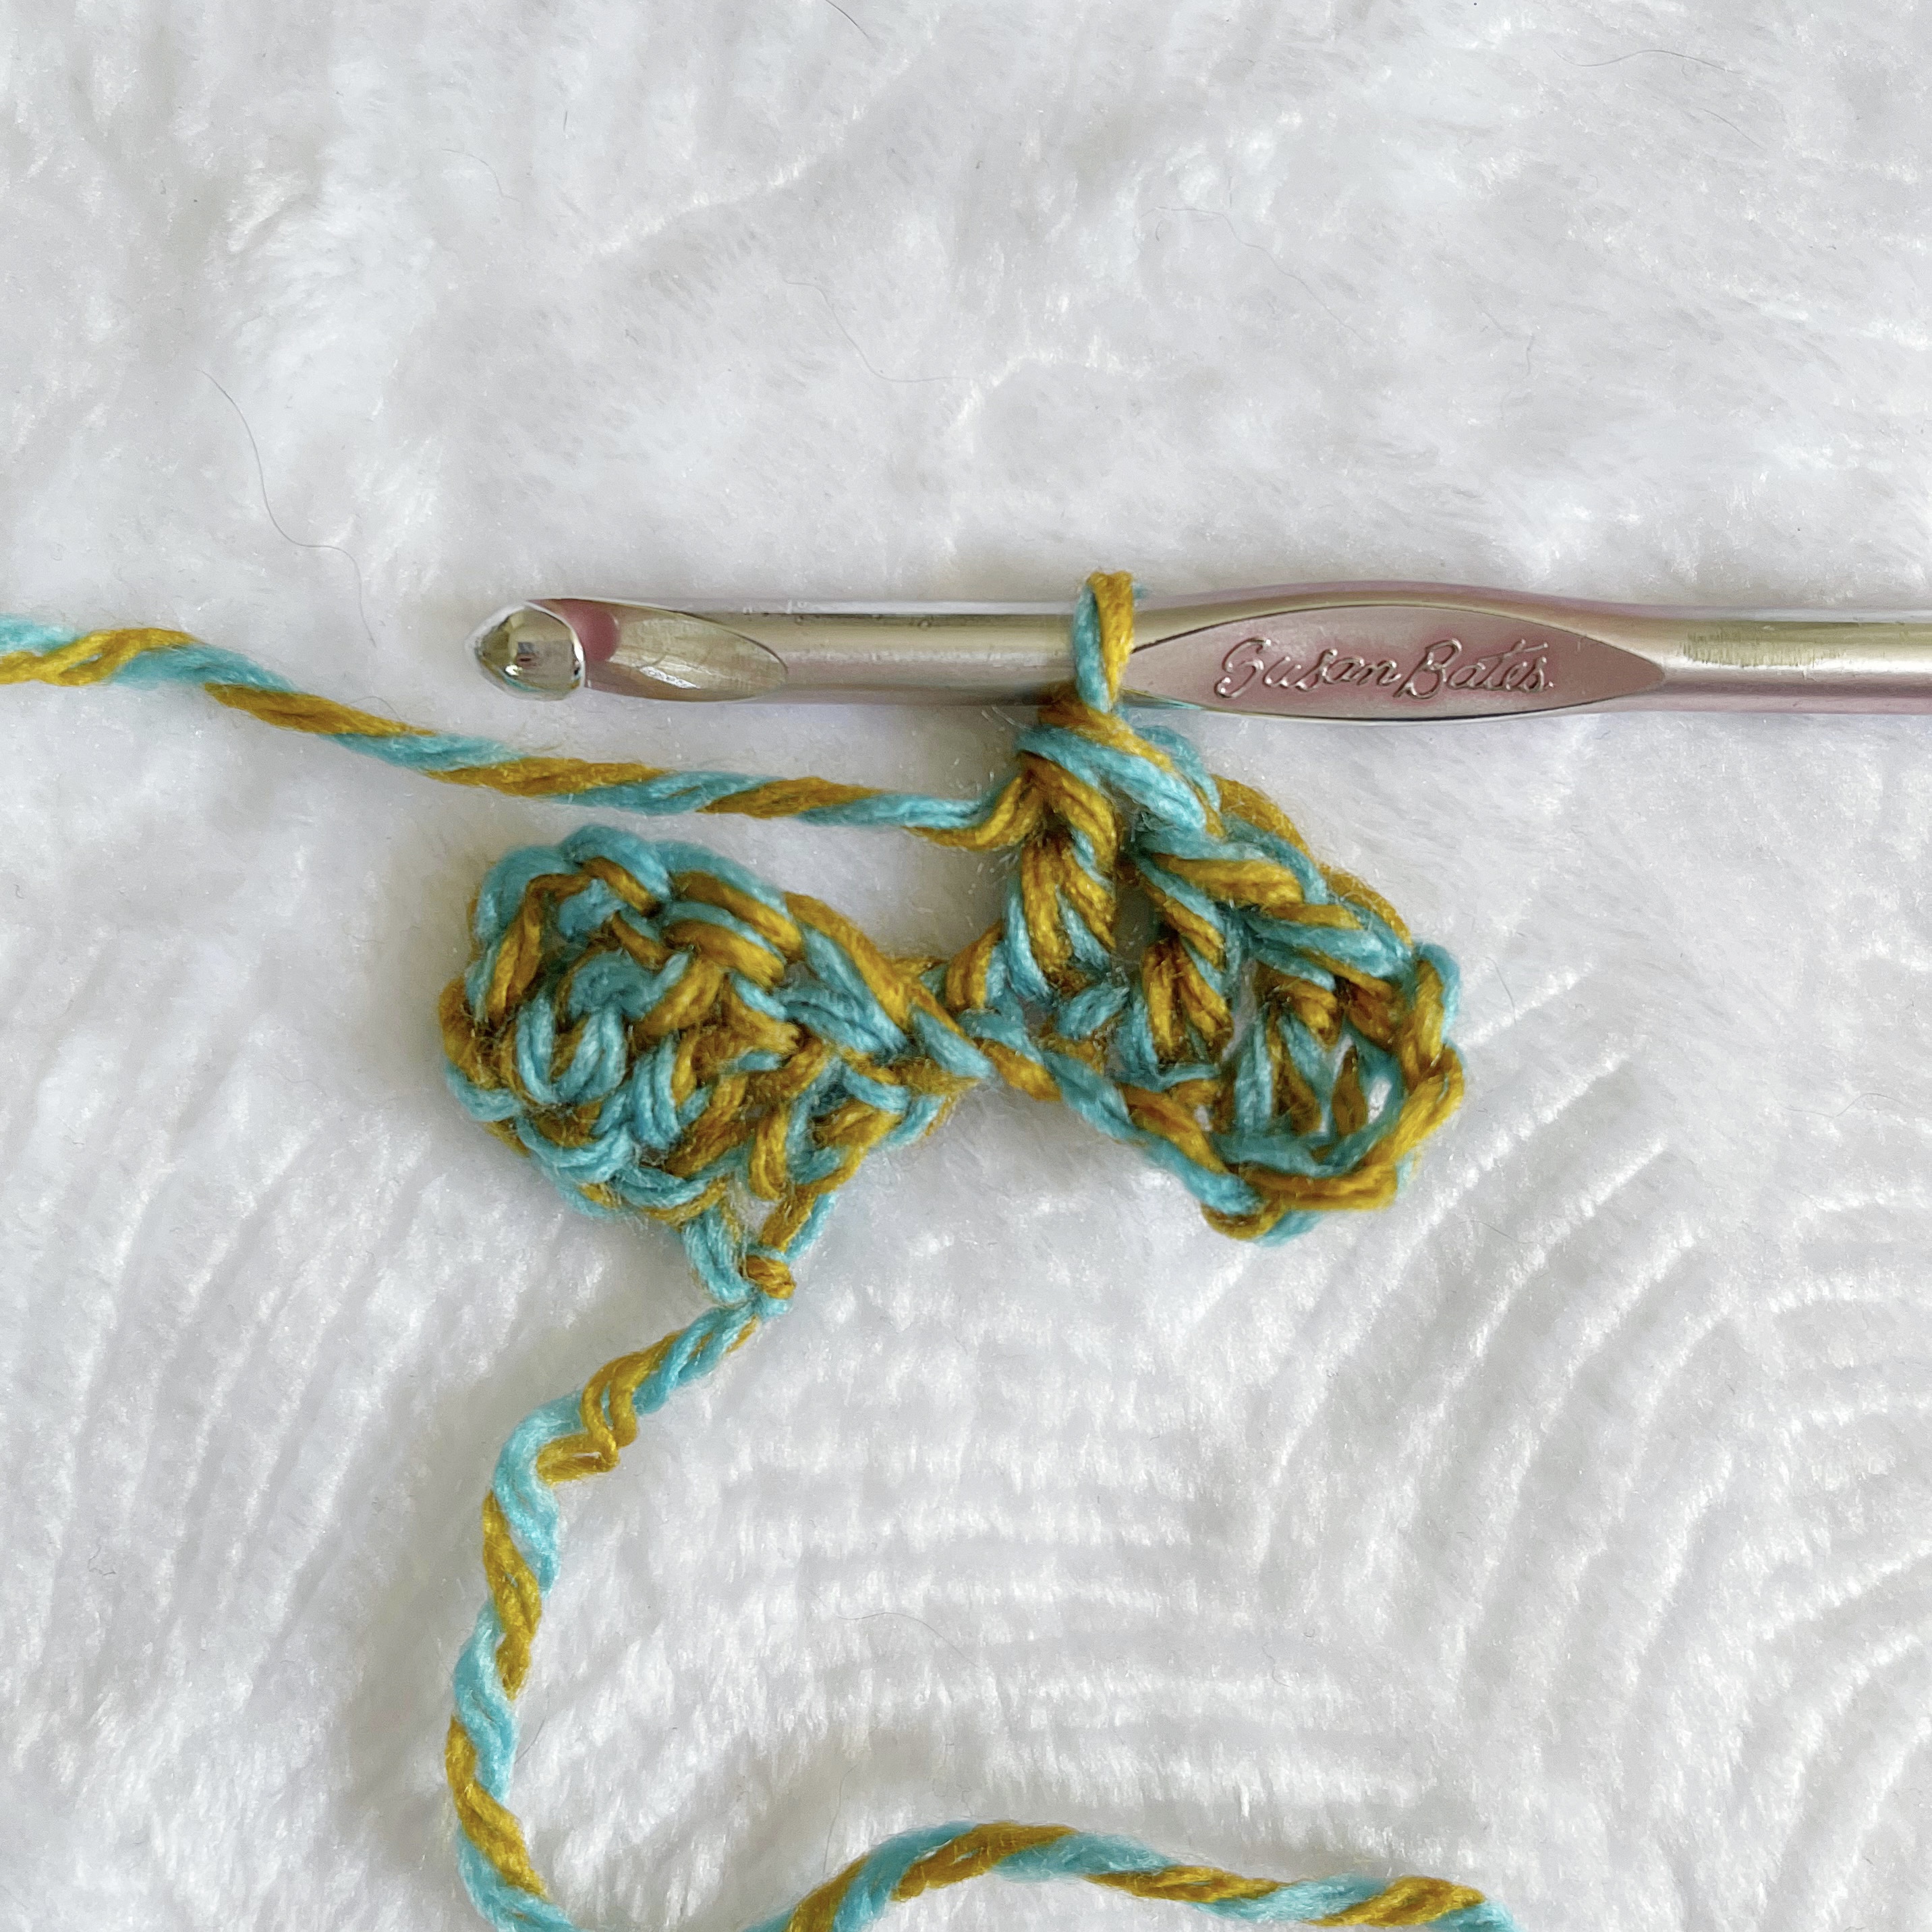
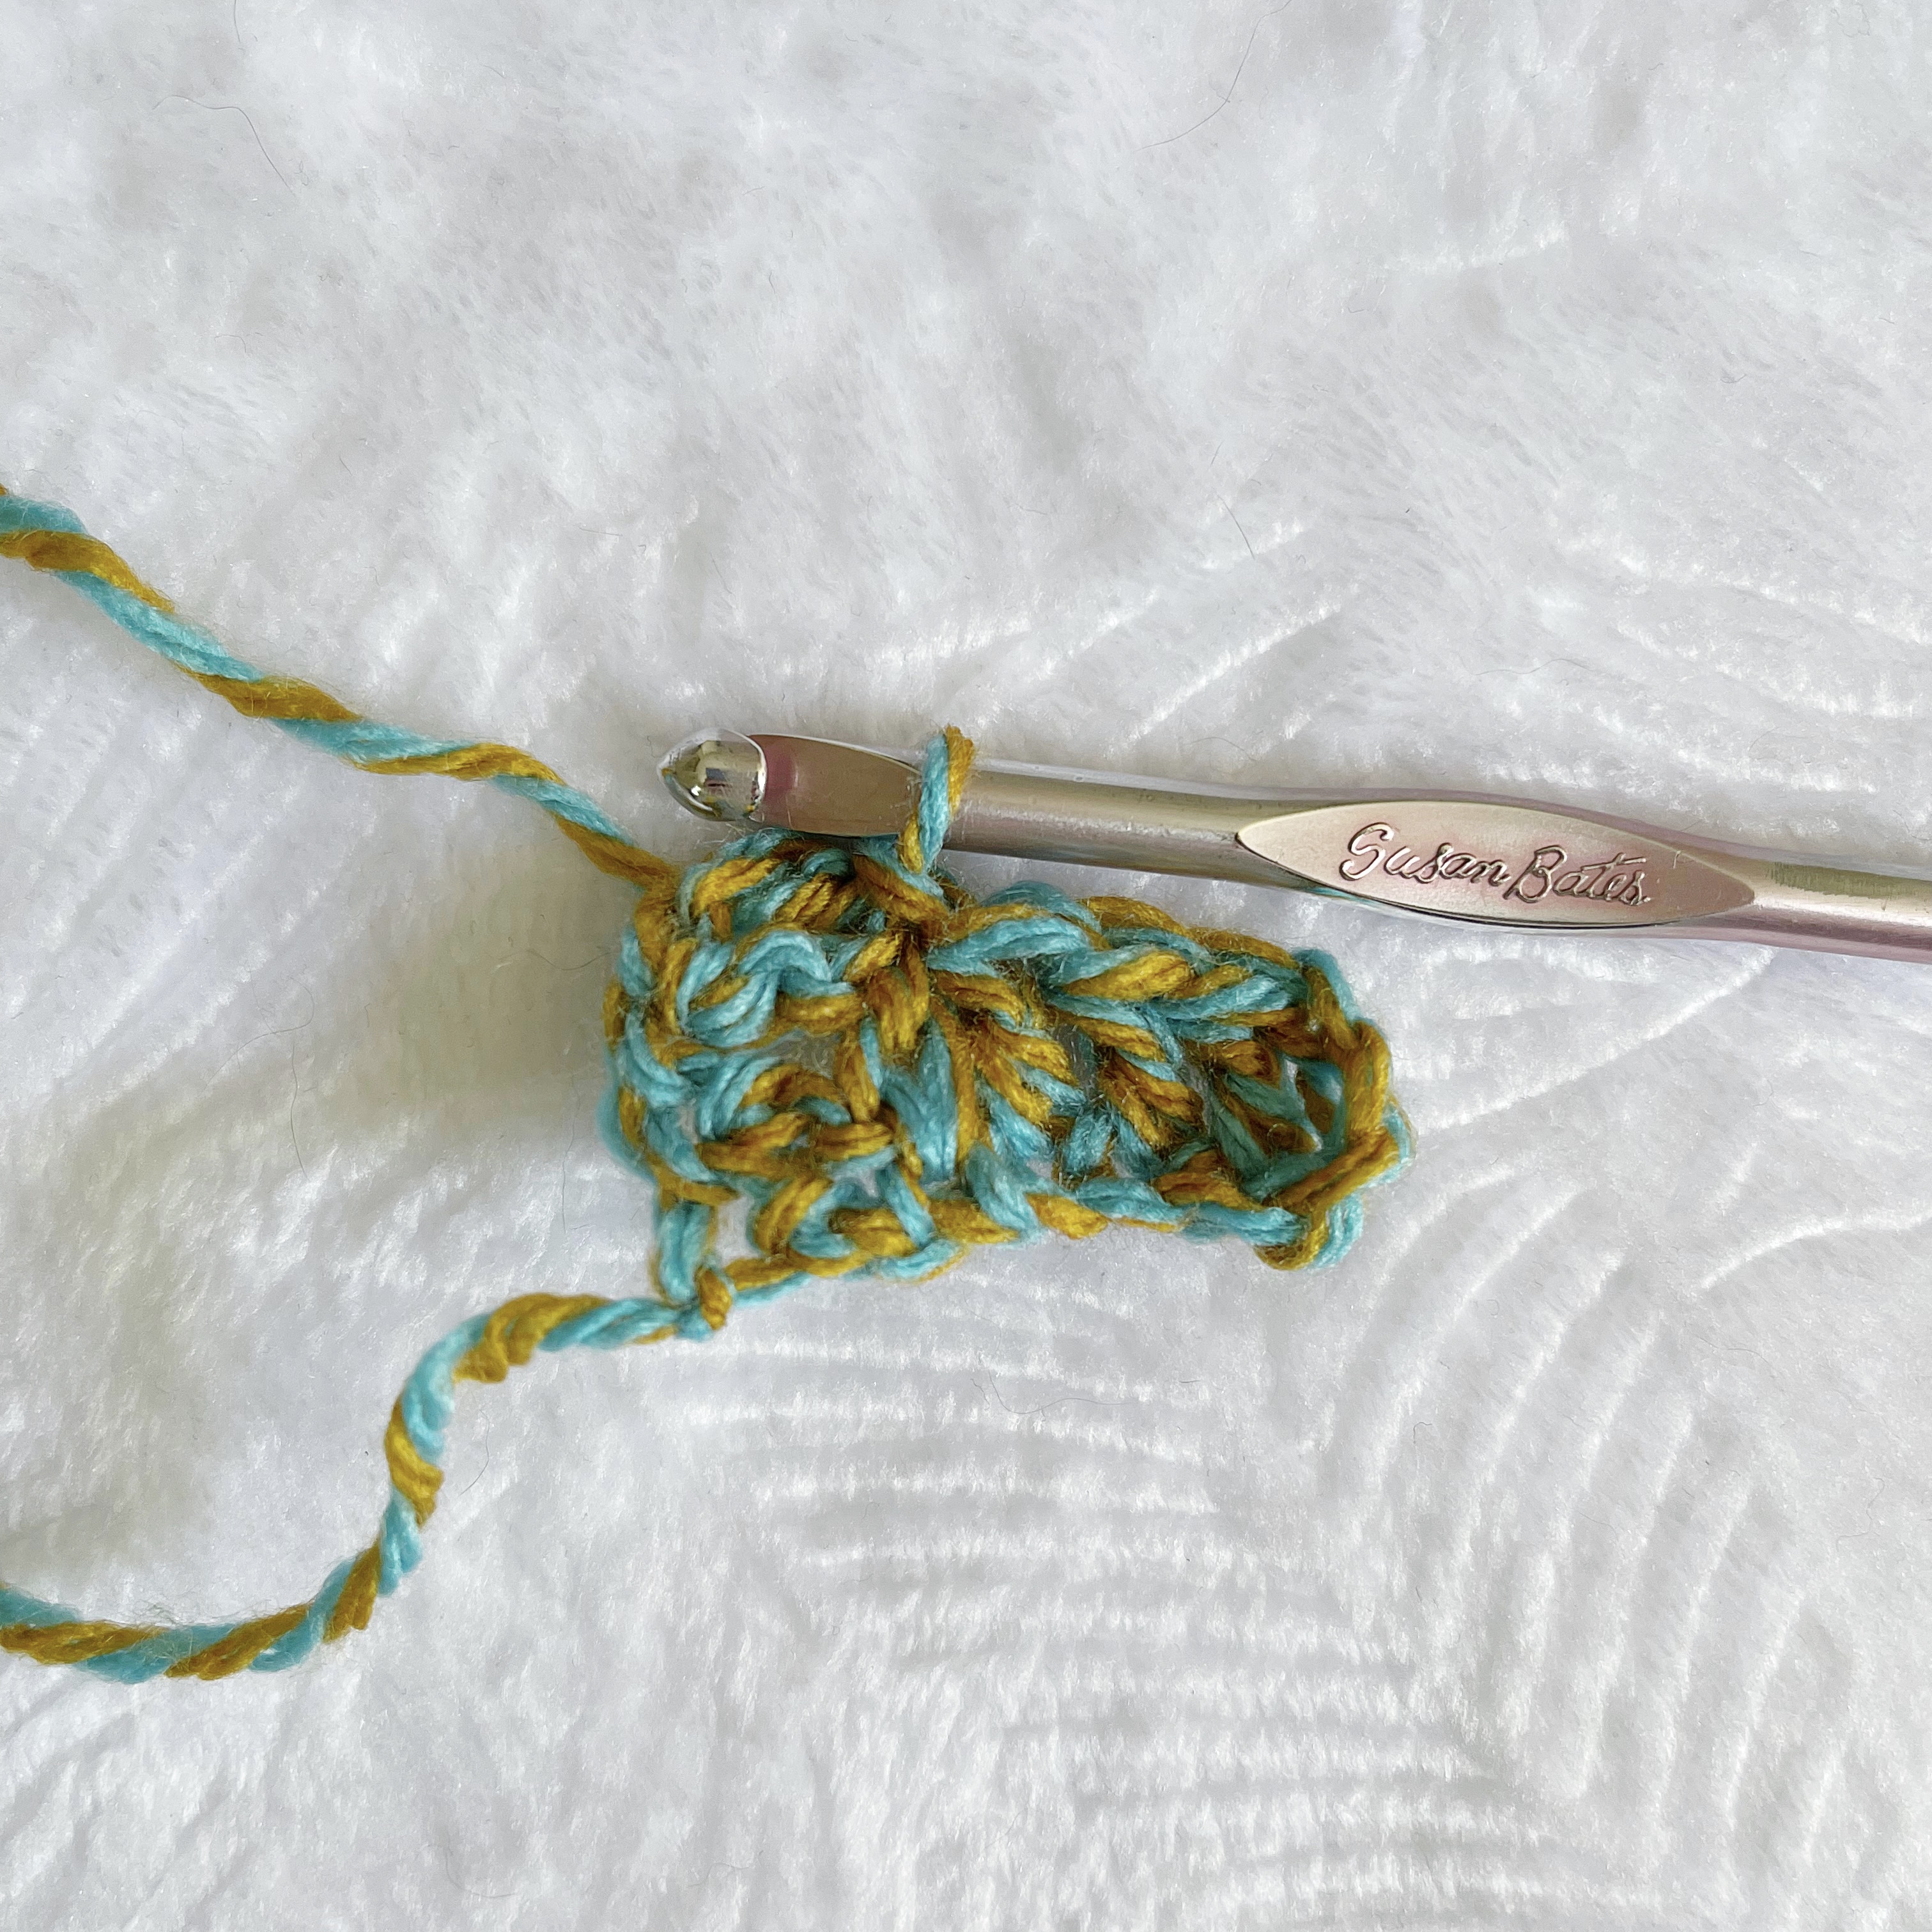
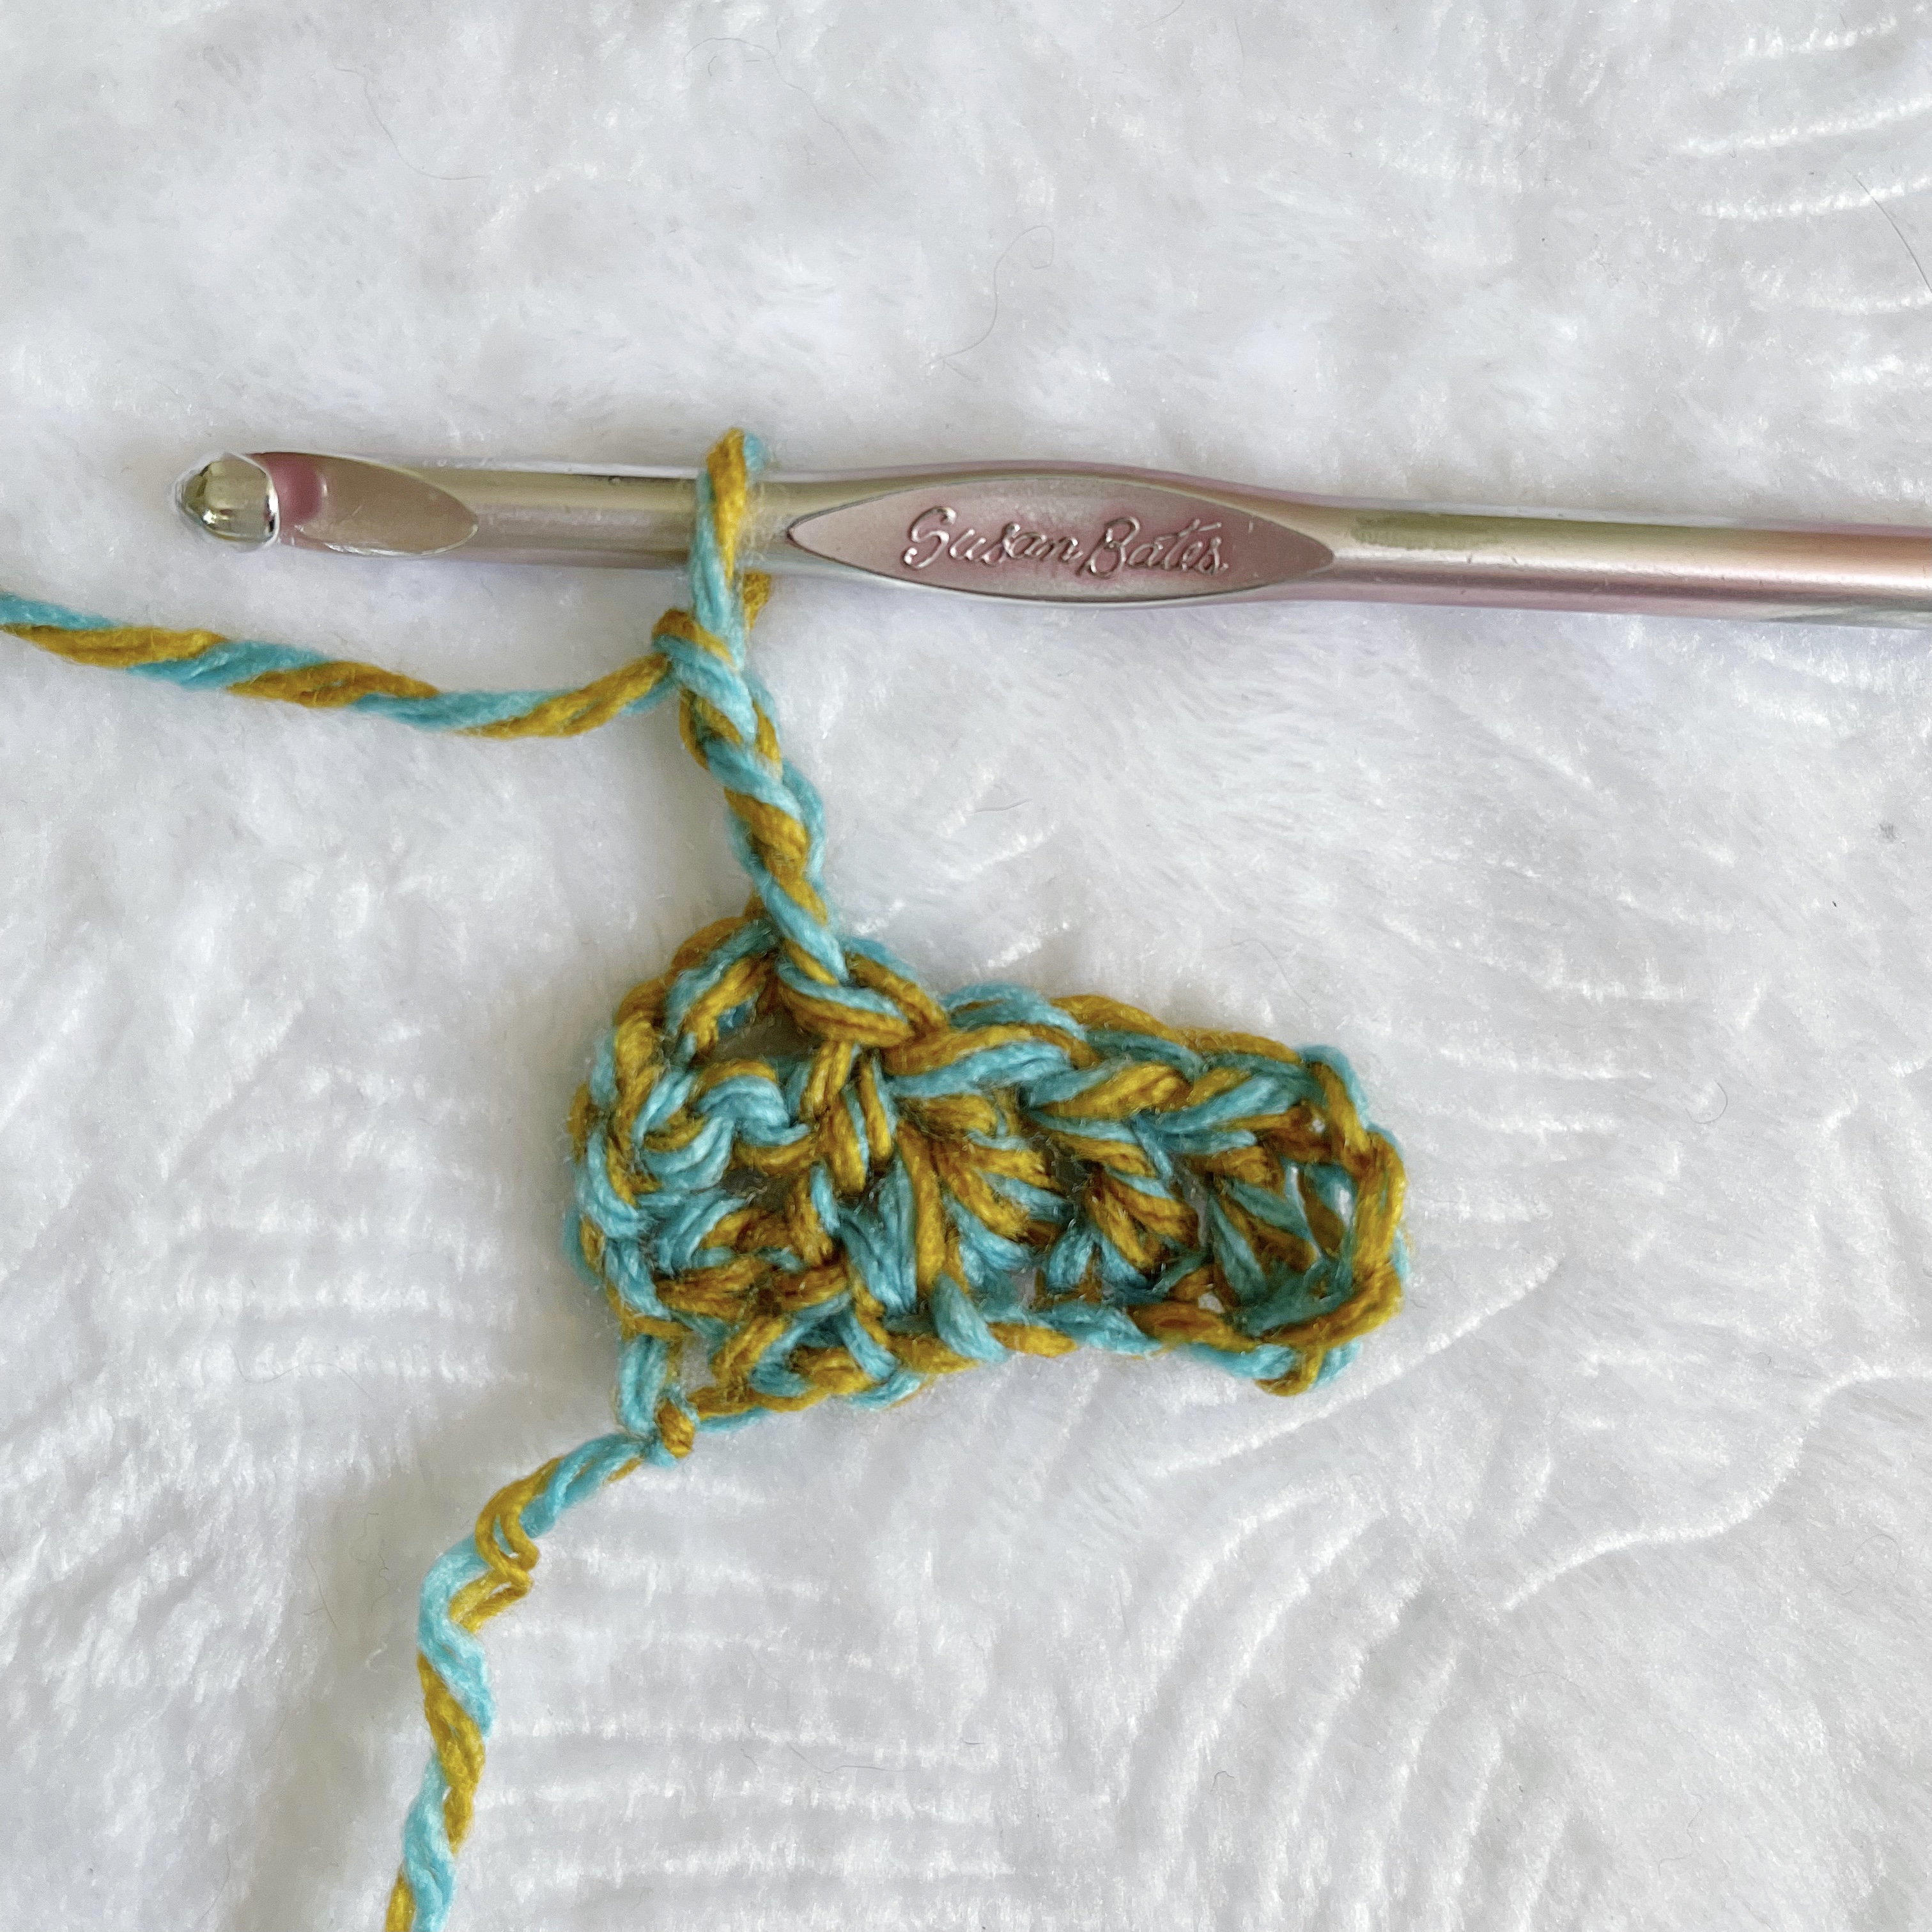
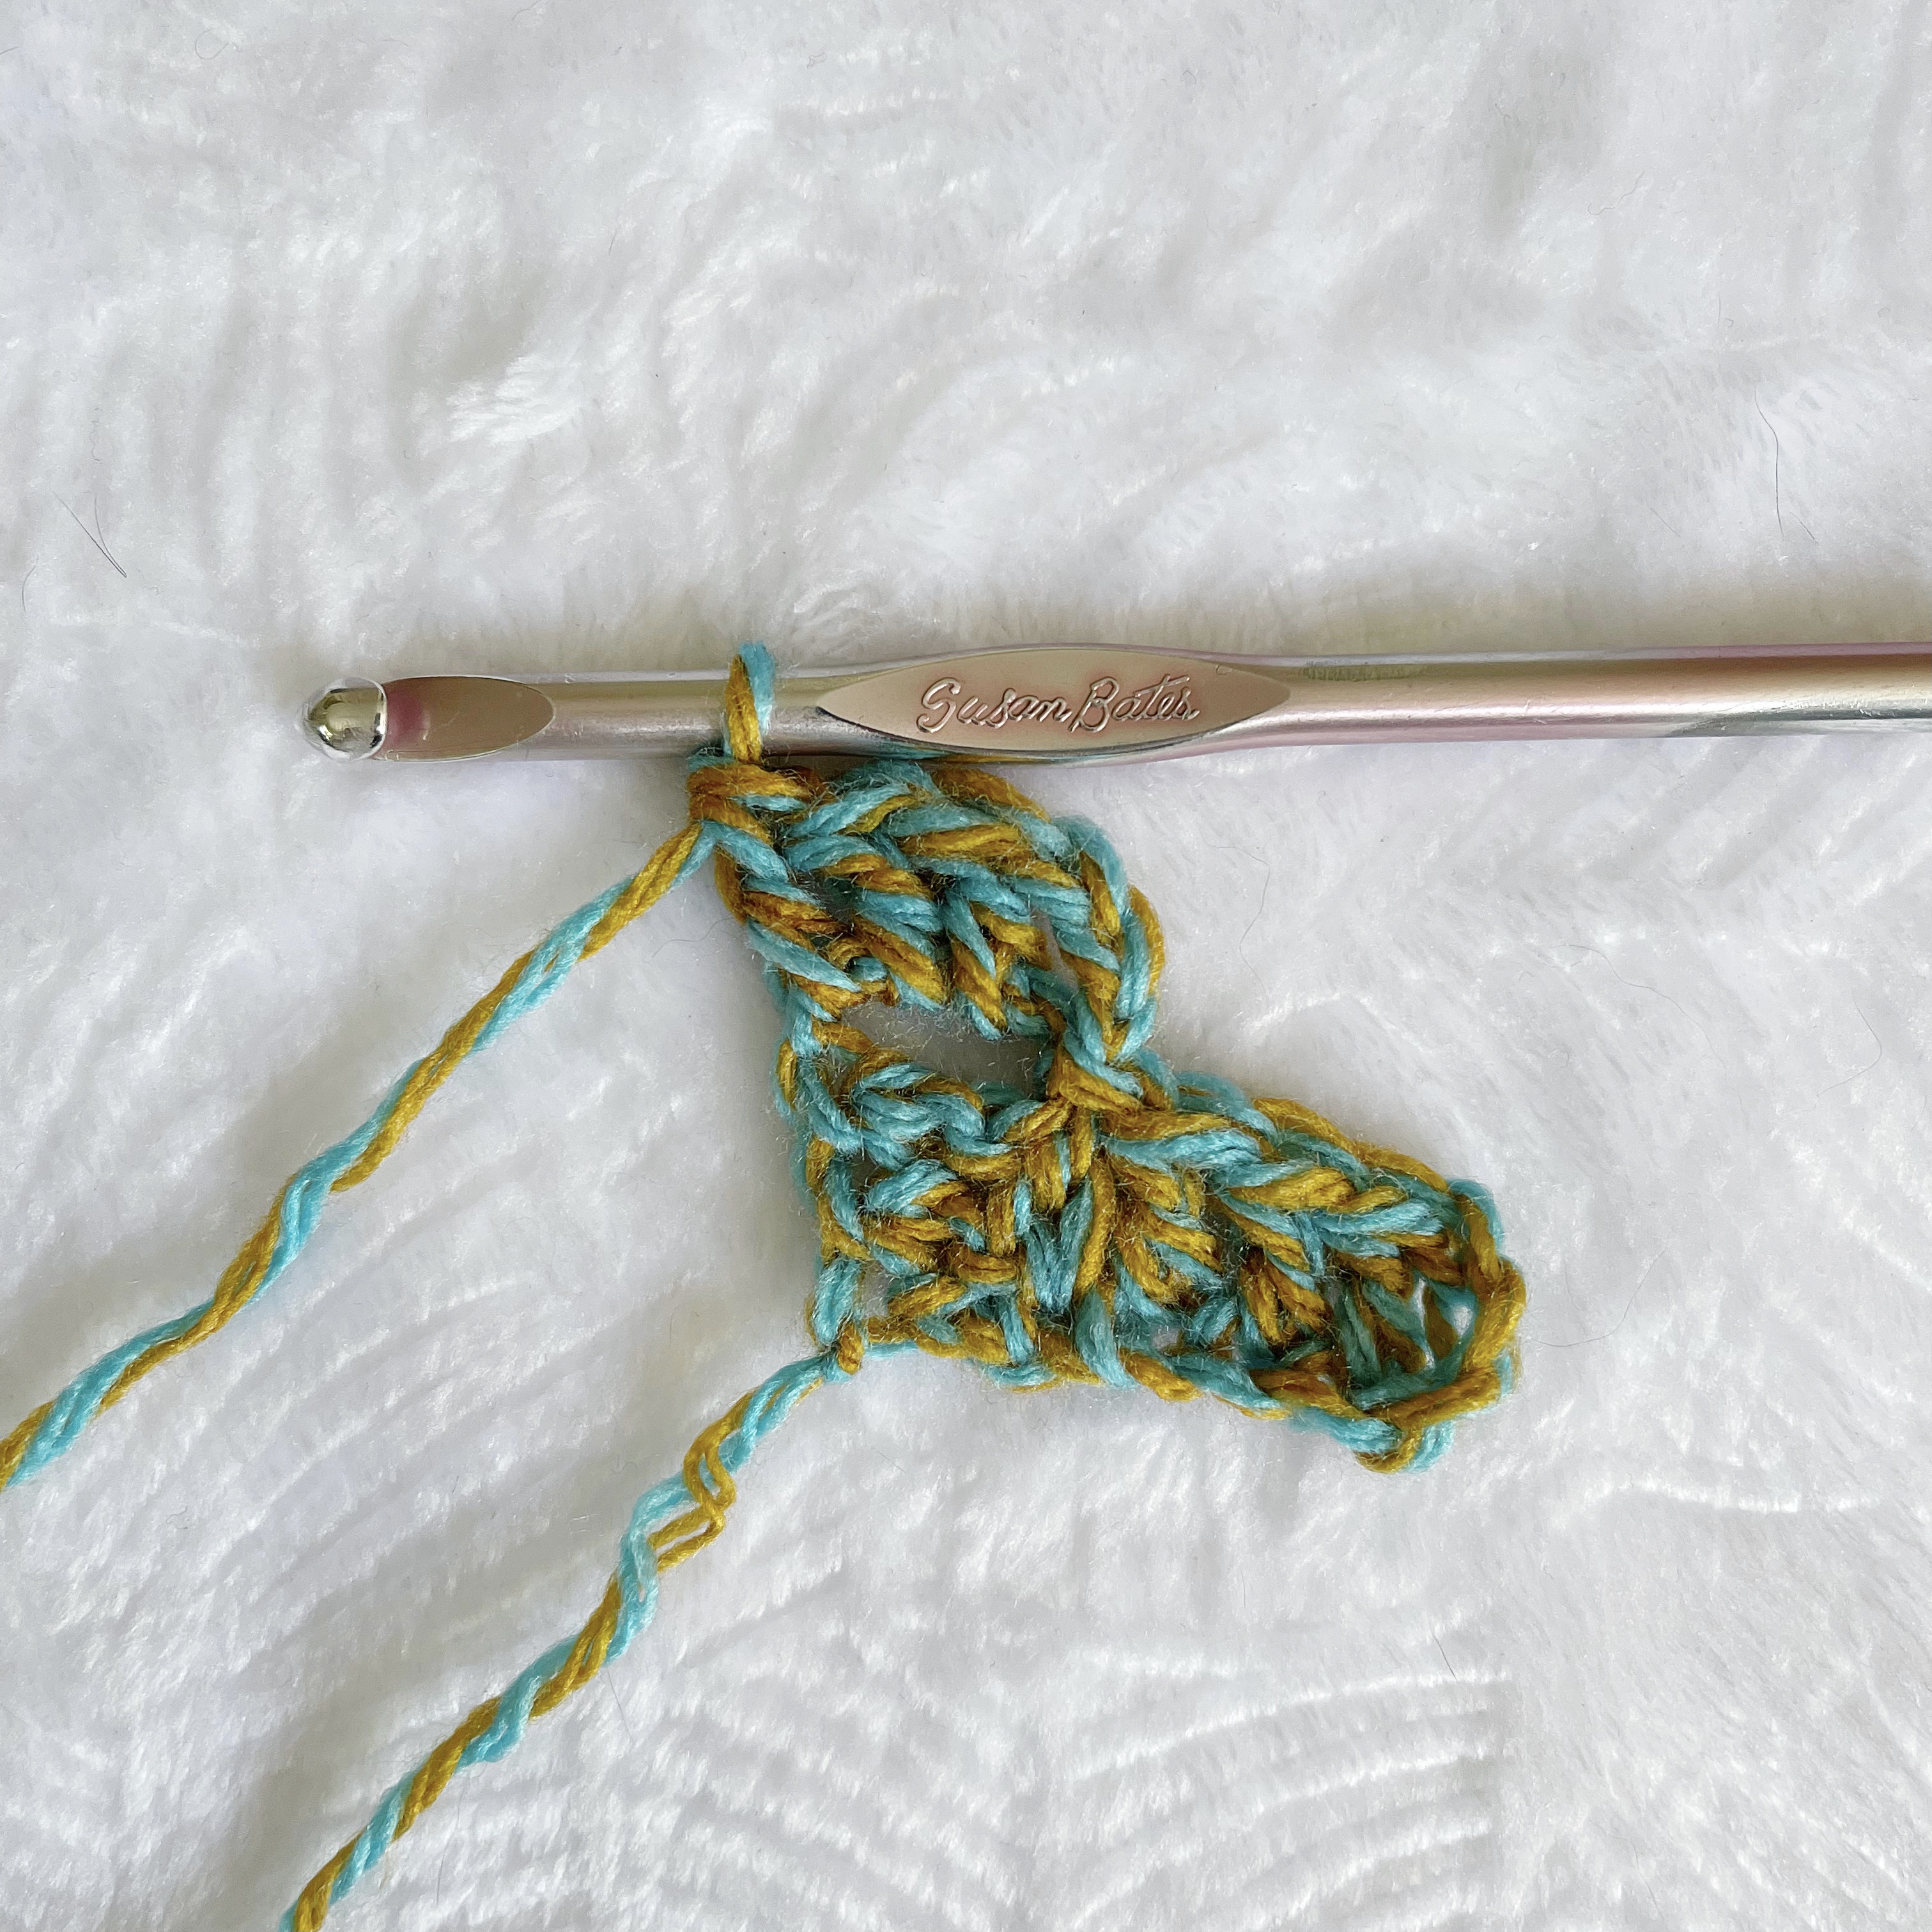
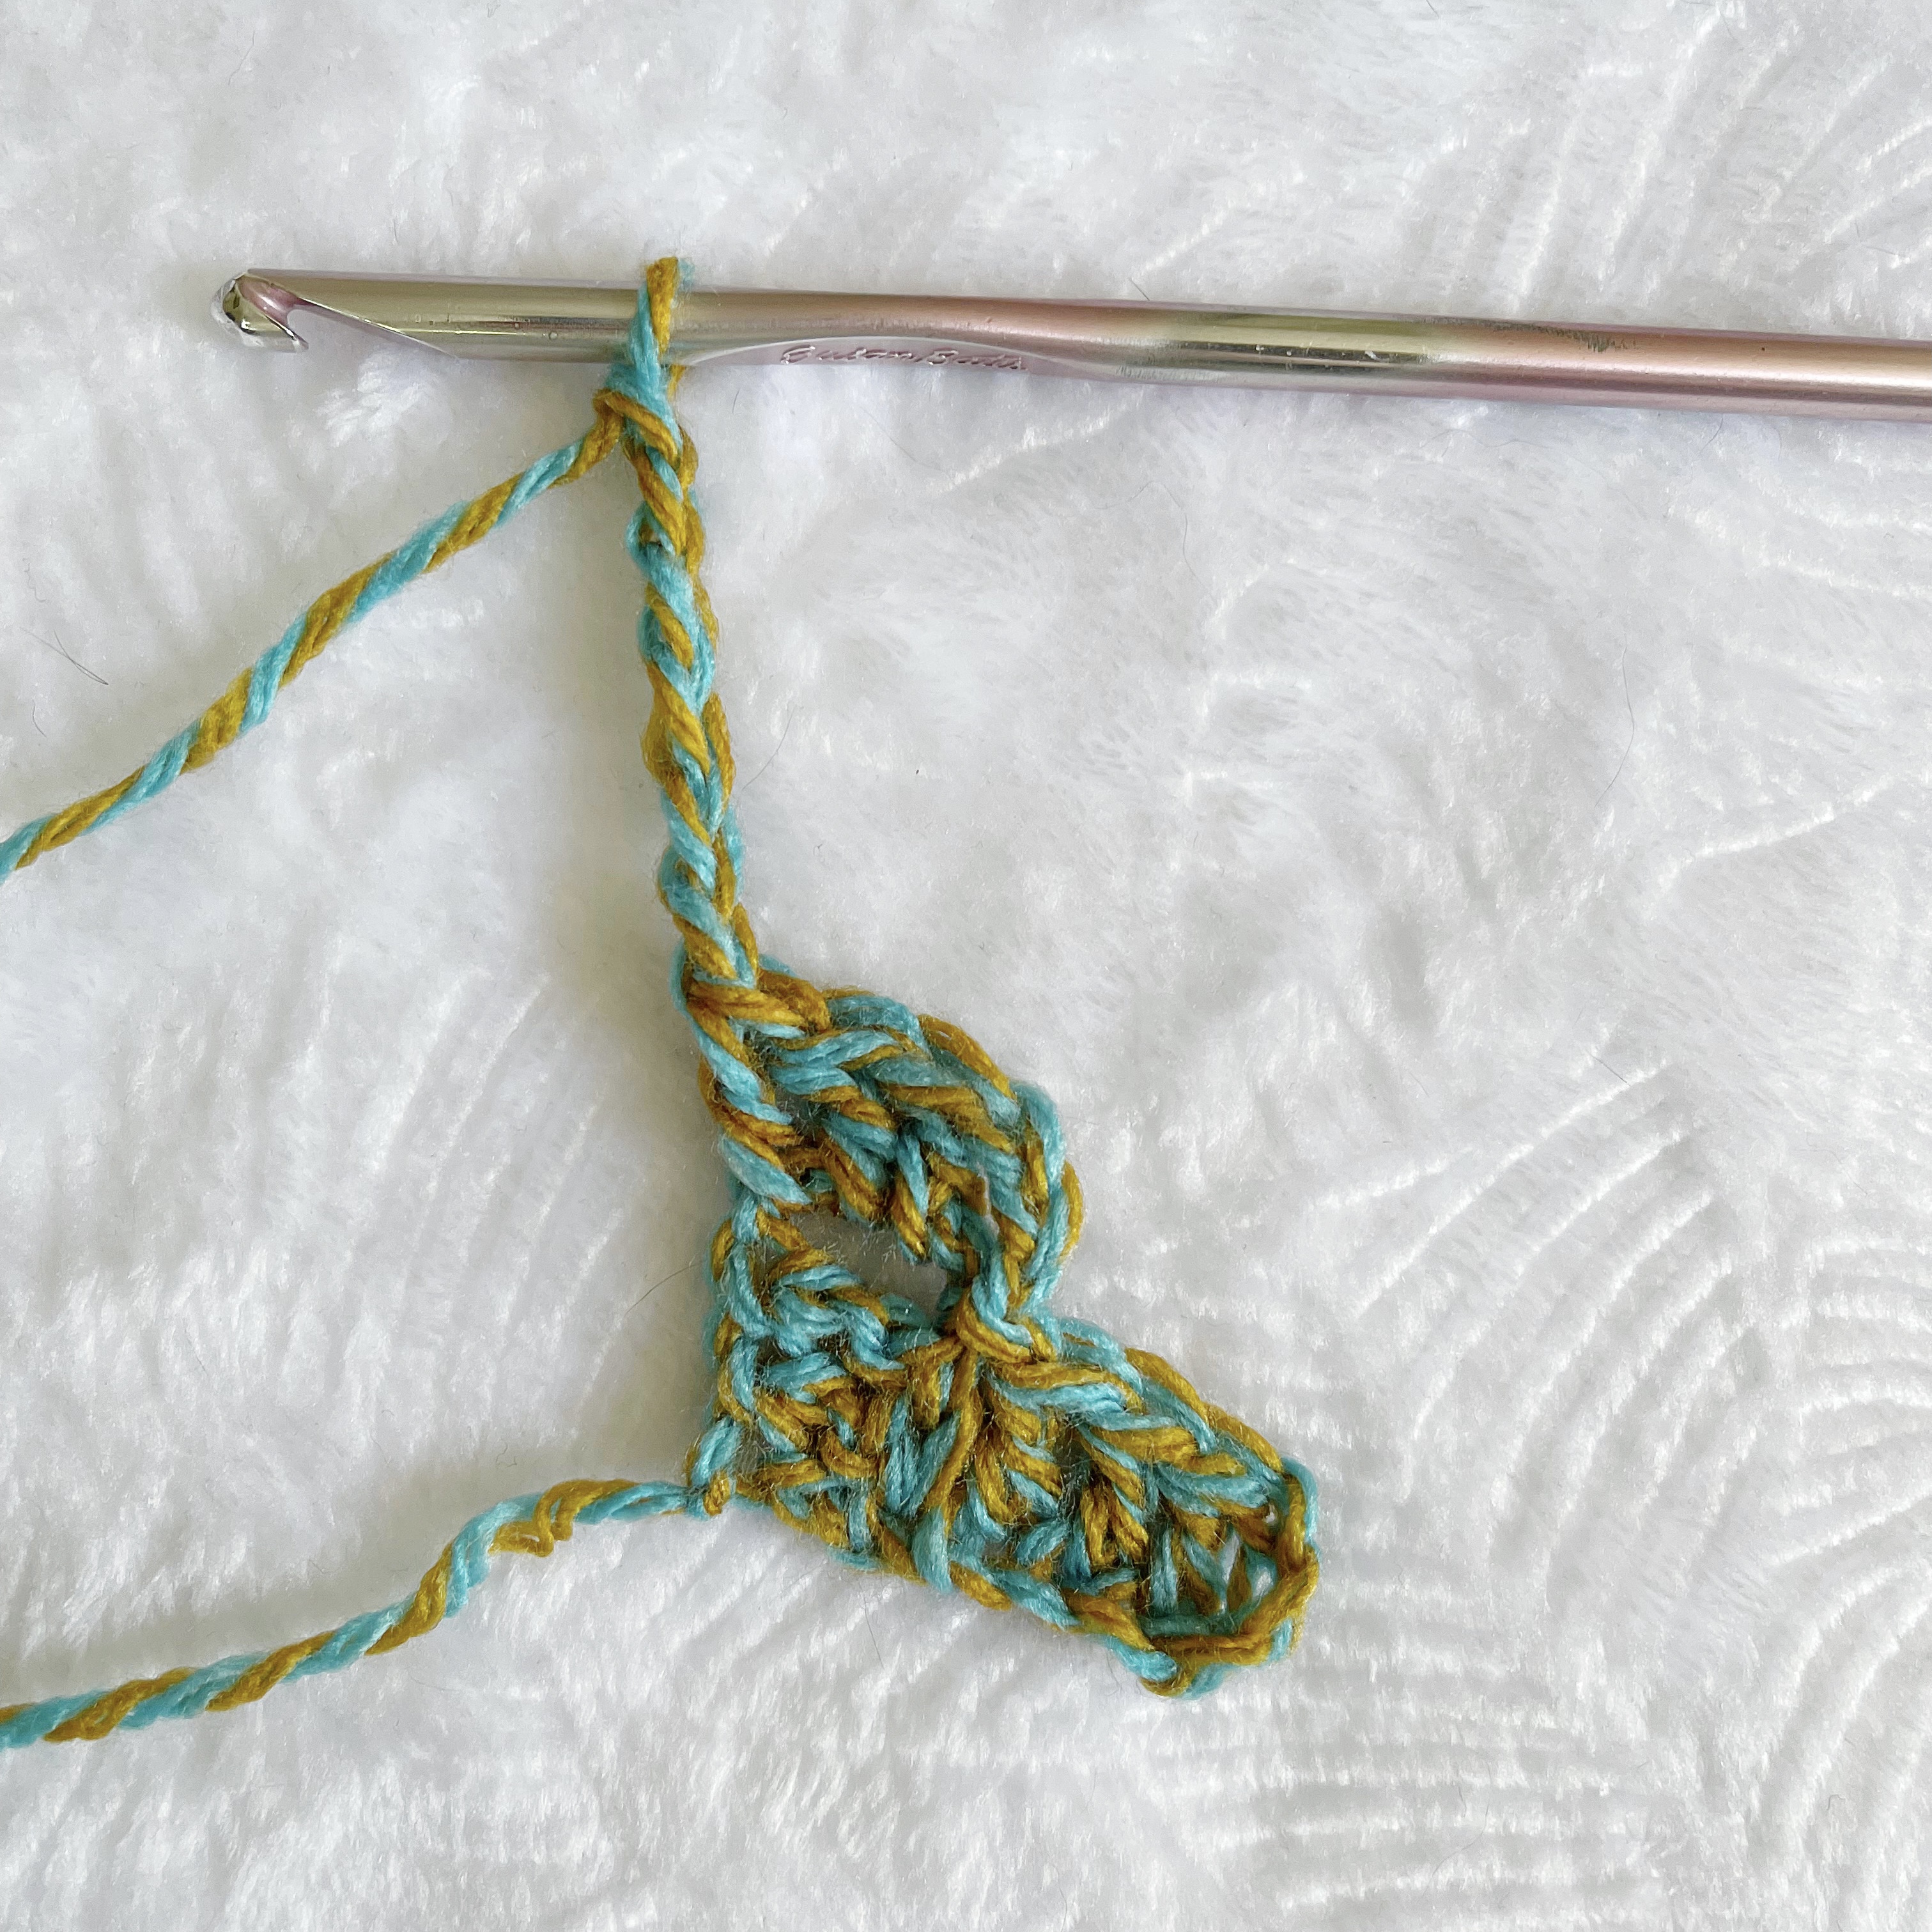
The only technique you need to be familiar with is Corner to Corner crochet. This is done using a set of double crochets and chains, and once you get the hang of it you’ll be flying through this project. It’s actually the one stitch I can do consistently without looking, so I’m able to bring projects like this on road trips and not get carsick!
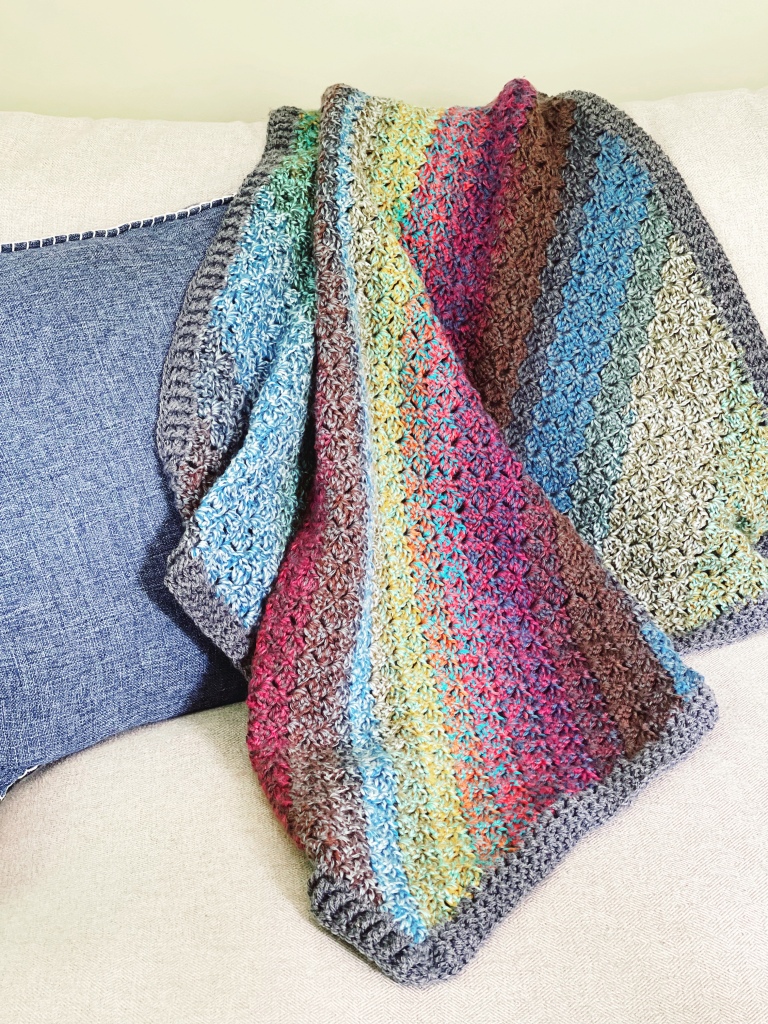
The optional border is still using double crochets, but you’ll grab a contrasting colored yarn and make a nice ribbed edge by working front and back post DC’s. Don’t worry, I have all the picture tutorials you need to make this blanket. Just grab your striped yarn and let’s get started!
Materials:
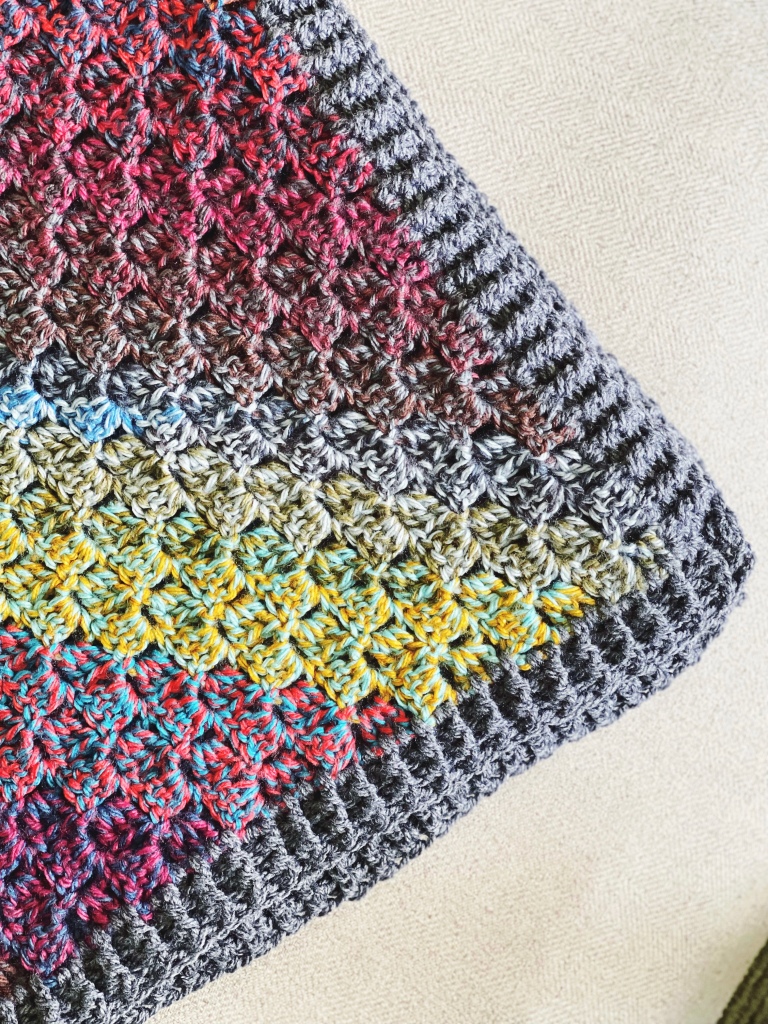
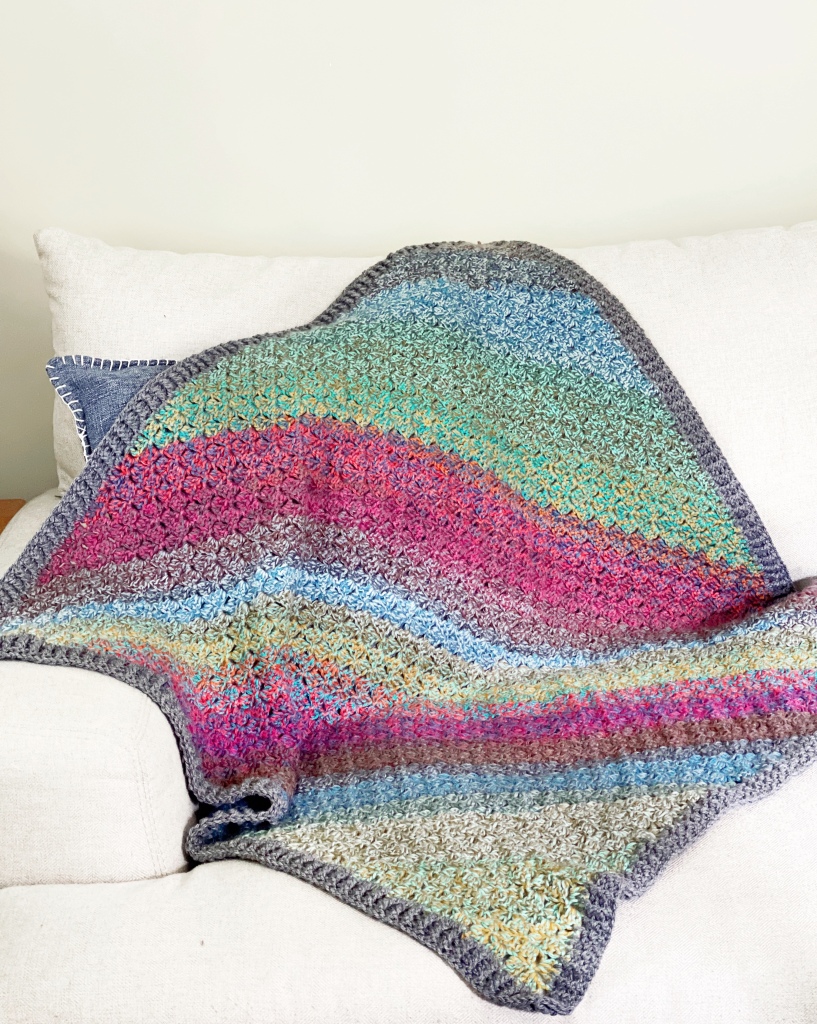
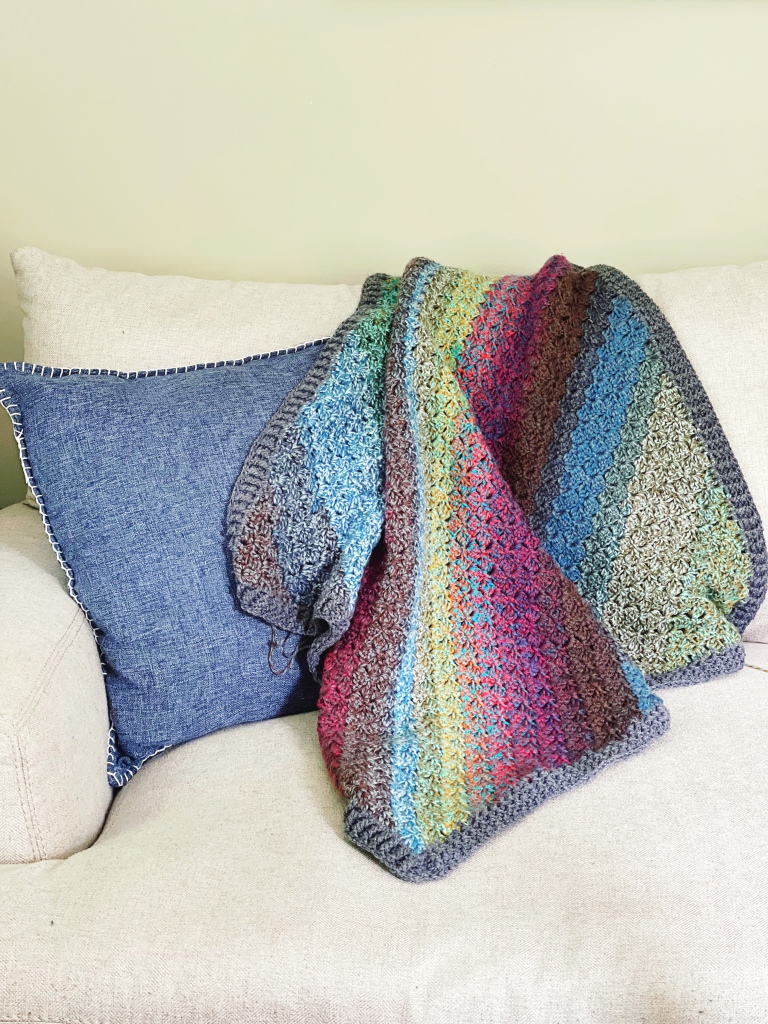
-850 yards of worsted yarn- suggested Lion Brand Mandala Tweed Stripes (2 skeins)- Pictured is Wish Bone
-100 yards of worsted yarn in contrasting color for border- Pictured Lion Brand Basic Stitch in Charcoal
Size J/10 6mm hook, or size needed to obtain gauge

Stitch abbreviations:
-Chain (CH)
-Double Crochet (DC)
-Corner to Corner (C2C)
-Back Post Double Crochet (BPDC)
-Front Post Double Crochet (FPDC)

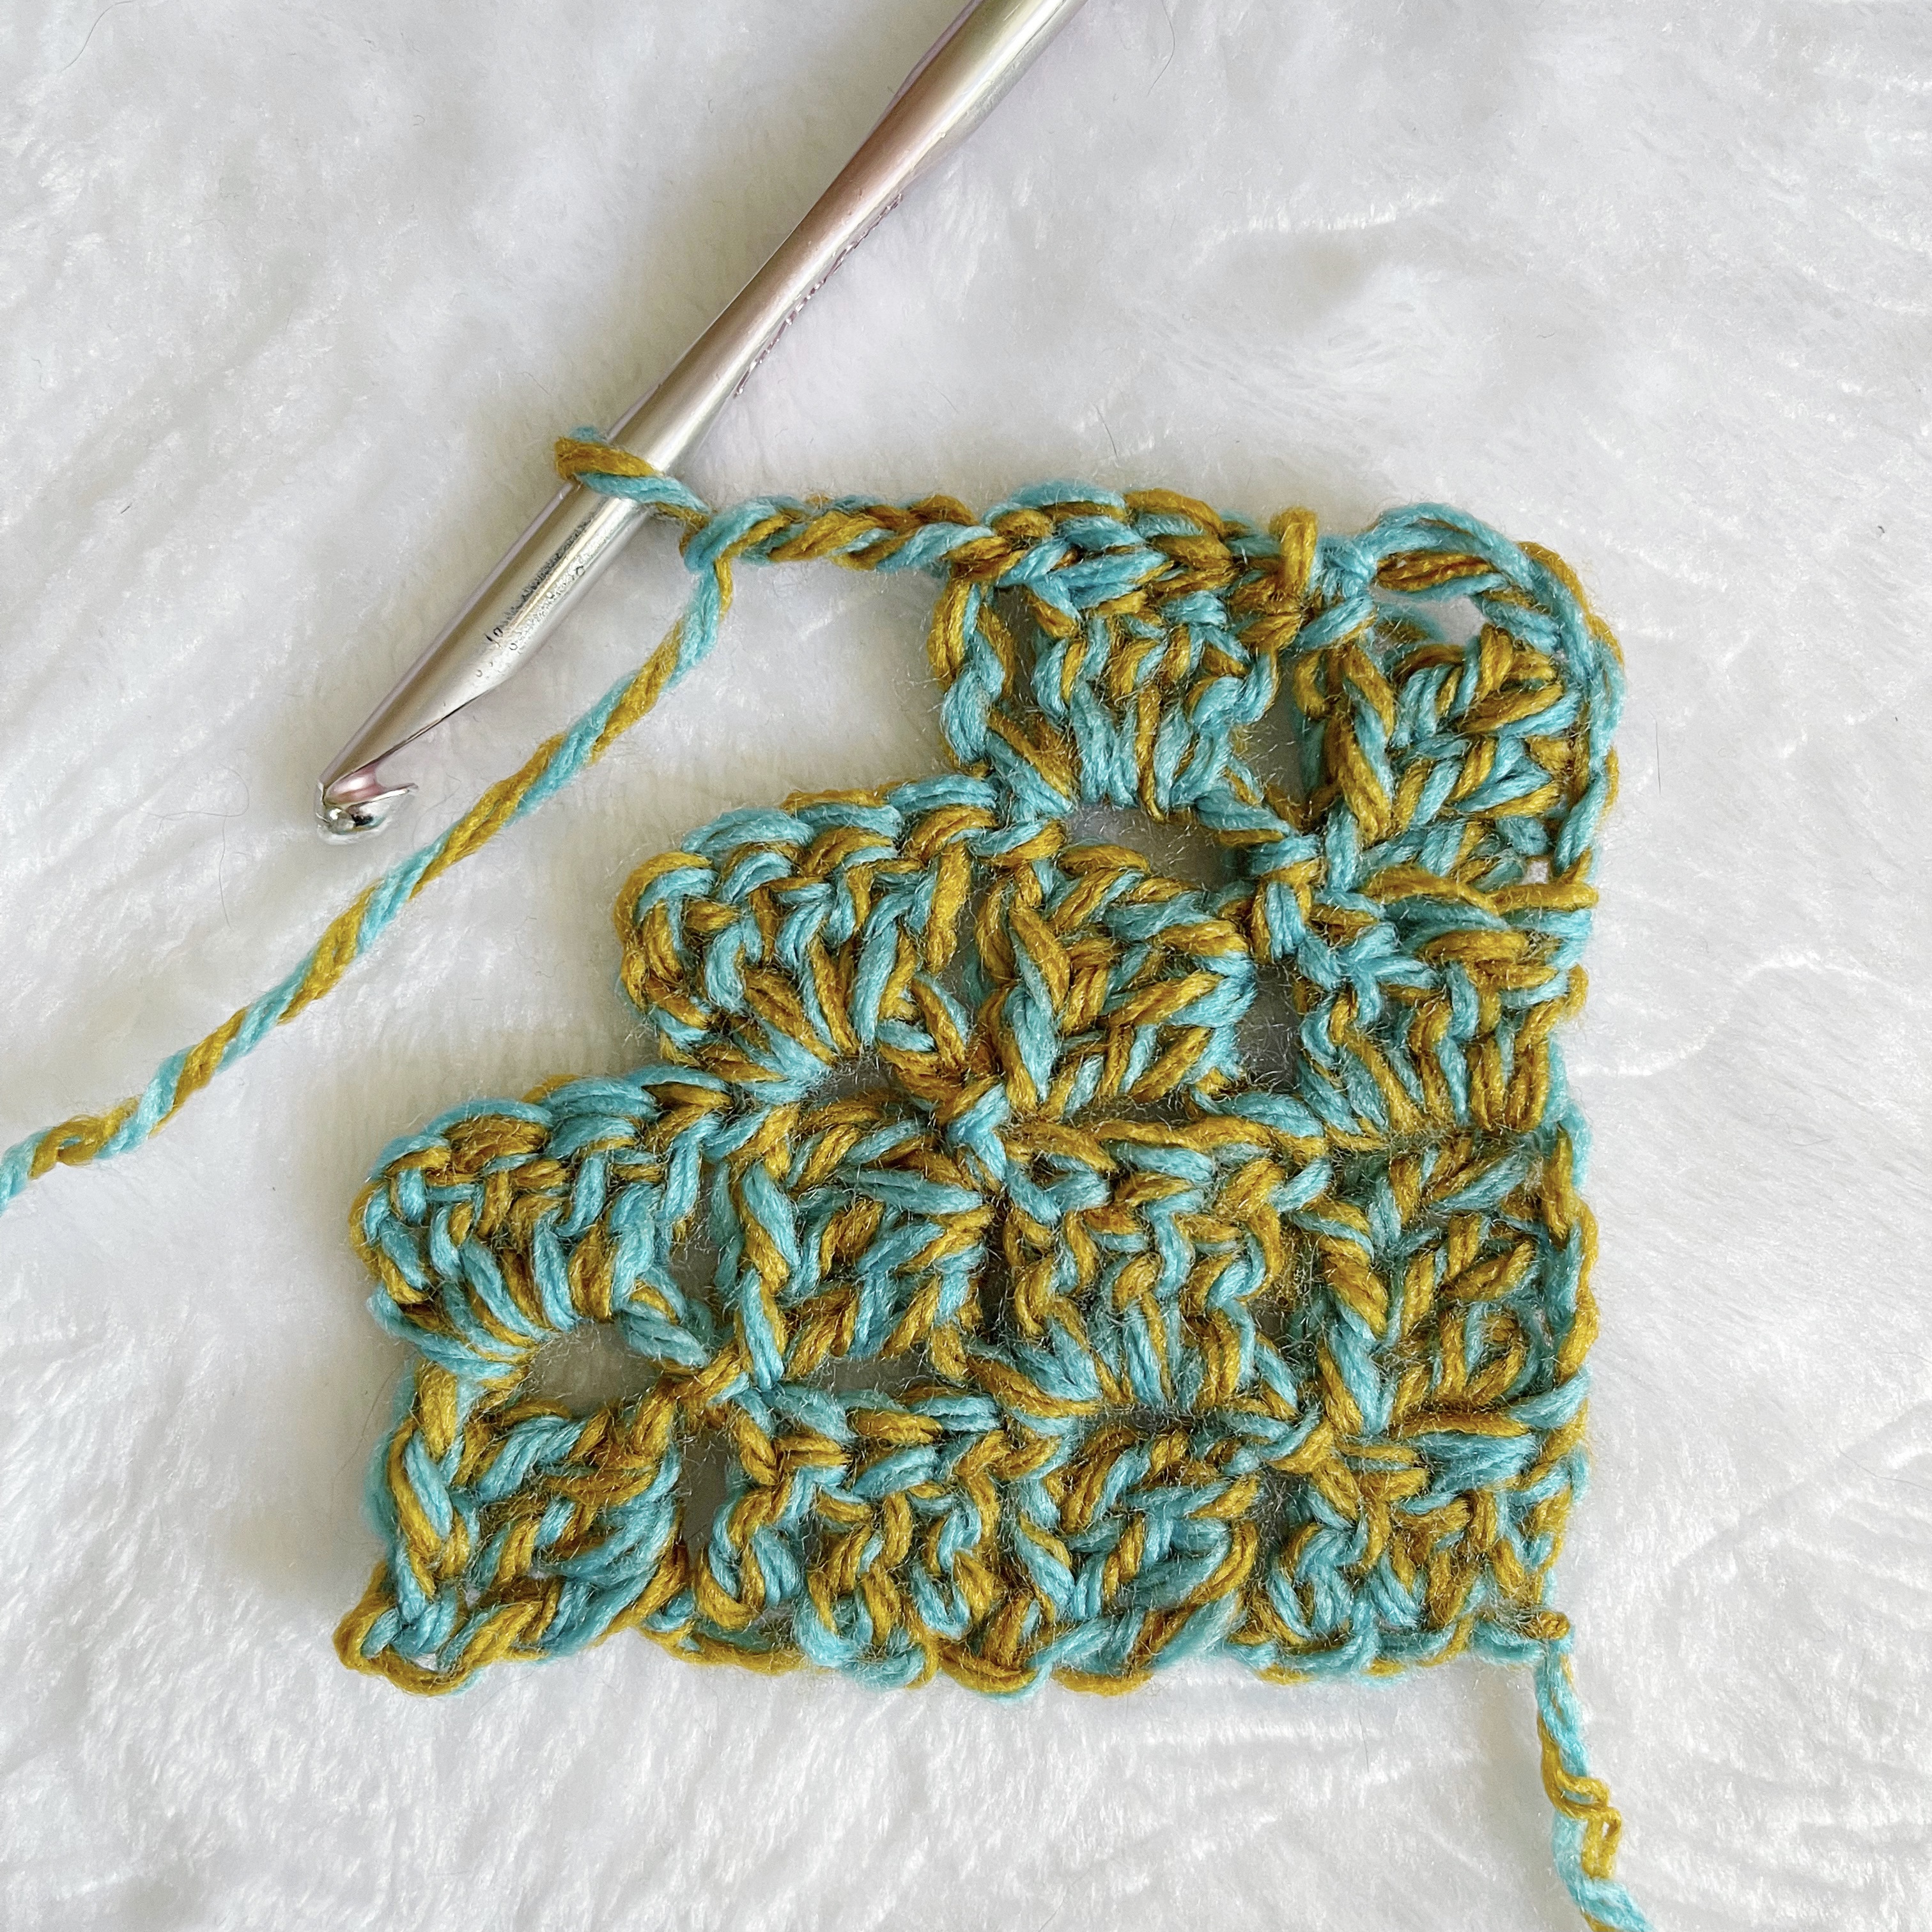
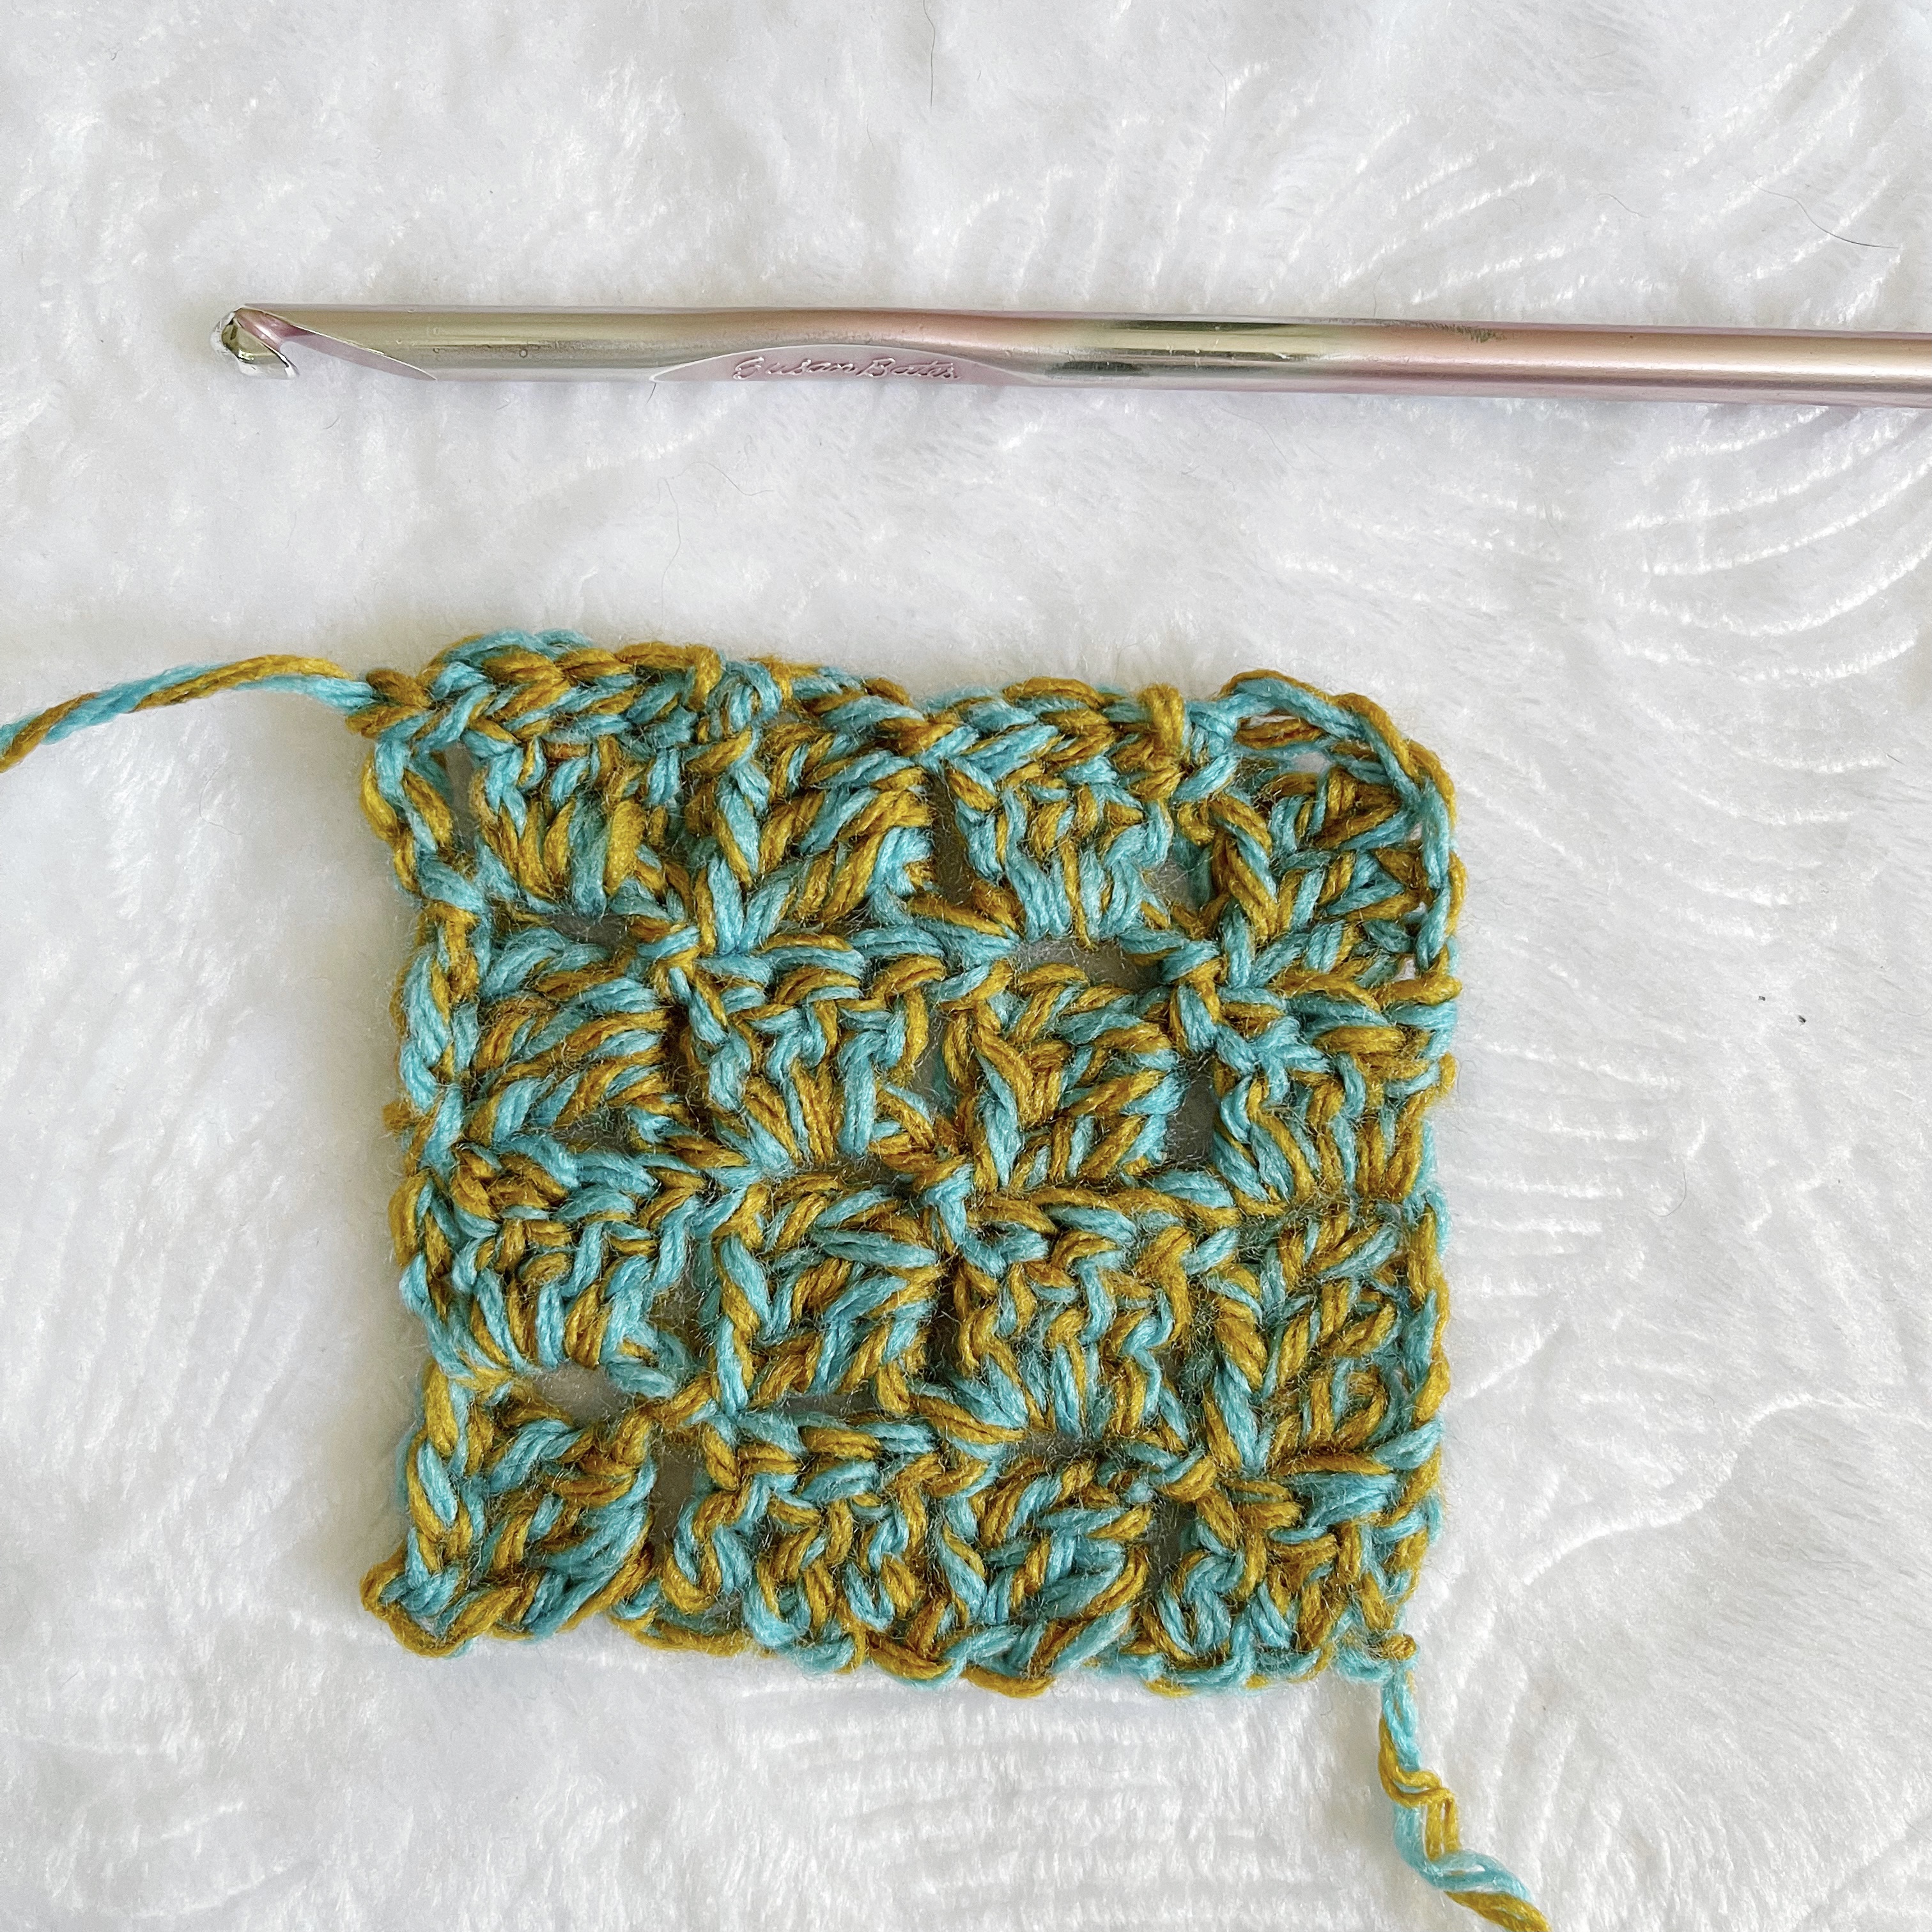
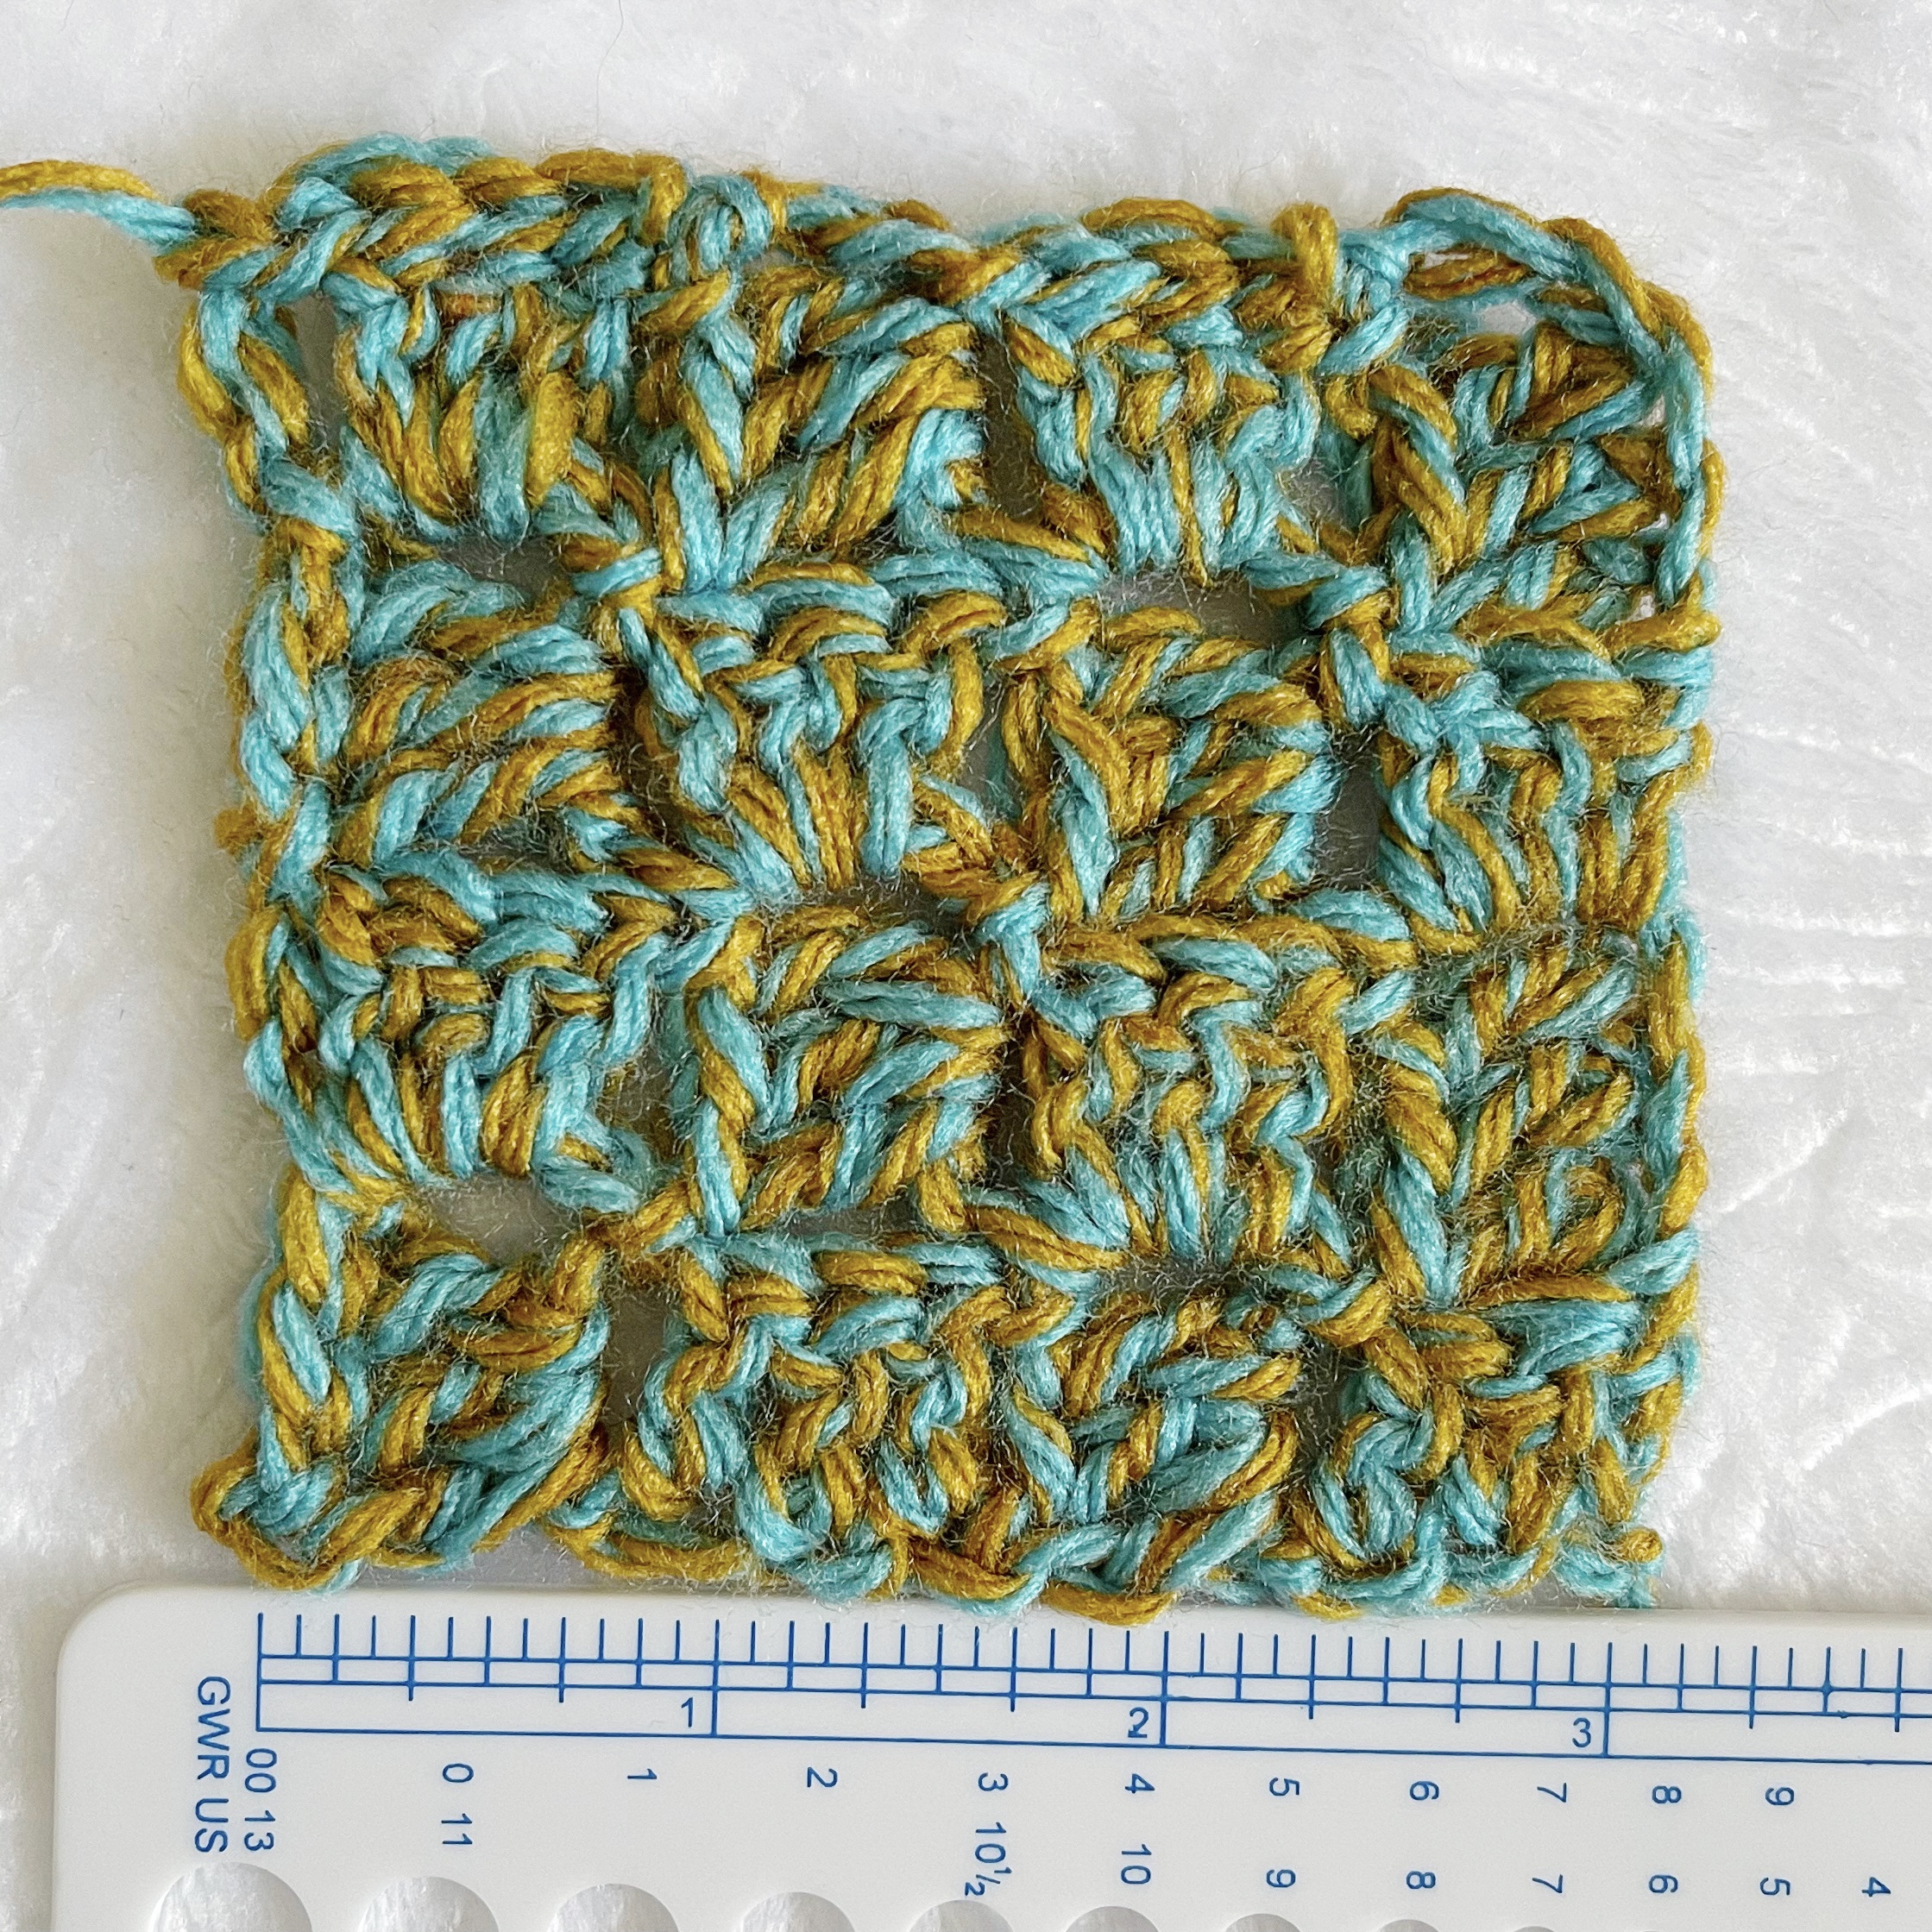
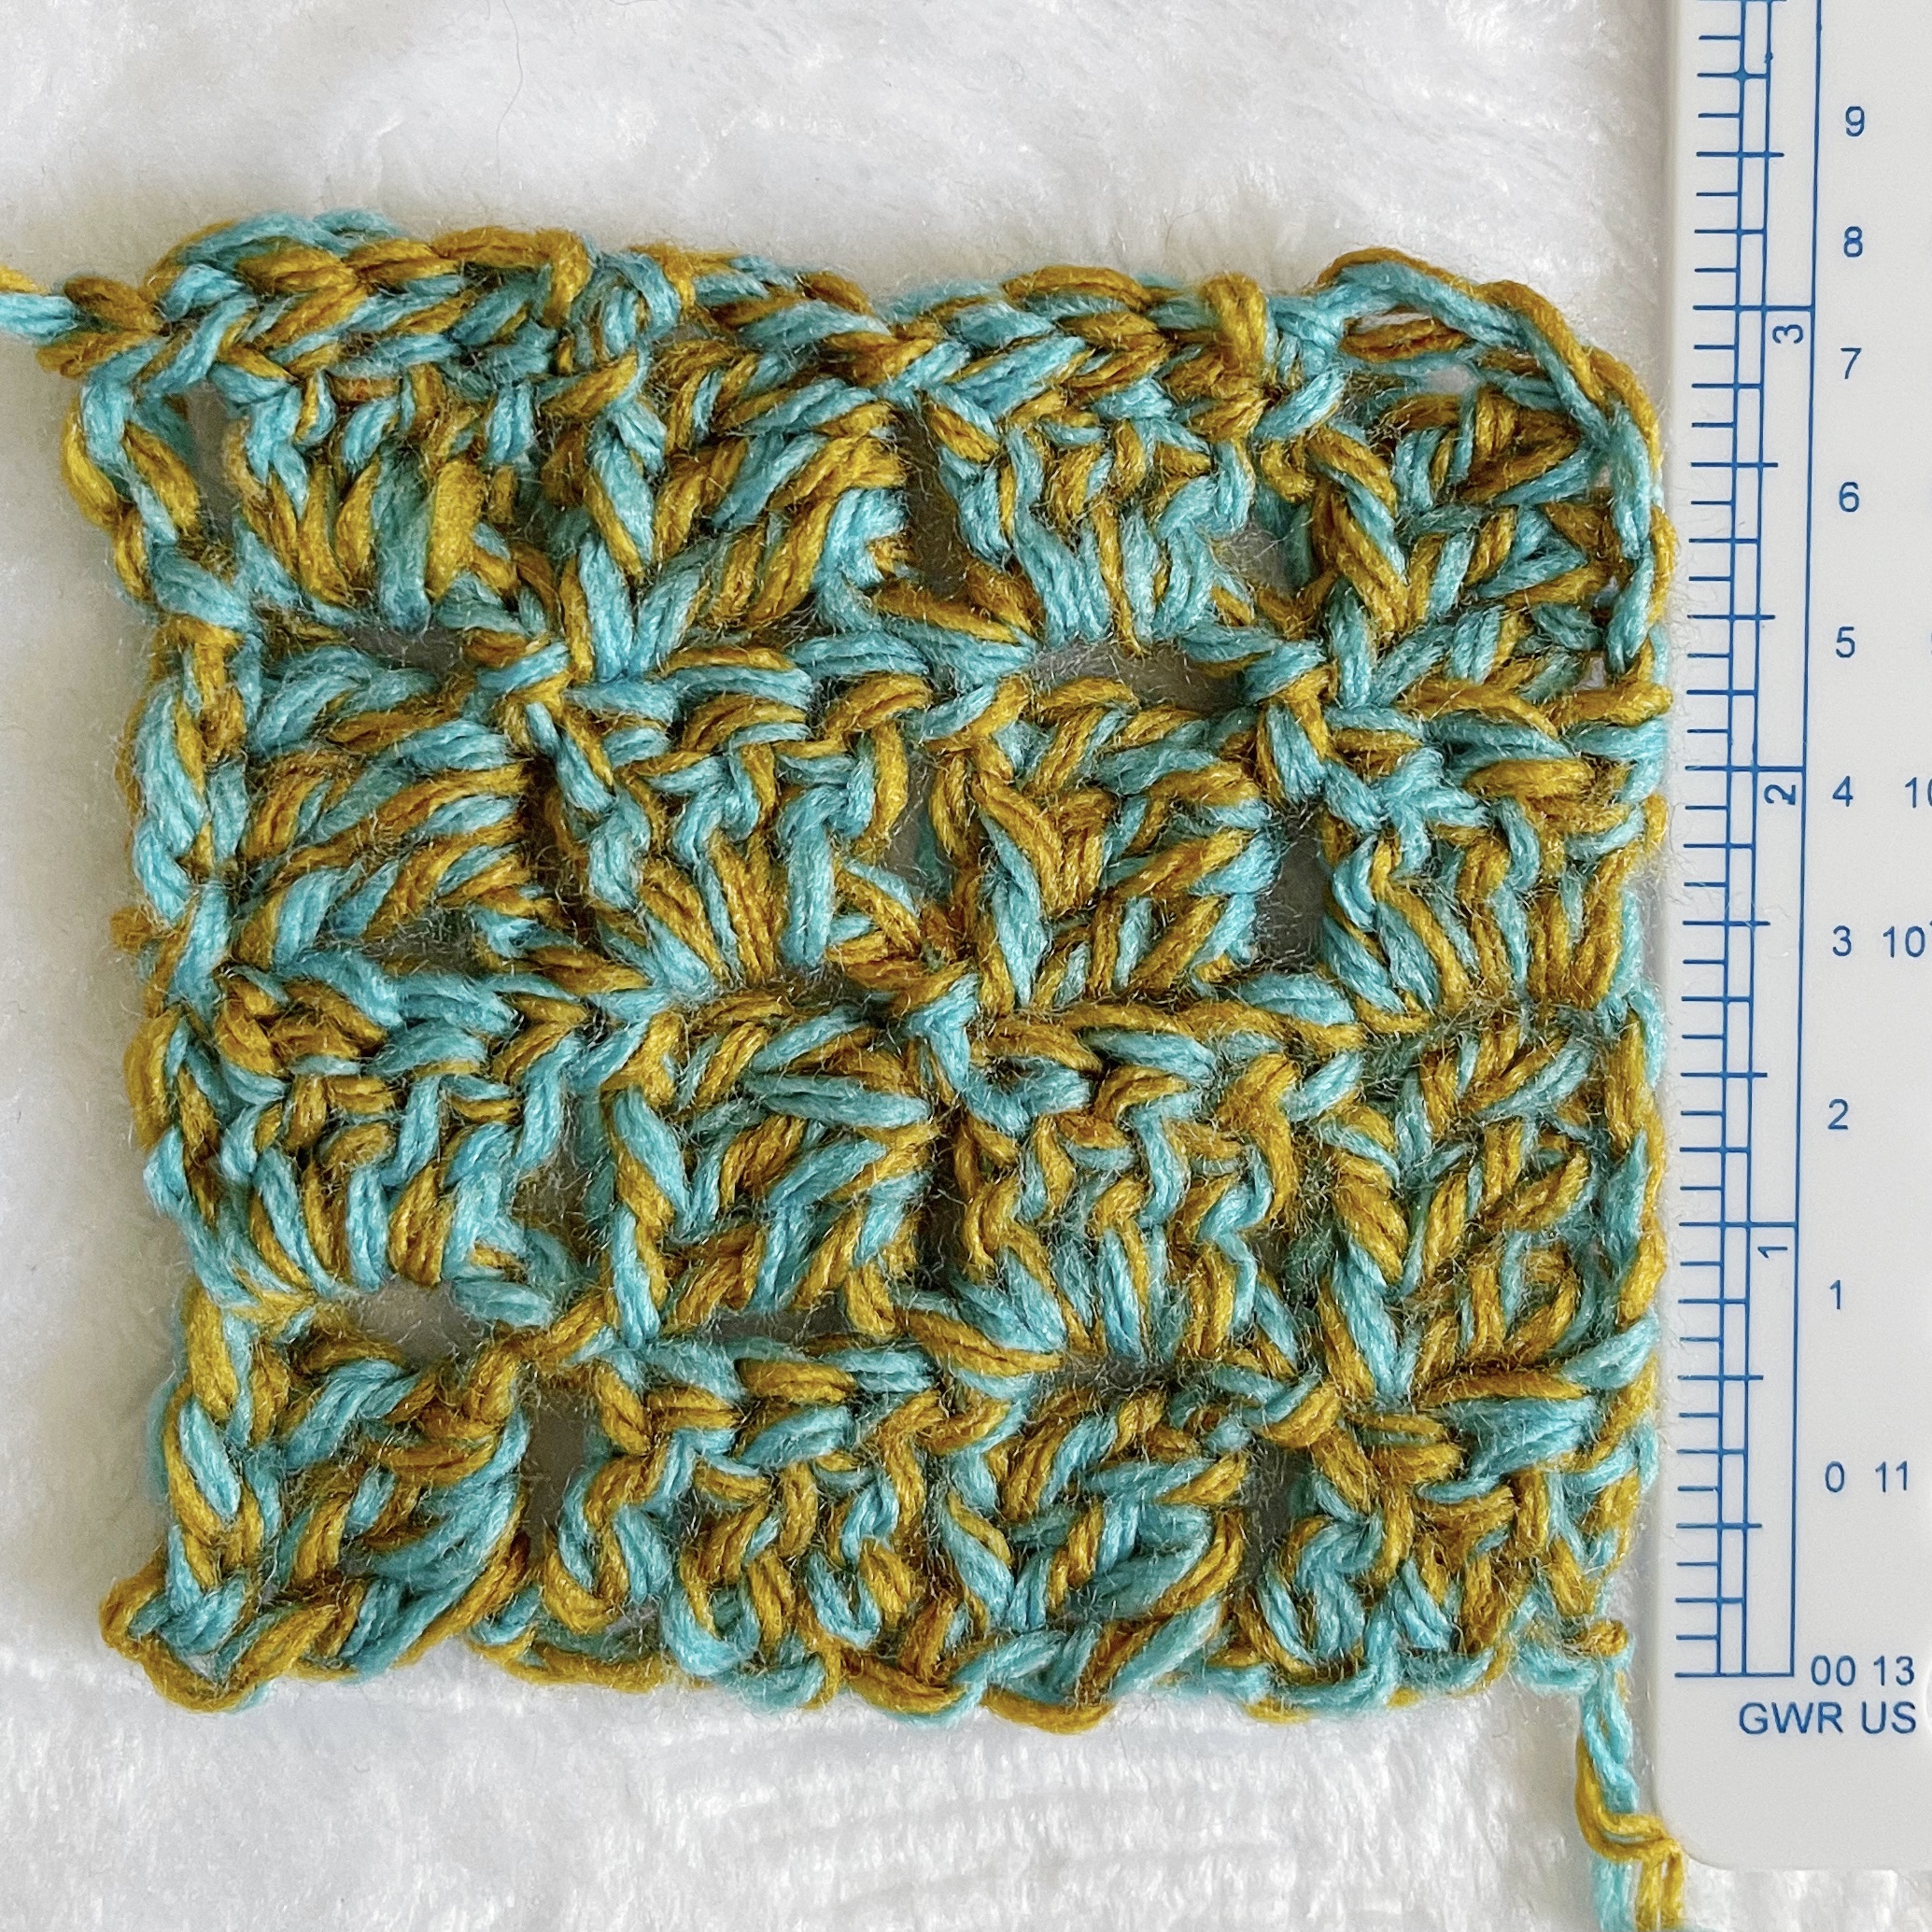
Gauge: 3” by 3” = 4×4 squares
Measurements: Blanket with border 36” by 36”, 44×44 squares

Notes: This blanket is easily customizable by continuing the base to the desired length before starting to decrease. Any yarn and hook can be used, but I recommend creating a 4×4 square gauge to determine how many squares you’ll need for the full blanket.

Pattern:

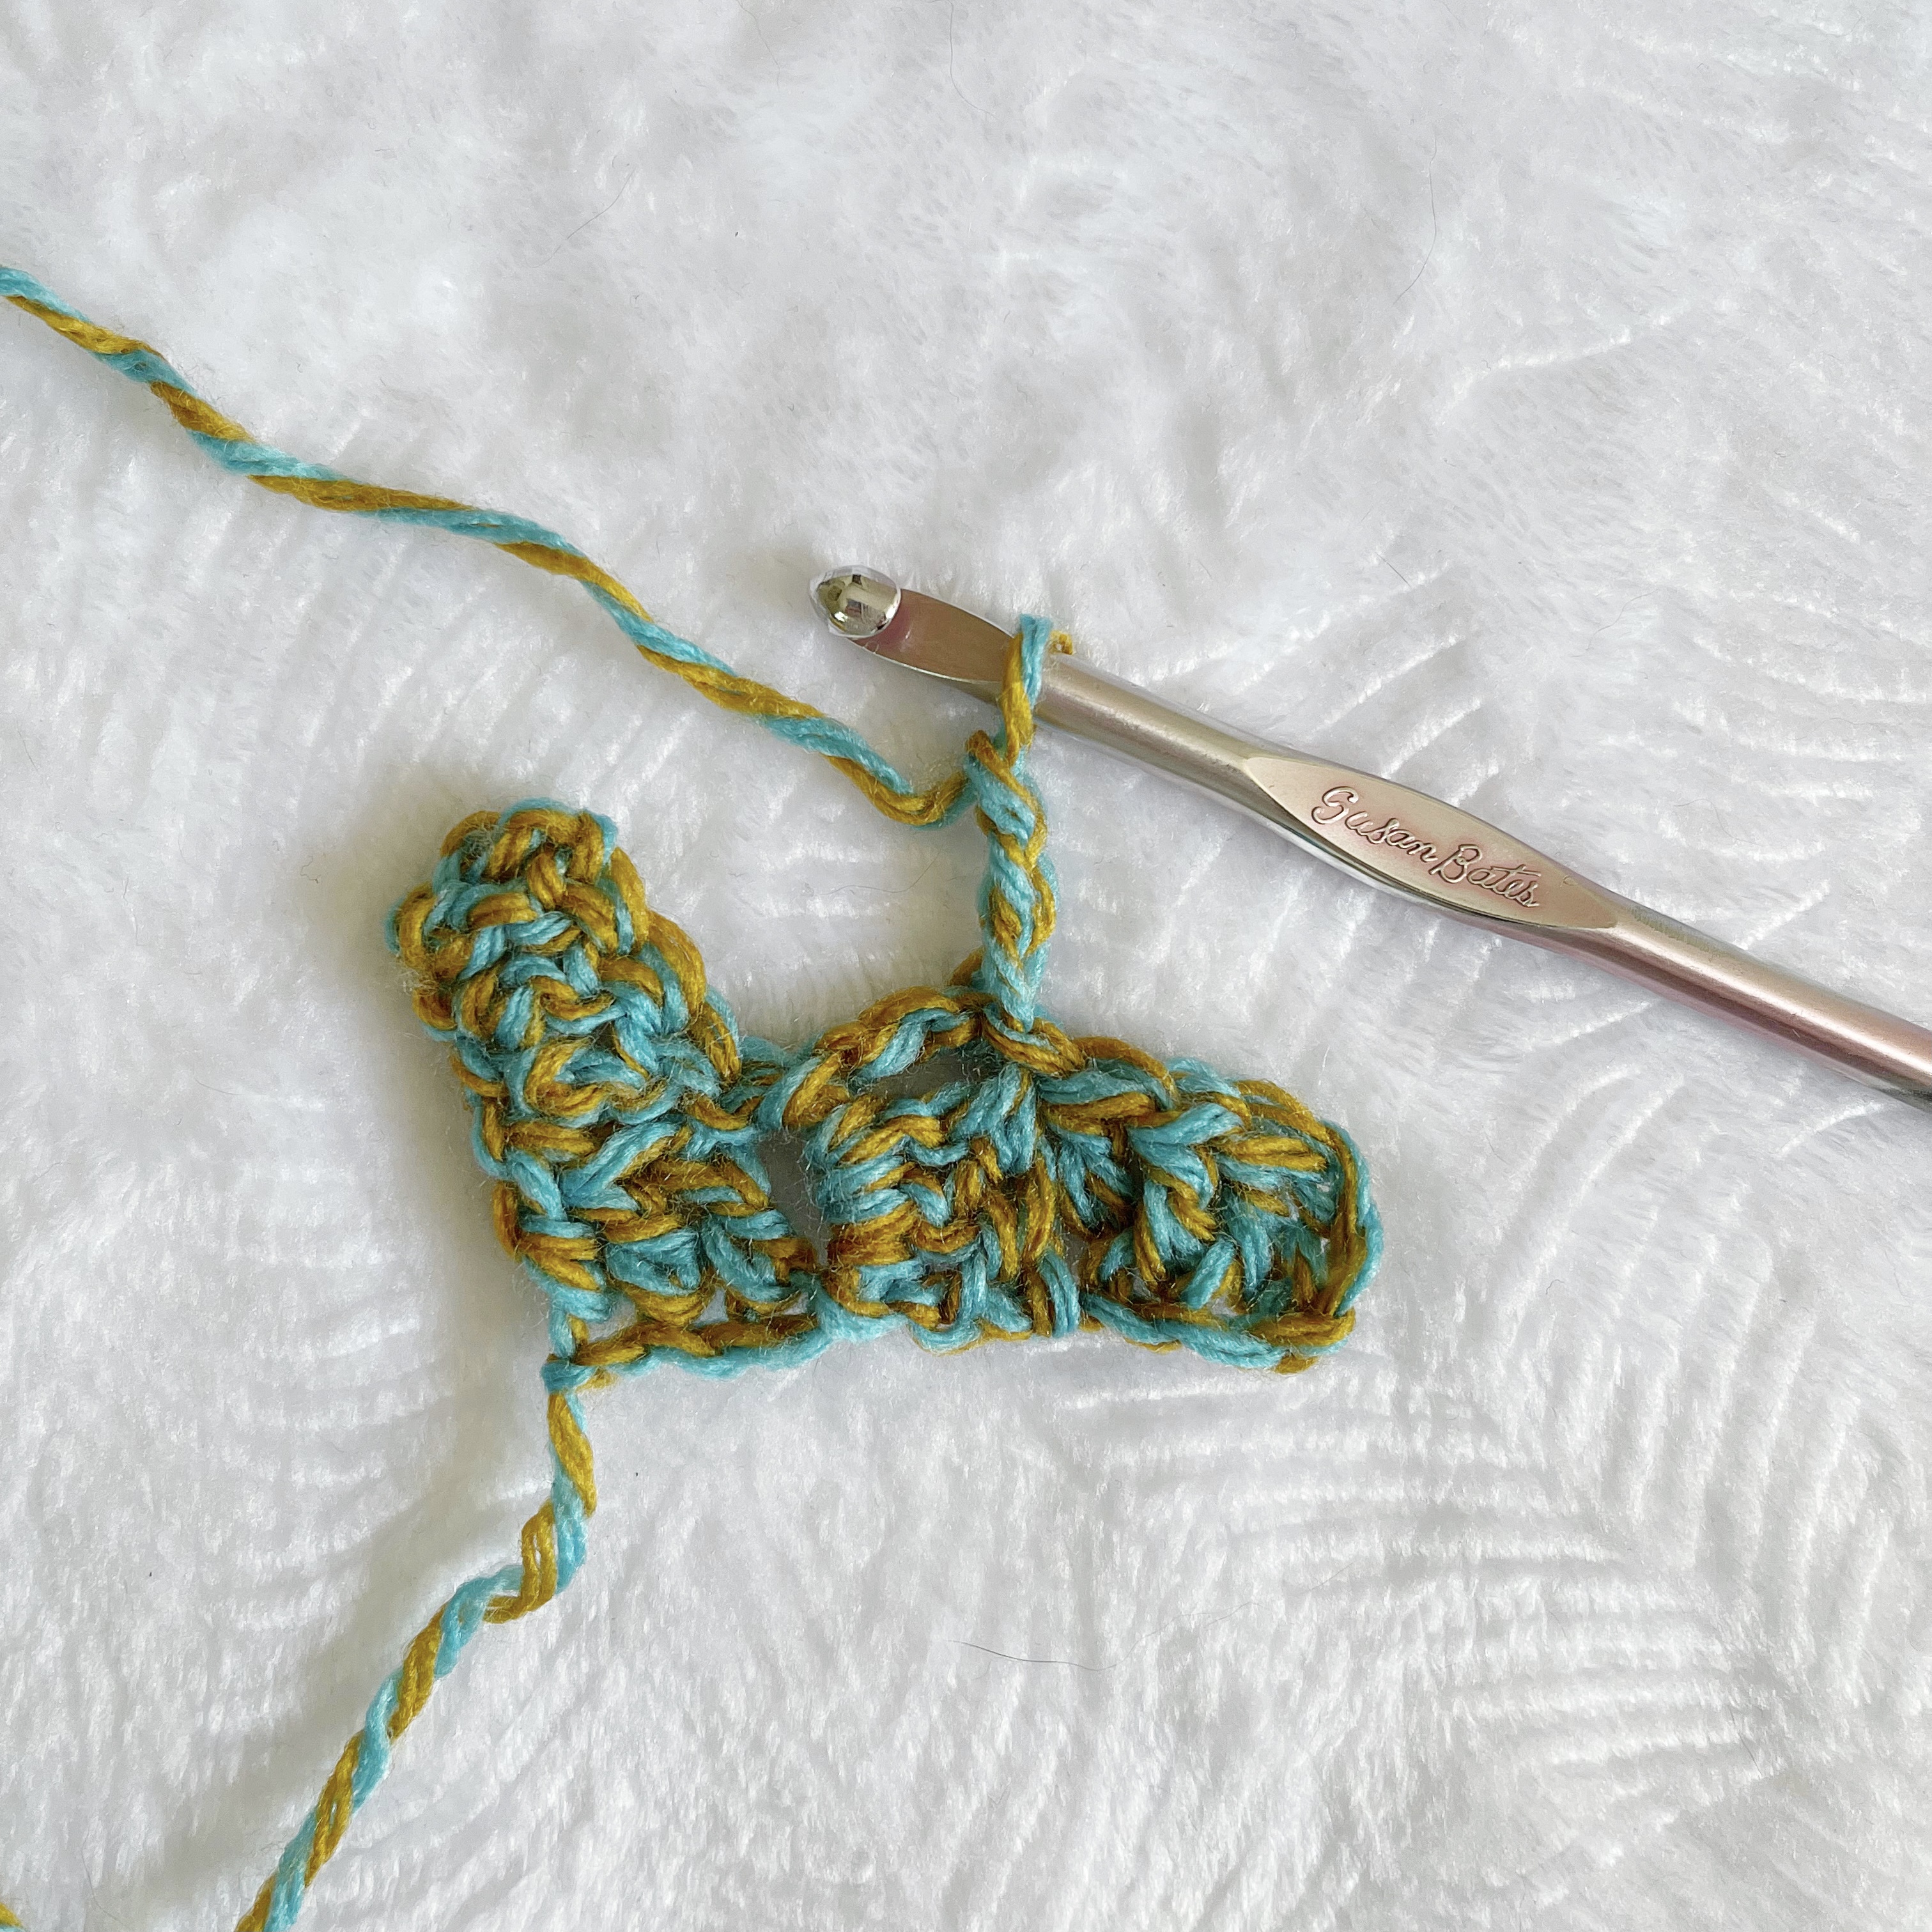
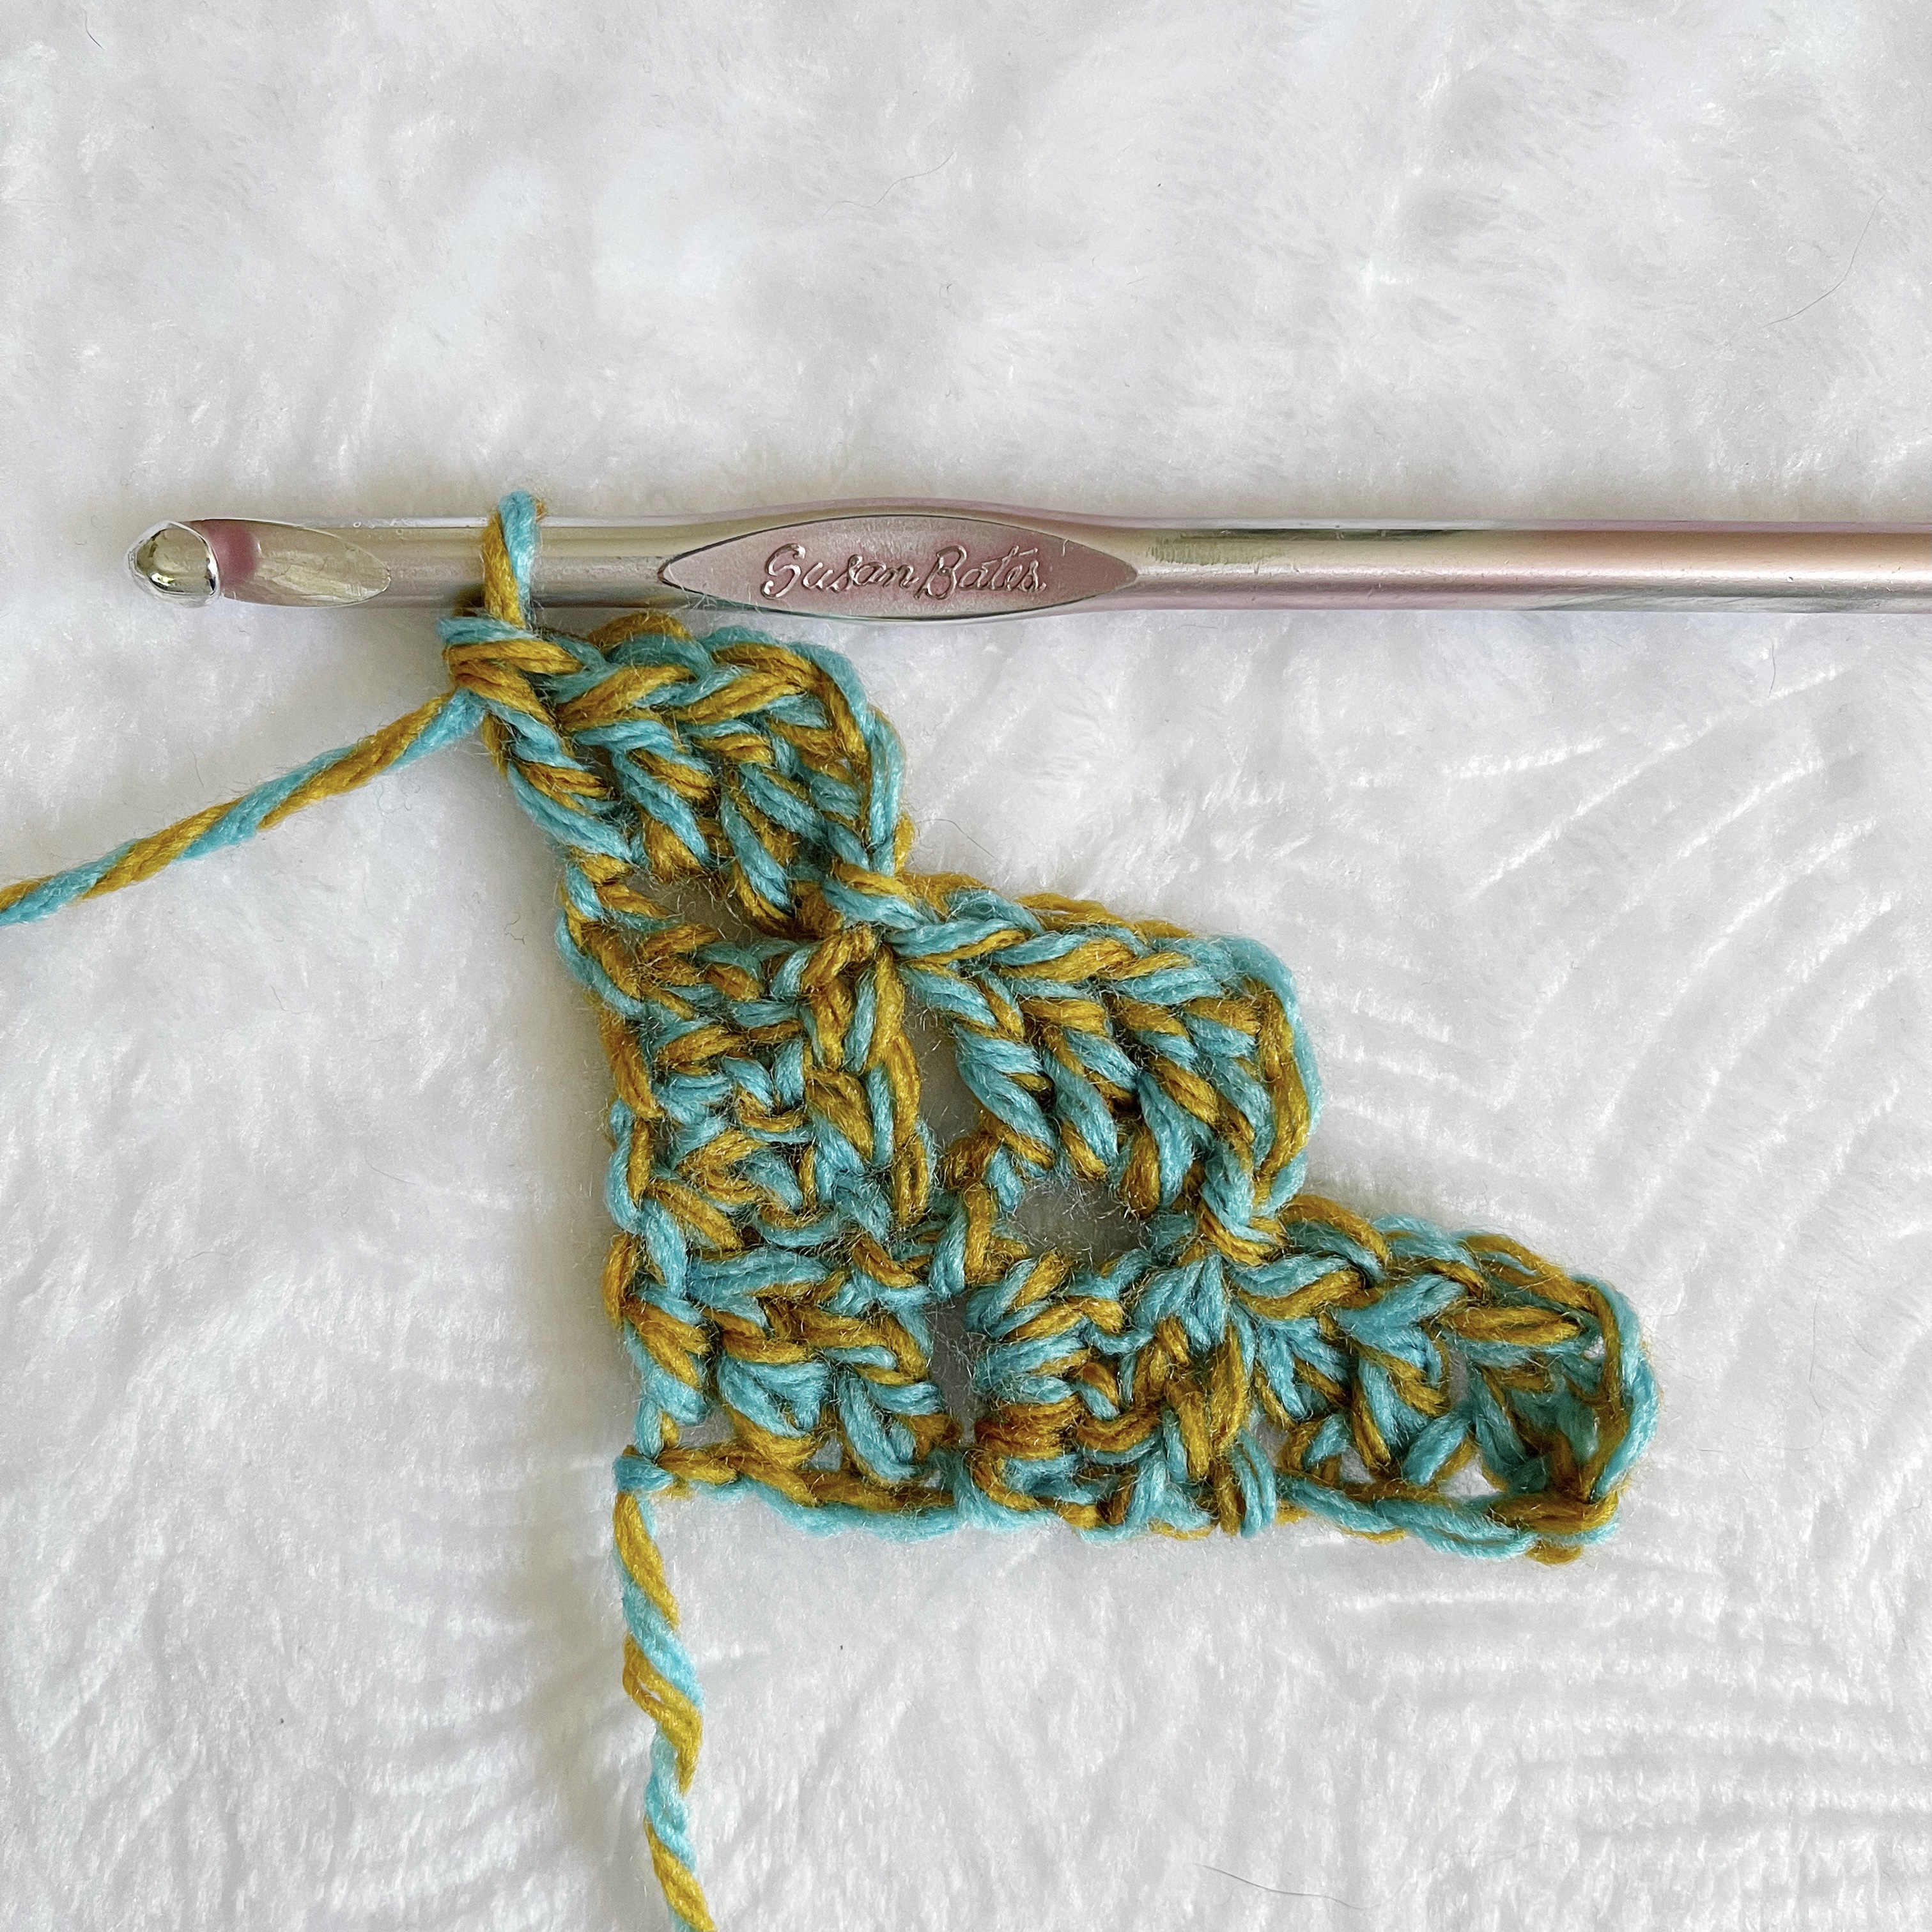
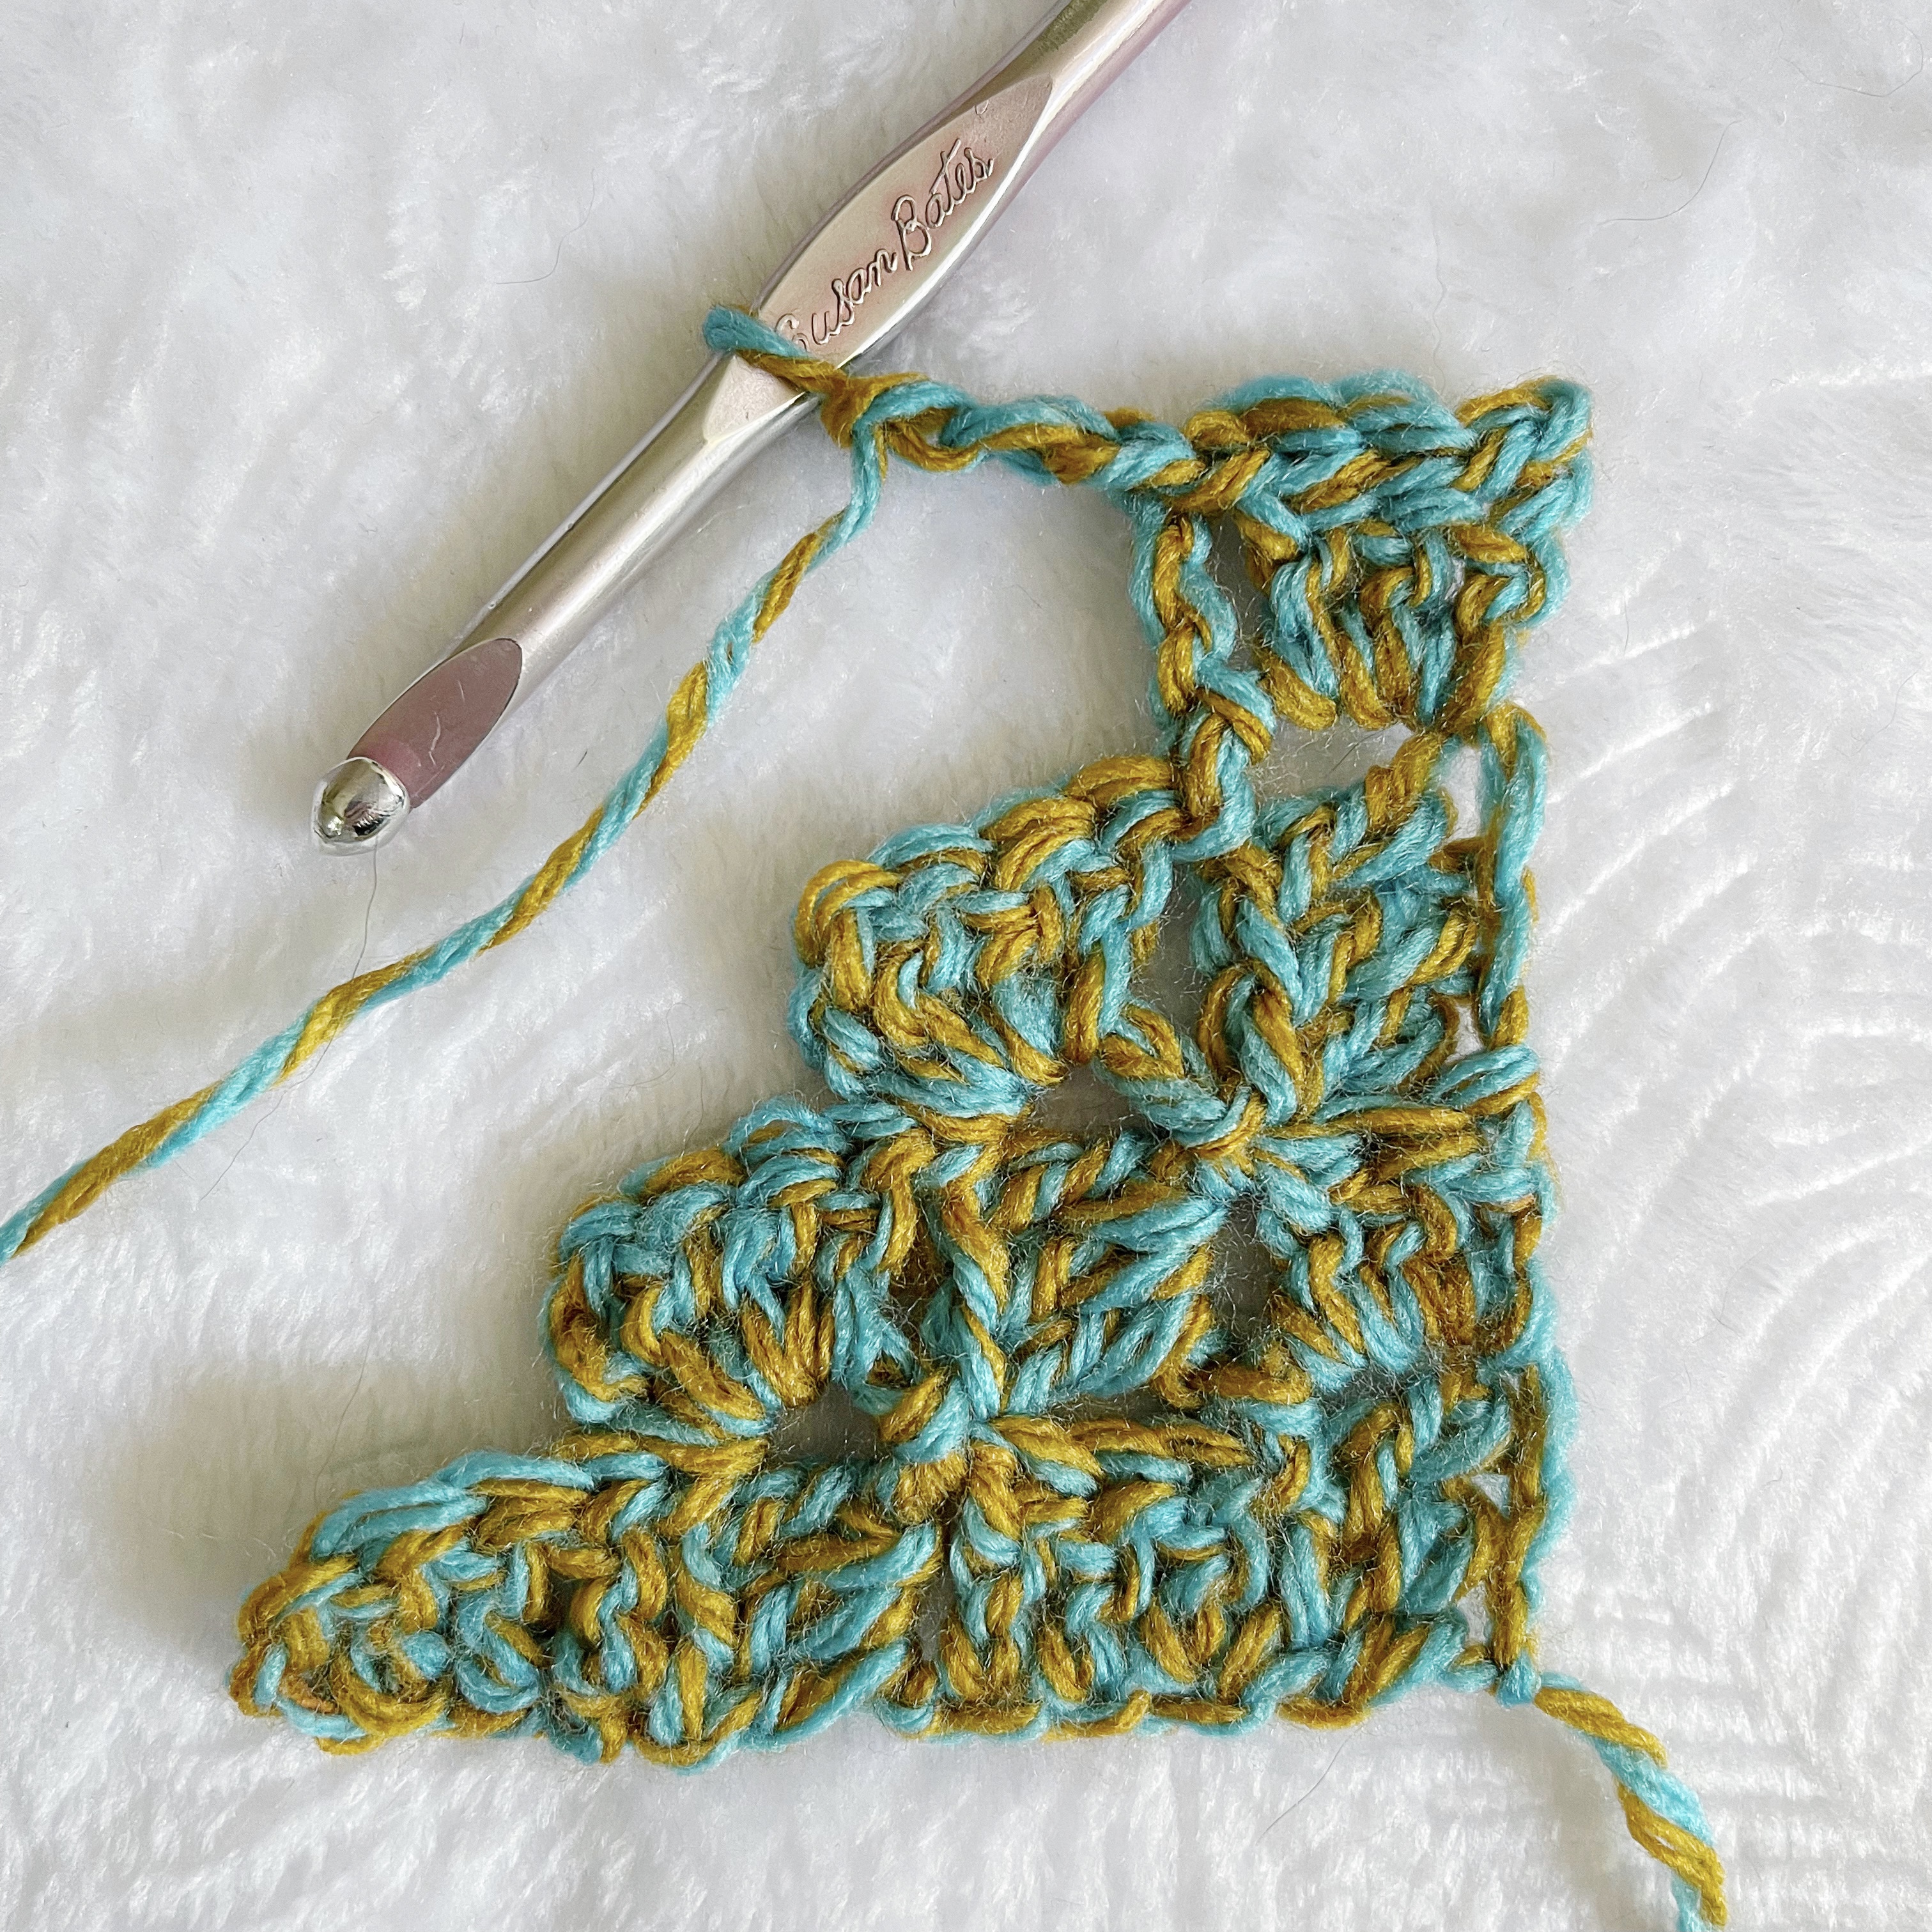
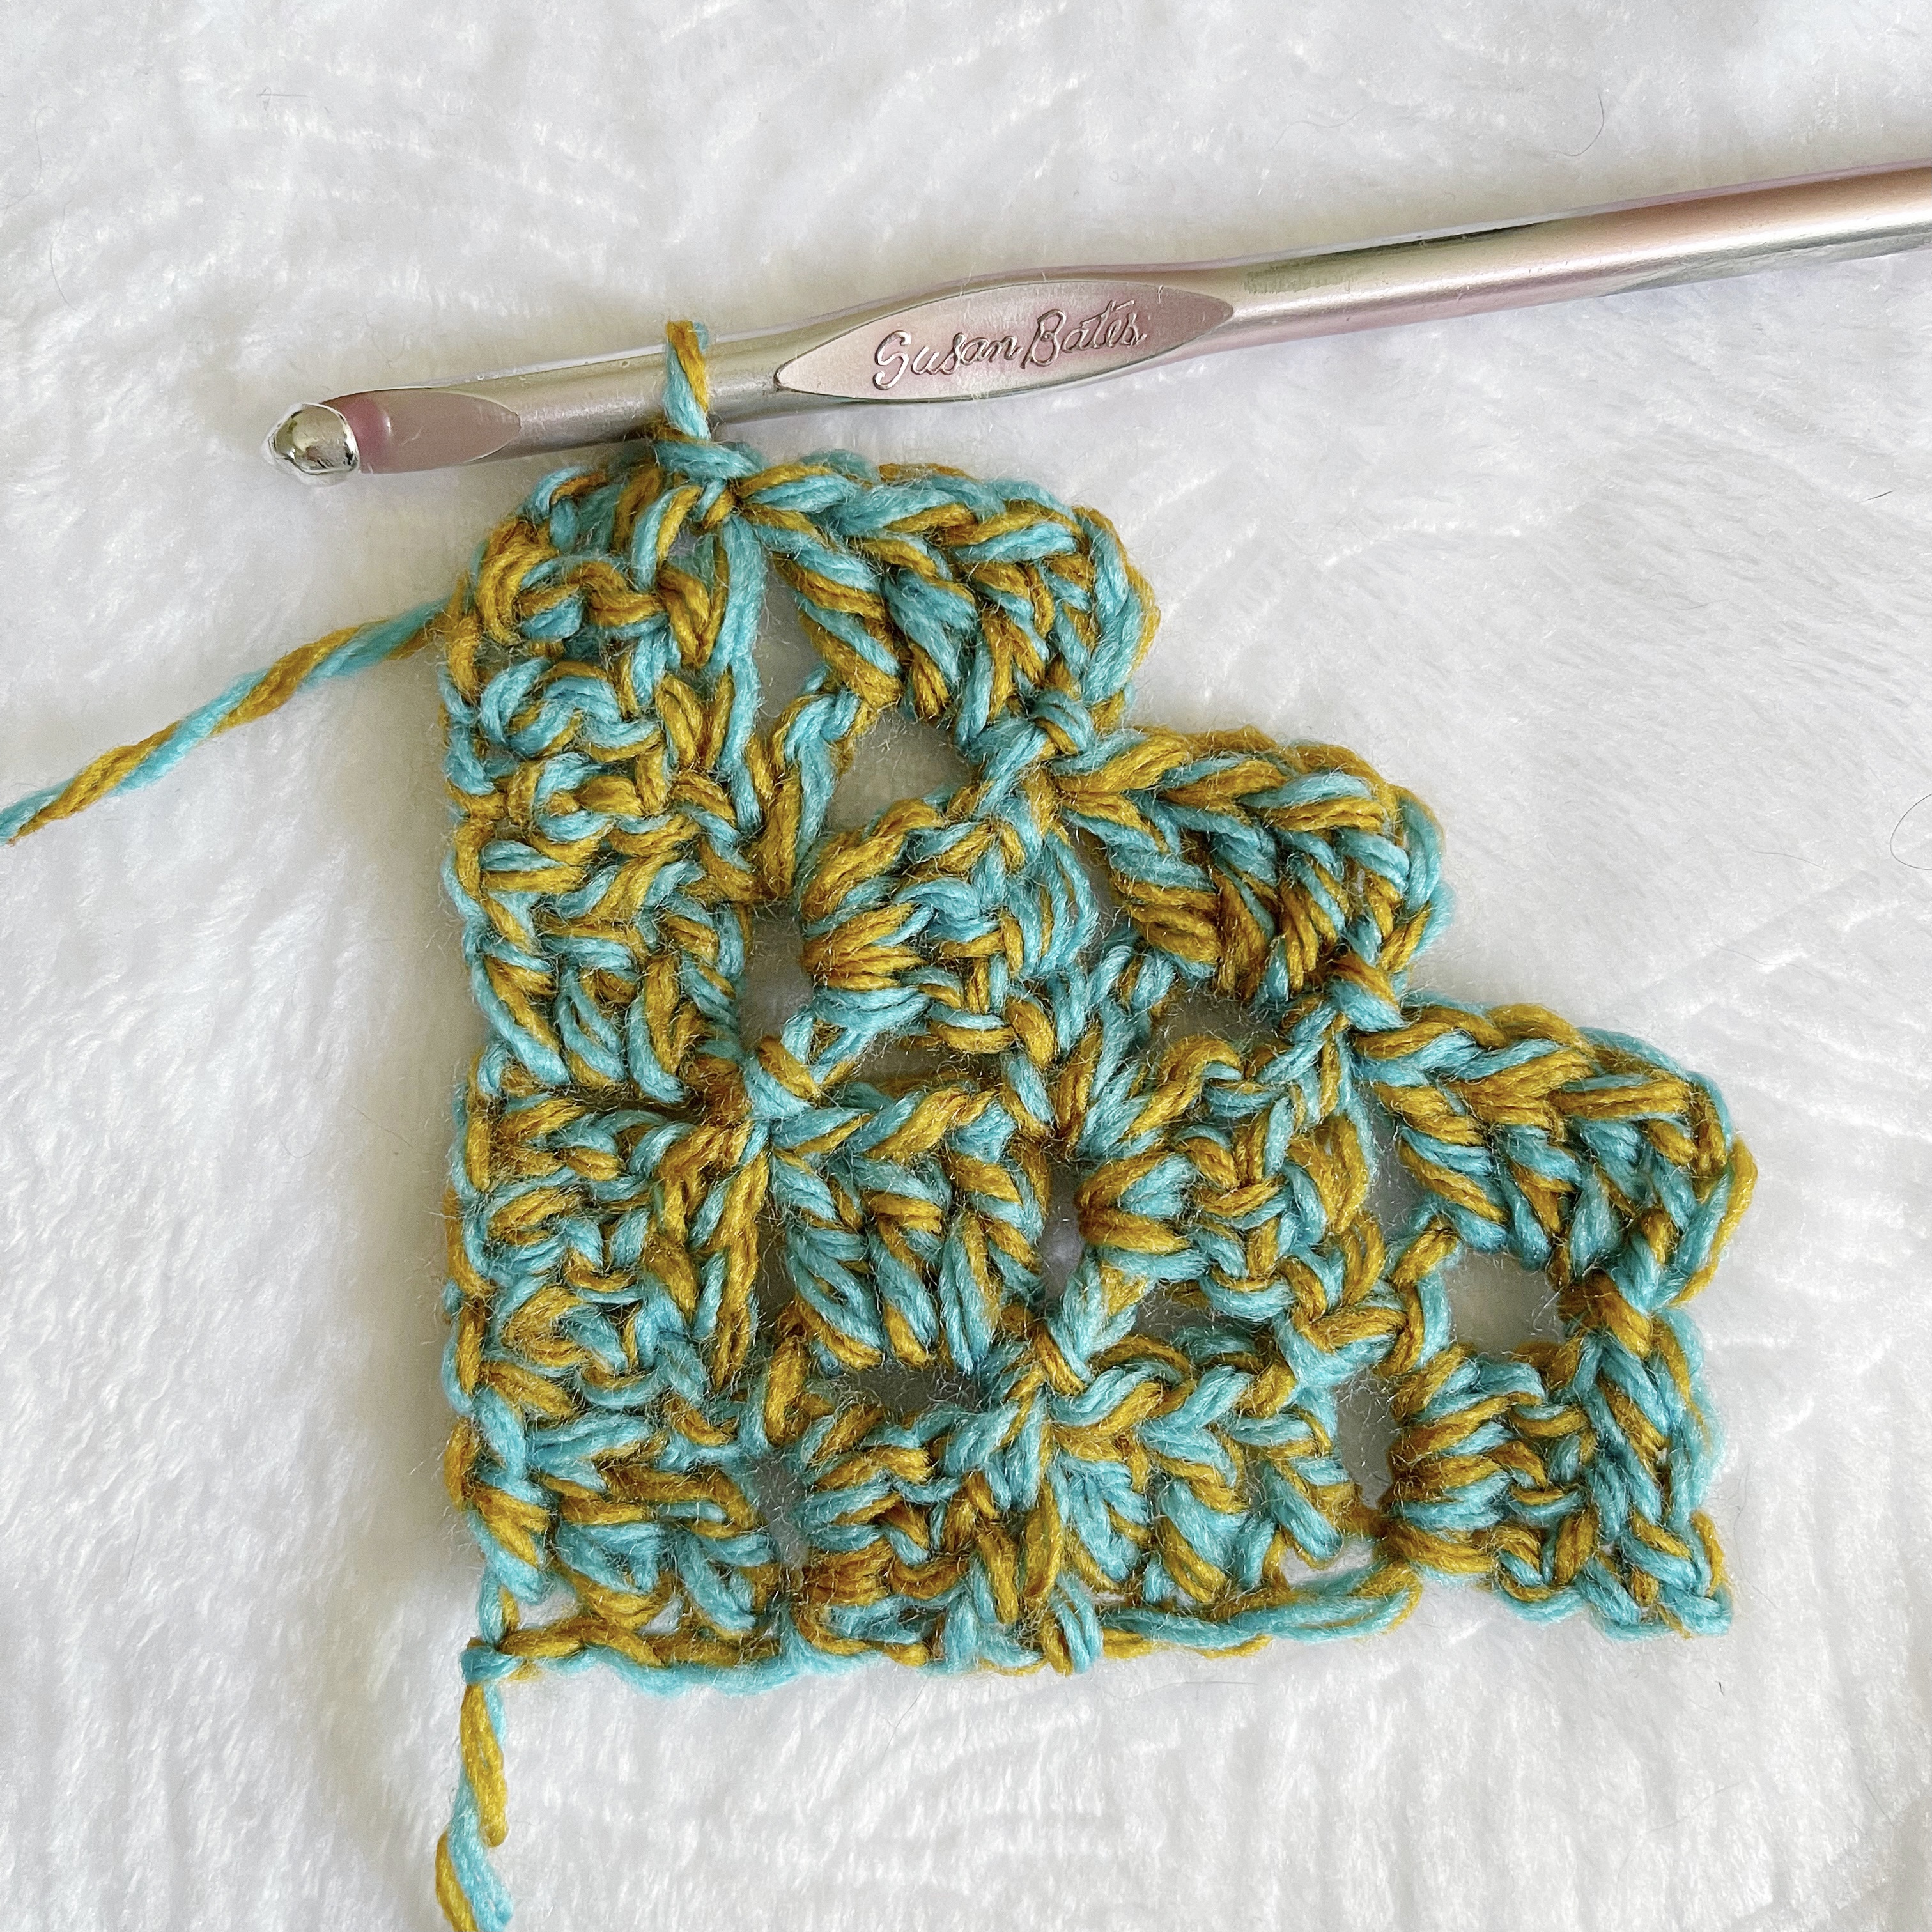
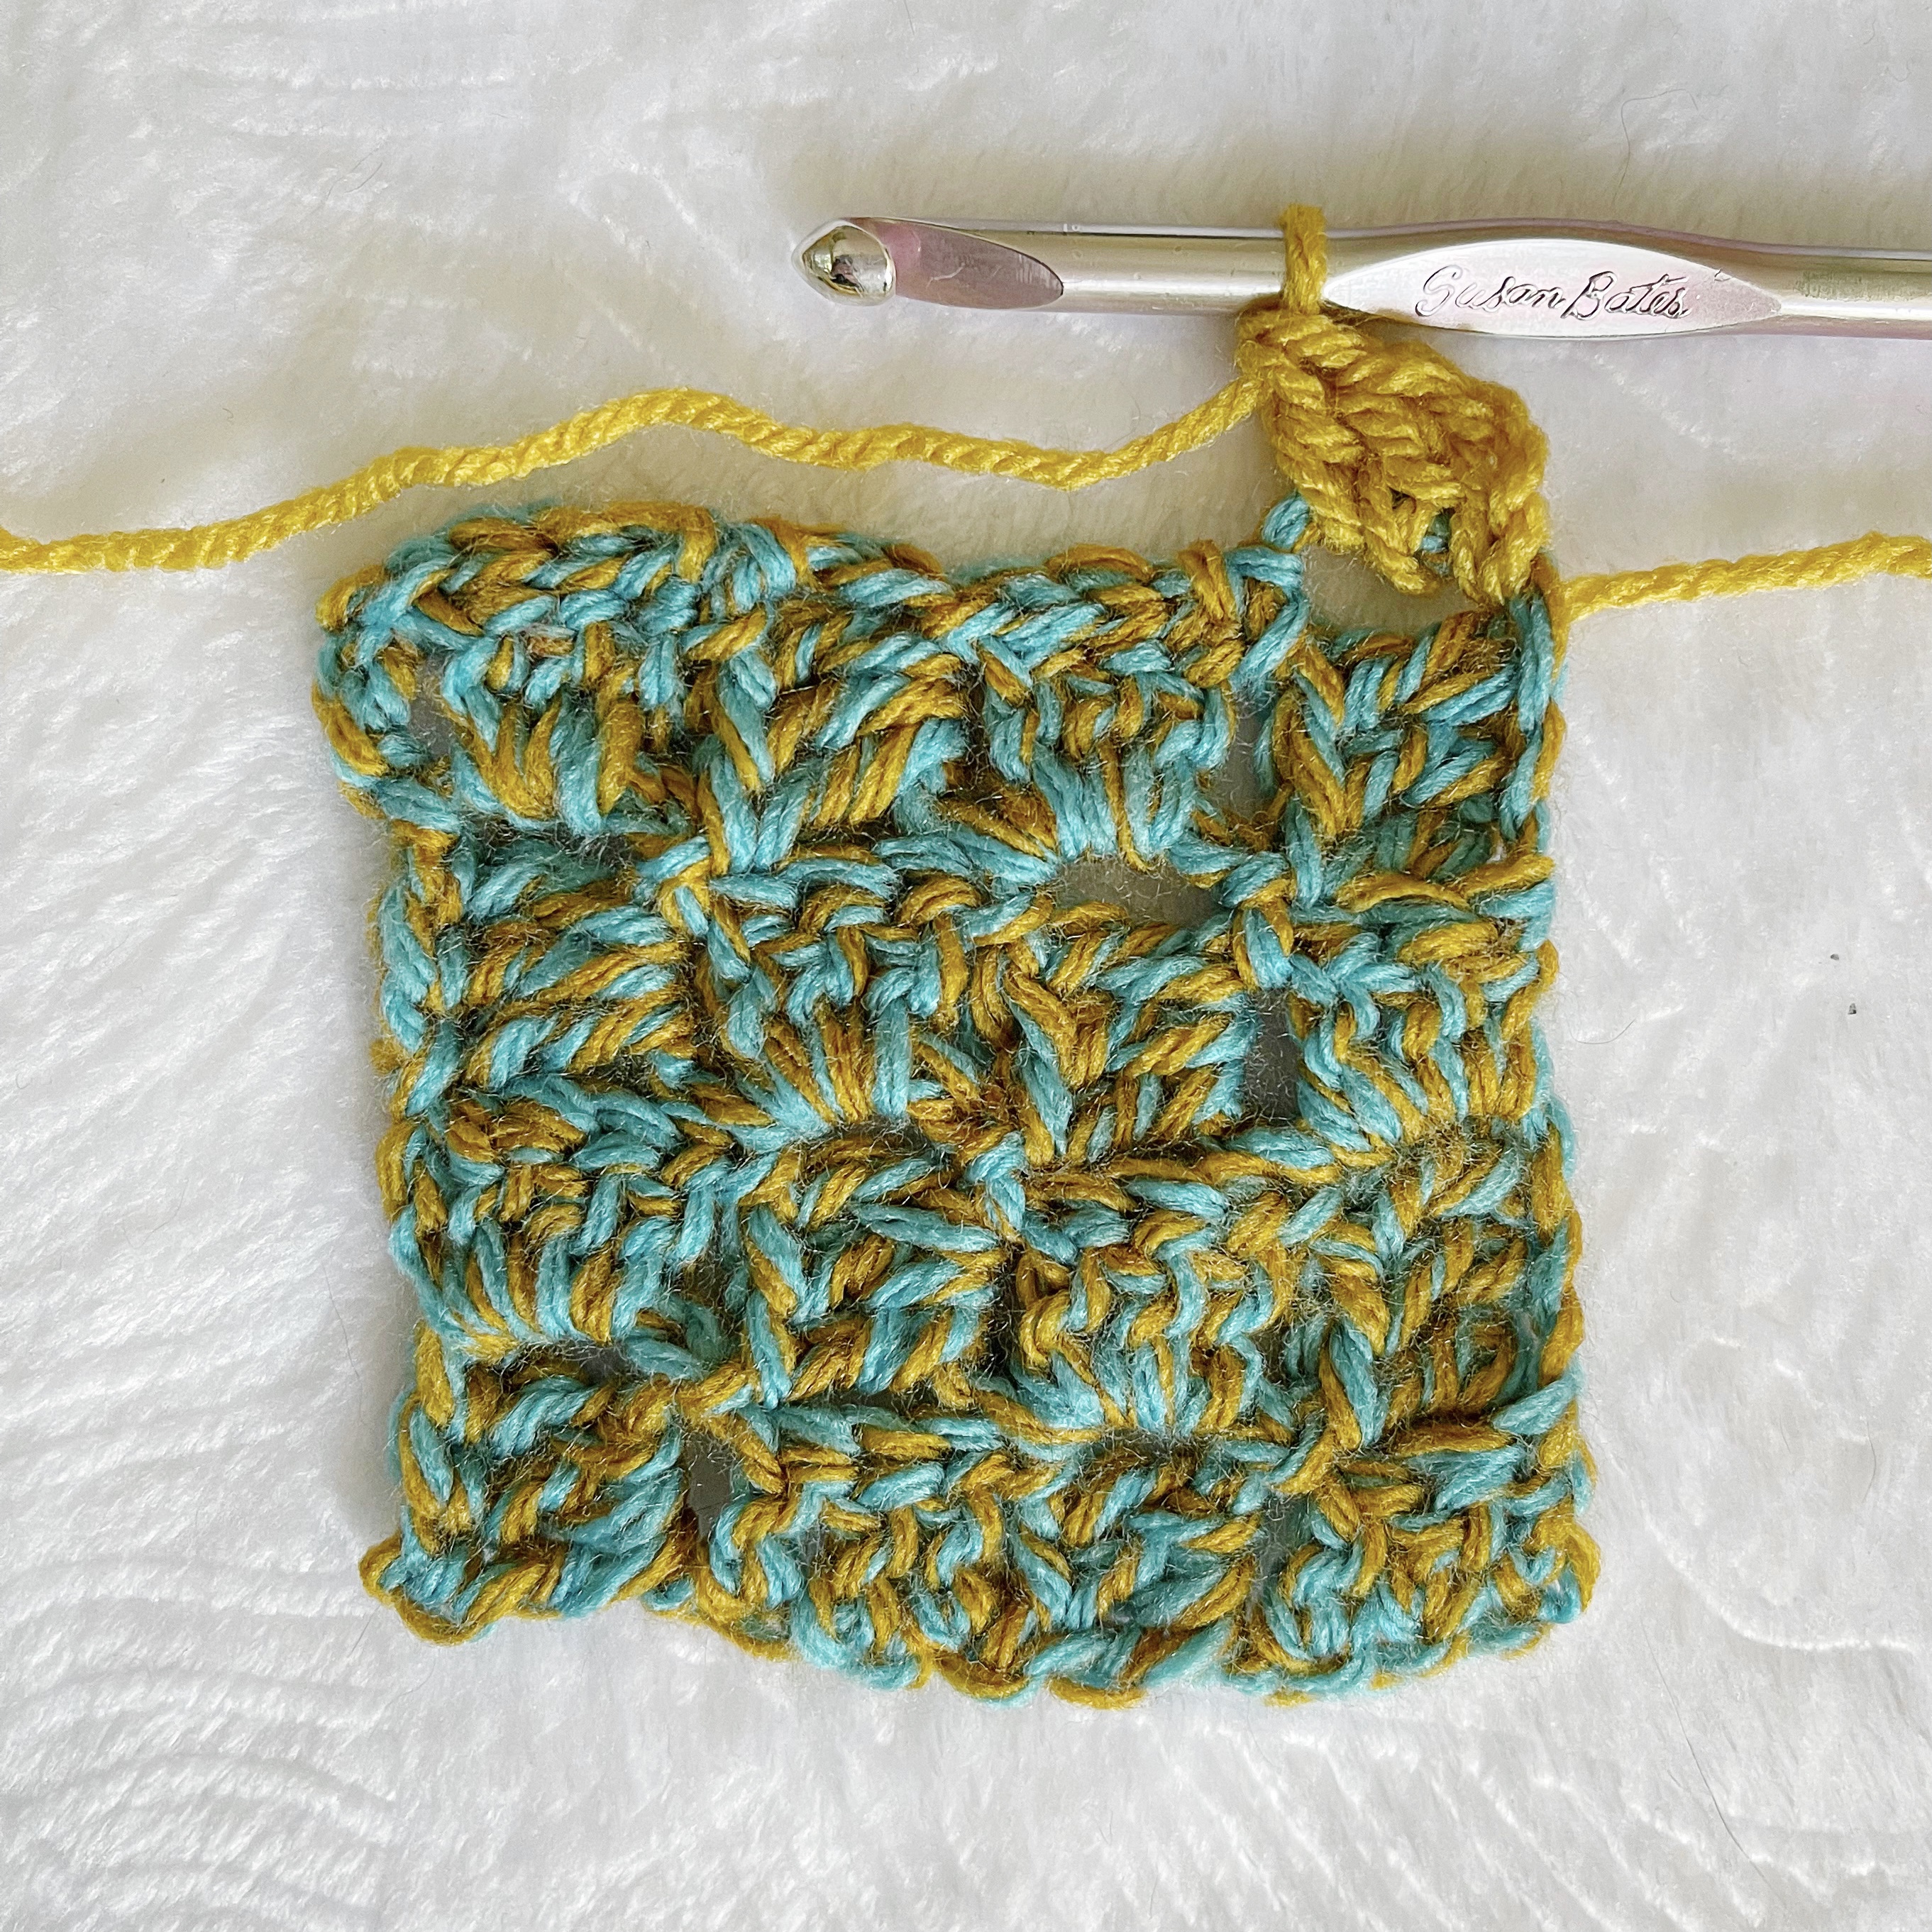
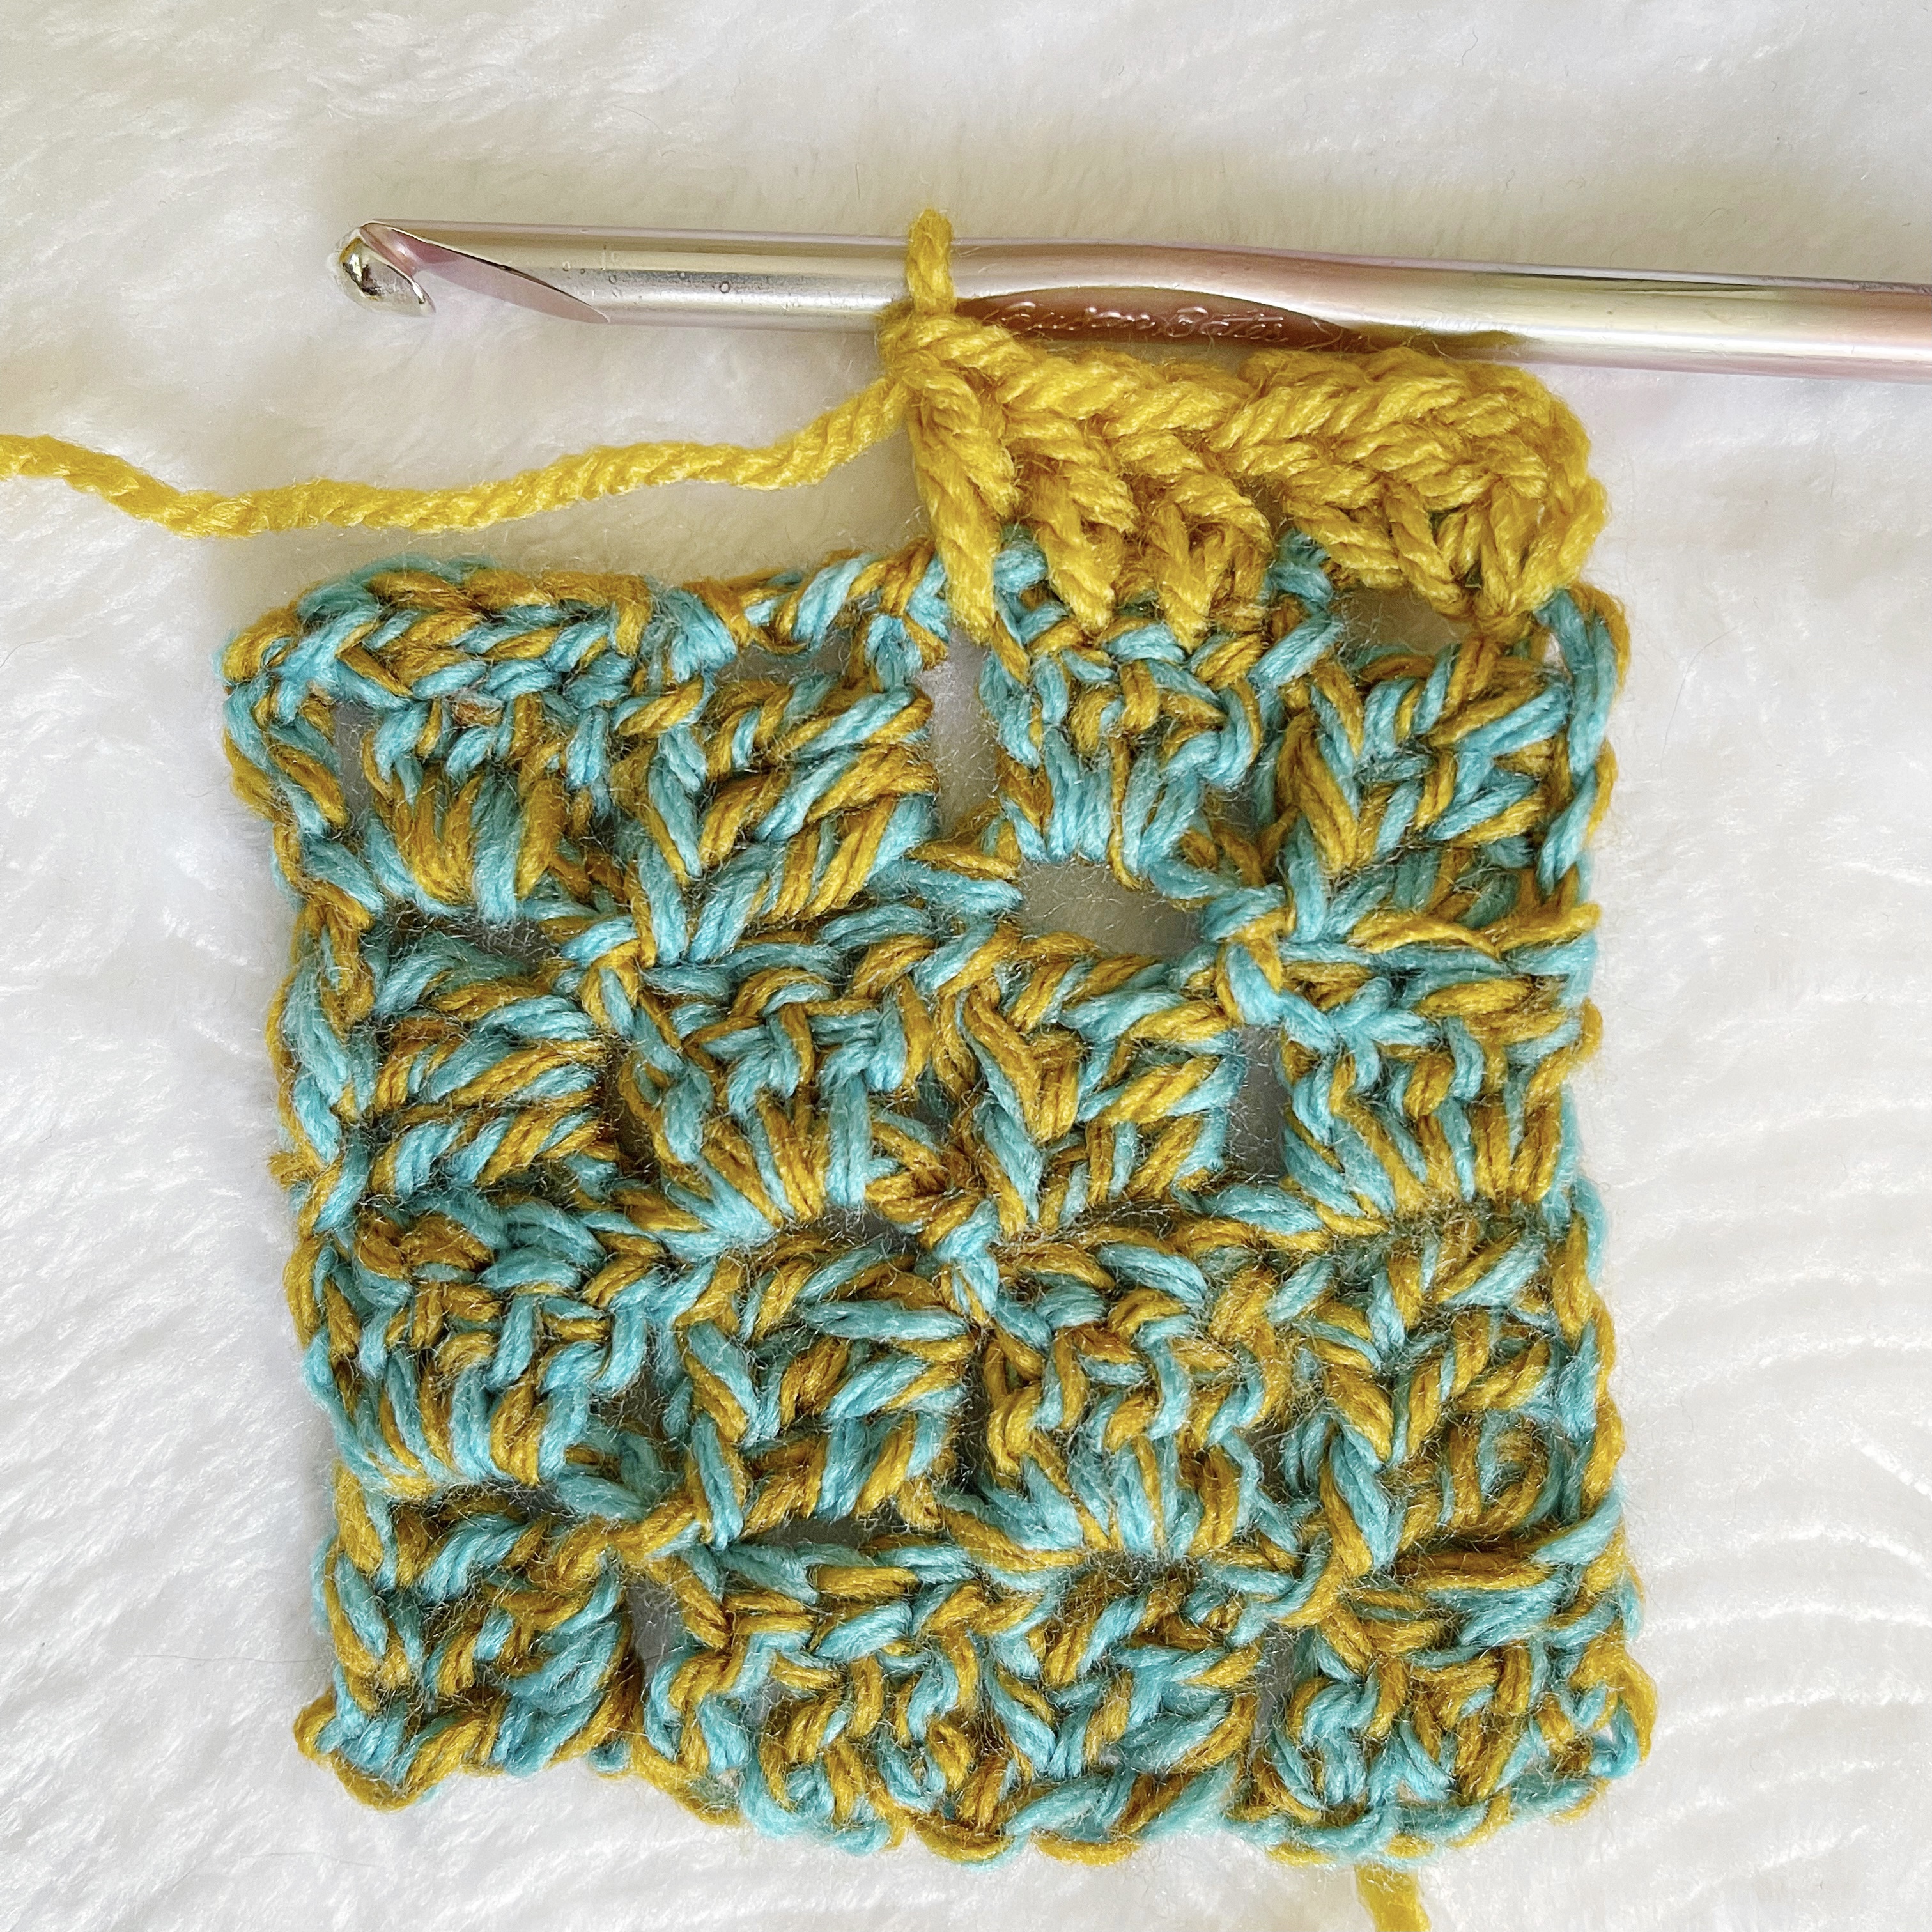
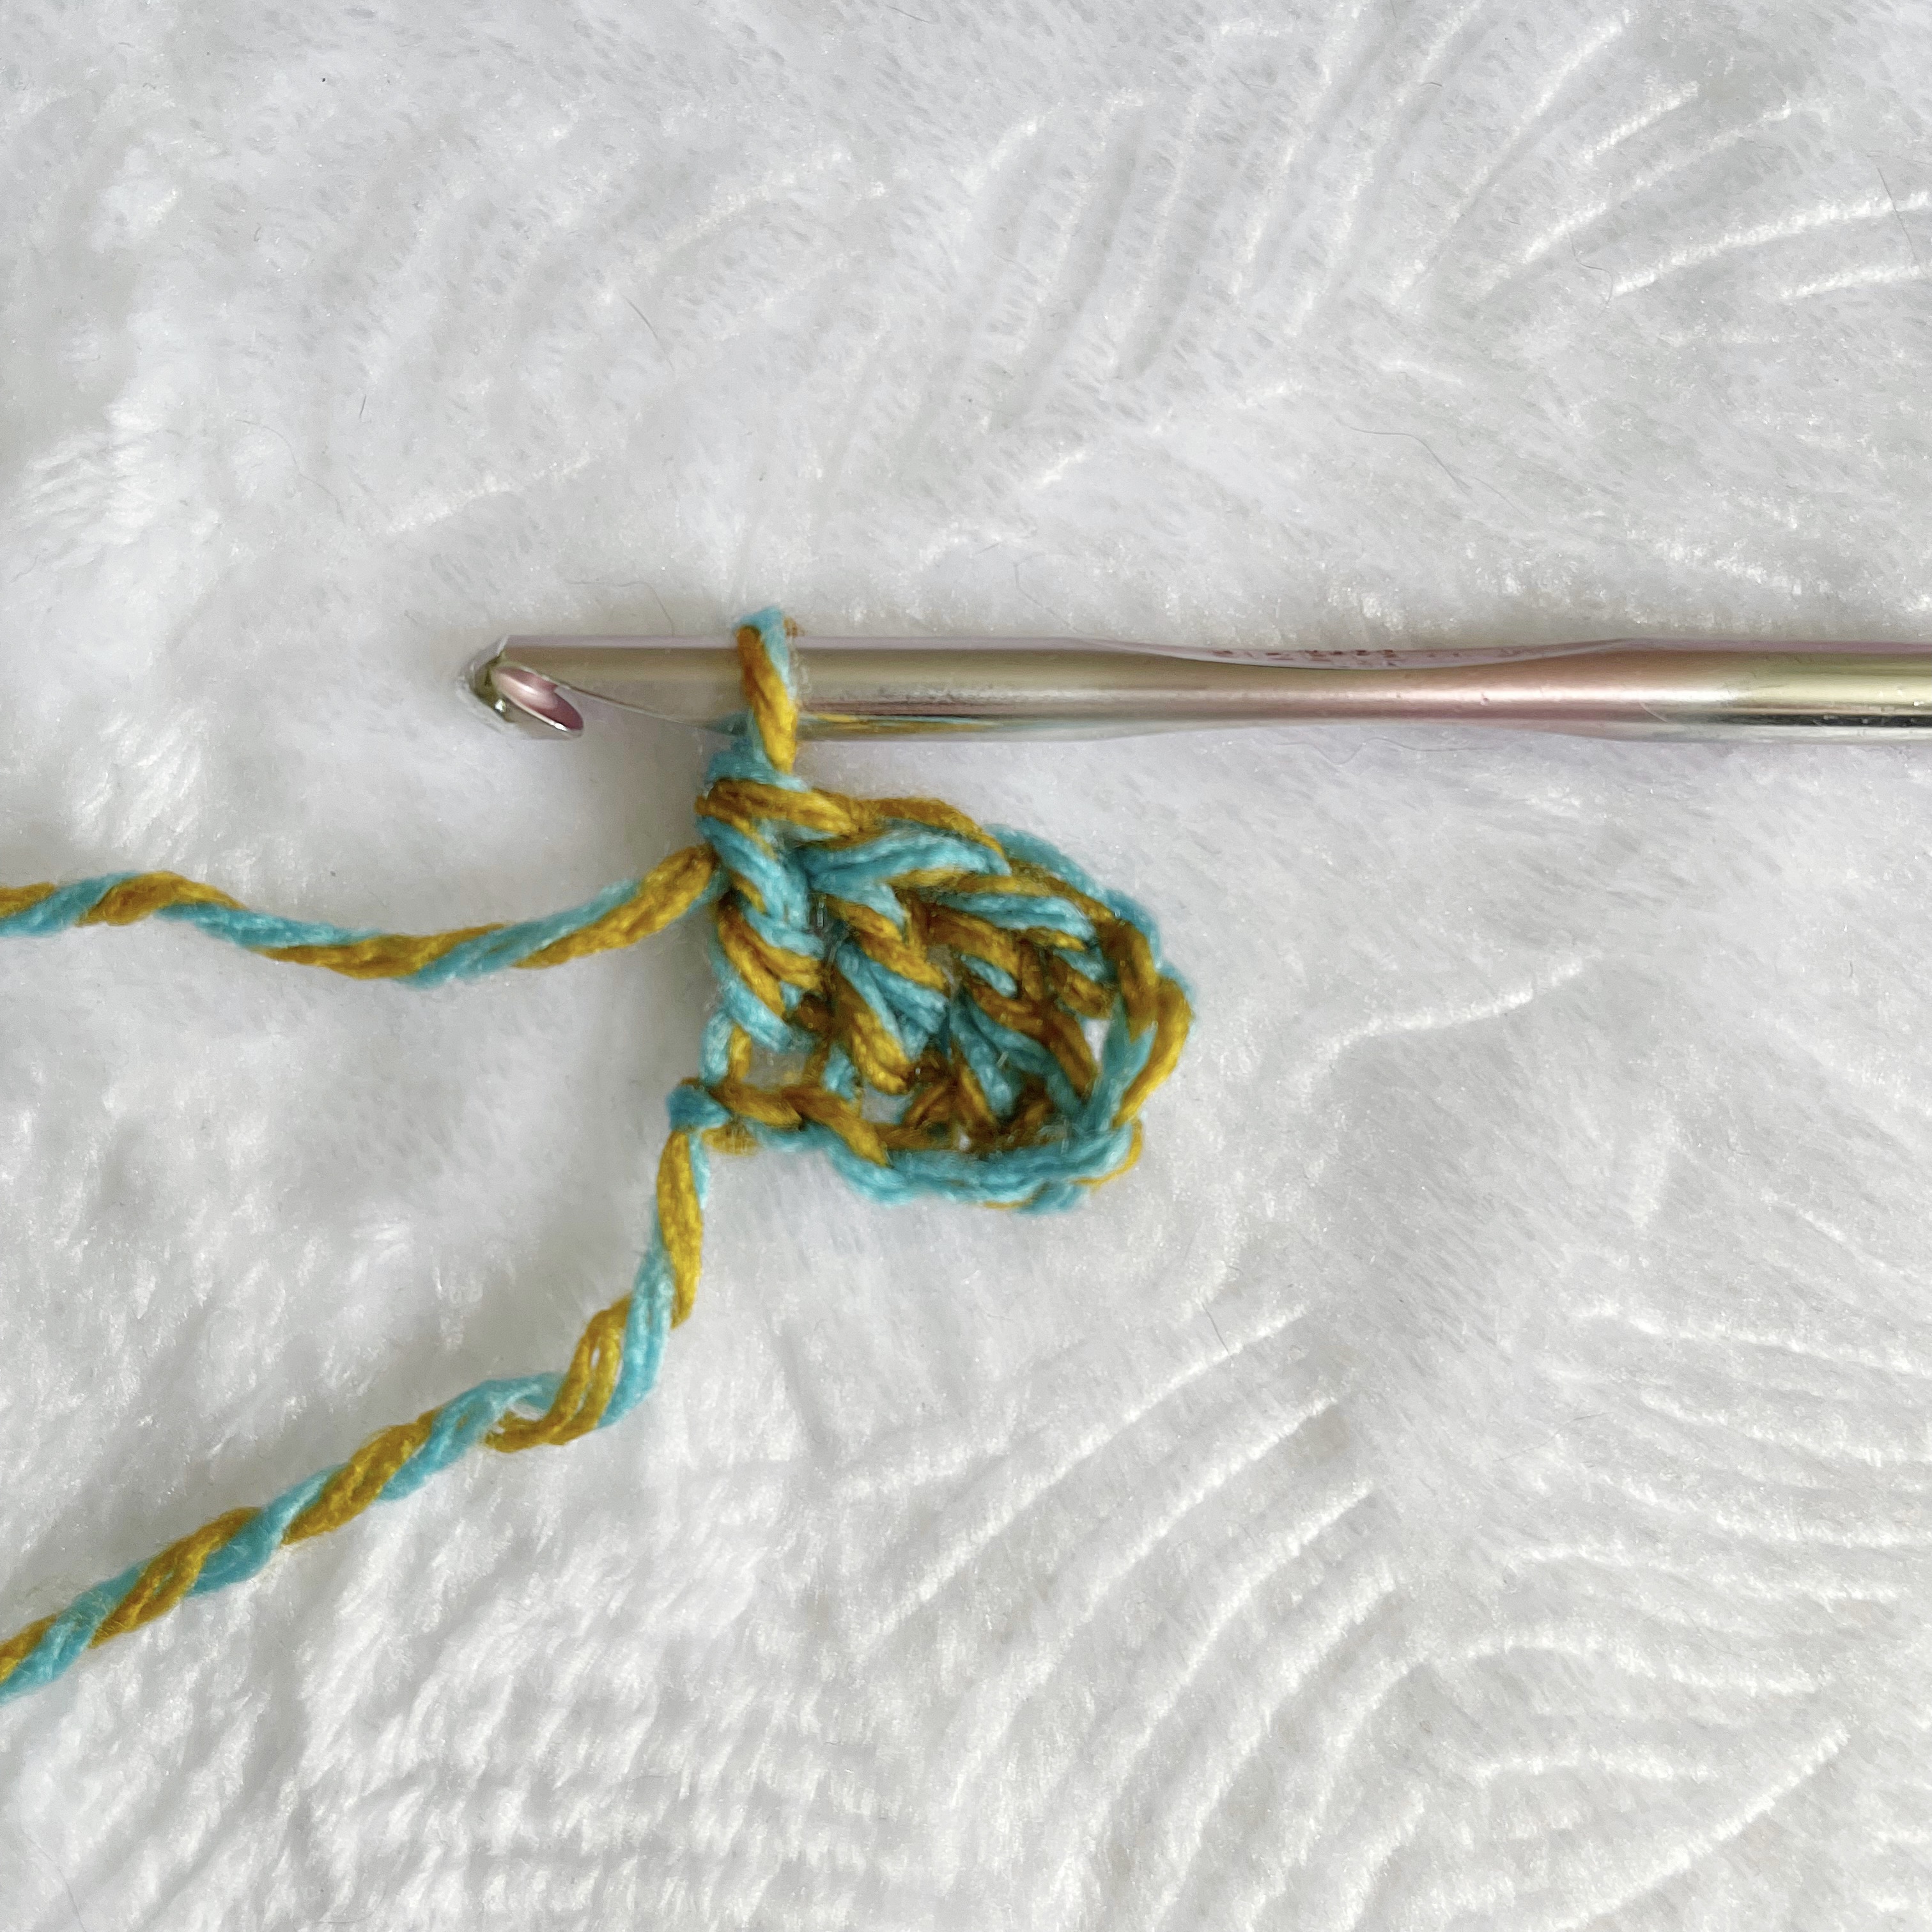
See photos below pattern for step-by-step C2C instructions.
Using striped yarn, begin C2C pattern. Continue until base sides reach 44×44 squares before decreasing, or continue until desired size. Fasten off and continue to border.


Border:
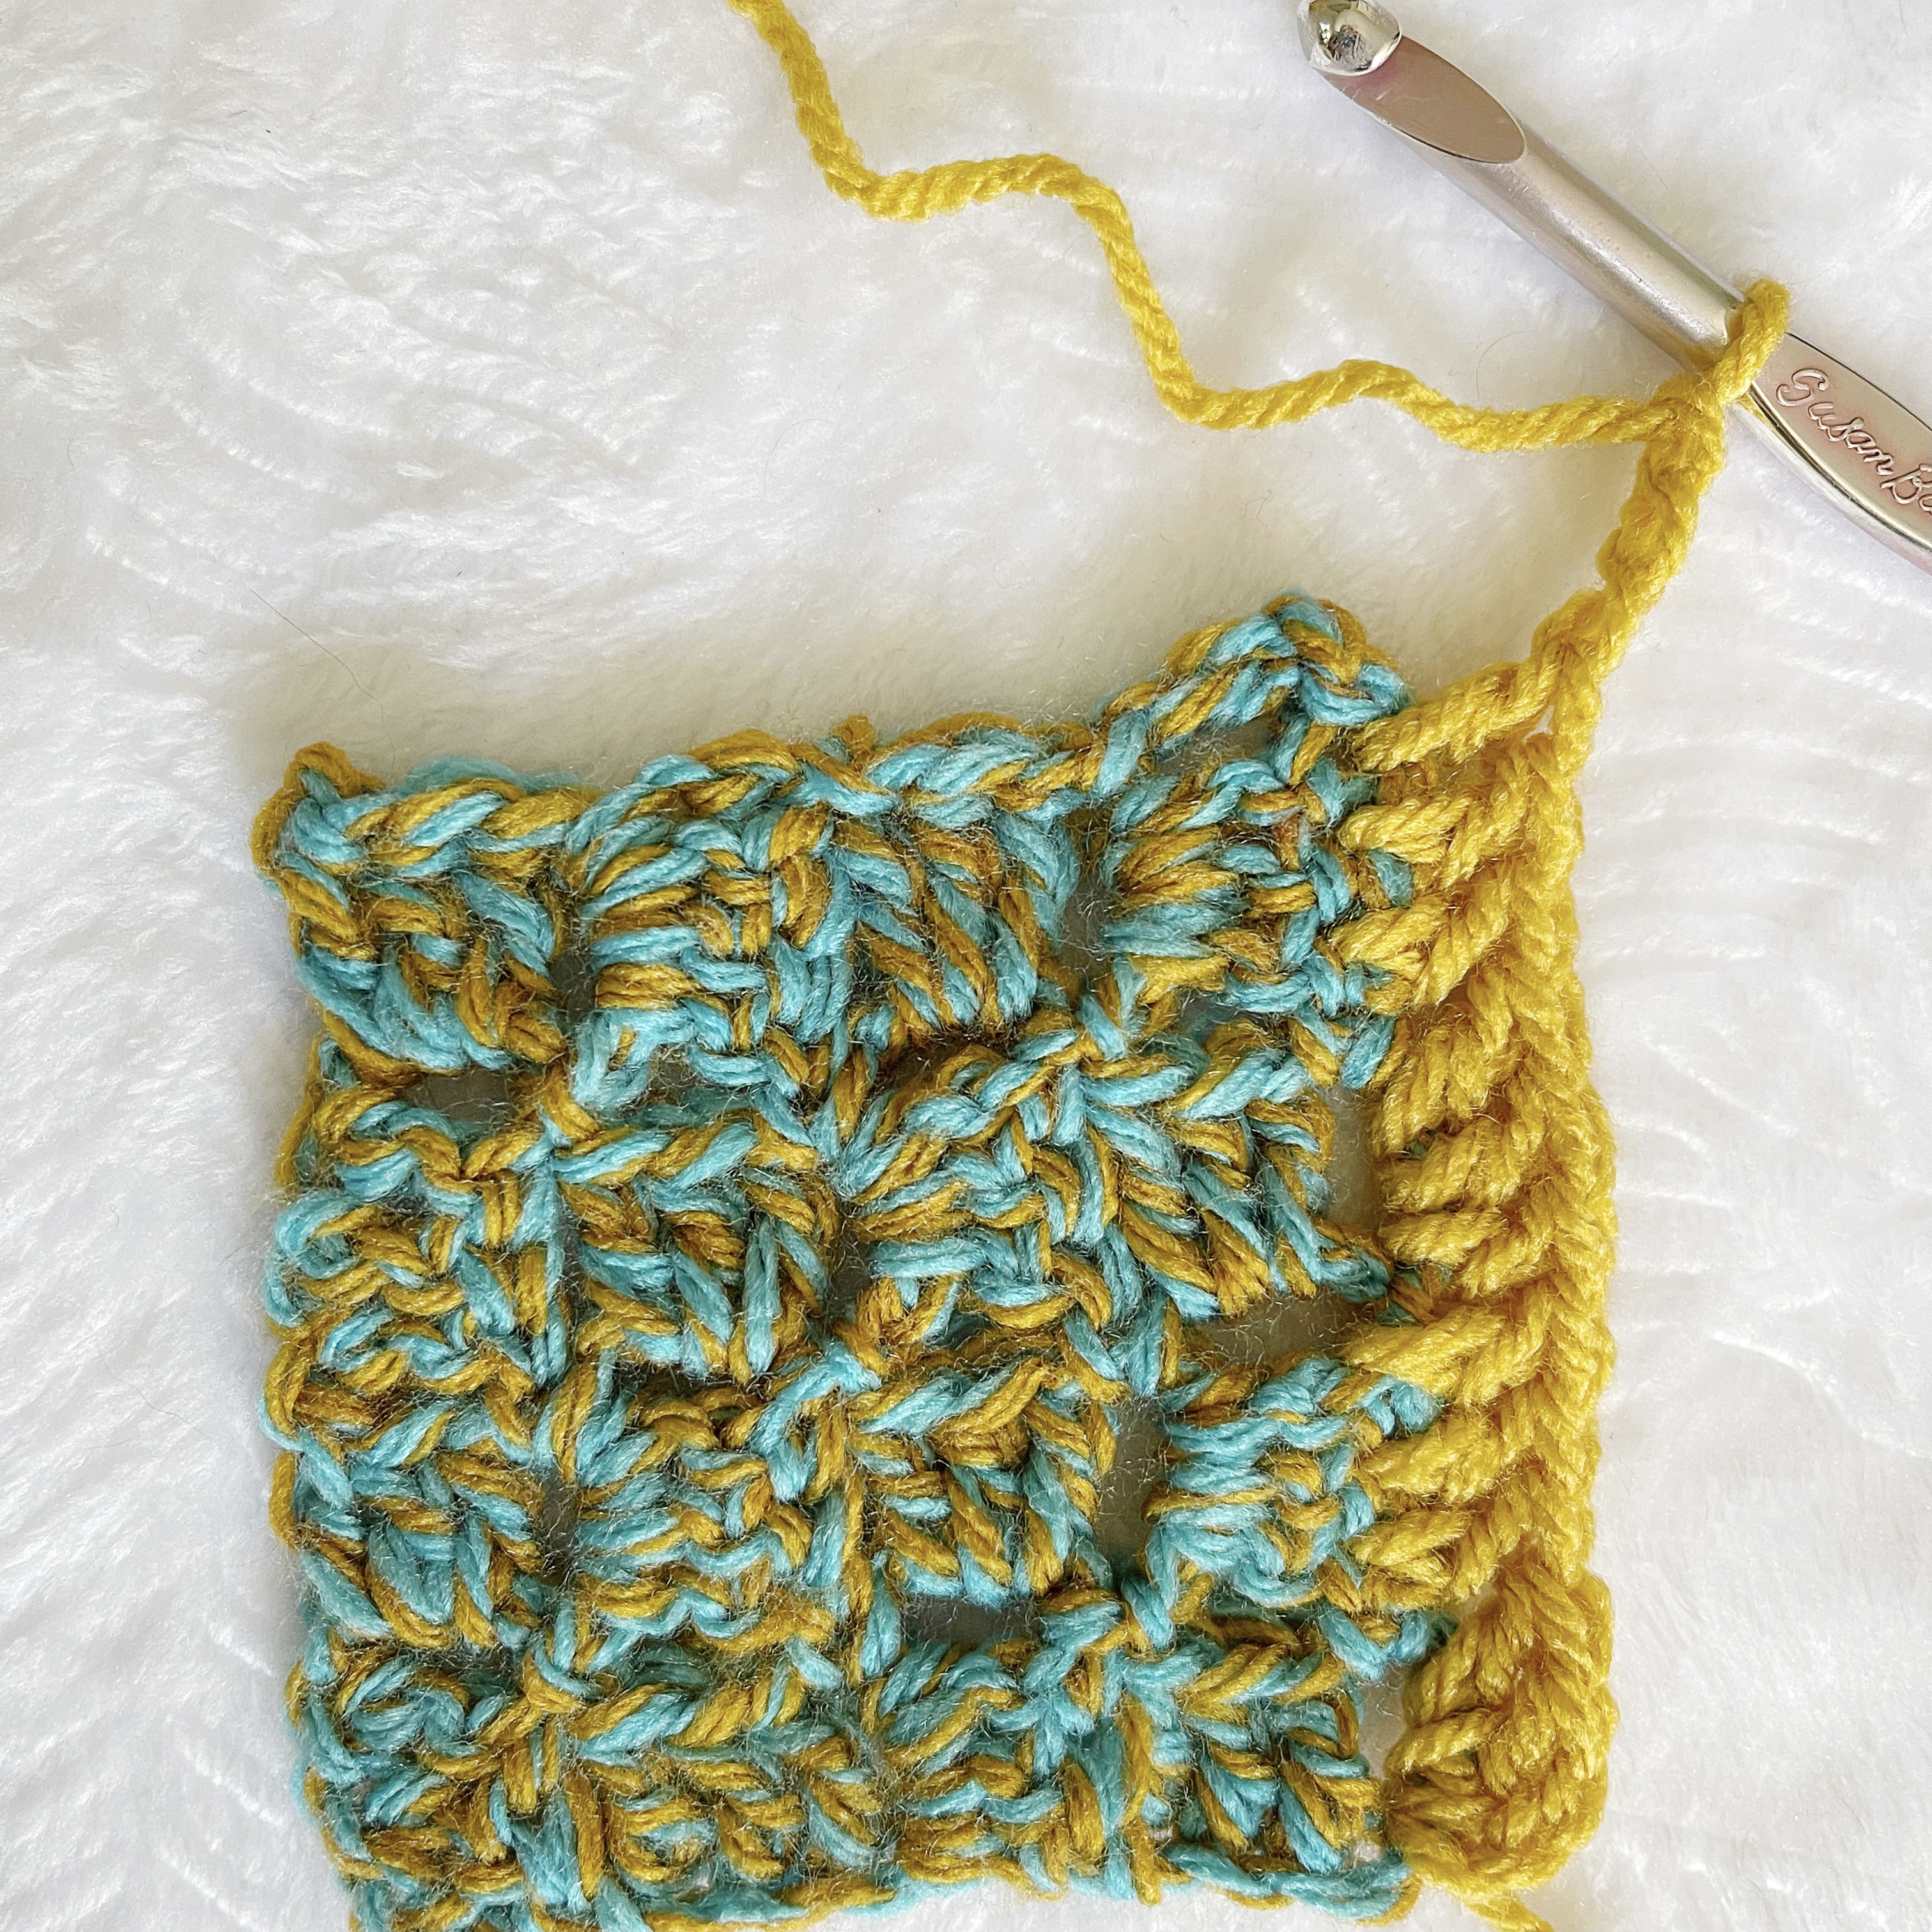
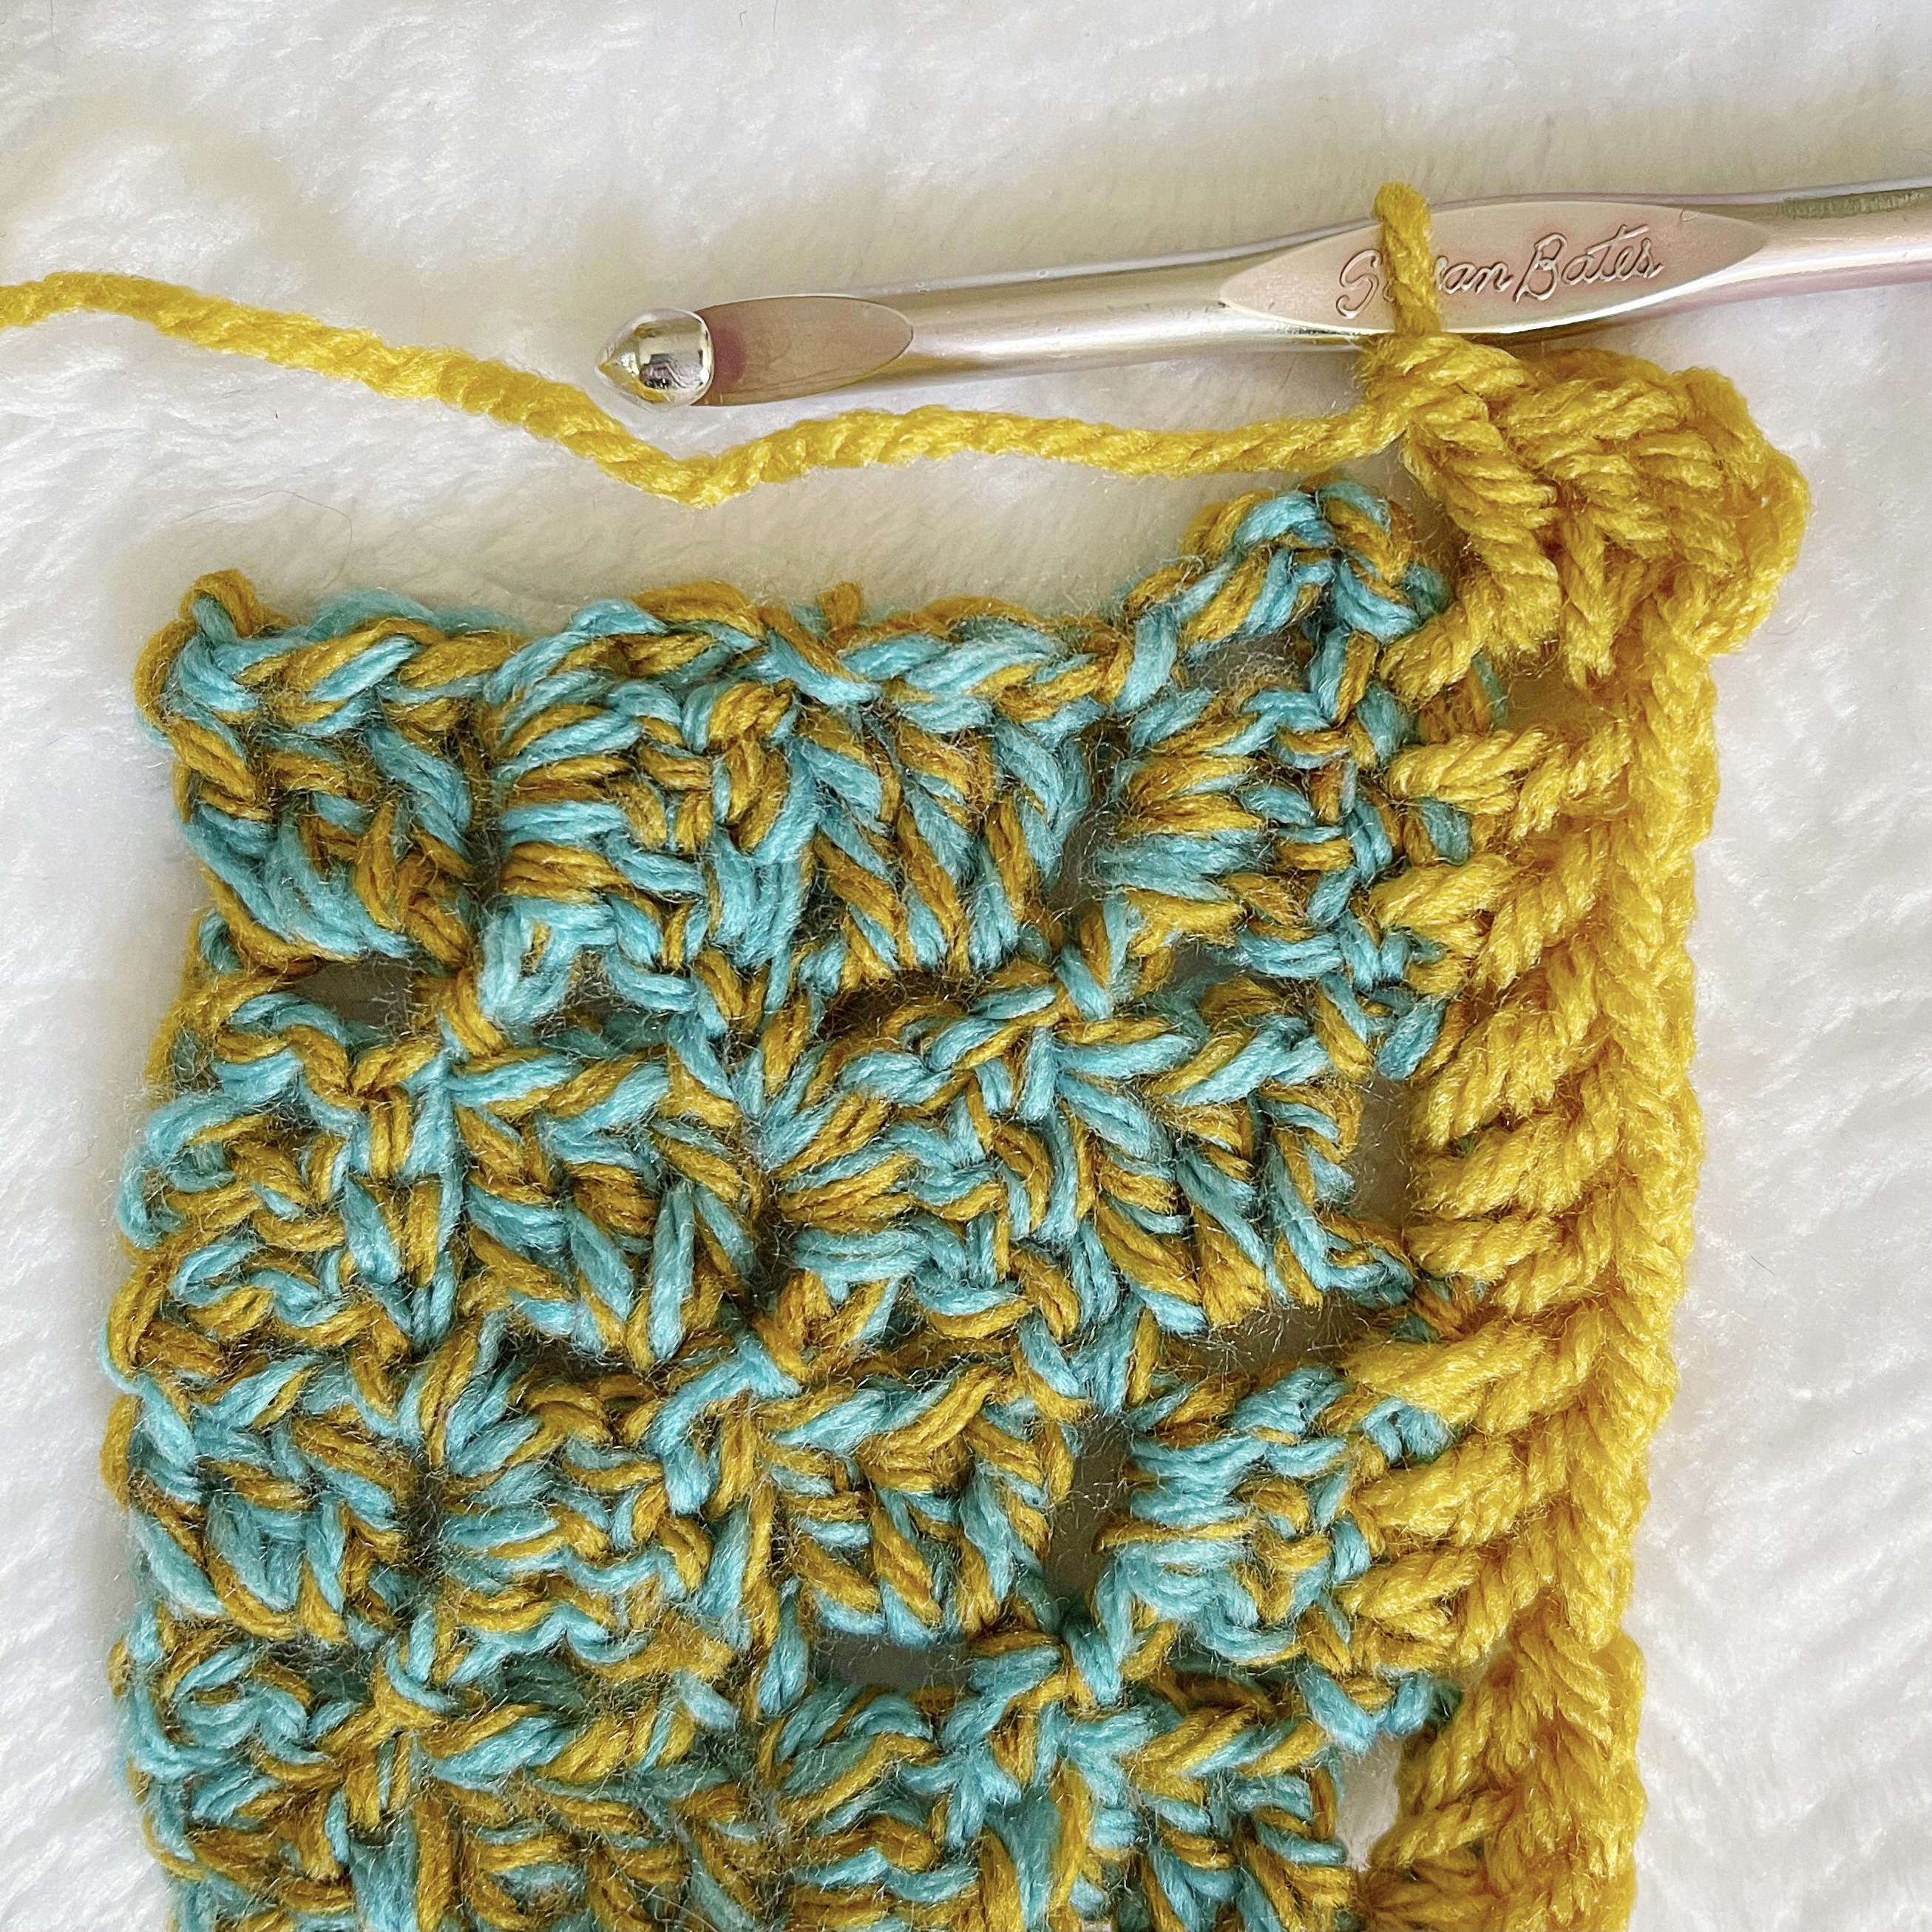
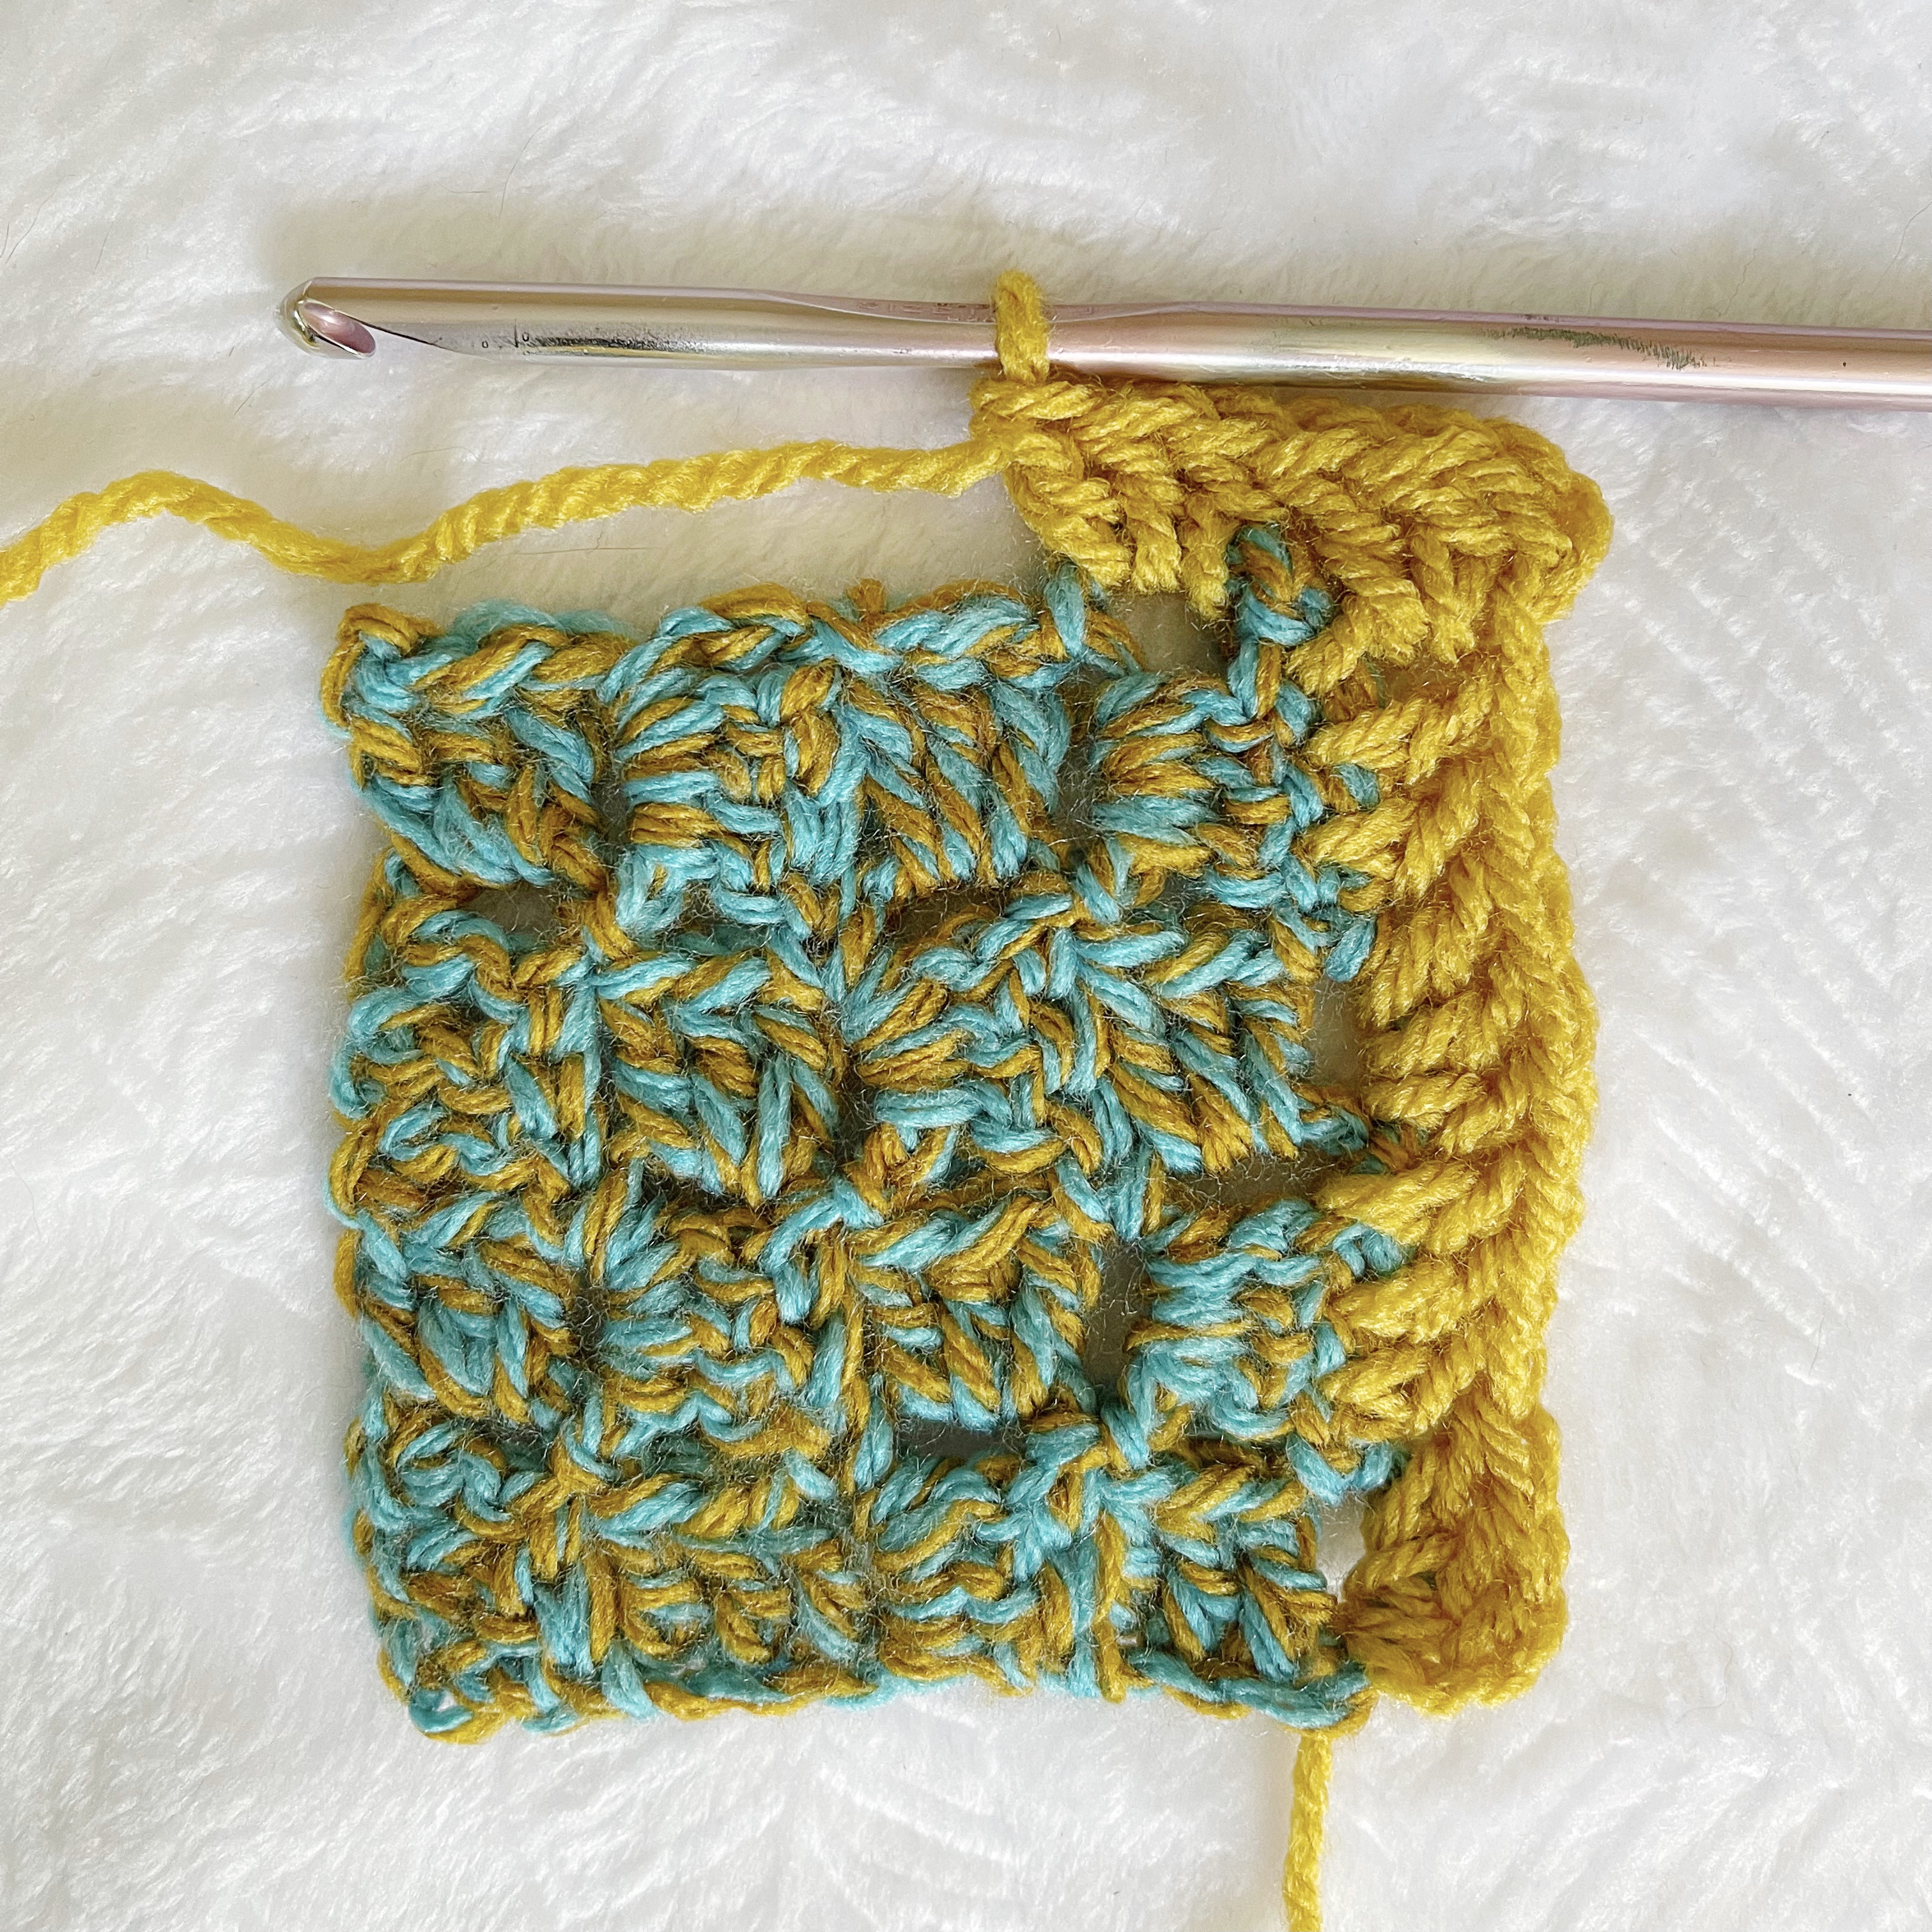
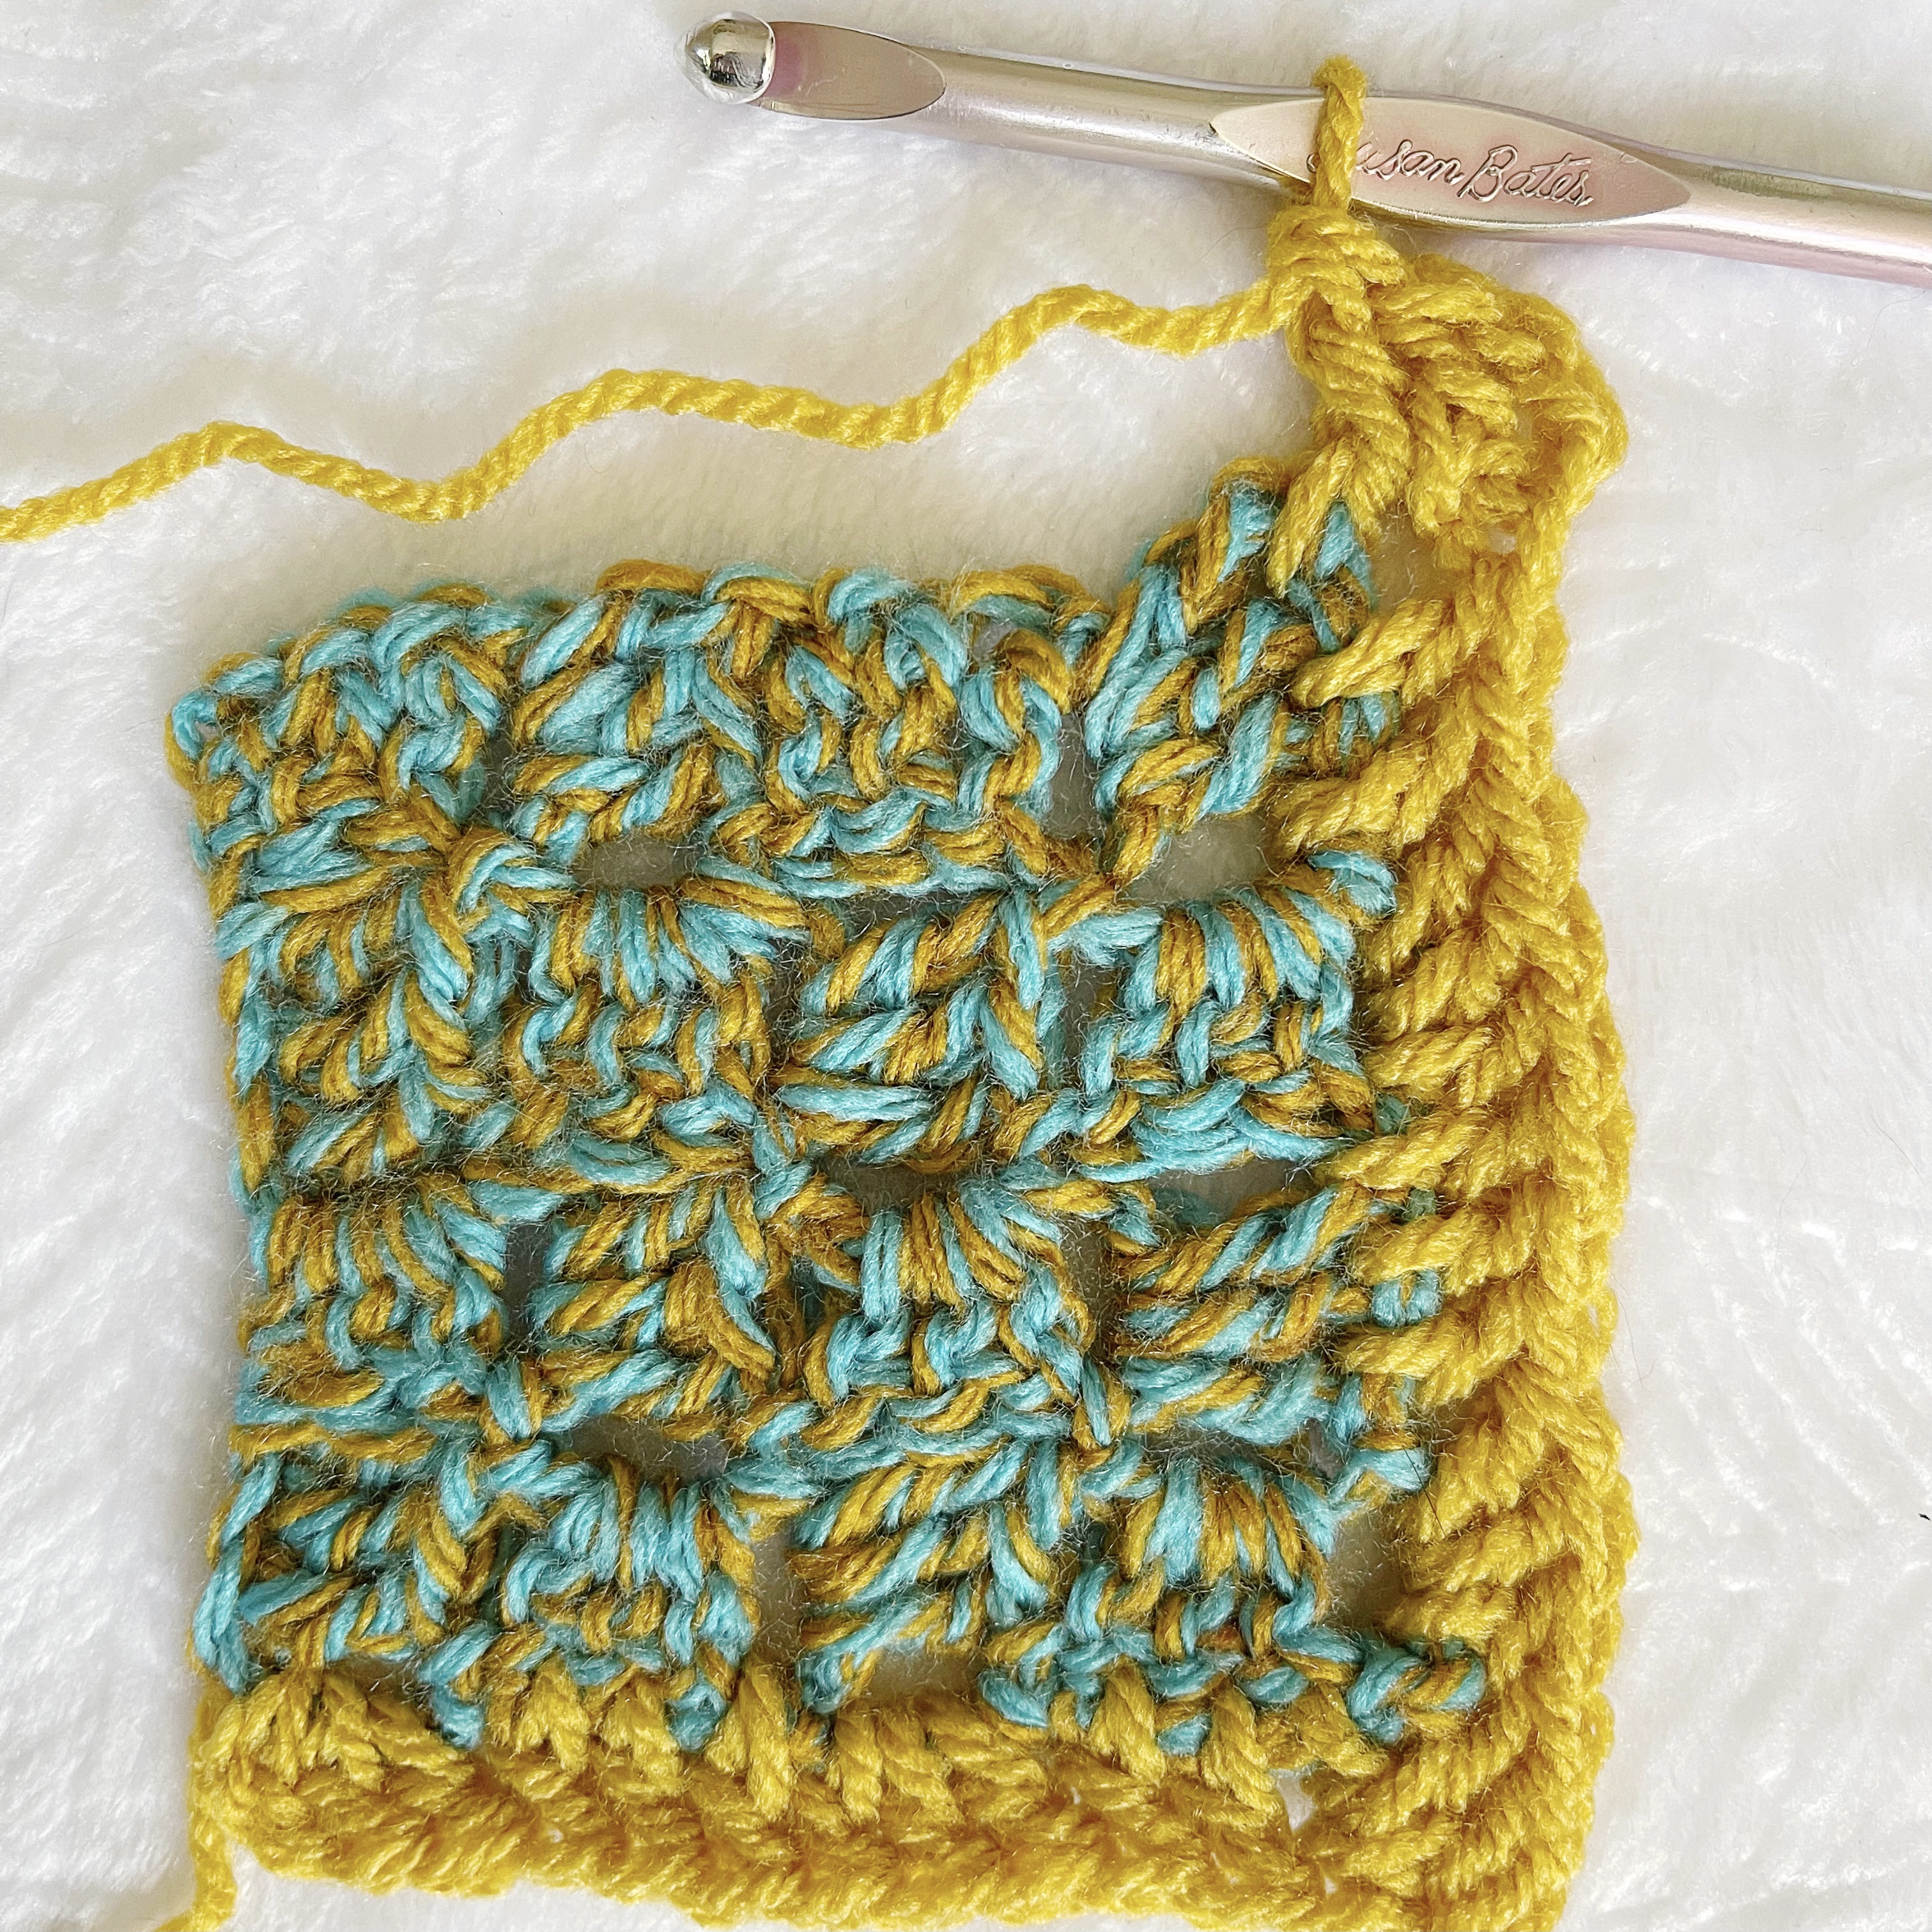
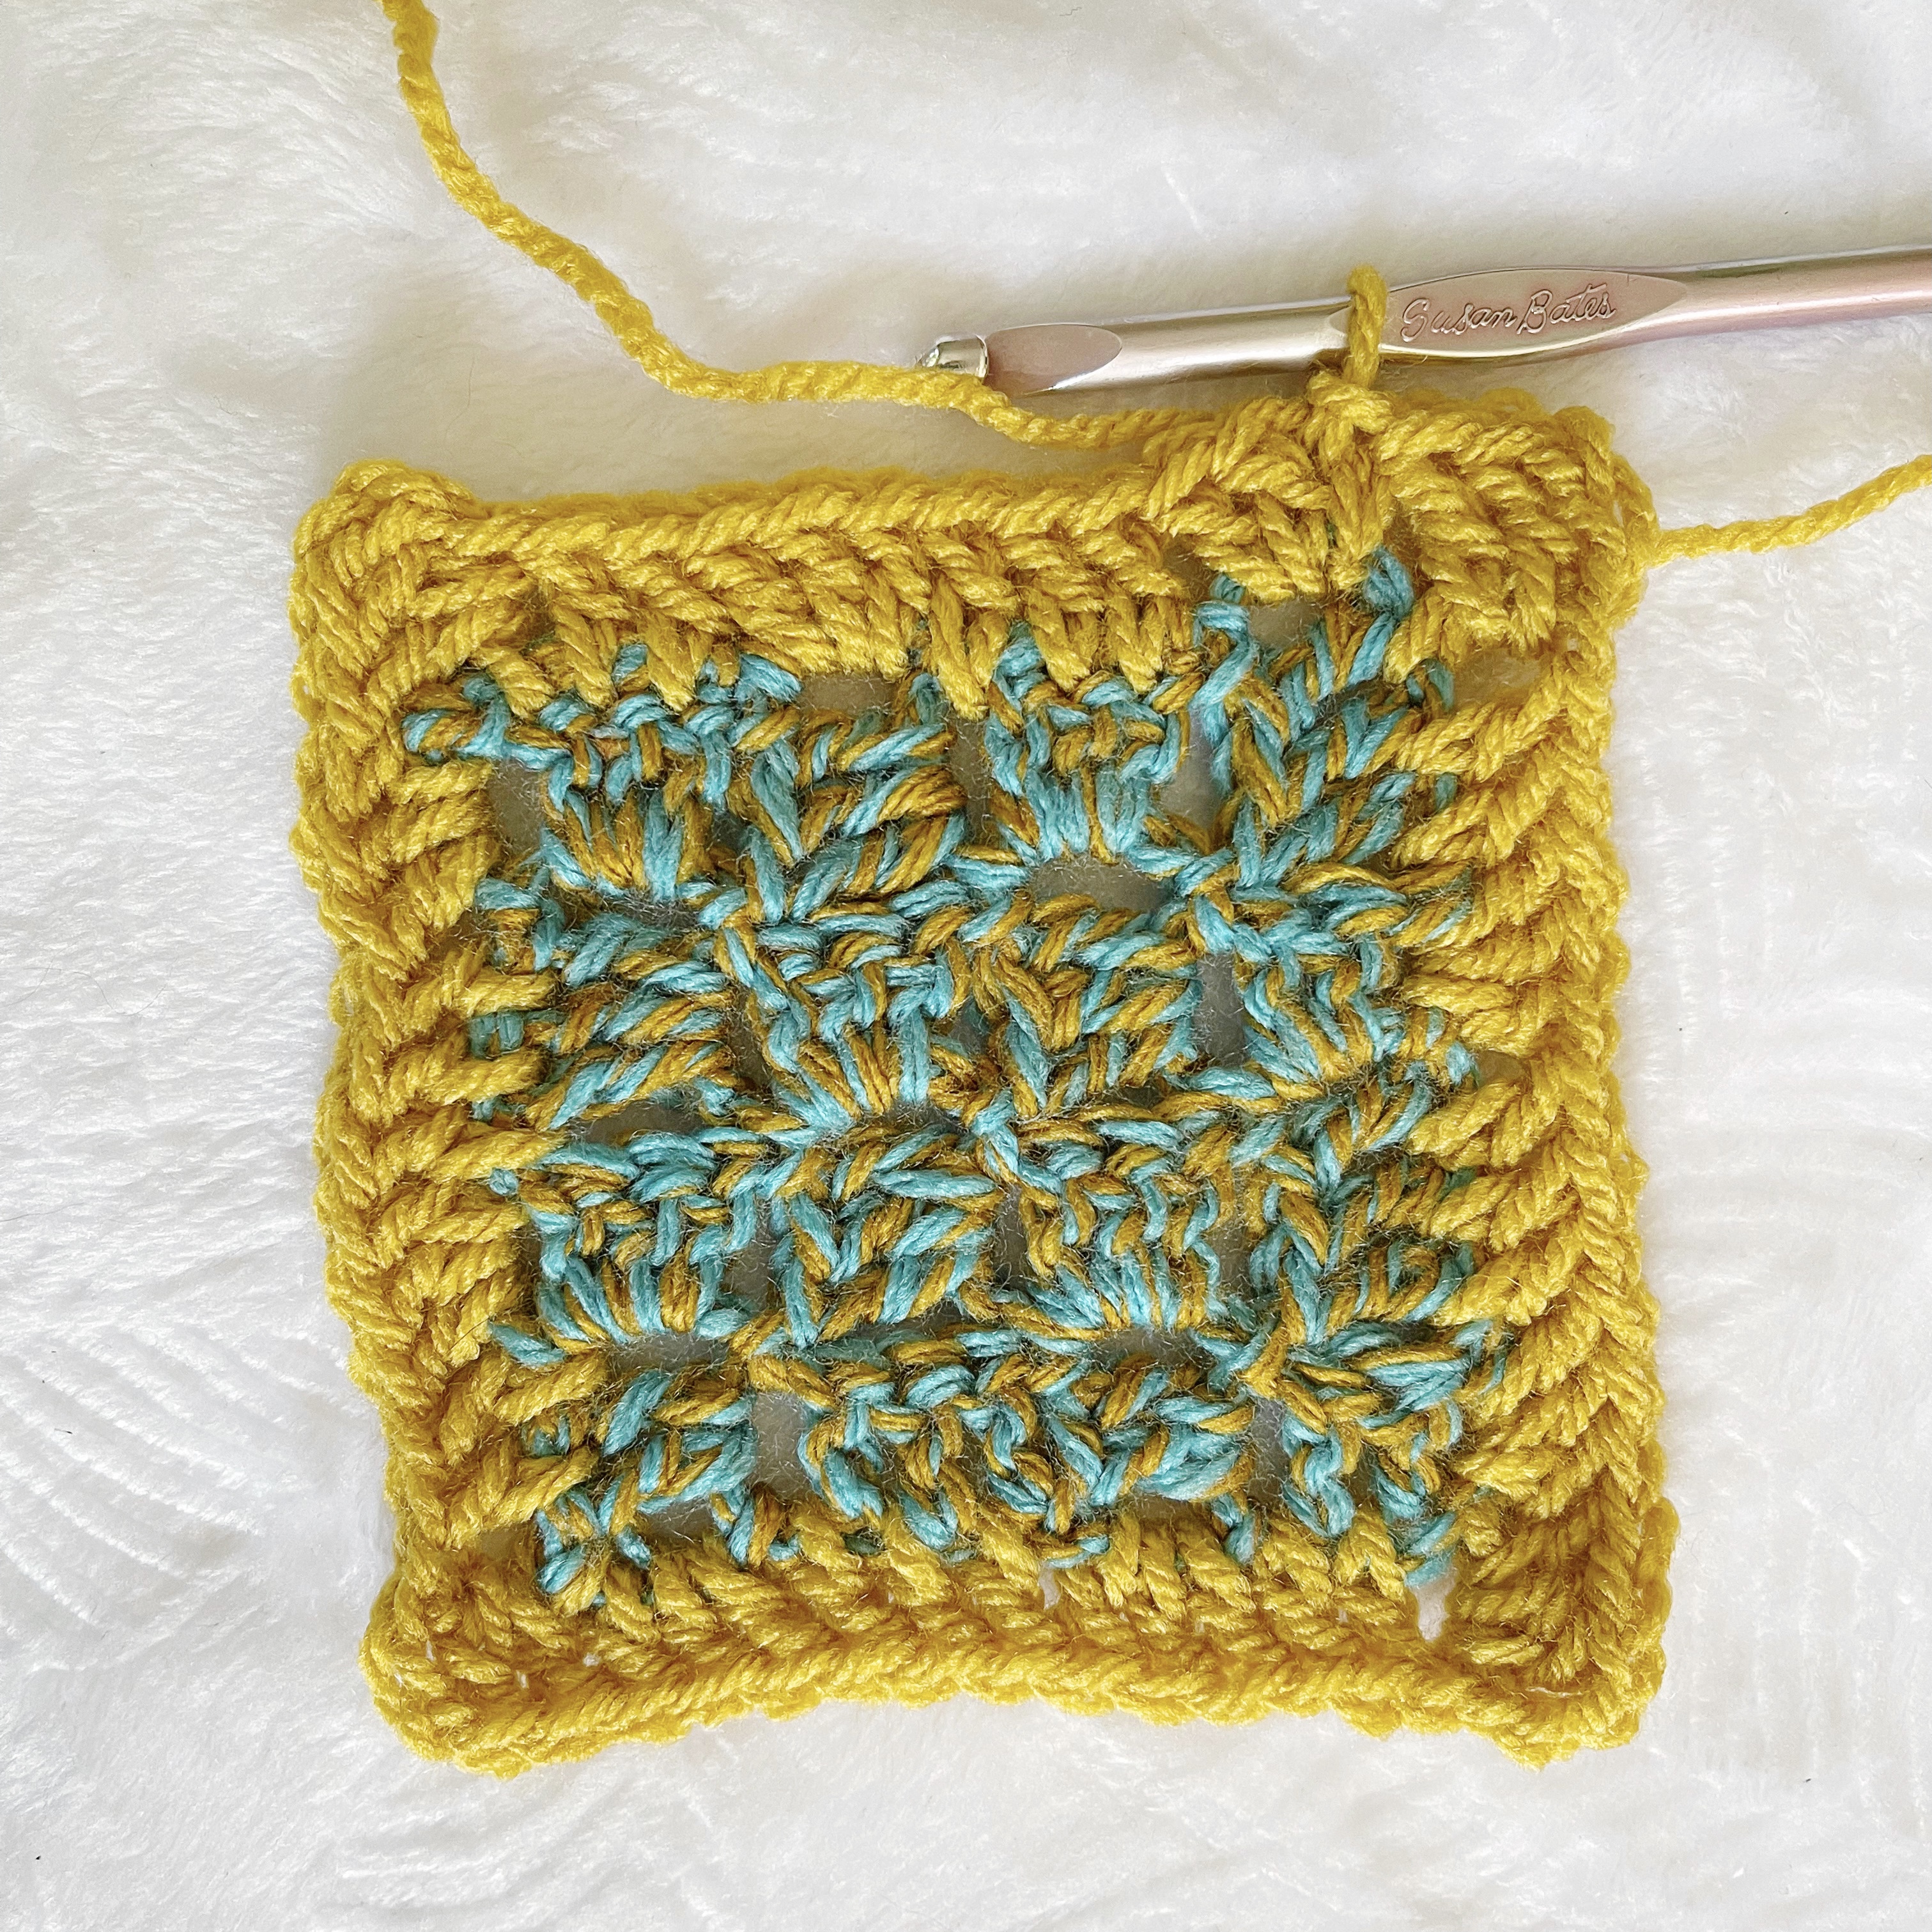
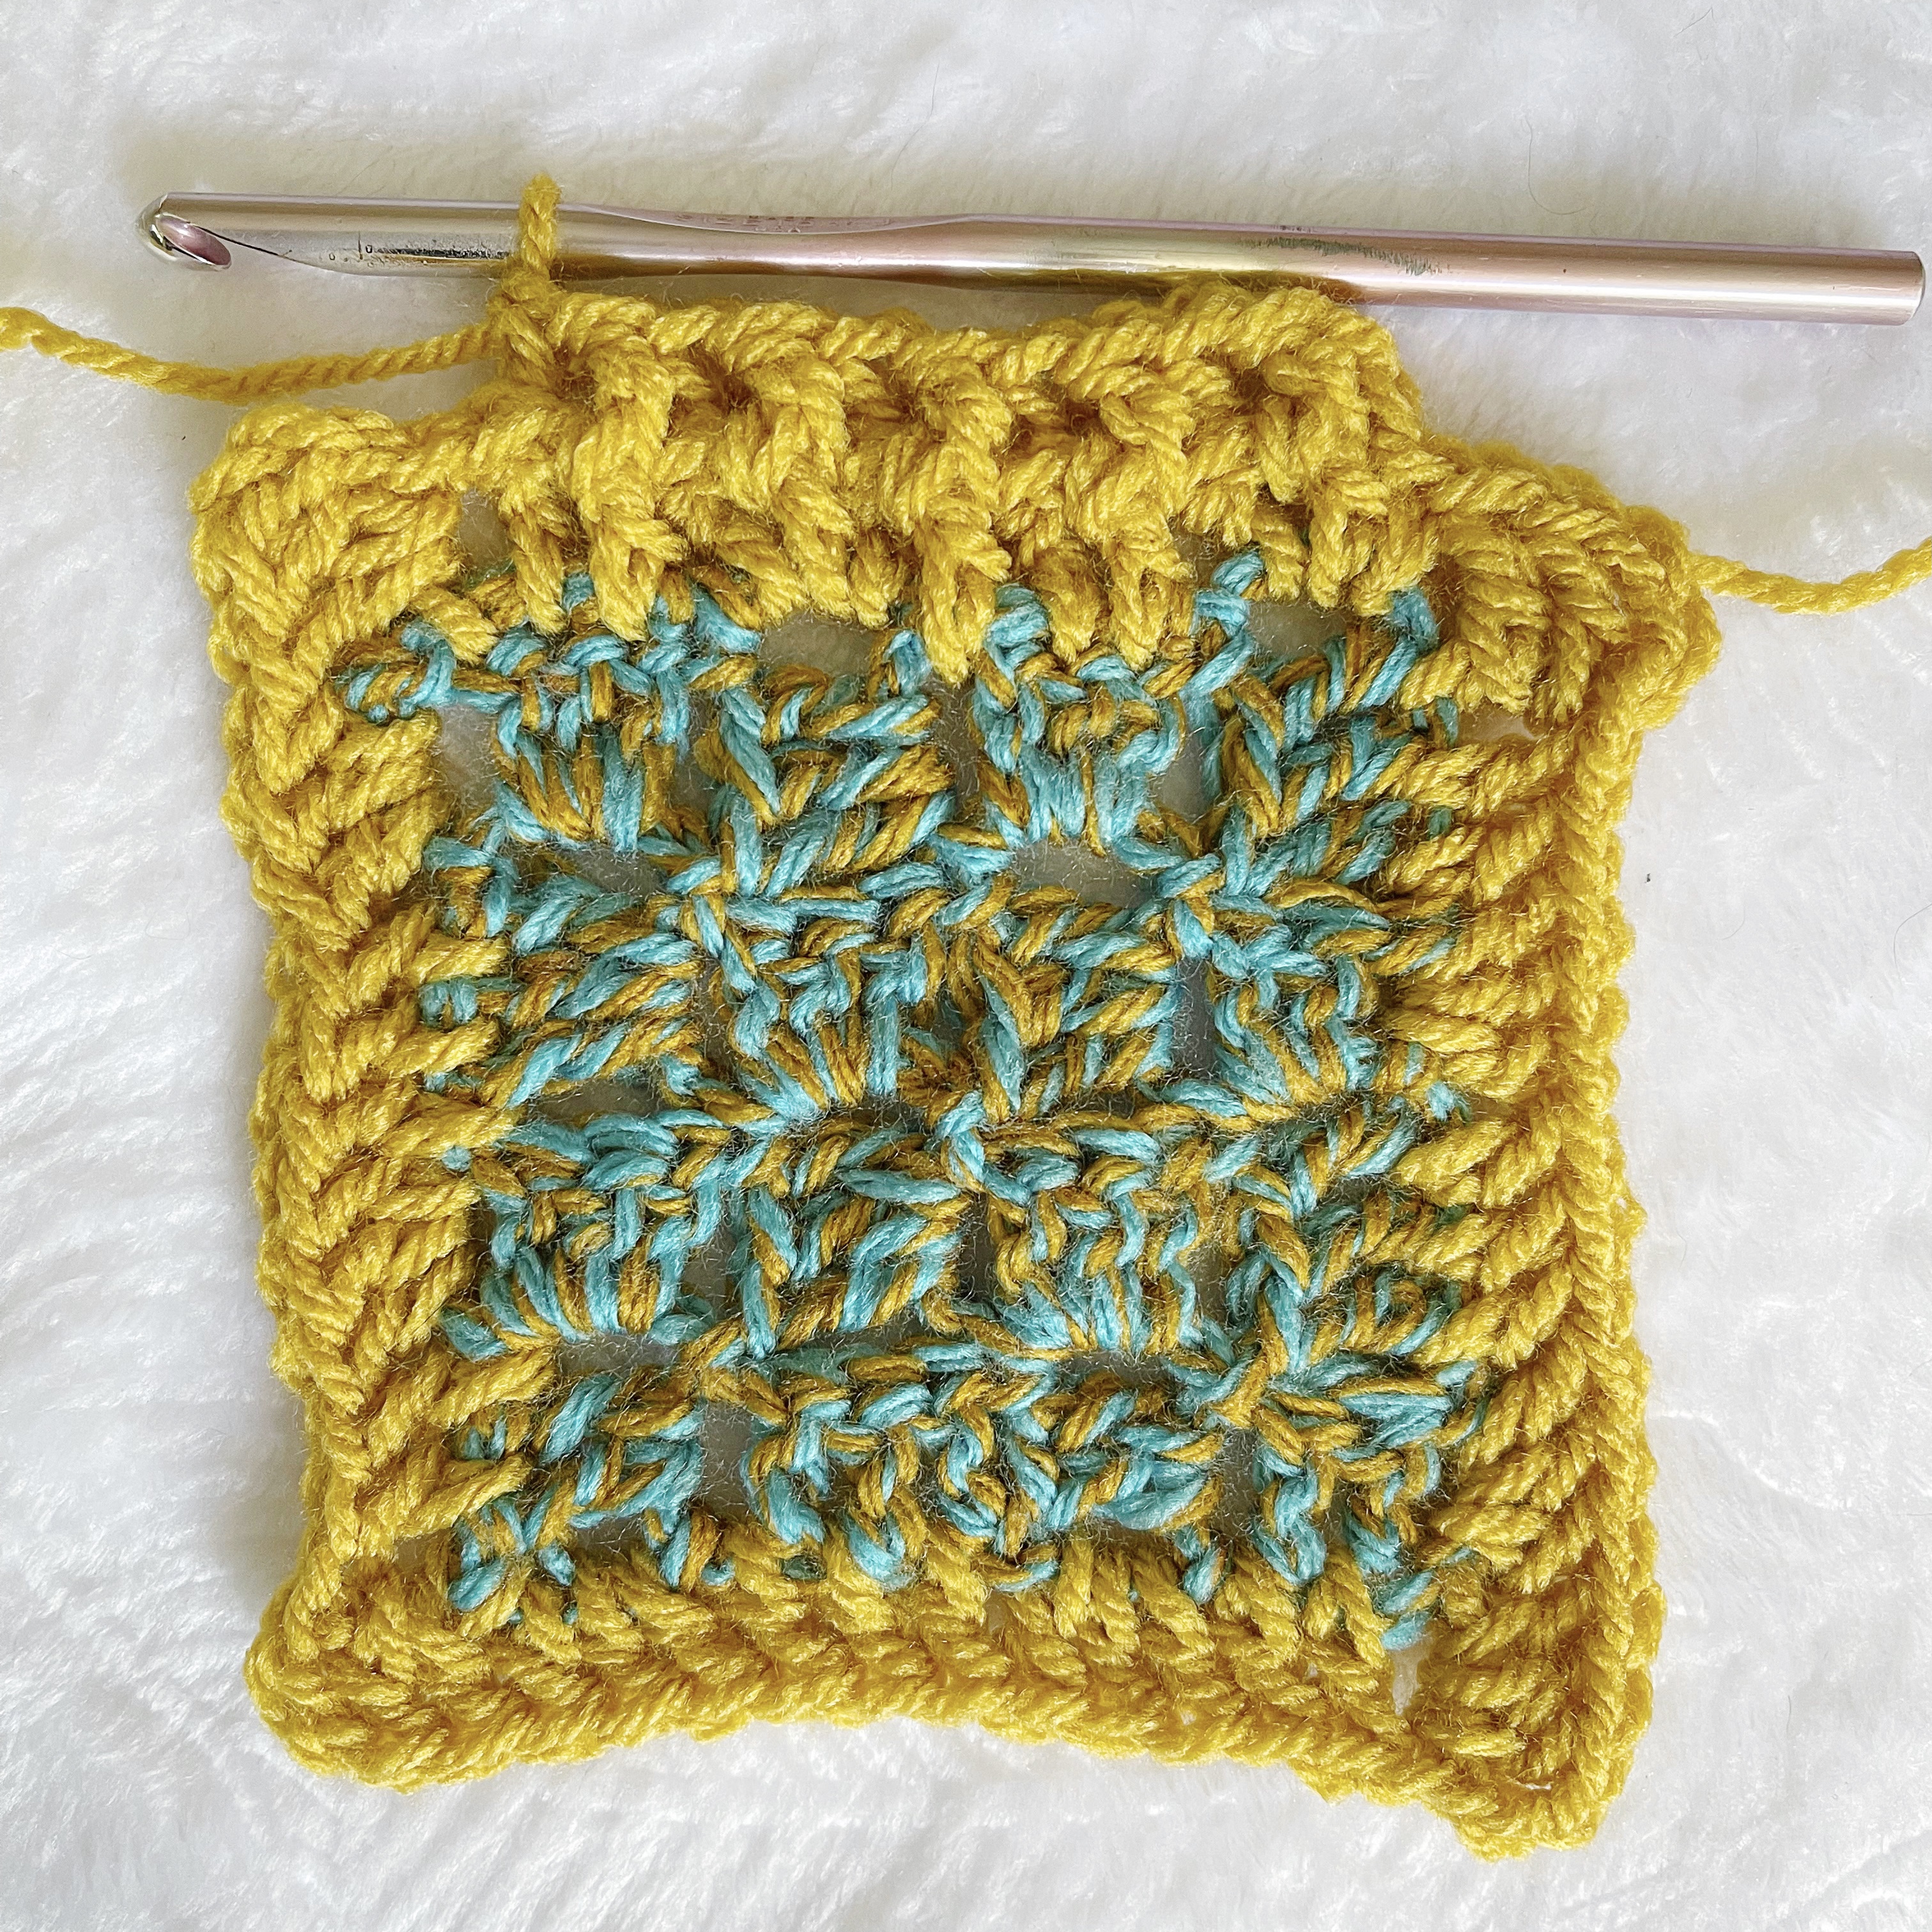
See pictures for more details.
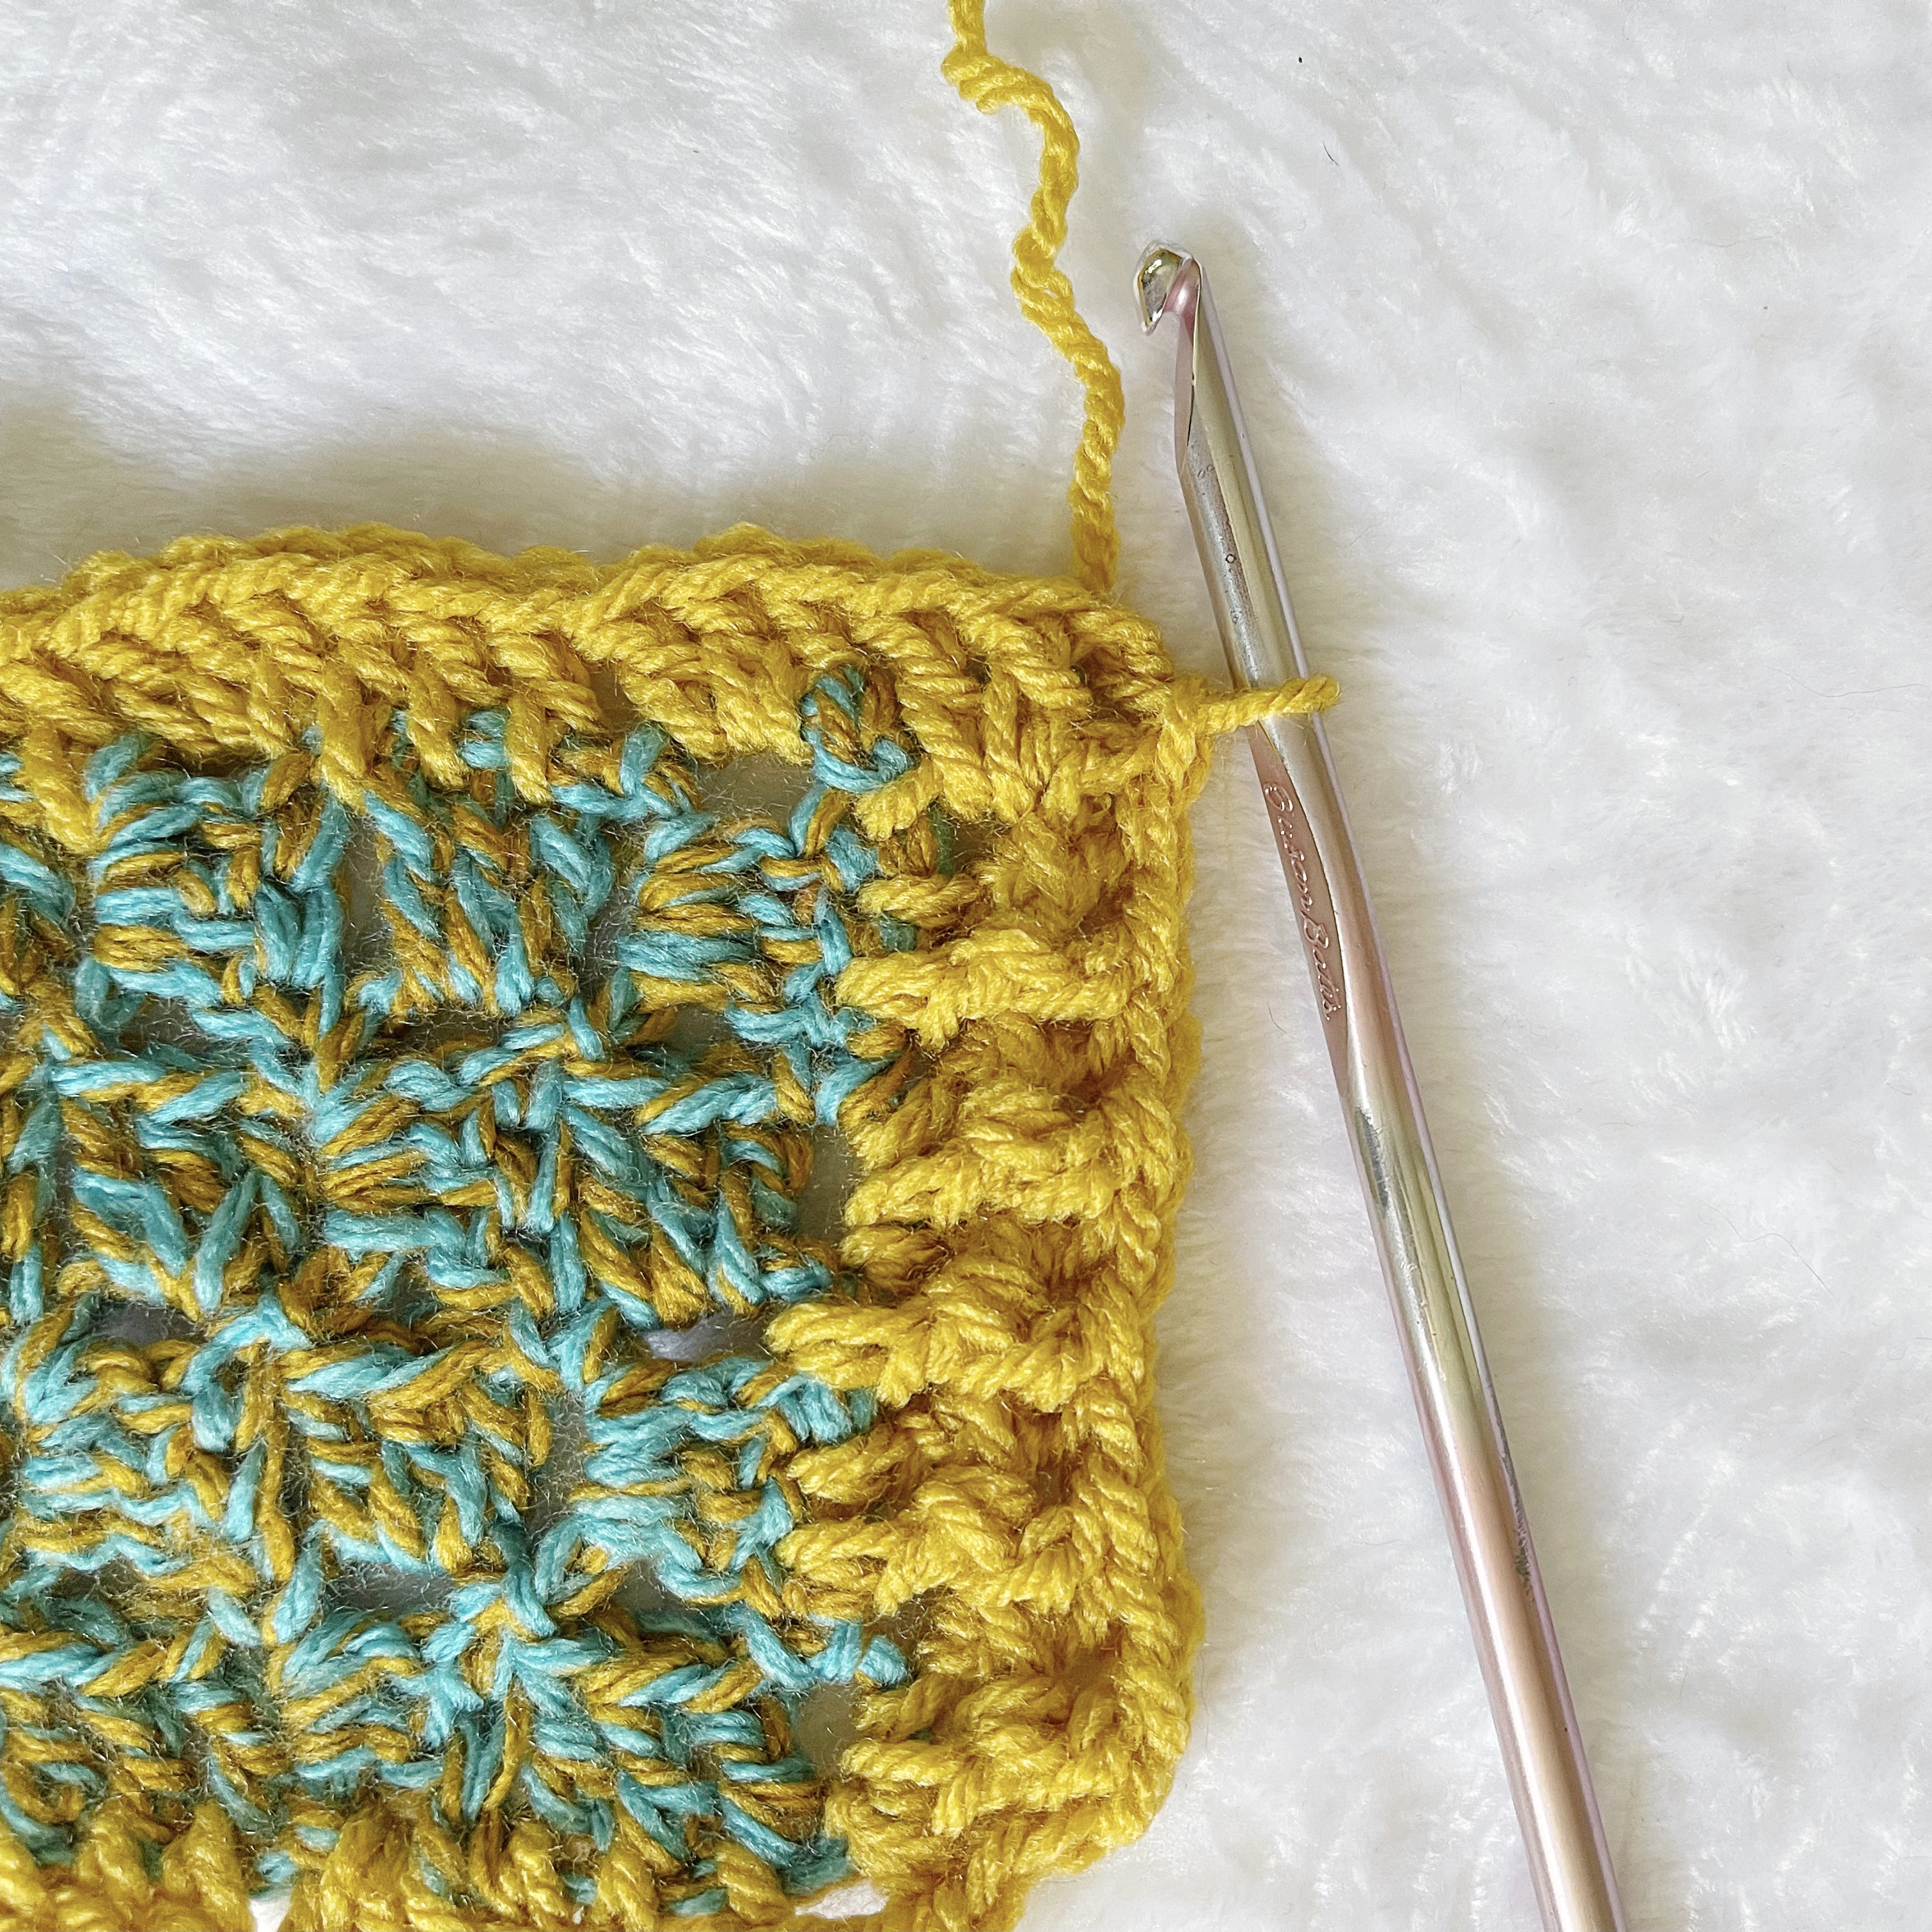
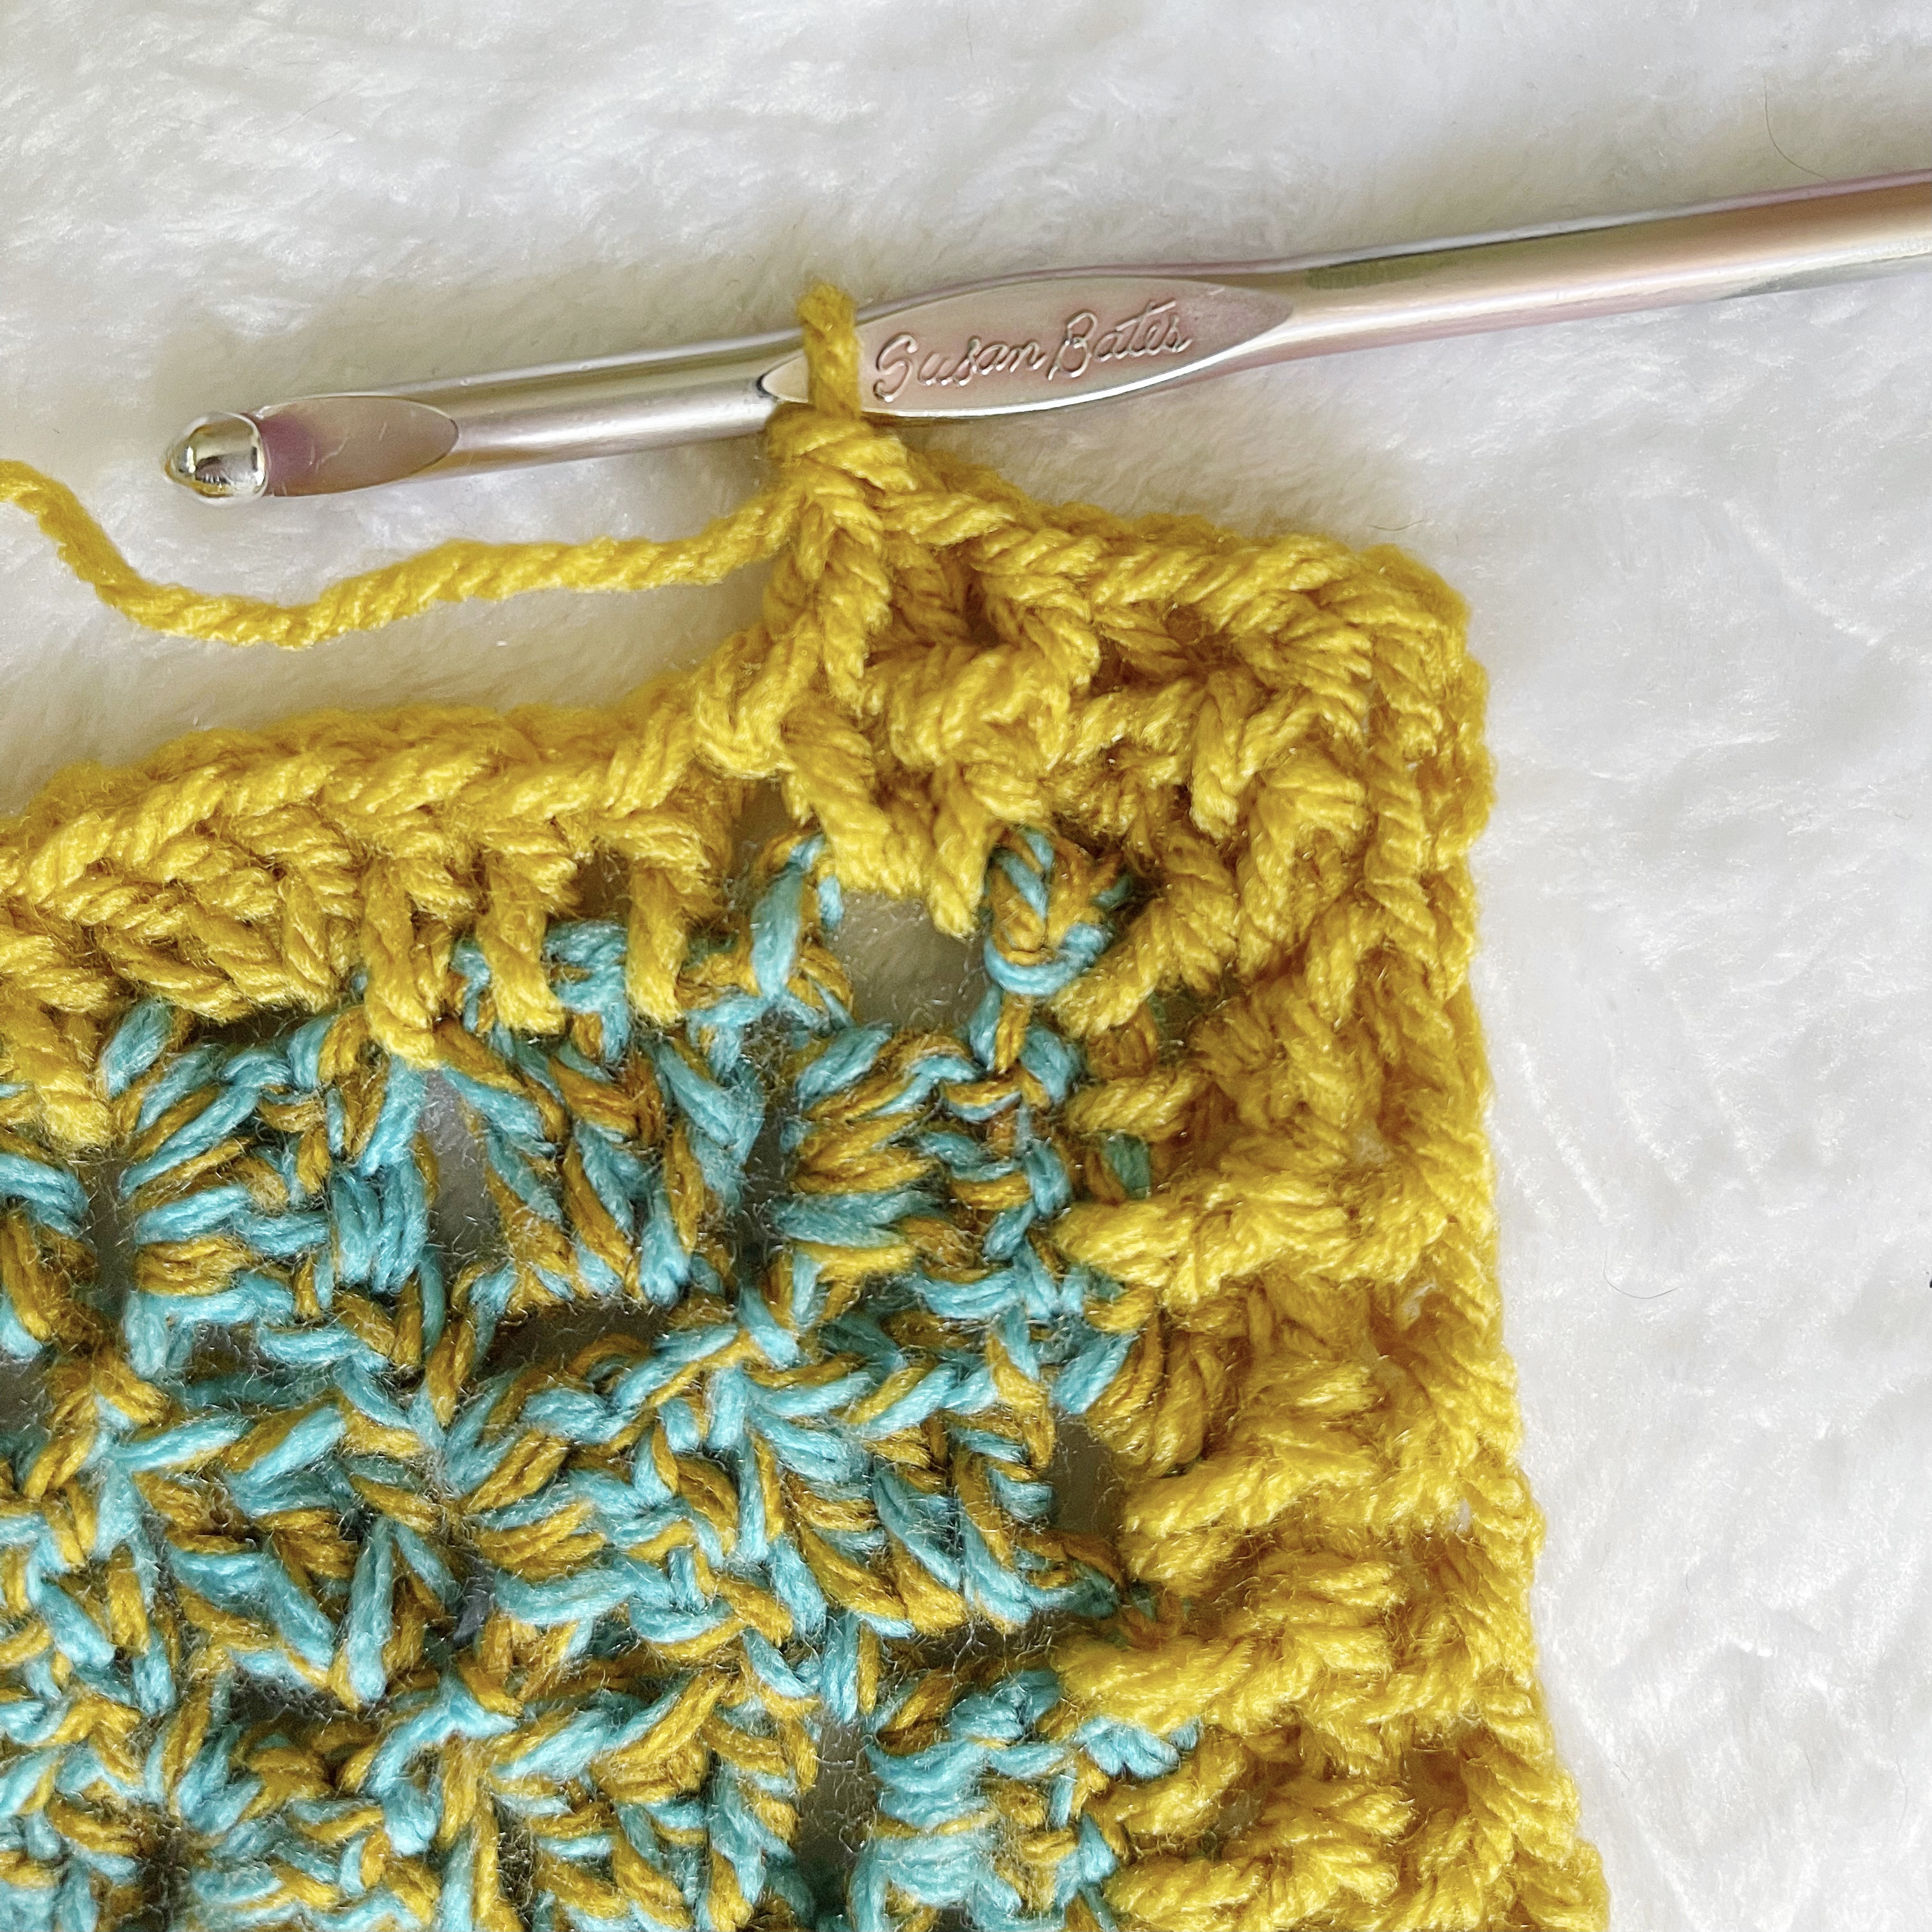
Attach contrasting yarn to one corner of blanket. CH 3, DC 2 in CH 3 space. Continue to DC across, making 3 DC in each block.

After final DC of the row, CH 3. Work 2 DC in the last DC of the row. Turn and work 3 DC in each block across next side. Repeat corner (CH 3, DC 2 in last DC of row).

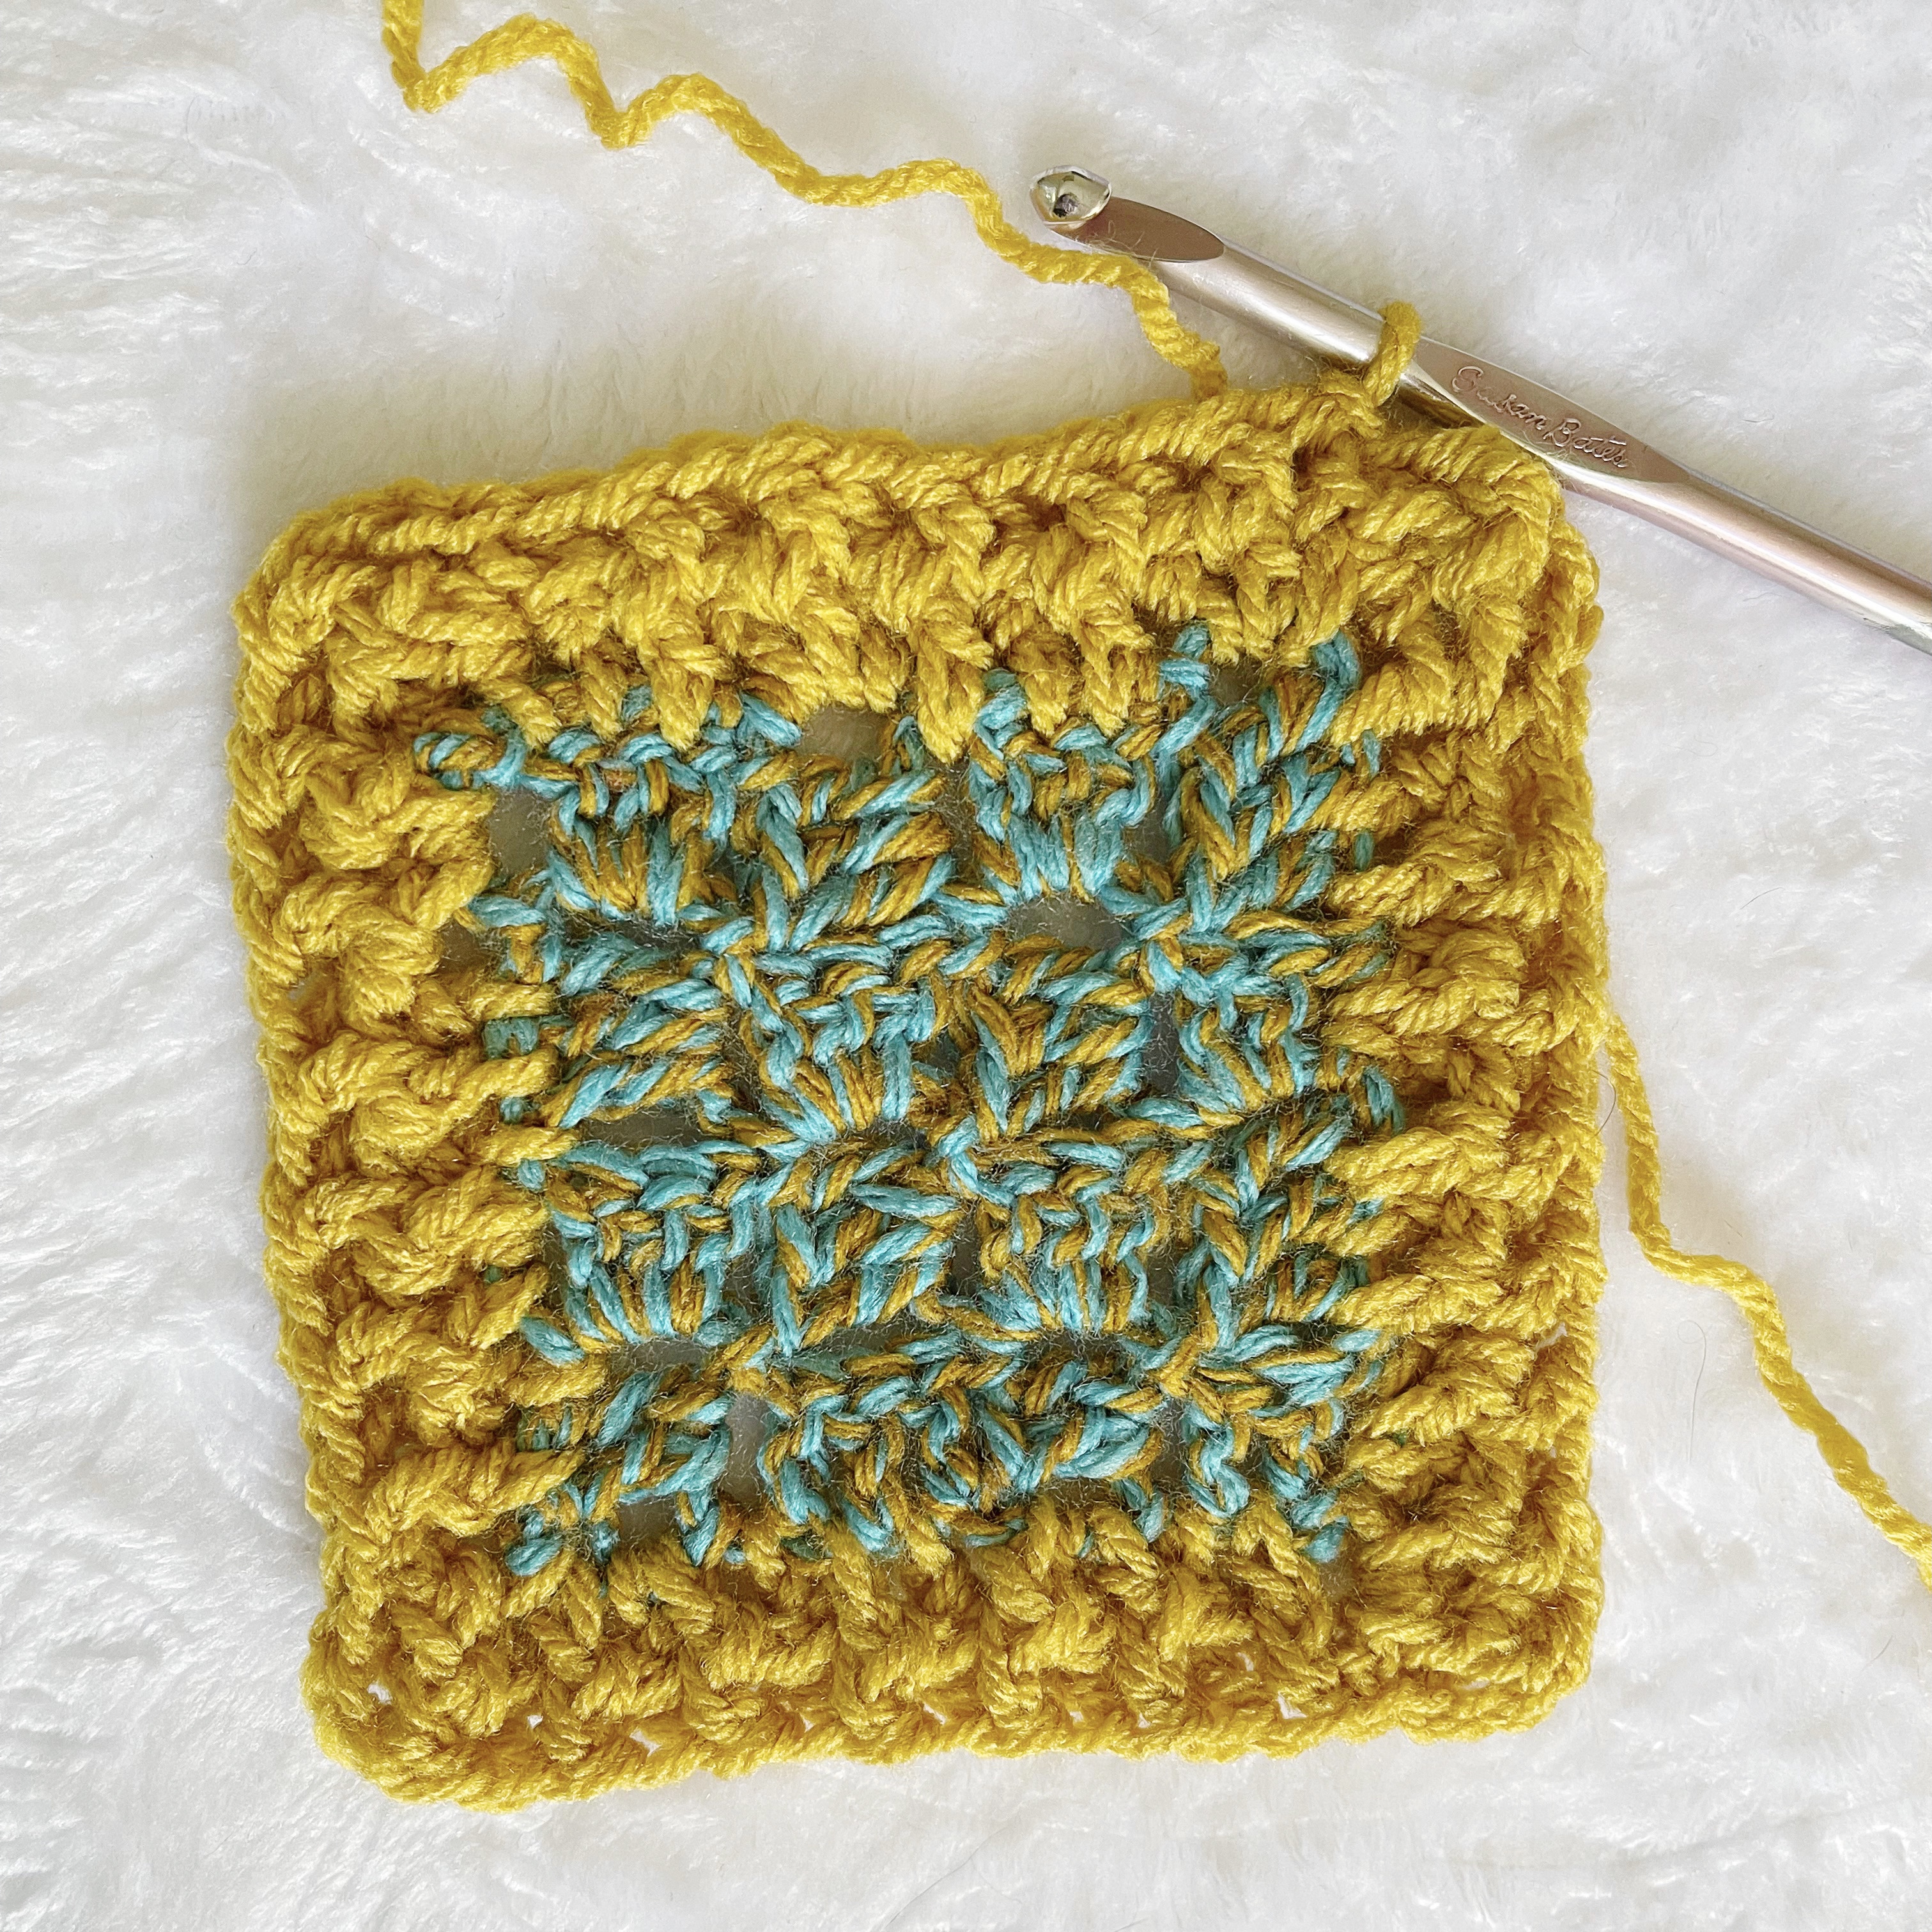
After the last corner is turned, SL ST into 1st CH 3 of the border foundation row. CH 2. Alternate FPDC and BPDC in each DC. After last FP or BP of the side, CH 3, turn, and continue FP/BP in each DC across. The CH 3 will create the corner.

Continue around until reaching the beginning CH 2. SL ST into CH 2 space. CH 2 and make 2-3 more rows of Fp/BP border. F/O and weave in ends.

Corner to Corner Pictorials:
Border Pictorials:

This is an original pattern by Christina of February Sky Designs. Please do not claim this pattern as your own. If you wish to share this pattern, you may link to it but please do not reprint it on your site or sell it.

You may sell products made from this pattern but please clearly credit the design to me, Christina of February Sky Designs, and link to my blog februaryskydesigns.com. Thank you for respecting creators and their work!

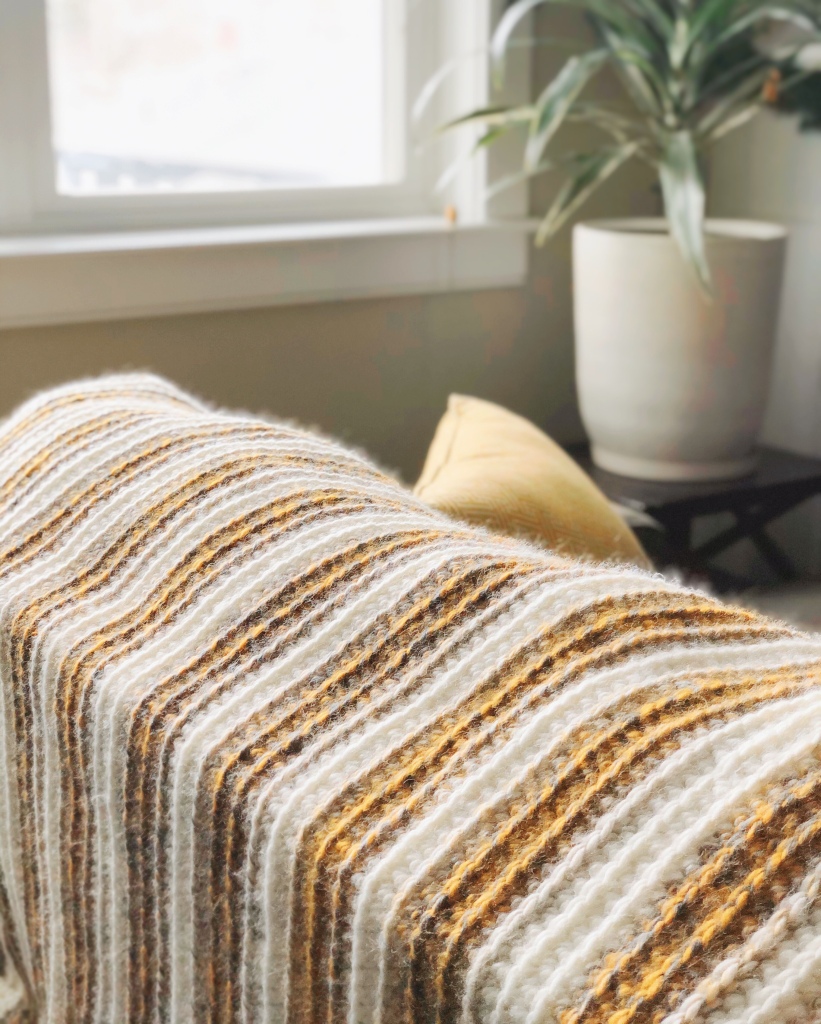
Golden Hour Throw Blanket

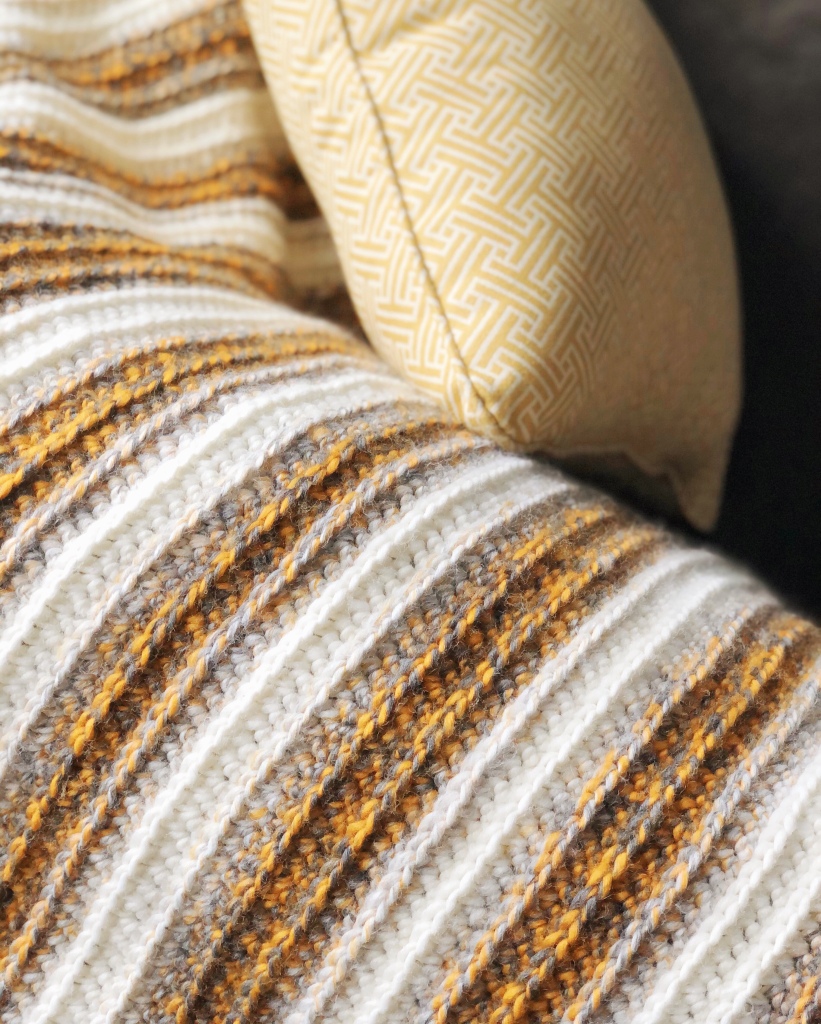
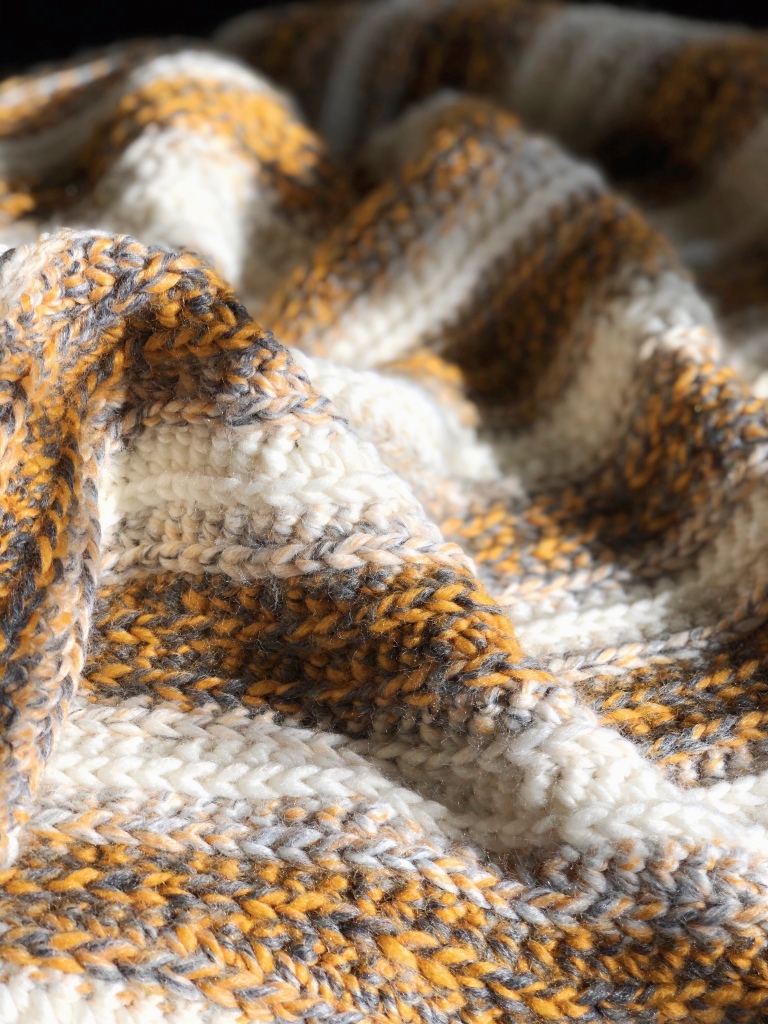
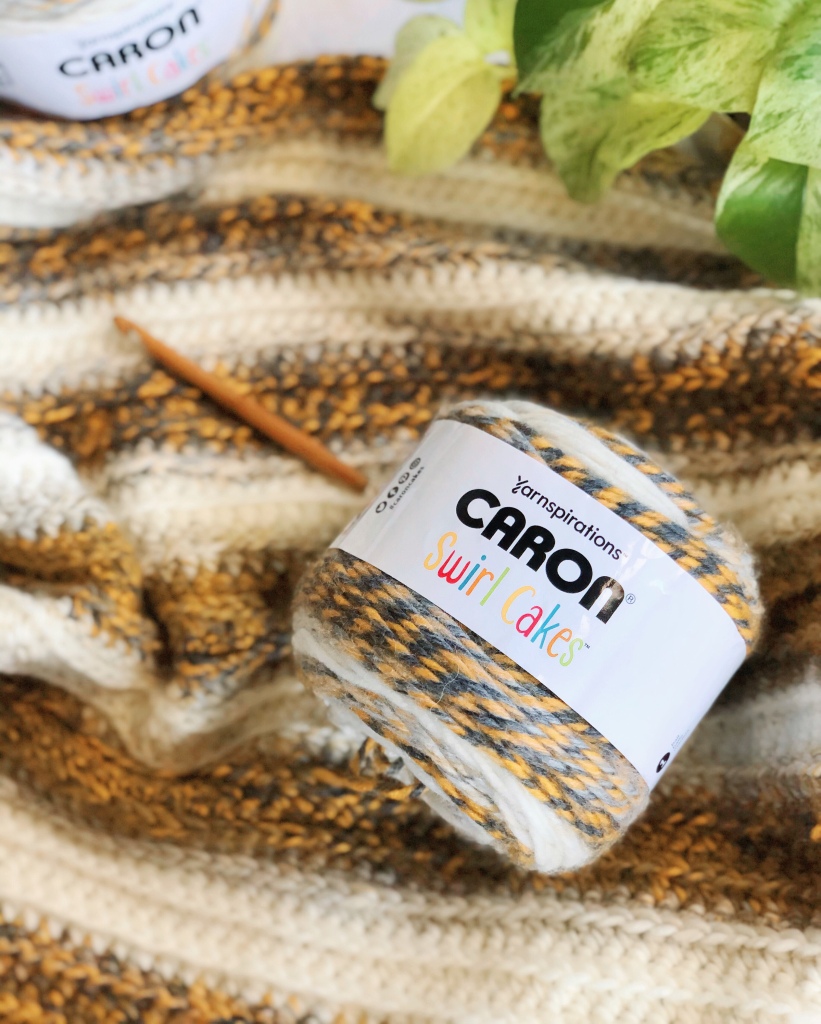
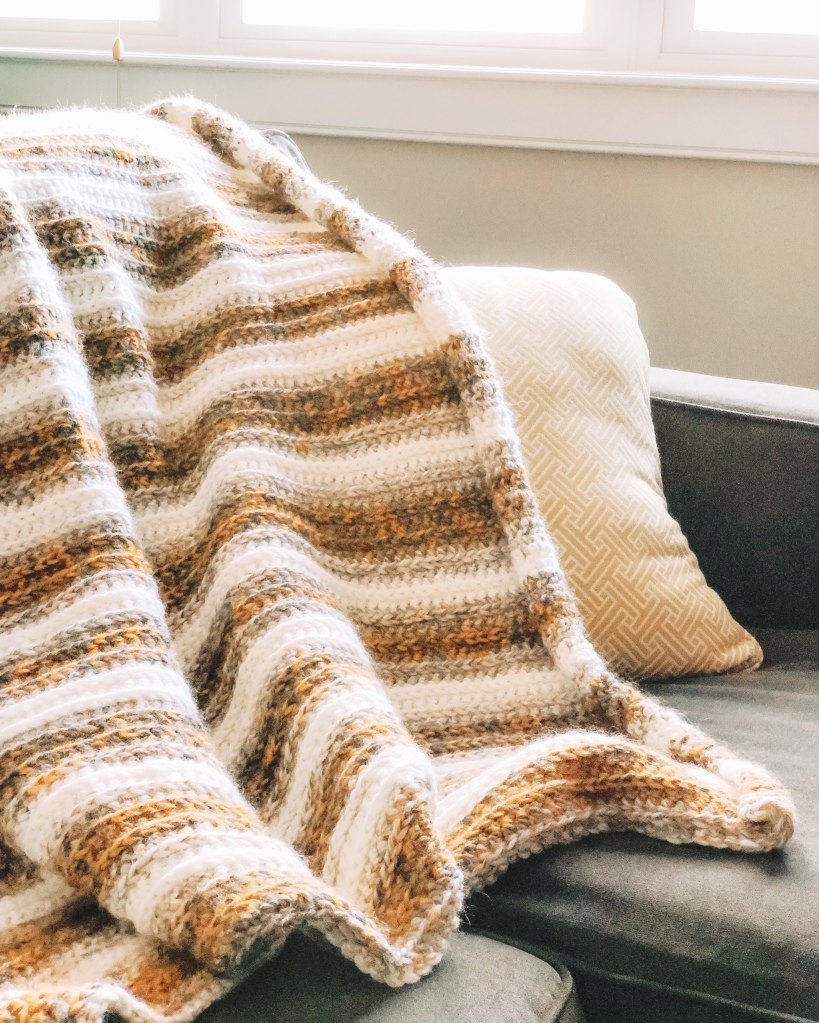
January is here, and there’s nothing I want more than to snuggle up under a cozy blanket during these long winter nights. I was inspired by the beautiful Caron Swirl Cakes yarn to update my home décor and add some beautiful color and texture to my living room. The acrylic wool blend makes this blanket very warm without being too heavy or scratchy, and the gold, cream and gray tones are perfect for adding some brightness to these cold and dreary days!

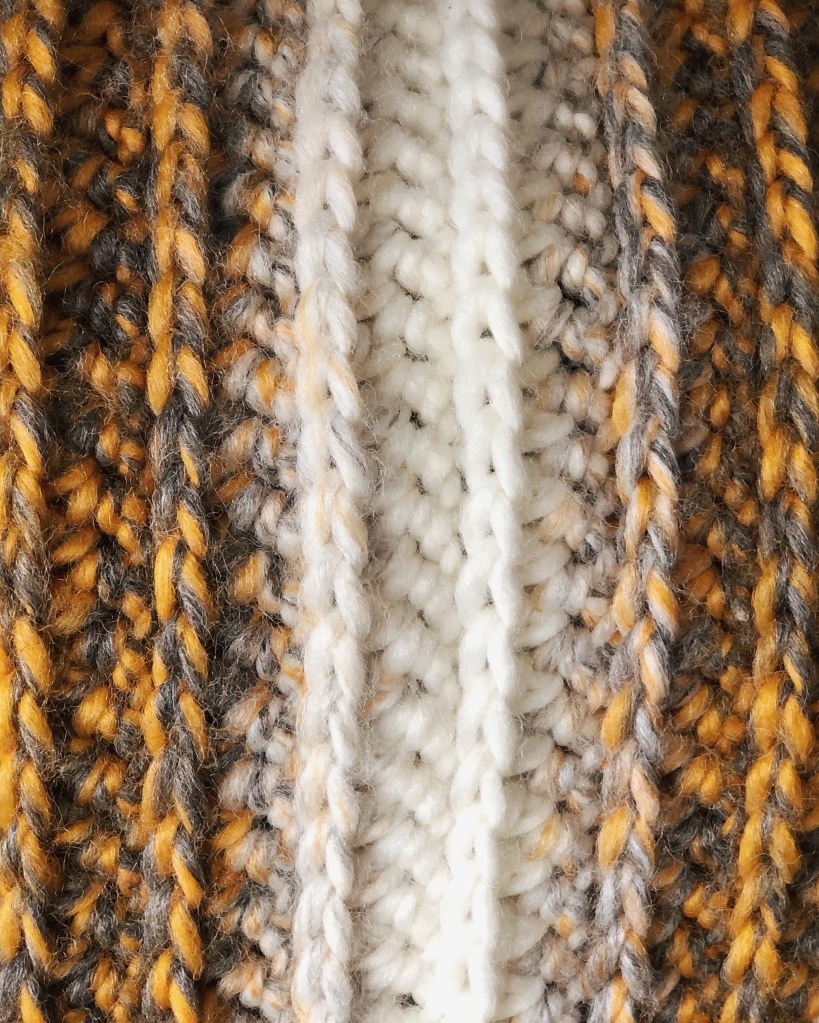
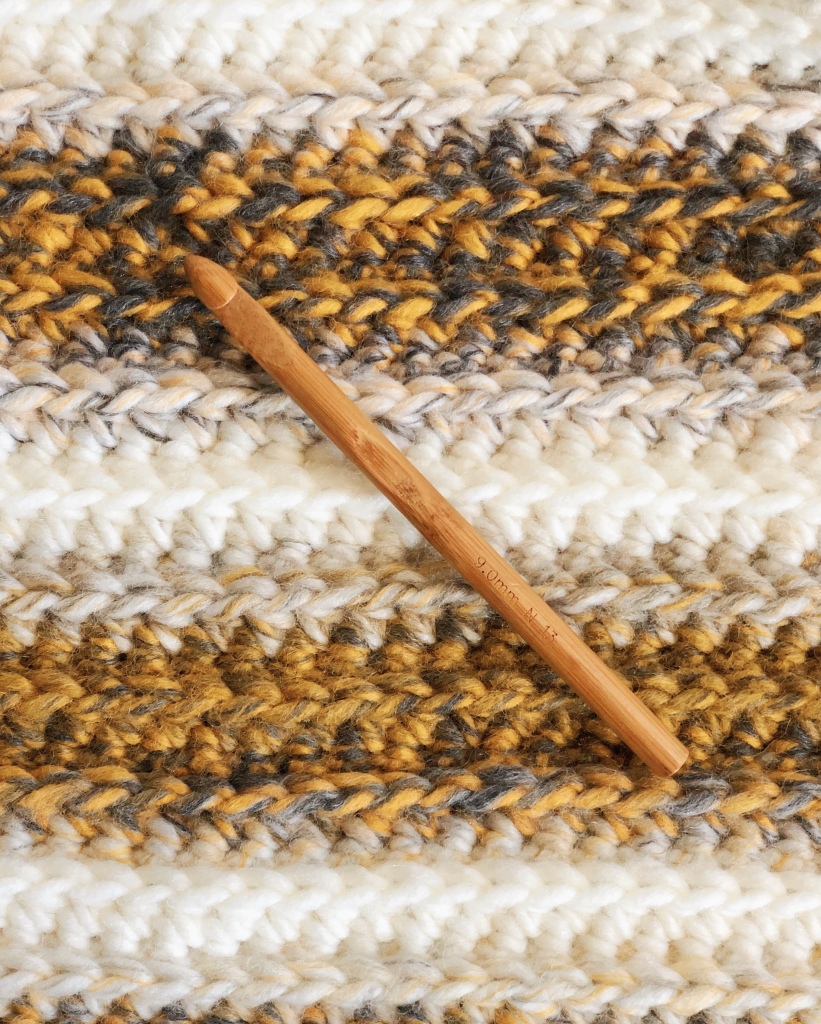
The great thing about this throw, besides the lovely yarn, is the texture. Using just two simple stitches, you can achieve a knit look crochet blanket with a dense texture that will keep you warm all winter.

All you need for this pattern is Caron Swirl Cakes yarn, or a comparable bulky weight yarn, a size N crochet hook, and to know how to single crochet and half double crochet. It doesn’t get much easier than that! Let’s get to it…

GOLDEN HOUR THROW CROCHET PATTERN

Stitch abbreviations:

-Chain- (CH)

-Single Crochet- (SC)

-Half Double Crochet- (HDC)

-Stitch(es)- (ST(s))

Materials:

  • 7 balls of Caron Swirl Cakes in the color Gold Fusion, or 1750 yards of any level 5 Bulky yarn (acrylic wool blend)
  • Size N/17 9mm crochet hook
  • Large eye sewing needle
  • Scissors
  • Tape measure

Gauge:

4×4” = 8 rows x 10 stitches

Special Notes:

  • The SC rows are done in the third loop of the HDC’s. This loop is behind the top two loops of the HDC, and will be the loop closest to you on the back of the blanket.
  • Adjust the size to your liking. Any length chain can be used to start, and the two row repeat can be added to or subtracted from as needed!
  • The chains at the beginning of each row do not count as stitches.
  • The blanket will curl a bit on the sides due to the tension of the stitches. This is normal and will flatten as the blanket gets larger. A border can be added at the end to flatten it completely.

Pattern:

CH 122.

Row 1: HDC in the 3rd CH from the hook and in each CH across. (120 STs)

R2: Ch 1. SC in the 3rd back loop of each HDC (see notes). (120 STs)

R3: CH 2. HDC in each SC across. (120 STs)

R4-140: Repeat rows 2 and 3 for 140 rows, or until desired size. Cut yarn, weave in ends and enjoy!

Final measurements:

-52” (132 cm) wide, 70” (178 cm) long

I hope you enjoy this pattern! If you make a Golden Hour throw be sure to tag me in your pics on Instagram because I love to see your creations!

This is an original pattern by Christina of February Sky Designs.  Please do not claim this pattern as your own. If you wish to share this pattern, you may link to it but please do not reprint it on your site or sell it.

You may sell products made from this pattern but please clearly credit the design to me, Christina of February Sky Designs, and link to my blog februaryskydesigns.com. Thank you for respecting creators and their work!
The Fairy Fade Throw Blanket

Making a blanket for another person is a special thing to me. Blankets are inherently time-consuming, but when I imagine the recipient wrapping themselves in it and keeping warm I also feel all warm and fuzzy inside.

I think a lot of us are looking for some comforting projects right now, and what better way to use up some of your stash than a beautiful blanket. If you have a stash of fuzzy yarn lying around I suggest this easy and meditative blanket to make something for someone you love (yourself included!).

This blanket is made using bulky yarn (I used Lion Brand Homespun) and is entirely made of half double crochets so it’s very beginner friendly. You can make the color fade as bright or as neutral as you’d like, the possibilities are endless! Just grab 5 colors you like together and a neutral shade to pull them together, like the white I used, and you’re on your way to a beautiful throw blanket.

The Fairy Fade Throw Blanket

Materials:

  • 7 balls (1,295 yards) of bulky weight (level 5) yarn: 5 balls of different colors and 2 balls of a neutral color, like white. Pictured is Lion Brand Homespun in Barrington (Color A), Mixed Berries (Color B), Purple Aster (Color C), Oyster (Color D), Tudor (Color E), Hepplewhite (Color F)
  • Size N 10 mm crochet hook
  • Large eye sewing needle
  • Scissors

Stitch Abbreviations:

-Chain (CH)

-Stitch (ST)

-Half Double Crochet (HDC)

Size:

50” wide, 60” long

Gauge:

4”x4”= 6 rows x 8 HDC

Notes:

The size of this blanket very customizable. Follow the gauge and increase or decrease the starting chain any number, and continue adding rows in sequence or remove rows to make it larger or smaller.

To make the color changes easier, do not cut the yarn as soon as you reach the white sections. Leave the first color attached while you add the white and complete two rows. When you get back to the colored yarn, bring the yarn up along the side and continue with the next two rows. Do this for the white as well so you only have to join and weave in the ends at the end of each fade section.

Pattern:

CH 100

Row 1: Using Color A, HDC in the 2nd CH from the hook. HDC across (99 ST).

Row 2: CH 1. Turn. HDC across. (99 ST)

Repeat Row 2 for 10 total rows of Color A.

Row 11 and 12: Join Color F and repeat Row 2 for 2 rows. Do not cut yet (see notes).

Repeat row 2 throughout the blanket in the following sequence:

Row 13 and 14: Color A

R 15, 16: Color F

R 17, 18: Color B

R 19, 20: Color F

R 21-30: Color B

R 31, 32: Color F

R 33, 34: Color B

R 35, 36: Color F

R 37, 38: Color C

R 39, 40: Color F

R 41-50: Color C

R 51, 52: Color F

R 53, 54: Color C

R 55, 56: Color F

R 57, 58: Color D

R 59, 60: Color F

R 61, 70: Color D

R 71, 72: Color F

R 73, 74: Color D

R 75, 76: Color F

R 77, 78: Color E

R 79, 80: Color F

R 81-90: Color E

If you make your own Fairy Fade Blanket, be sure to tag me on Instagram! Be well everyone.

This is an original pattern by Christina of February Sky Designs.  Please do not claim this pattern as your own. If you wish to share this pattern, you may link to it but please do not reprint it on your site or sell it.

You may sell products made from this pattern but please clearly credit the design to me, Christina of February Sky Designs, and link to my blog februaryskydesigns.com. Thank you for respecting creators and their work!