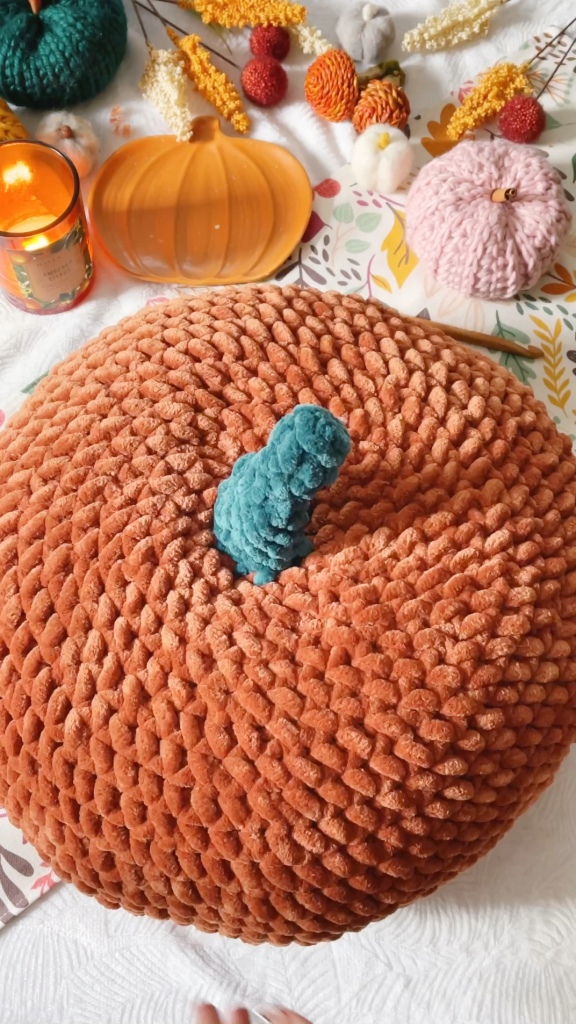
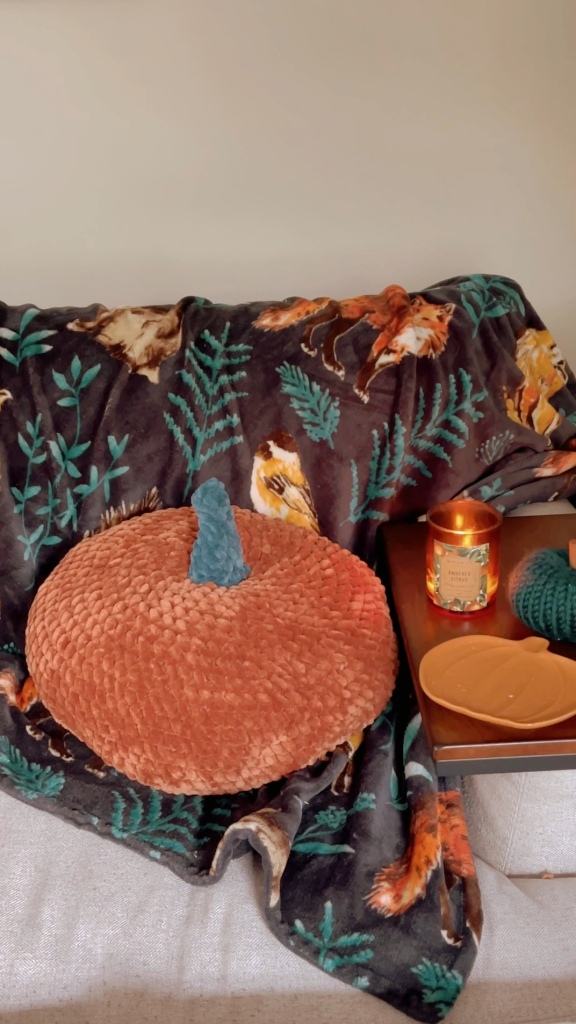
Every change of season makes me want to add new, cute throw pillows to my office couch, and fall always fills me with inspiration! I’ve seen really cute pumpkin pillows being sold in stores, so naturally I decided to make my own. I love how this came out, and I’m excited to share this super quick and easy pattern with you!
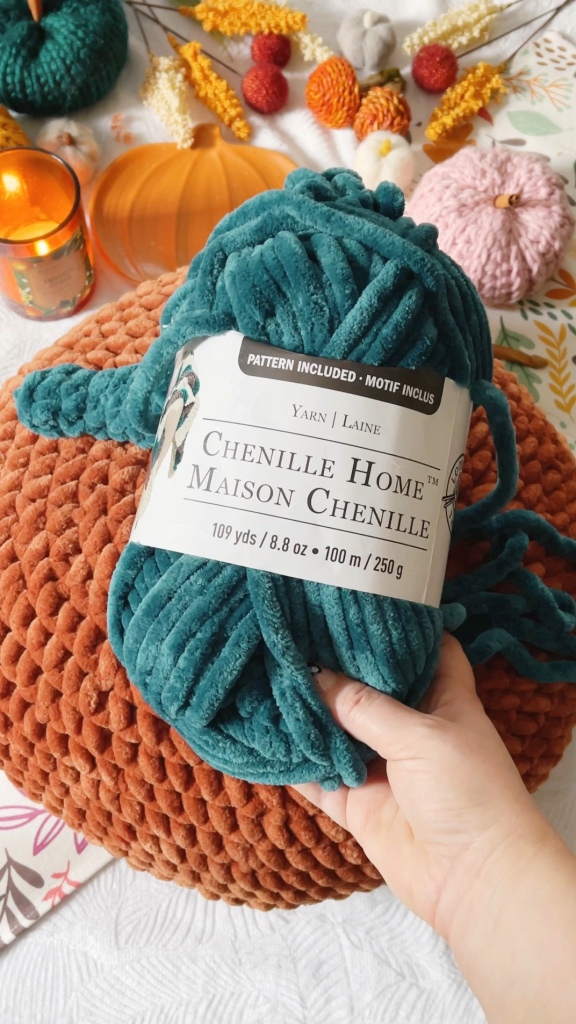
I used Chenille Home yarn from Michaels, and I highly recommend this yarn for this project, and any pillow project! The ends can be pretty sheddy, but once it’s worked up it feels so soft and squishy, but also pretty high-end and like a pillow you could buy at Target 😉.
For this pattern you’ll need:
- 2 skeins of Chenille Home (x yards of Jumbo/level 7 yarn) in main color
- small amount of second color for stem
- 11.5mm/P crochet hook
- stitch marker
- large eye sewing needle
- scissors
- polyfil stuffing
Stitch Abbreviations:
- SC- single crochet
- INC- increase
- DEC- decrease
- MC- magic circle
- CH- chain
- REP- repeat
Notes:
-CH in MC does not count as a stitch.
-Place a stitch marker in the first stitch of each round.
-Rounds are continuous and not joined.
-Decreases are made in the amigurumi style. Invisible DEC is done by working in the front loops of two stitches to make one SC.
-Finished pumpkin is 18” diameter, 10″ tall without stem.
PATTERN:
Start with Magic Circle.
R1: CH 1, SC 8 into MC. (8)
R2: INC in each ST. (16)
R3: SC, INC. REP. (24)
R4: SC 2, INC. REP. (32)
R5: SC 3, INC. REP. (40)
R6: SC 2, INC. *SC 4, INC*. REP * to * until last 2 STS, SC 2. (48)
R7: SC 5, INC. REP. (56)
R8: SC 3, INC. *SC 6, INC*. REP * to * until last 3 STS, SC 3. (64)
R9: SC 7, INC. REP. (72)
R10: SC 4, INC. *SC 8, INC*. REP * to * until last 4 STS, SC 4. (80)
R11-18: SC around. (80)
R19: SC 4, DEC. *SC 8, DEC*. REP * to * until last 4 STS, SC 4. (72)
R20: SC 7, DEC. REP. (64)
R21: SC 3, DEC. *SC 6, DEC*. REP * to * until last 3 STS, SC 3. (56)
R22: SC 5, DEC. REP. (48)
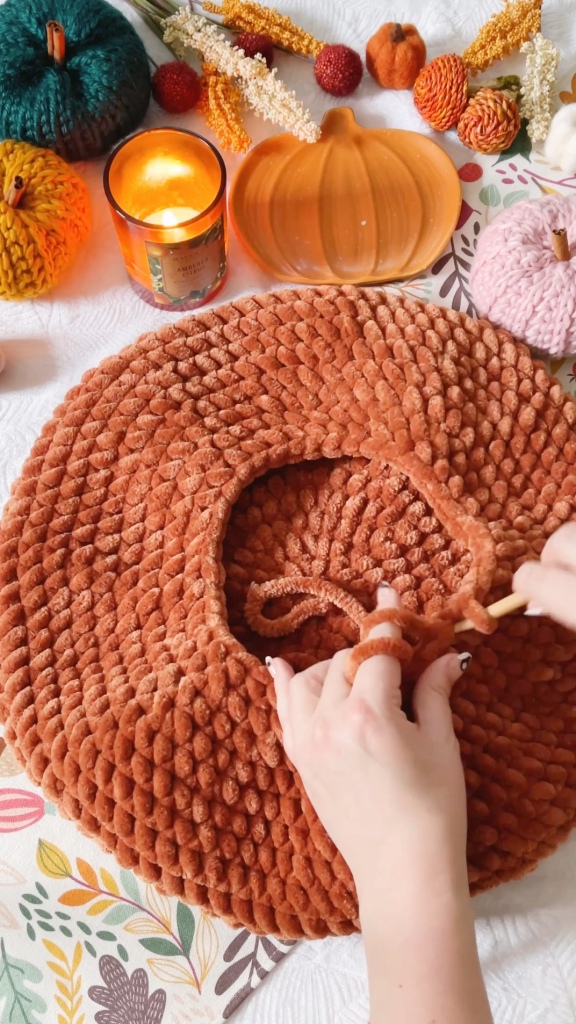
*Pause to fill pillow 90% full with stuffing. Overstuff to get ideal pumpkin shape.
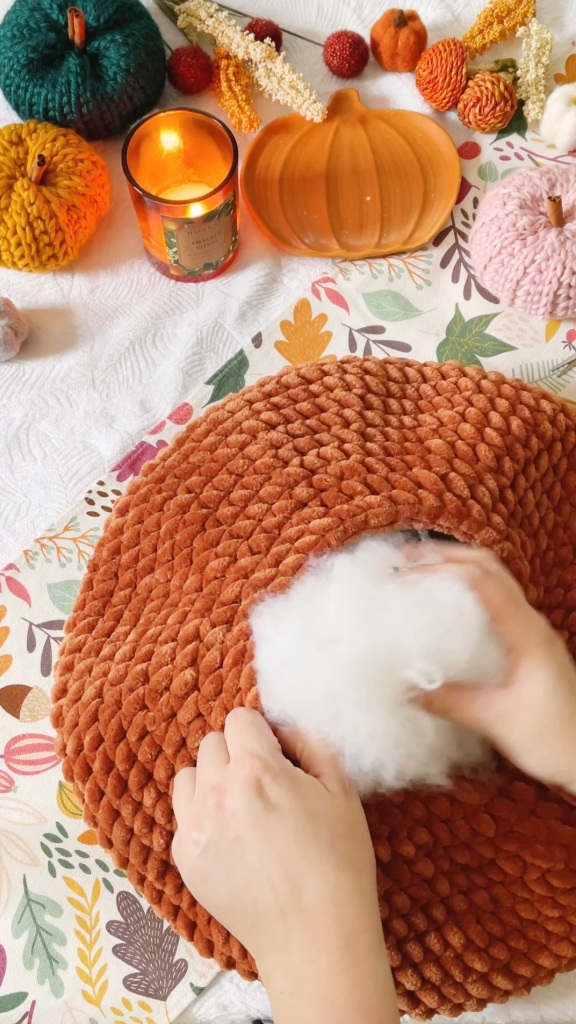
R23: SC 2, DEC. *SC 4, DEC*. REP * to * until last 2 STS, SC 2. (40)
R24: SC 3, DEC. REP. (32)
R25: SC 2, DEC. Rep. (24)
R26: SC, DEC, REP. (16)
R27: DEC around. (8)
Stuff with additional stuffing if needed. Detach yarn, leaving a long yarn tail and weave through each ST with sewing needle to close hole*. Tie off, continue to stem.
*Tip: to get a dip in the top of the pumpkin, after weaving the hole closed pull tail through the middle of the pumpkin until it comes out the bottom. Tie the tail to the bottom center in a way that isn’t noticeable, then push tail back into cushion and cut off any remaining tail.
STEM INSTRUCTIONS:
STEM:
With Color B, start with MC. CH 1, SC 6 into MC. Do not join. (6)
R2-4: SC around. (6)
R5: SC 2, INC, SC 2, INC. (8)
R6: SC around. (8)
R7: INC, SC 3, INC, SC 3. (10)
R8: SC around. (10)
Leave long tail and attached to the top of the cushion using a whip stitch around. Weave in ends and enjoy!
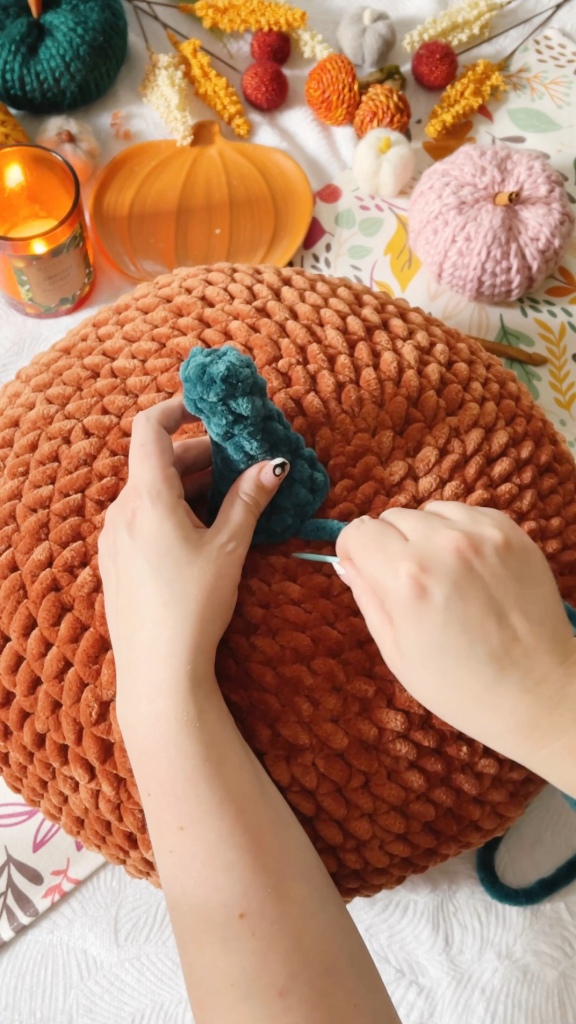
I hope you love this cushion as much as I do! If you make one be sure to tag me on Instagram!
This is an original pattern by Christina of February Sky Designs. Please do not claim this pattern as your own. If you wish to share this pattern, you may link to it but please do not reprint it on your site or sell it.
You may sell products made from this pattern but please clearly credit the design to me, Christina of February Sky Designs, and link to my blog februaryskydesigns.com. Thank you for respecting creators and their work!

