

I’ve been practicing yoga on and off for the past 10 years. I don’t consider myself a “yogi”, but last year I started an at-home practice using free online yoga videos, and it was honestly one of the best things I did for myself during the hardest year of my life.
Home practice is great, but there’s nothing like a studio class to feel the connection that yoga can create. I crocheted my own mat bag a couple years ago when I started taking classes at a new studio, and I’m really excited to share the pattern with you so you can make your own!
The ritual of yoga is learning balance. I named my bag pattern after the pose “Peaceful Warrior” because that is how I want to live- in a state of calm surrender, strong enough to fight when it’s needed. Yoga can be a lot of things to different people, but at it’s core it is an act of self love. Who doesn’t need more of that in their lives?
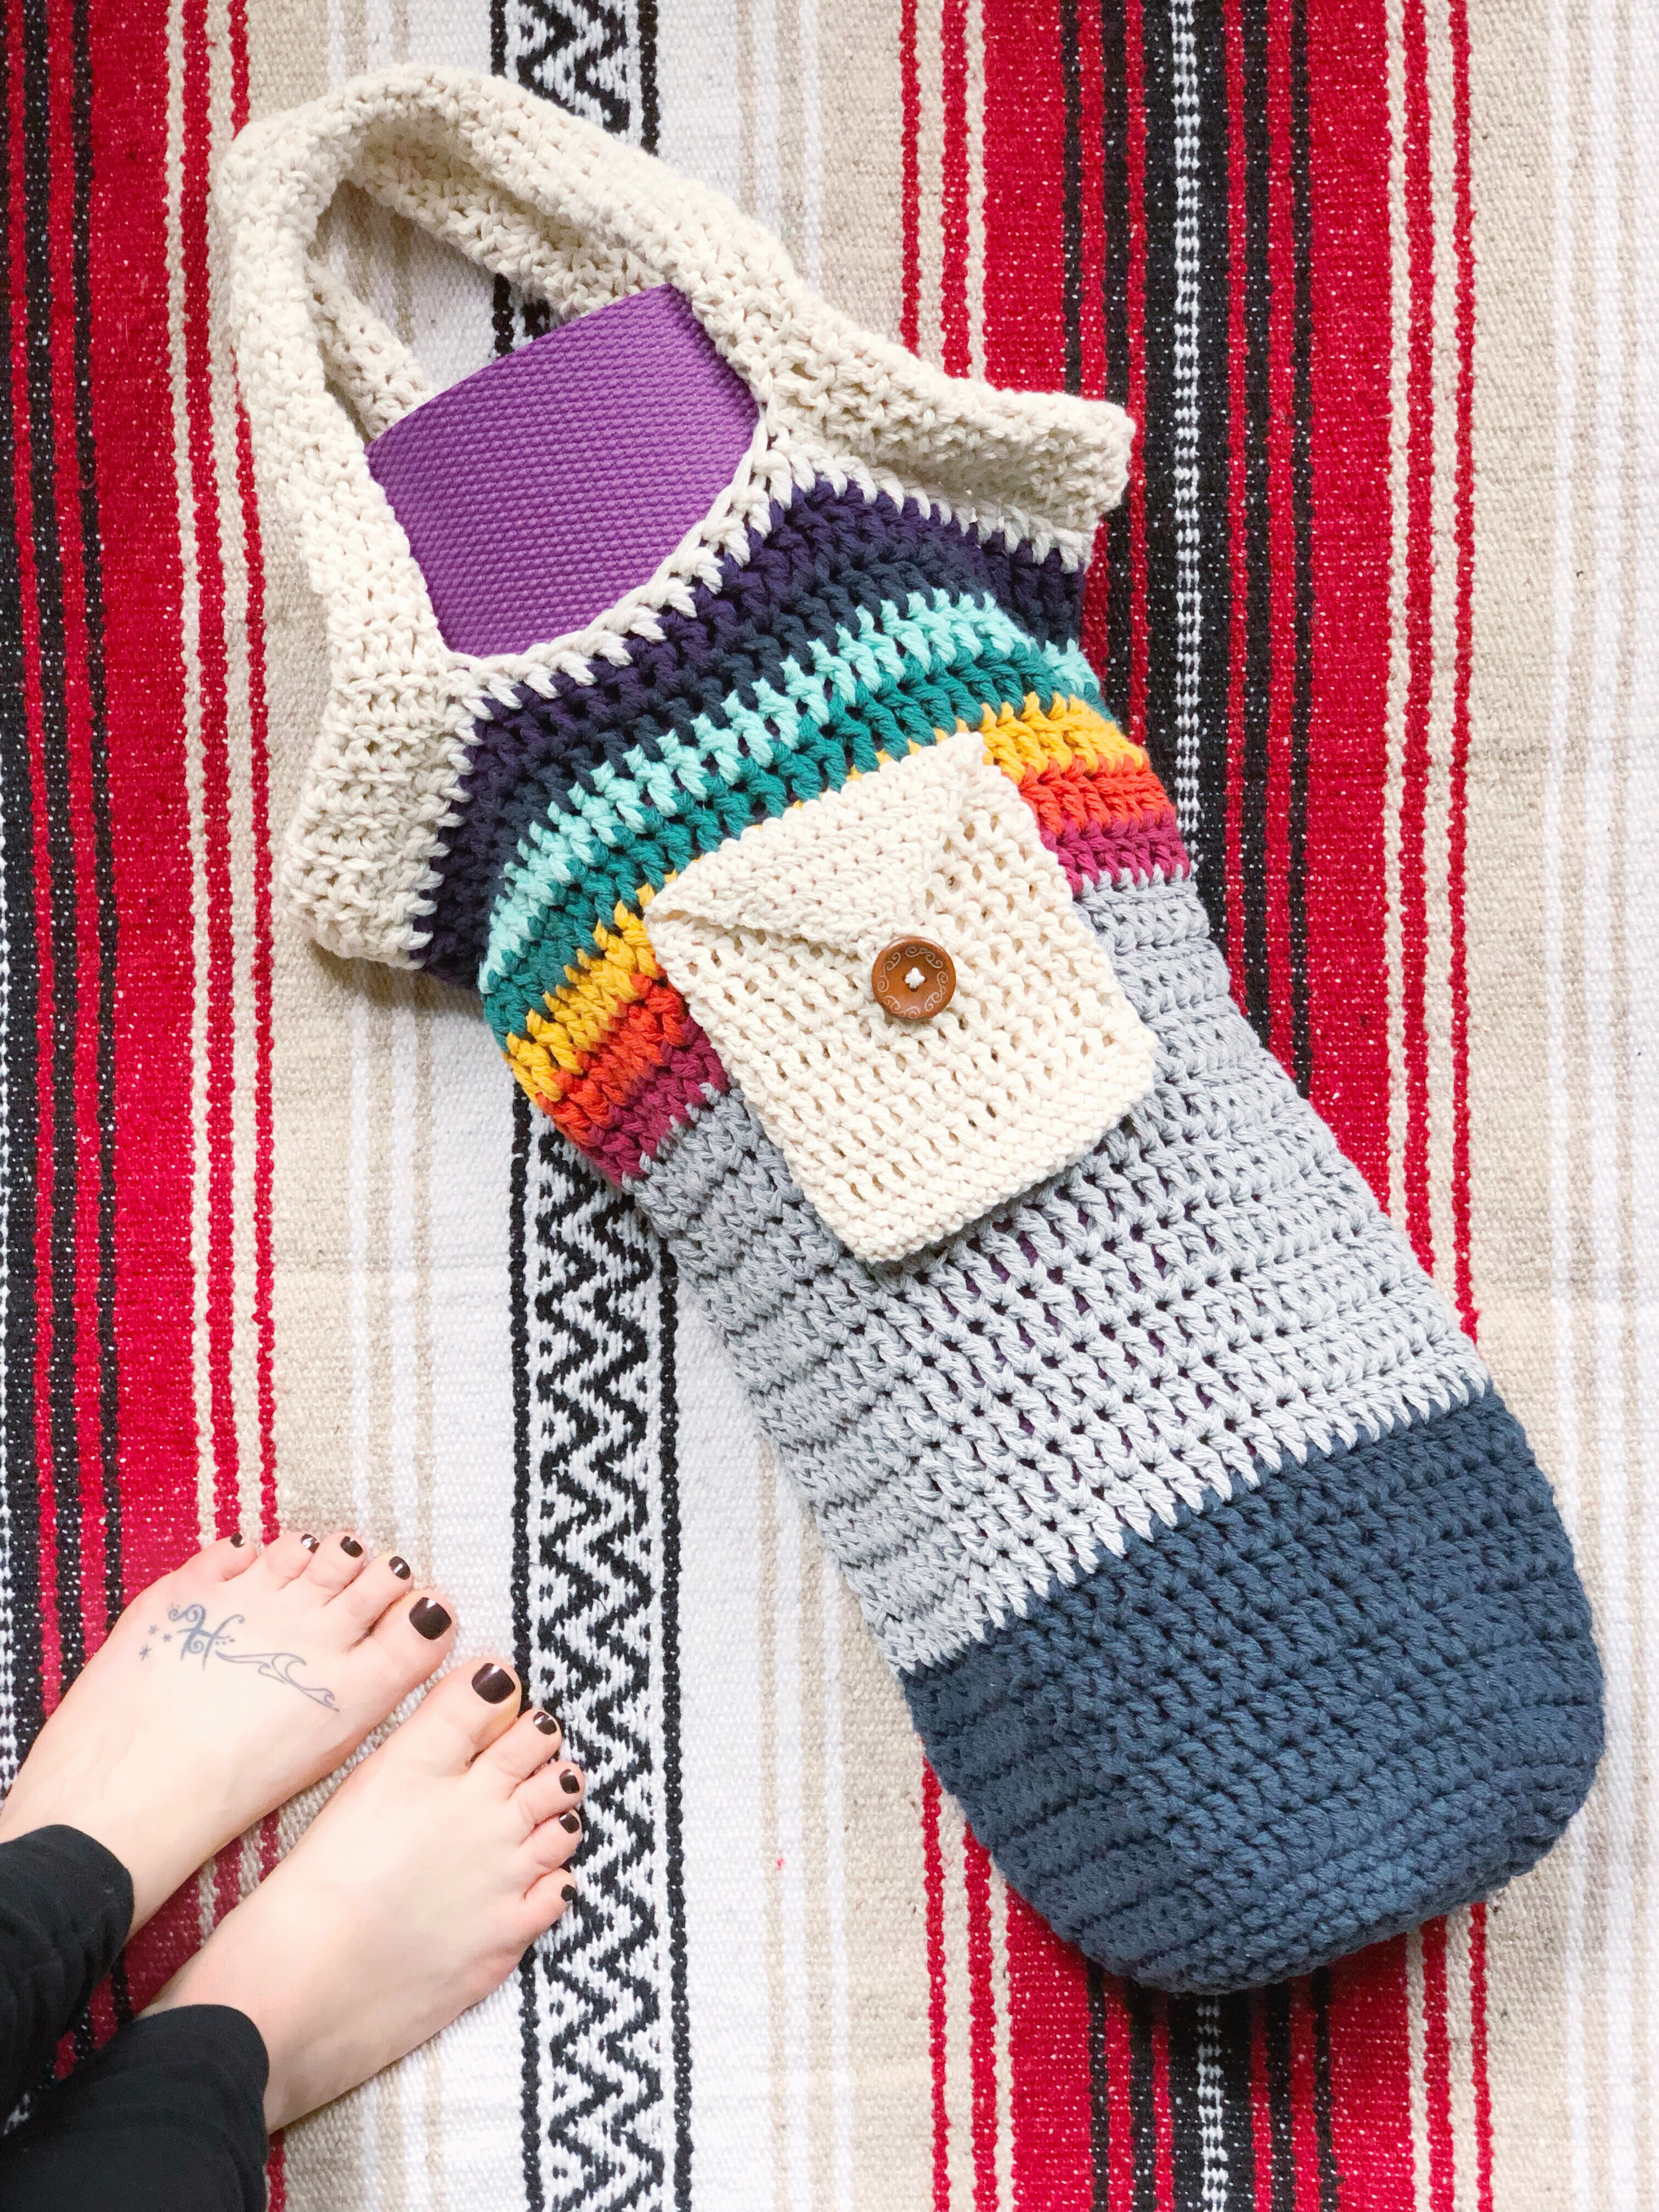
This bag is the perfect companion for your studio practice. It’s roomy so you don’t have to struggle to get your mat inside, and it’ll fit your water bottle and wallet with a front pocket for your phone and keys! The colors are endlessly customizable, so have fun making it your own!
Peaceful Warrior Yoga Bag Crochet Pattern
Materials:
- 8 balls (120 yards each) of 100% cotton worsted weight yarn: 2 balls each of Colors A, B and C; optional small amounts (approx. 13 yards each) of 7 Chakra stripe colors, or 2 more balls of Color D of your choice.
- I/9 Crochet Hook
- J/10 Crochet Hook
- Stitch markers
- Measuring tape/ruler
- 1-inch button
- Large Eye sewing needle
Stitch abbreviations:
- Chain (CH)
- Single Crochet (SC)
- Double Crochet (DC)
- Slip Stitch (SL ST)

Pattern:
Note: The bag pictured was made holding two strands of worsted weight cotton yarn together. The measurements are based on this method and the hook sizes mentioned.
Step 1: Holding 2 stands of Color A yarn together and using the size J/10 hook, create a Magic Circle, or CH 4 and SL ST the last CH to the first CH.
Step 2: CH 2, 8 SC into the Magic Circle or the CH 4 circle. SL ST to 2nd CH.
Step 3: CH 2, 2 SC in each stitch around (16 SC). SL ST to 2nd CH.
Step 4: CH 2, *1 SC in first stitch, 2 SC in next stitch*. Repeat * to * in each stitch around (24 SC). SL ST to 2nd CH.
Step 5: CH 2, *2 SC in first stitch, 1 SC in next 2 stitches*. Repeat * to * in each stitch around (32 SC). SL ST to 2nd CH.
Step 6: CH 2, 1 SC in first stitch, *2 SC in next stitch, 1 SC in next 3 stitches*. Repeat * to * in each stitch around (40 SC). SL ST to 2nd CH.
Step 7: CH 2, *2 SC in first stitch, 1 SC in next 4 stitches*. Repeat * to * in each stitch around (48 SC). SL ST to 2nd CH.
Step 8: CH 2, 1 SC in first stitch, *2 SC in next stitch, 1 SC in next 5 stitches*. Repeat * to * in each stitch around (48 SC). SL ST to 2nd CH.
Step 9: CH 2, *2 SC in first stitch, 1 SC in next 6 stitches*. Repeat * to * in each stitch around (56 SC). SL ST to 2nd CH.
Step 10: CH 2, 1 SC in first stitch, *2 SC in next stitch, 1 SC in next 7 stitches*. Repeat * to * in each stitch around (64 SC). SL ST to 2nd CH.
Step 11: CH 2, *2 SC in first stitch, 1 SC in next 8 stitches*. Repeat * to * in each stitch around (72 SC). SL ST to 2nd CH.
Part 2:
Row 1: CH 3 (counts as a stitch). DC around all SC from previous row, no increases. SL ST to 3rd CH in CH 3.
Rows 2-6: Repeat Row 1 five more times (6 rows of DC of Color A).
Rows 7-15: Change to Color B, repeat Row 1 for 9 rows.
Rows 16-22: Optional Chakra Stripes: 7 more rows, each of a different color corresponding to the 7 chakras: red, orange, yellow, green, light blue, dark blue, purple. Or change to Color D for 7 rows.
Row 23: Last DC row in Color C.

Strap:
Step 1: Holding 2 stands of Color C together and using J hook, CH 8. SL ST to 1st CH, forming a circle.
Step 2: CH 3. DC in each CH around (7 DC). Without joining, continue to DC in a continuous loop, forming a tube.

Step 3: Continue DC until tube reaches 60 inches. To finish, SC in next ST, then SL ST to last stitch.

Step 4: Pull long tail through and sew both ends together.

Step 5: To attach the strap to the bag body, lay the bag flat with the seam in the back. Place stitch markers in the center of the front and back of the bag. Fold strap in half and attach each end to the sides of the bag with stitch markers.

Step 6: Sew the handle to the bag using Color D, leaving a gap of 4 DC’s on either side of the mid-point of the front and back of the bag.
Pocket:
Shown are two pocket options:

Step 1: Using 1 stand of yarn color C and size I/9 hook, CH 17. SC in the 2nd CH from the hook, SC across (16 SC).
Step 2: CH 1, SC in back loop only across (16 SC).
Step 3: CH 1, turn, SC in the front loop of the previous row you just worked the SC in the back loops.

Step 4: SC across. When you reach the end CH1 and SC in the next SC on the other side, completing the loop.
Step 5: SC around the loop, working 1 SC in each of the CH spaces (34 SC).

Step 6, Option 1: Repeat continuous rows of SC for 22 rows total. Skip to step 7.
Step 6, Option 2: Complete one more row of SC. Start to DC, continuing for 7 rows. SC last row.

Step 7: Decrease first 2 stitches, SC across to last 2 stitches, decrease. CH 1, turn. Repeat decrease of first 2 stitches, SC across, and decrease last 2 stitches until the final row of 2 decreases. Chain 7 and SL ST to second SC to create button loop. Weave in end.

Step 8: Sew on a button of your choice.


Final measurements:
Width: 12 in./30 cm.
Height (with mat inside): 18 in./46 cm.


Namaste!

This is an original pattern by Christina of February Sky Designs. Please do not claim this pattern as your own. If you wish to share this pattern, you may link to it but please do not reprint it on your site or sell it.
You may sell products made from this pattern but please clearly credit the design to me, Christina of February Sky Designs, and link to my blog februaryskydesigns.com. Thank you for respecting creators and their work!

