

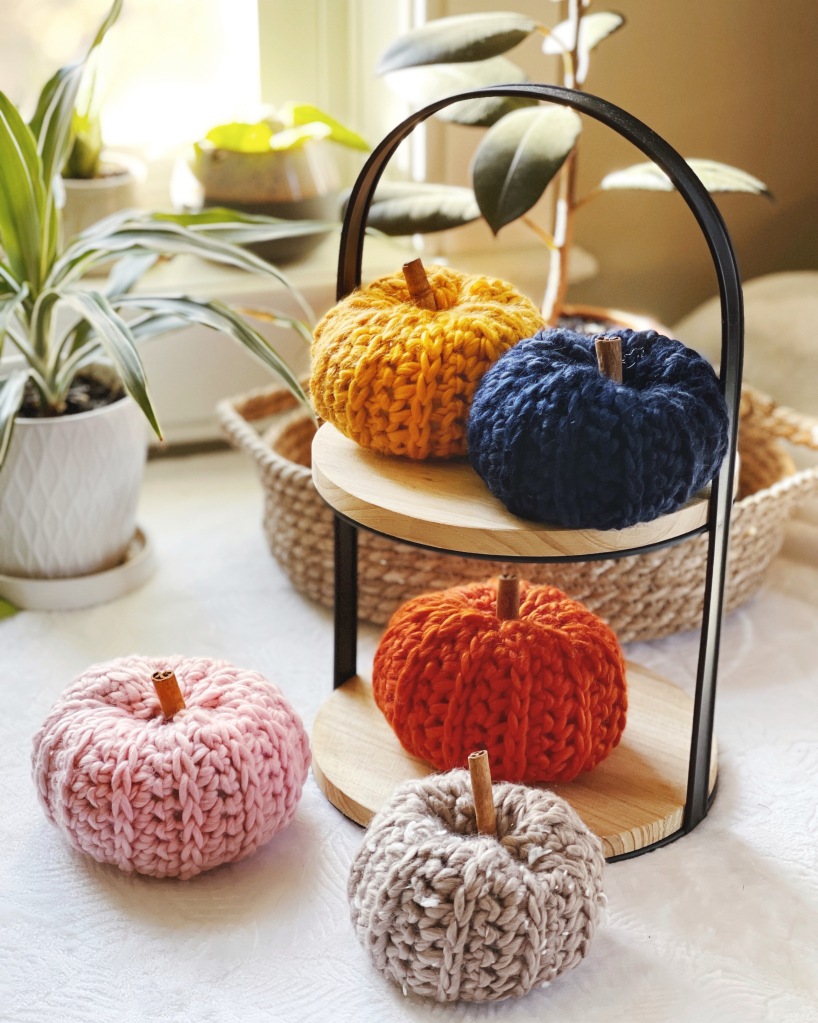
As soon as Labor Day passes I’m officially in Fall mode (and let’s be honest, sometimes it hits before then!). I love decorating my space with cozy fall decor, and I’m always looking for cute pumpkin patterns to add to my collection. Well, this year I thought it was high time I made a pumpkin pattern of my own! Thus, the Golden Hour Pumpkins were born.
These pumpkins use the same stitch as my Golden Hour throw, so if you enjoy this quickie project head over and check out your next cozy blanket!
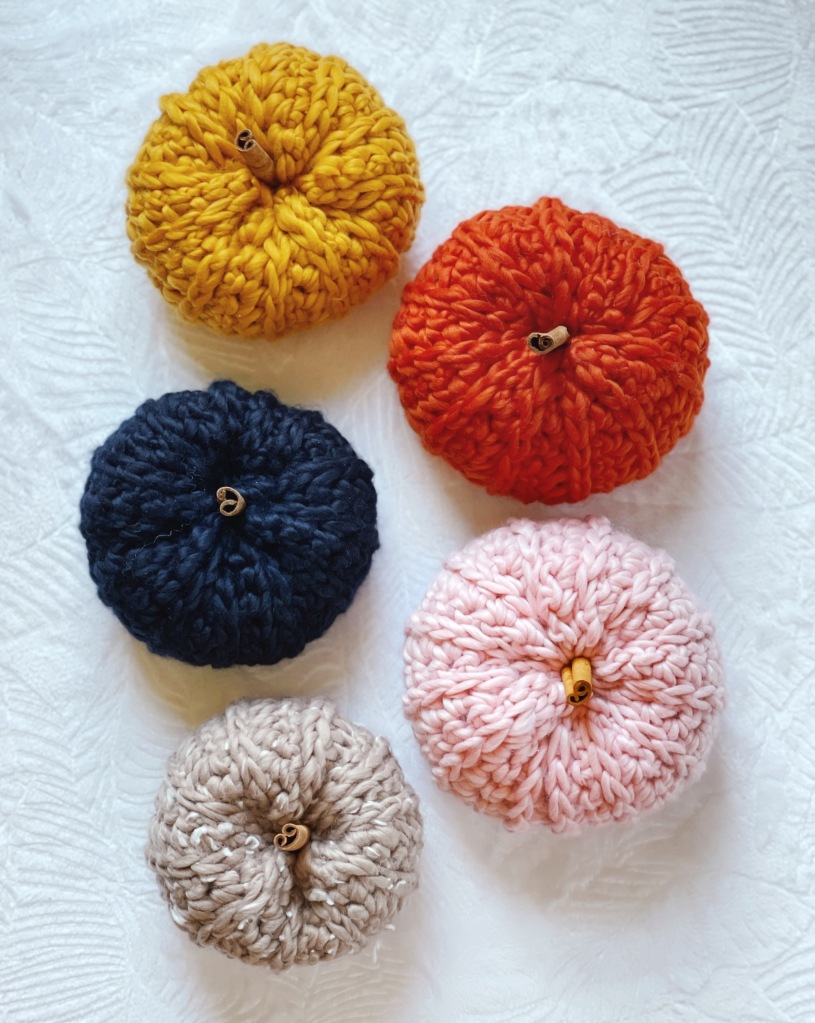
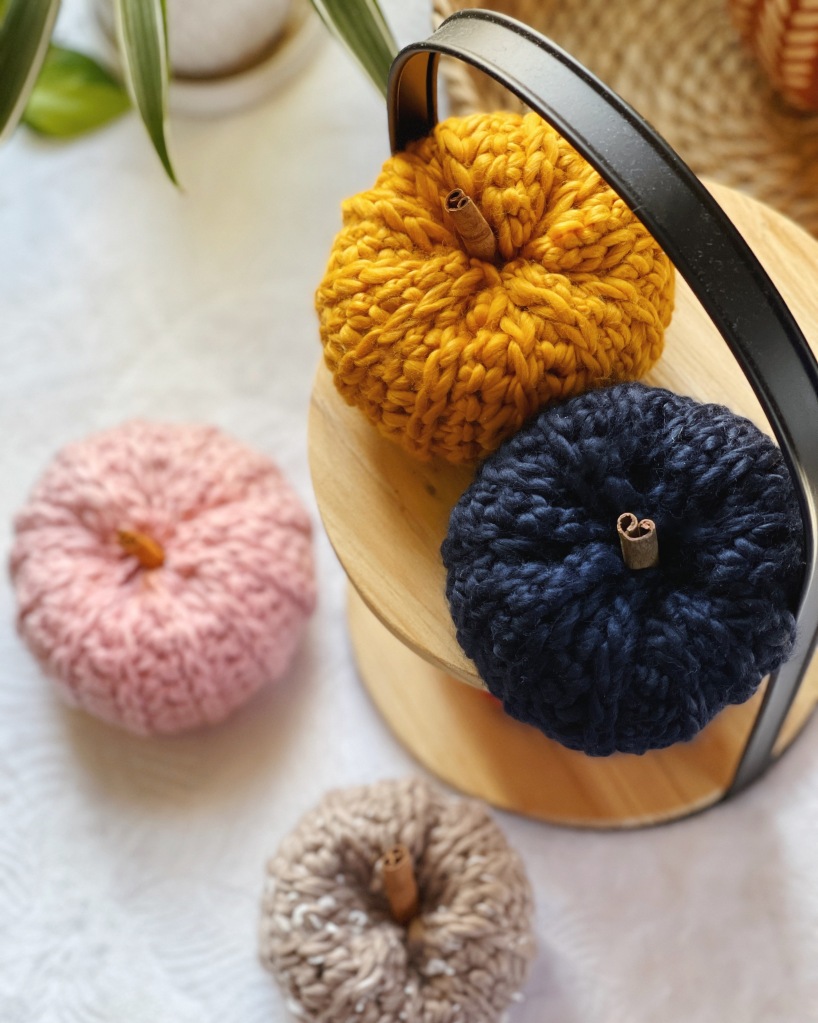
All you need is about 45 yards of your favorite bulky yarn (I used an assortment of Eco Cozy colors from Michaels) and a size L hook. But, of course, these pumpkins can be made using any yarn! The sizes will vary, but that’s part of the fun of making your own little pumpkin collection.
Let’s get started!
GOLDEN HOUR PUMPKINS CROCHET PATTERN
Stitch abbreviations:
-Chain- (CH)
-Single Crochet- (SC)
-Half Double Crochet- (HDC)
-Stitch(es)- (ST(s))
Materials:
- 45 yards of any level 5 Bulky yarn (pictured is Eco Cozy by Loops & Threads from Michaels)
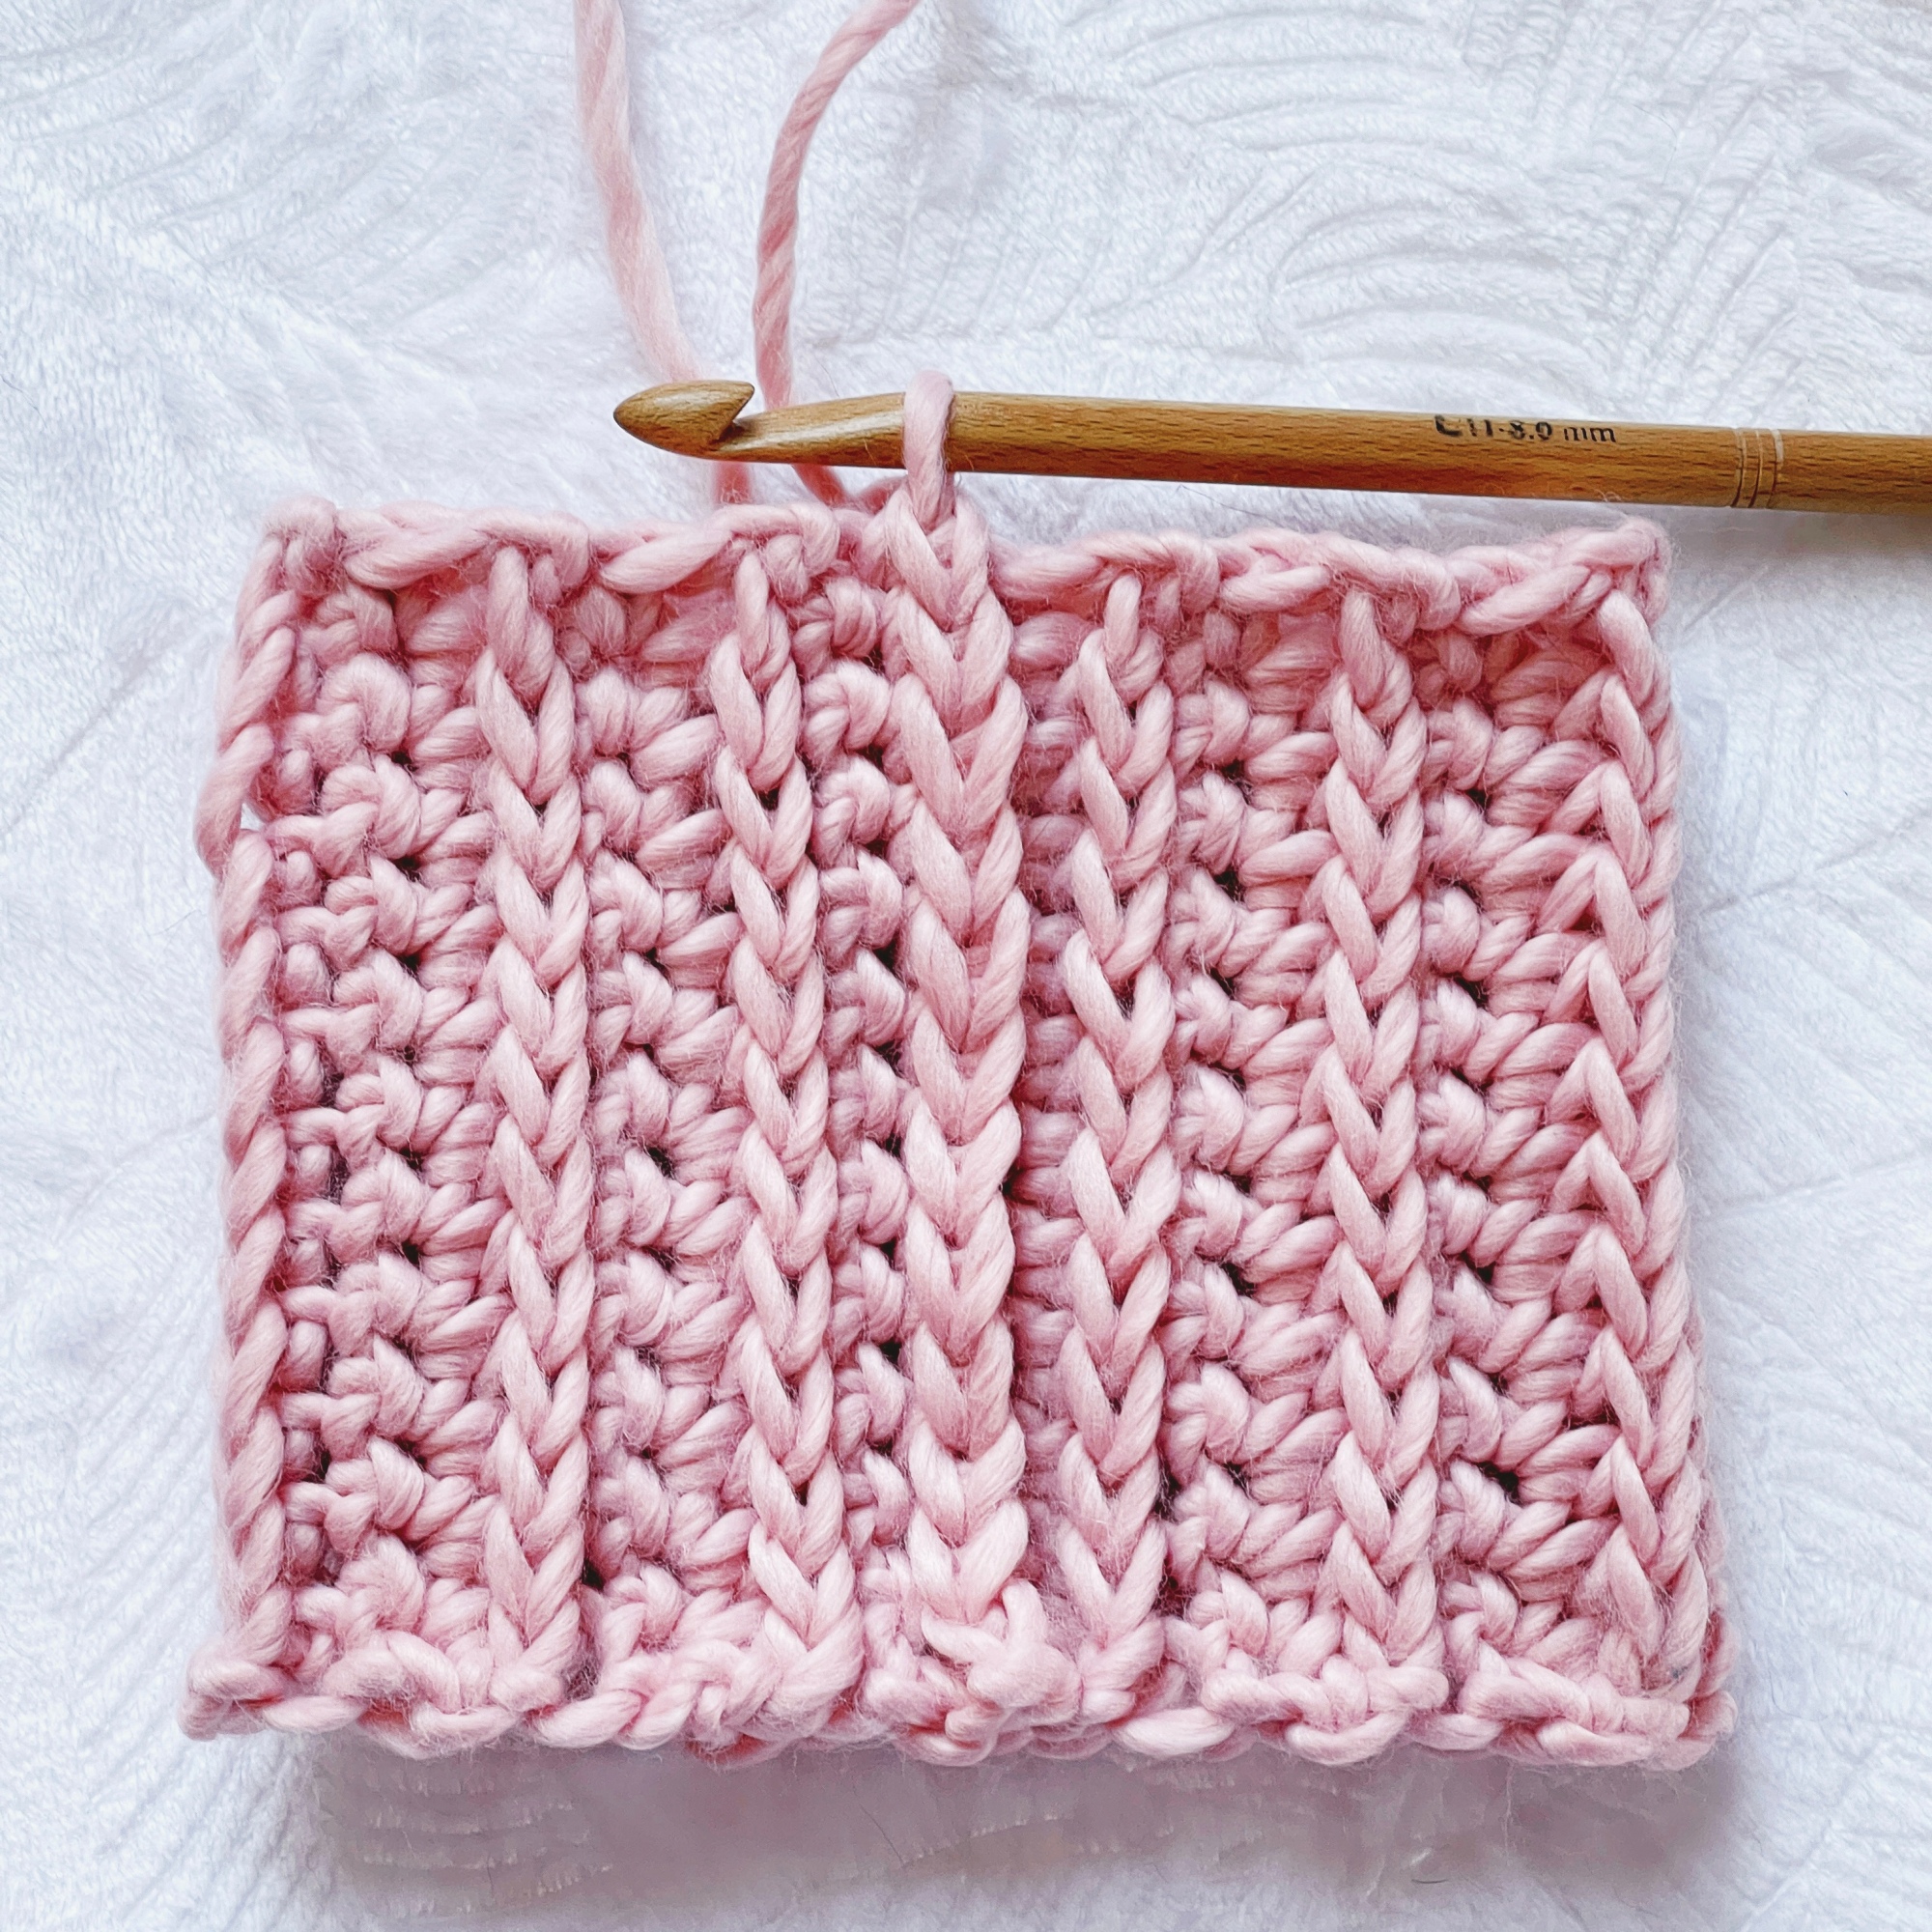
- Size L/11 8mm crochet hook
- Large eye sewing needle
- Scissors
- Poly-fil stuffing
- Cinnamon stick for the stem
Gauge:
4×4” = 9 rows x 11 stitches
Notes:
- The chains at the beginning of each row do not count as stitches.
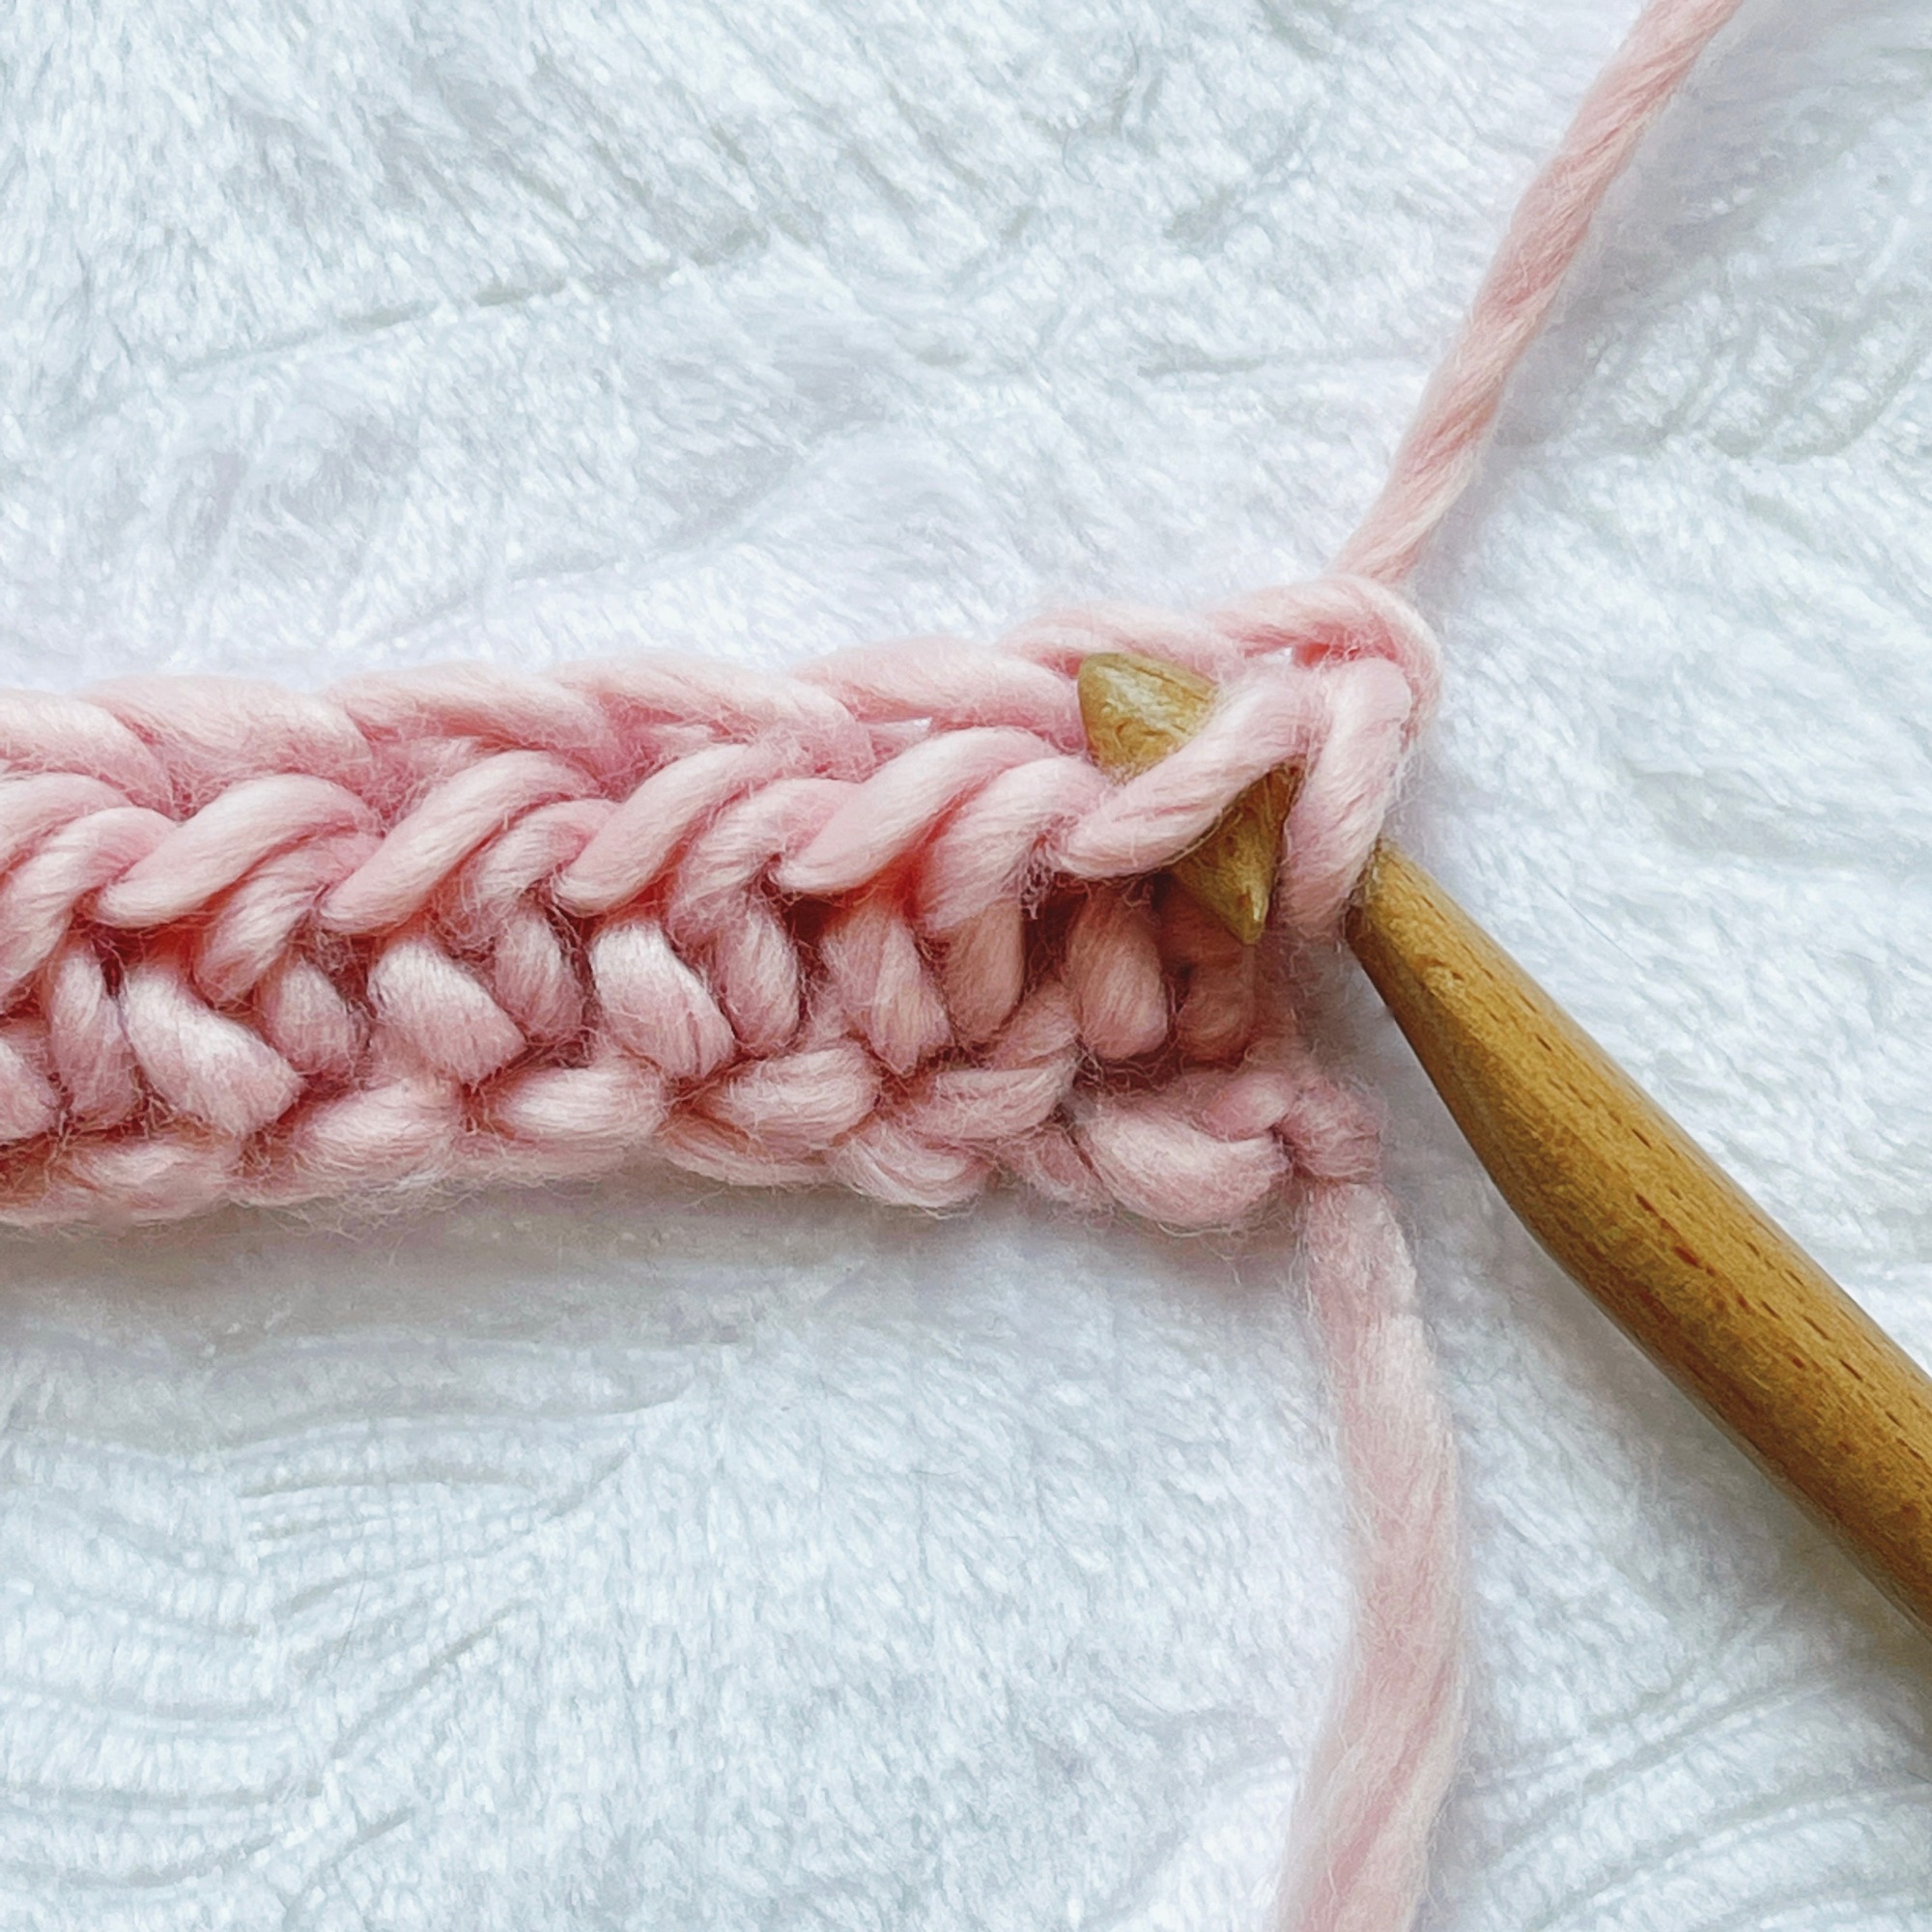
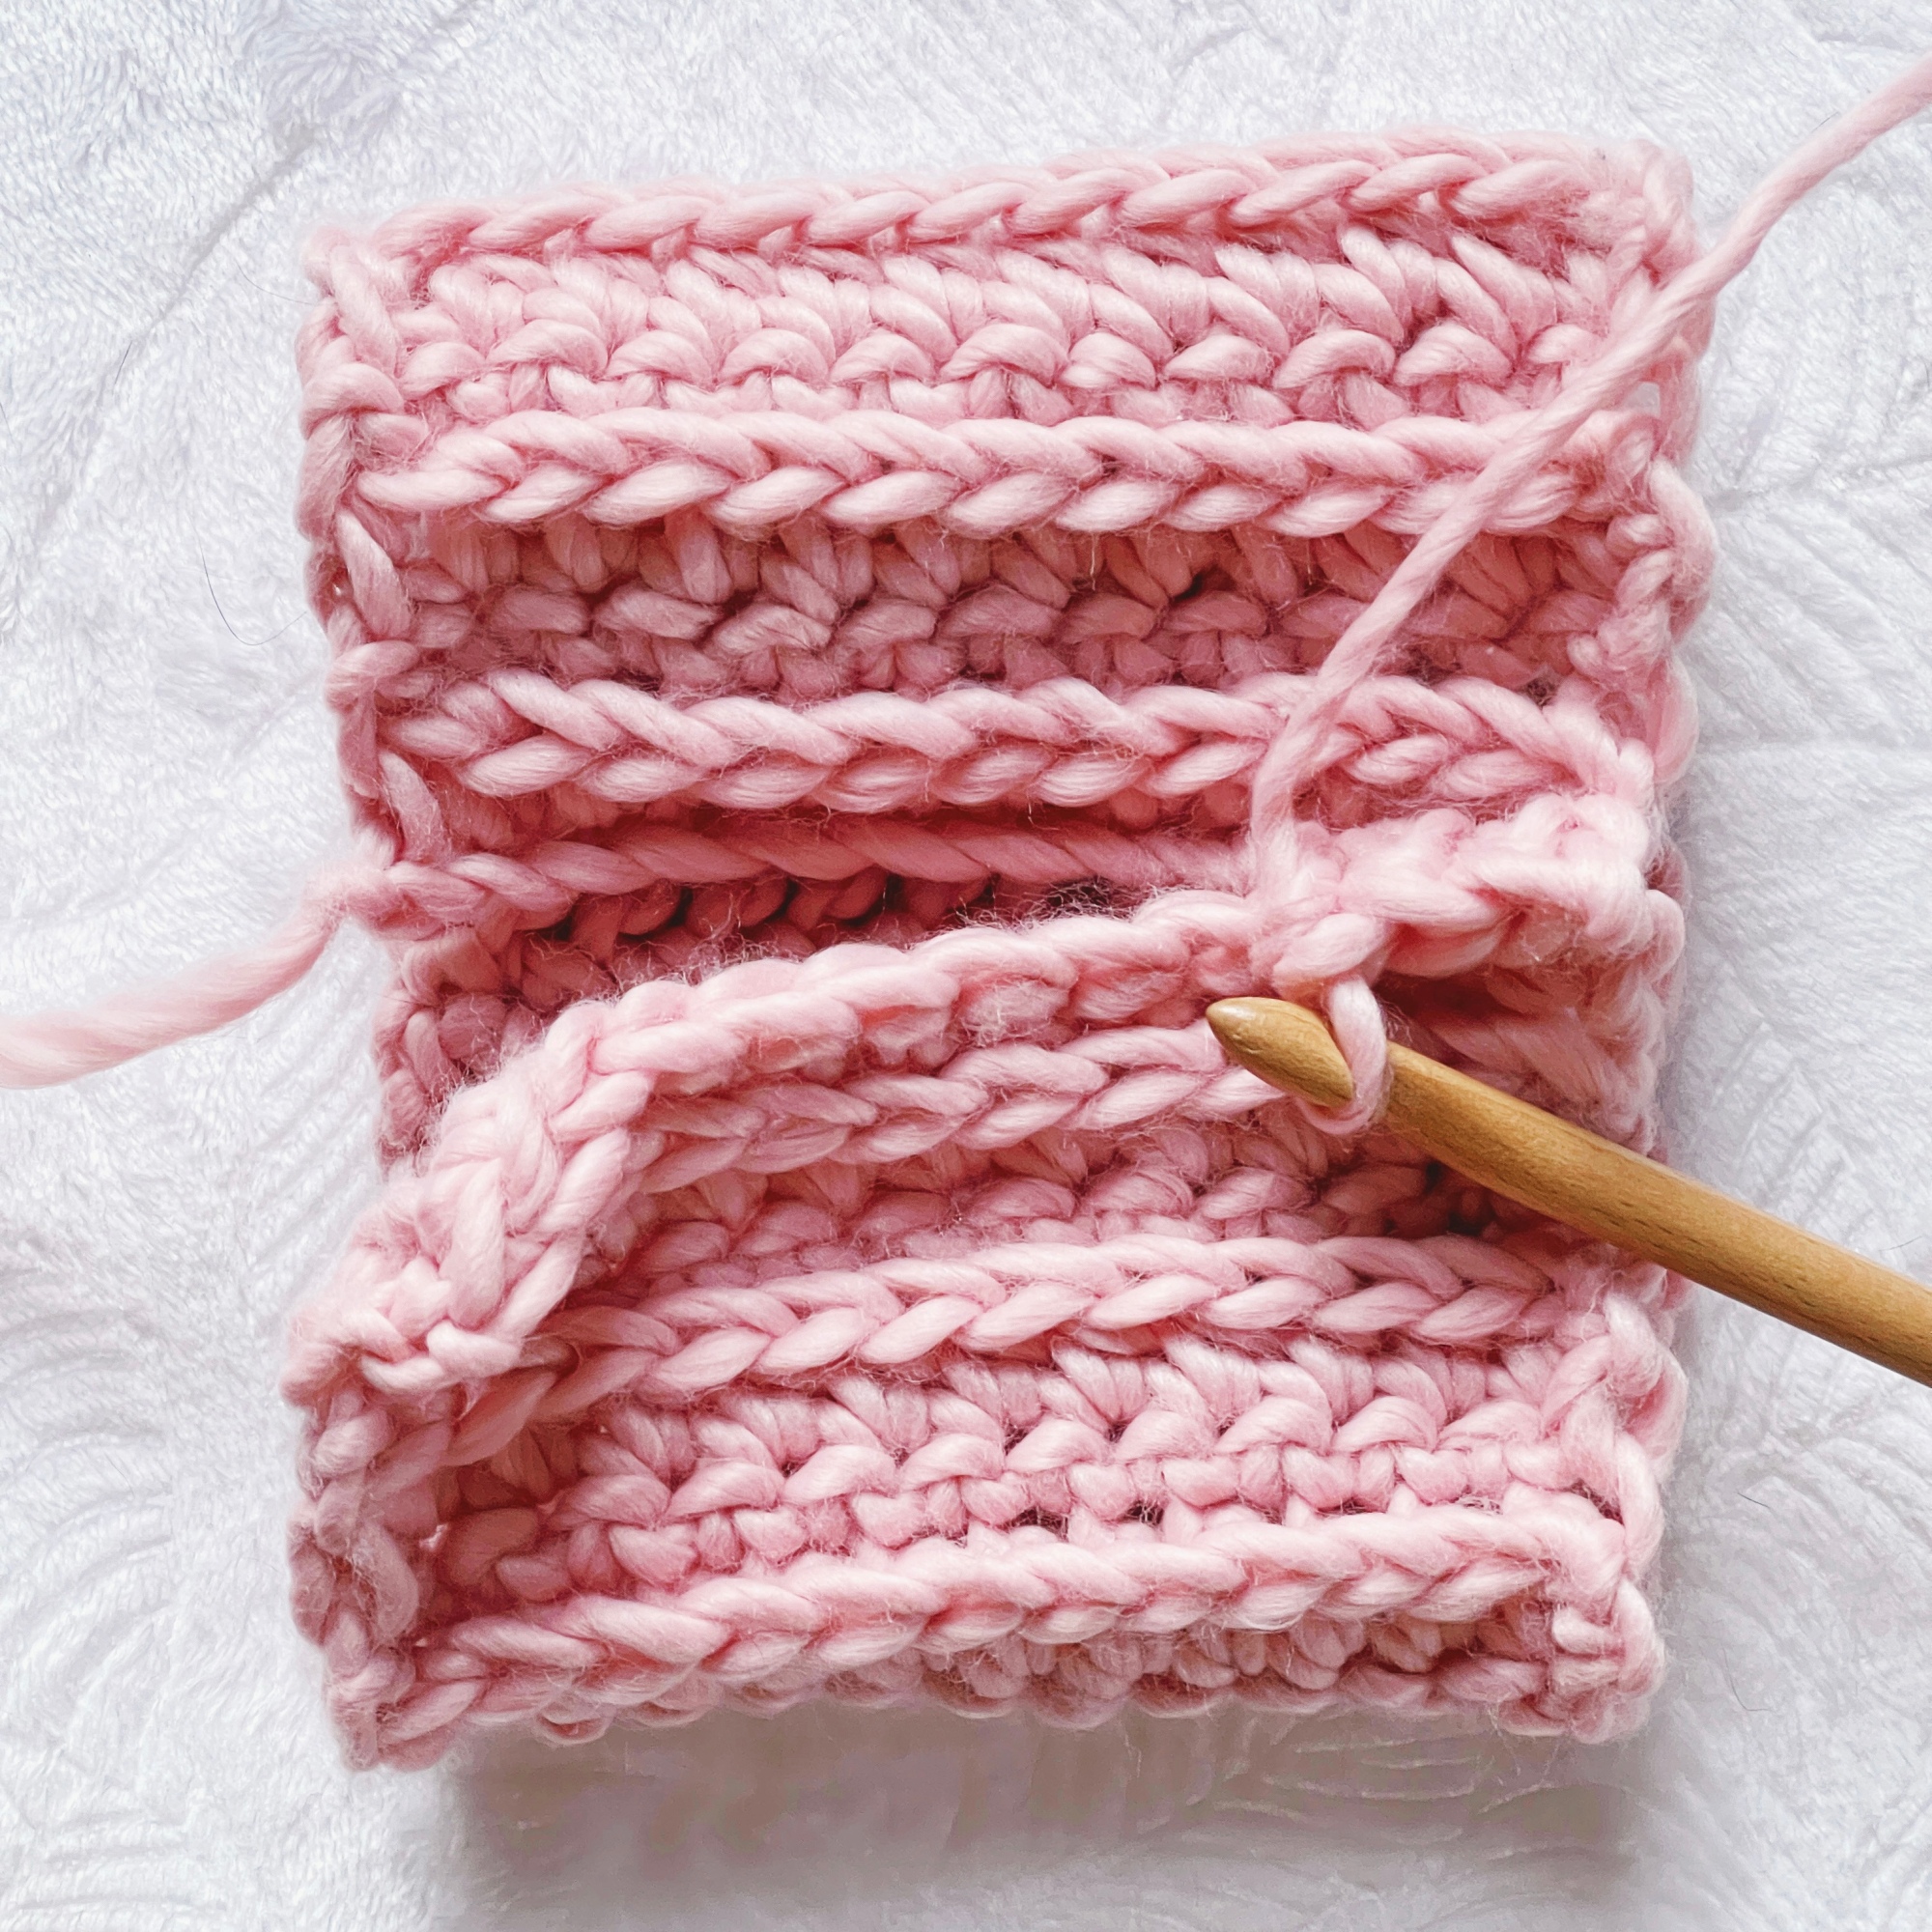
- The SC rows are done in the third loop of the HDC’s. This loop is behind the top two loops of the HDC, and will be the loop closest to you on the wrong side of the pumpkins..
- Adjust the size to your liking! Any length chain can be used to start, and the two row repeat can be added to or subtracted from as needed!
PATTERN:
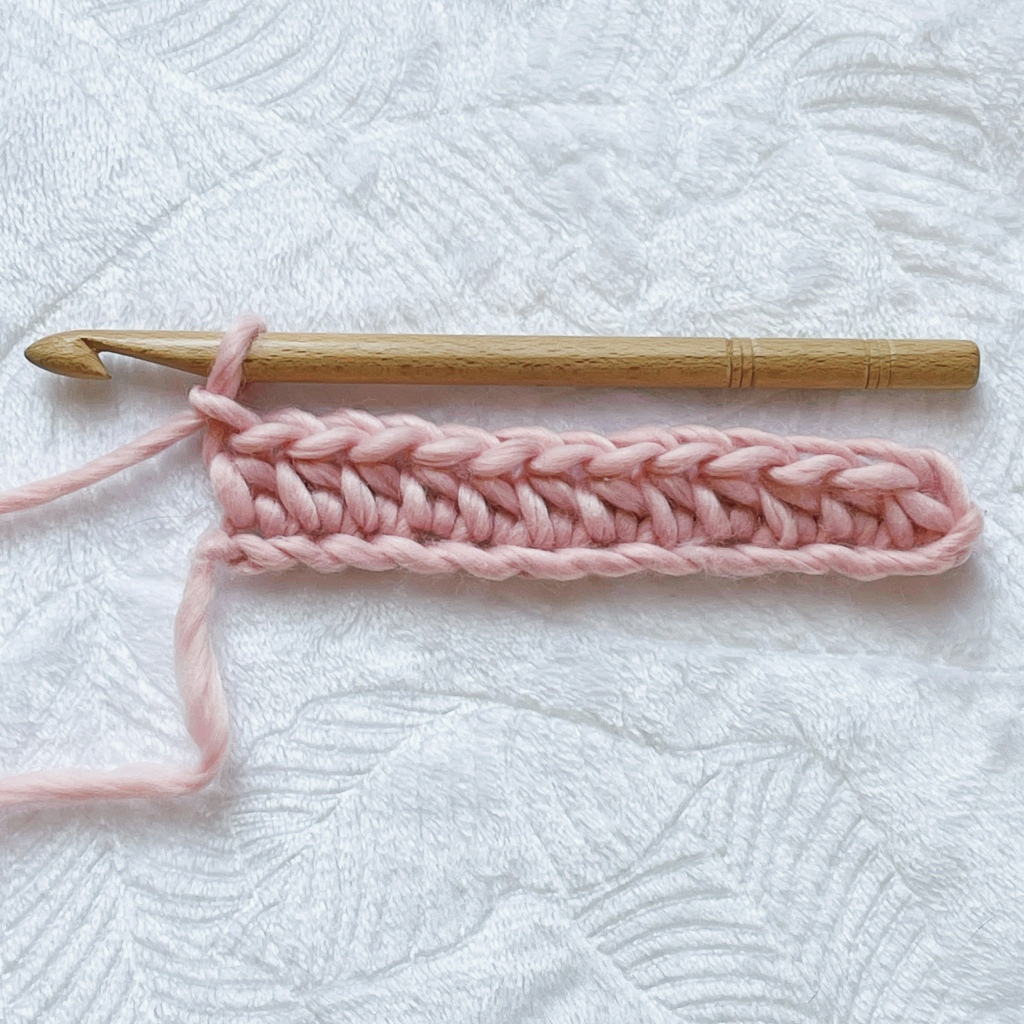
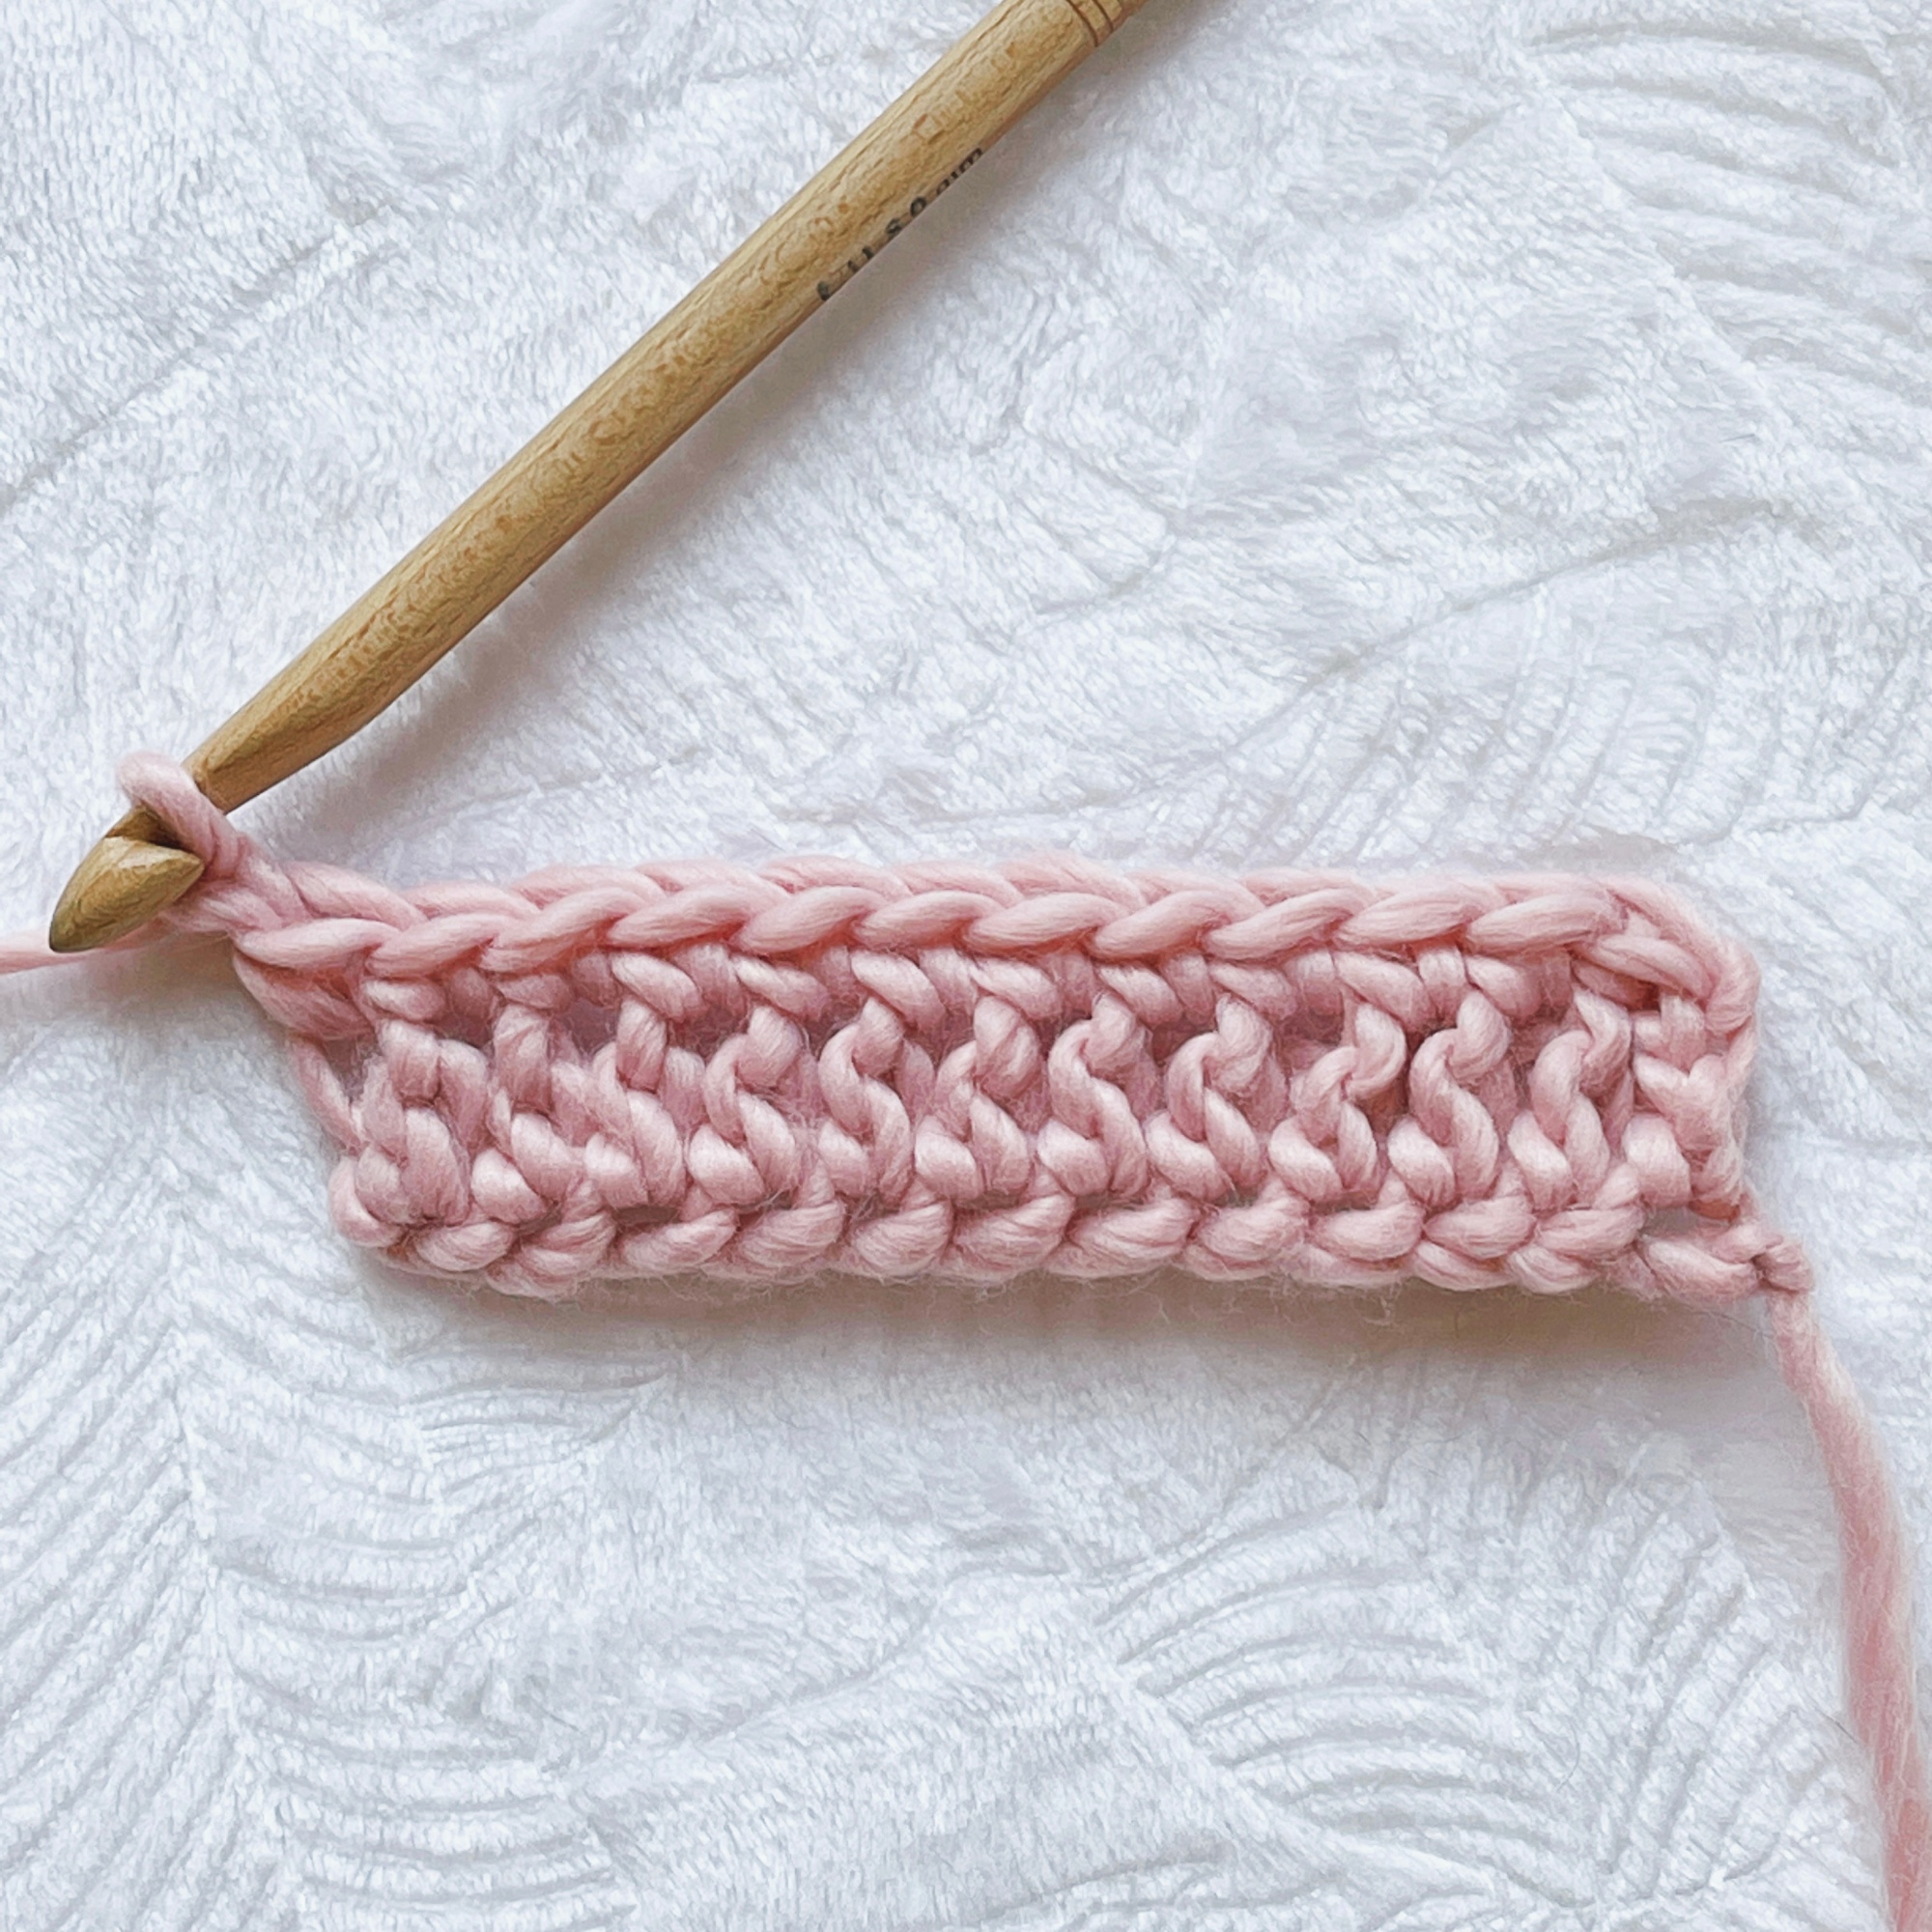
CH 13.
Row 1: HDC in the 2nd CH from the hook and in each CH across. (12 STs)
R2: Ch 1. SC in the 3rd back loop of each HDC (see notes). (12 STs)

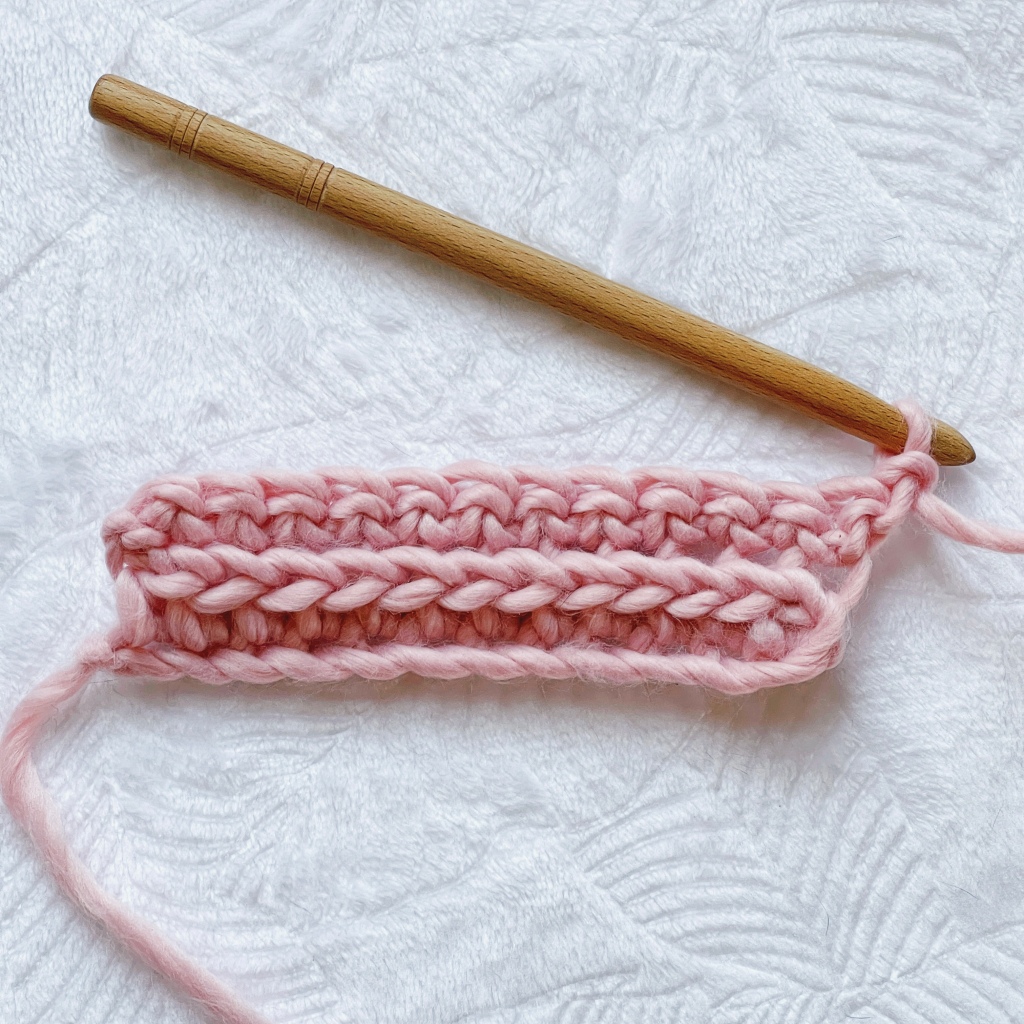
R3: CH 1. HDC in each SC across. (12 STs)
R4-24: Repeat rows 2 and 3 for 24 rows total. Do not fasten off.
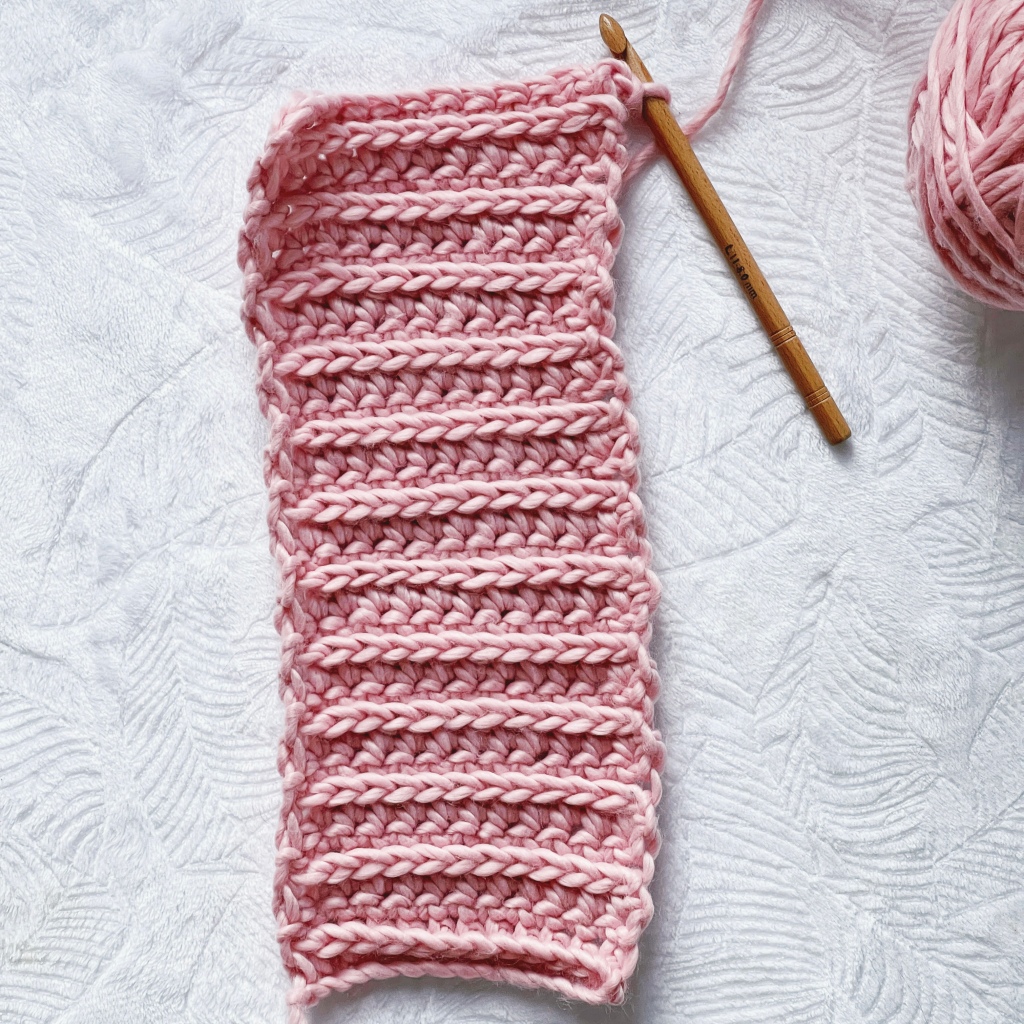
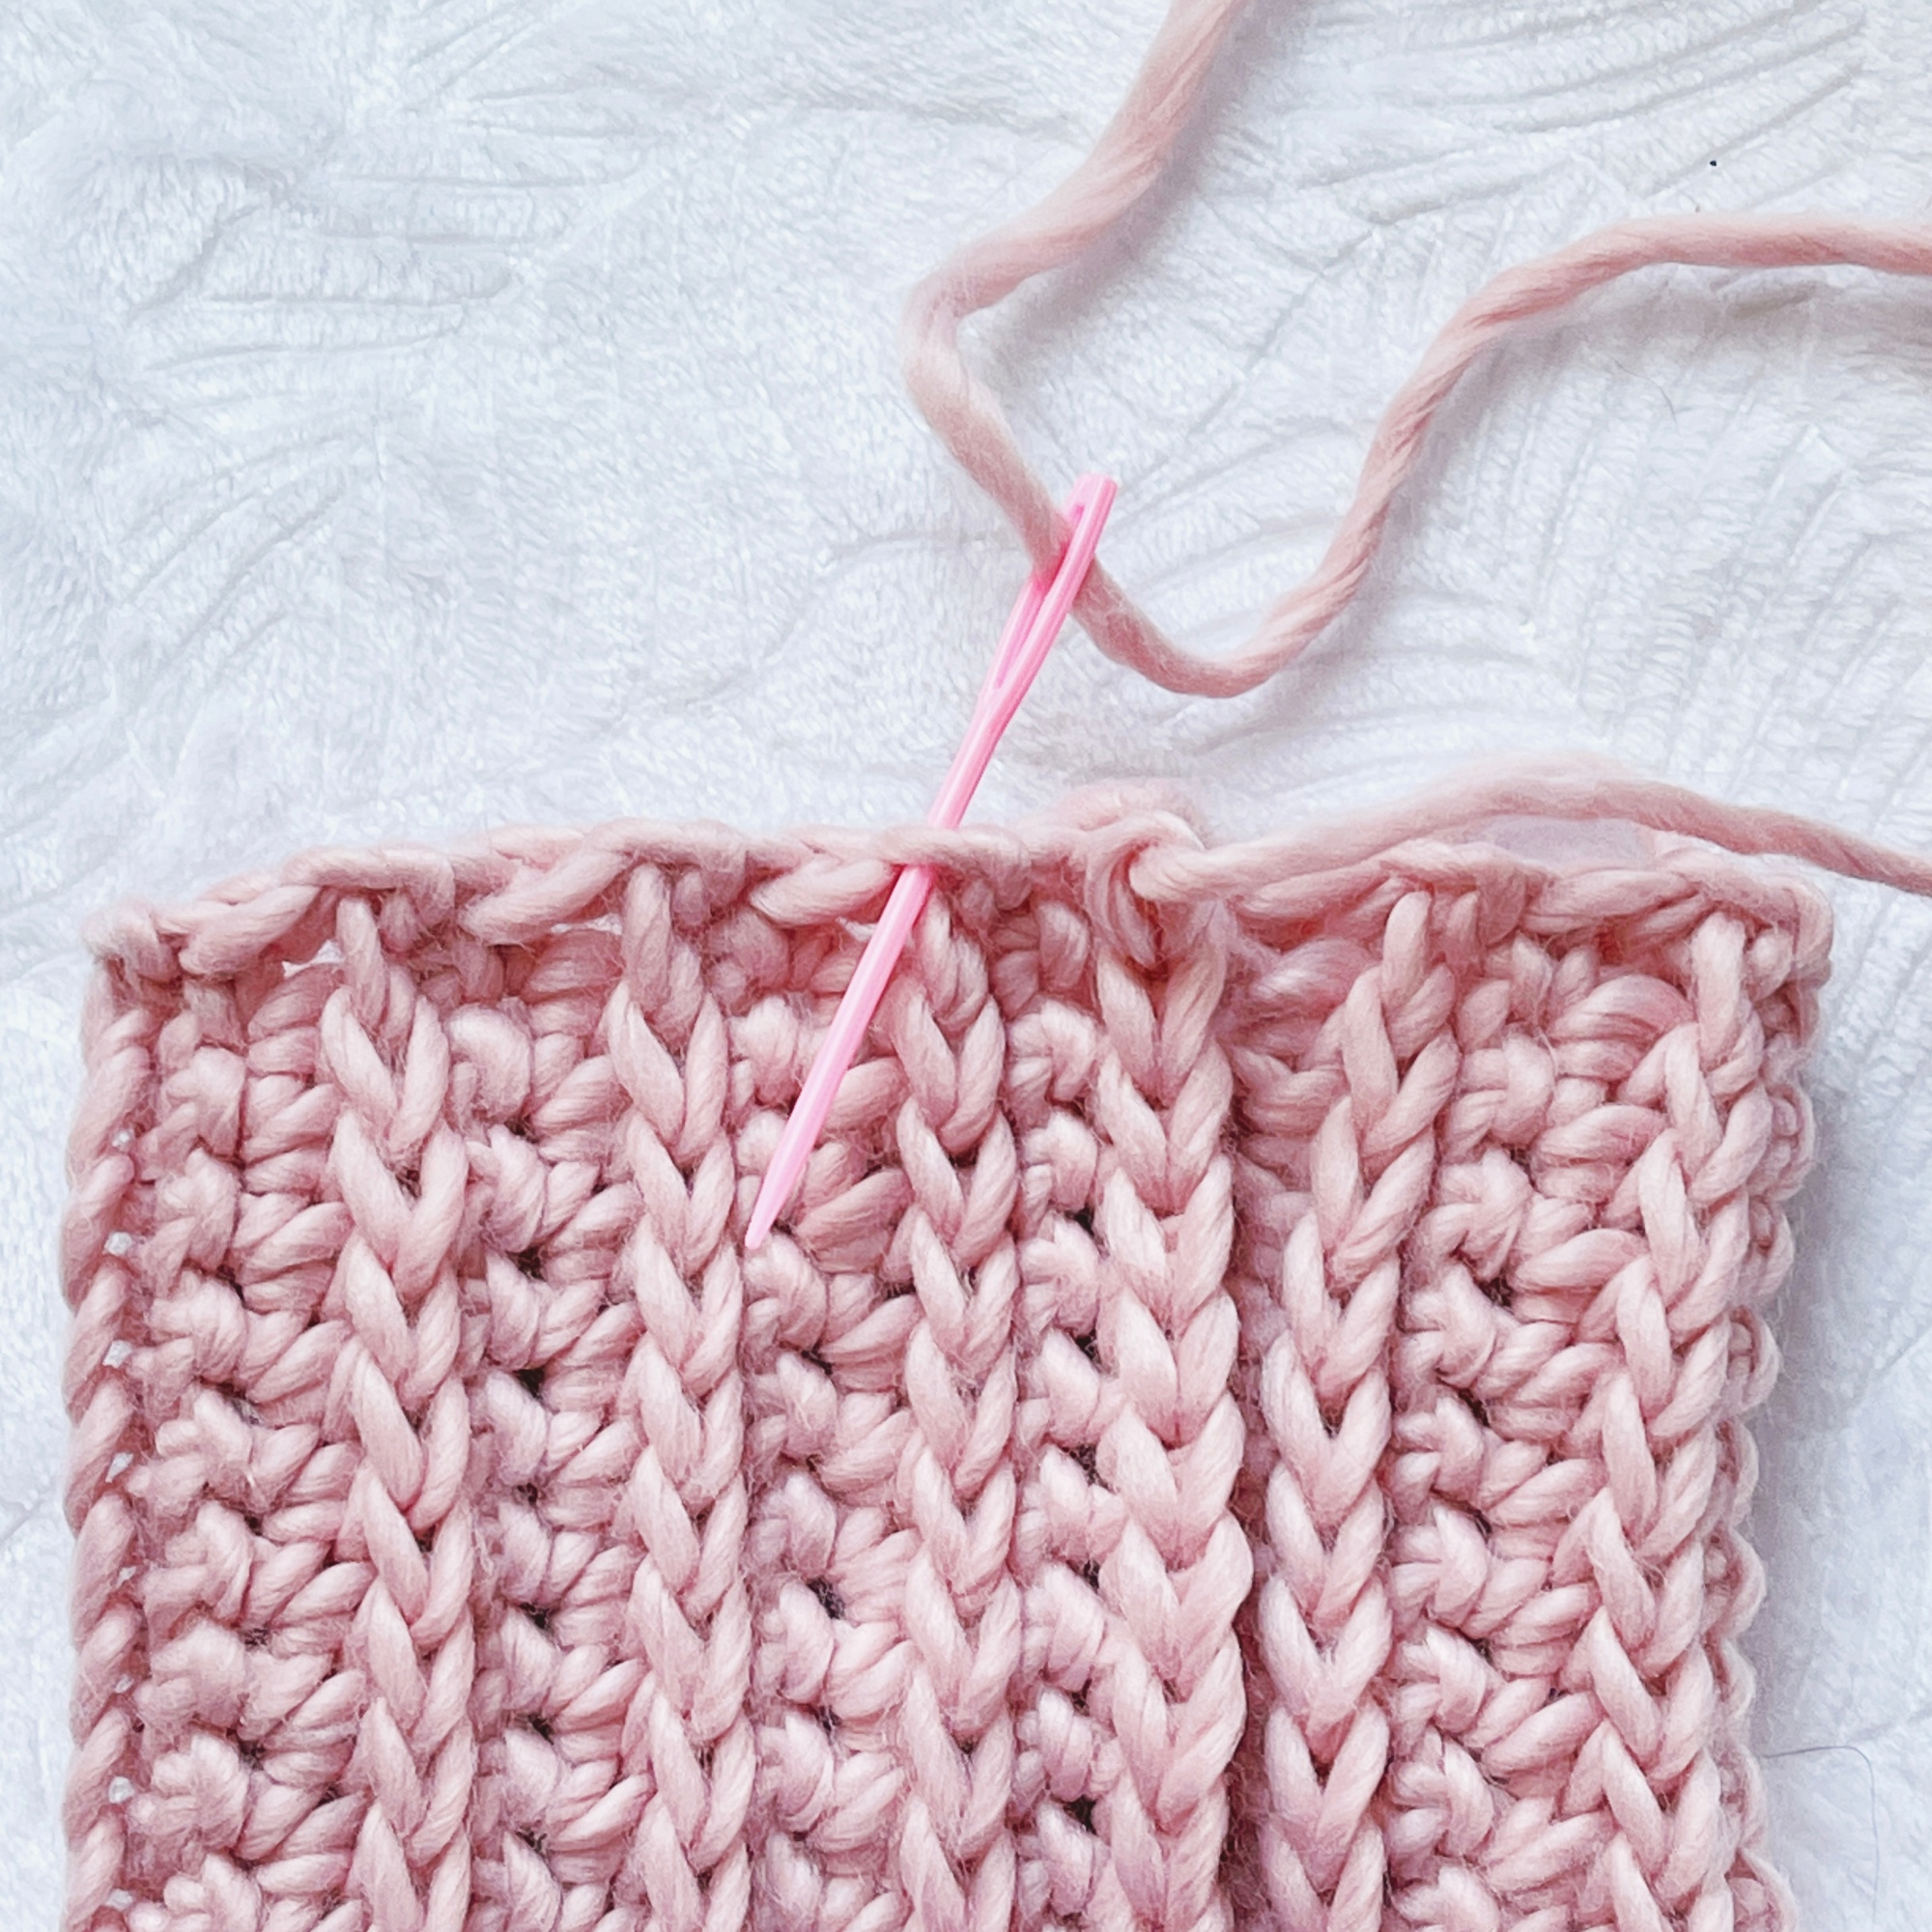
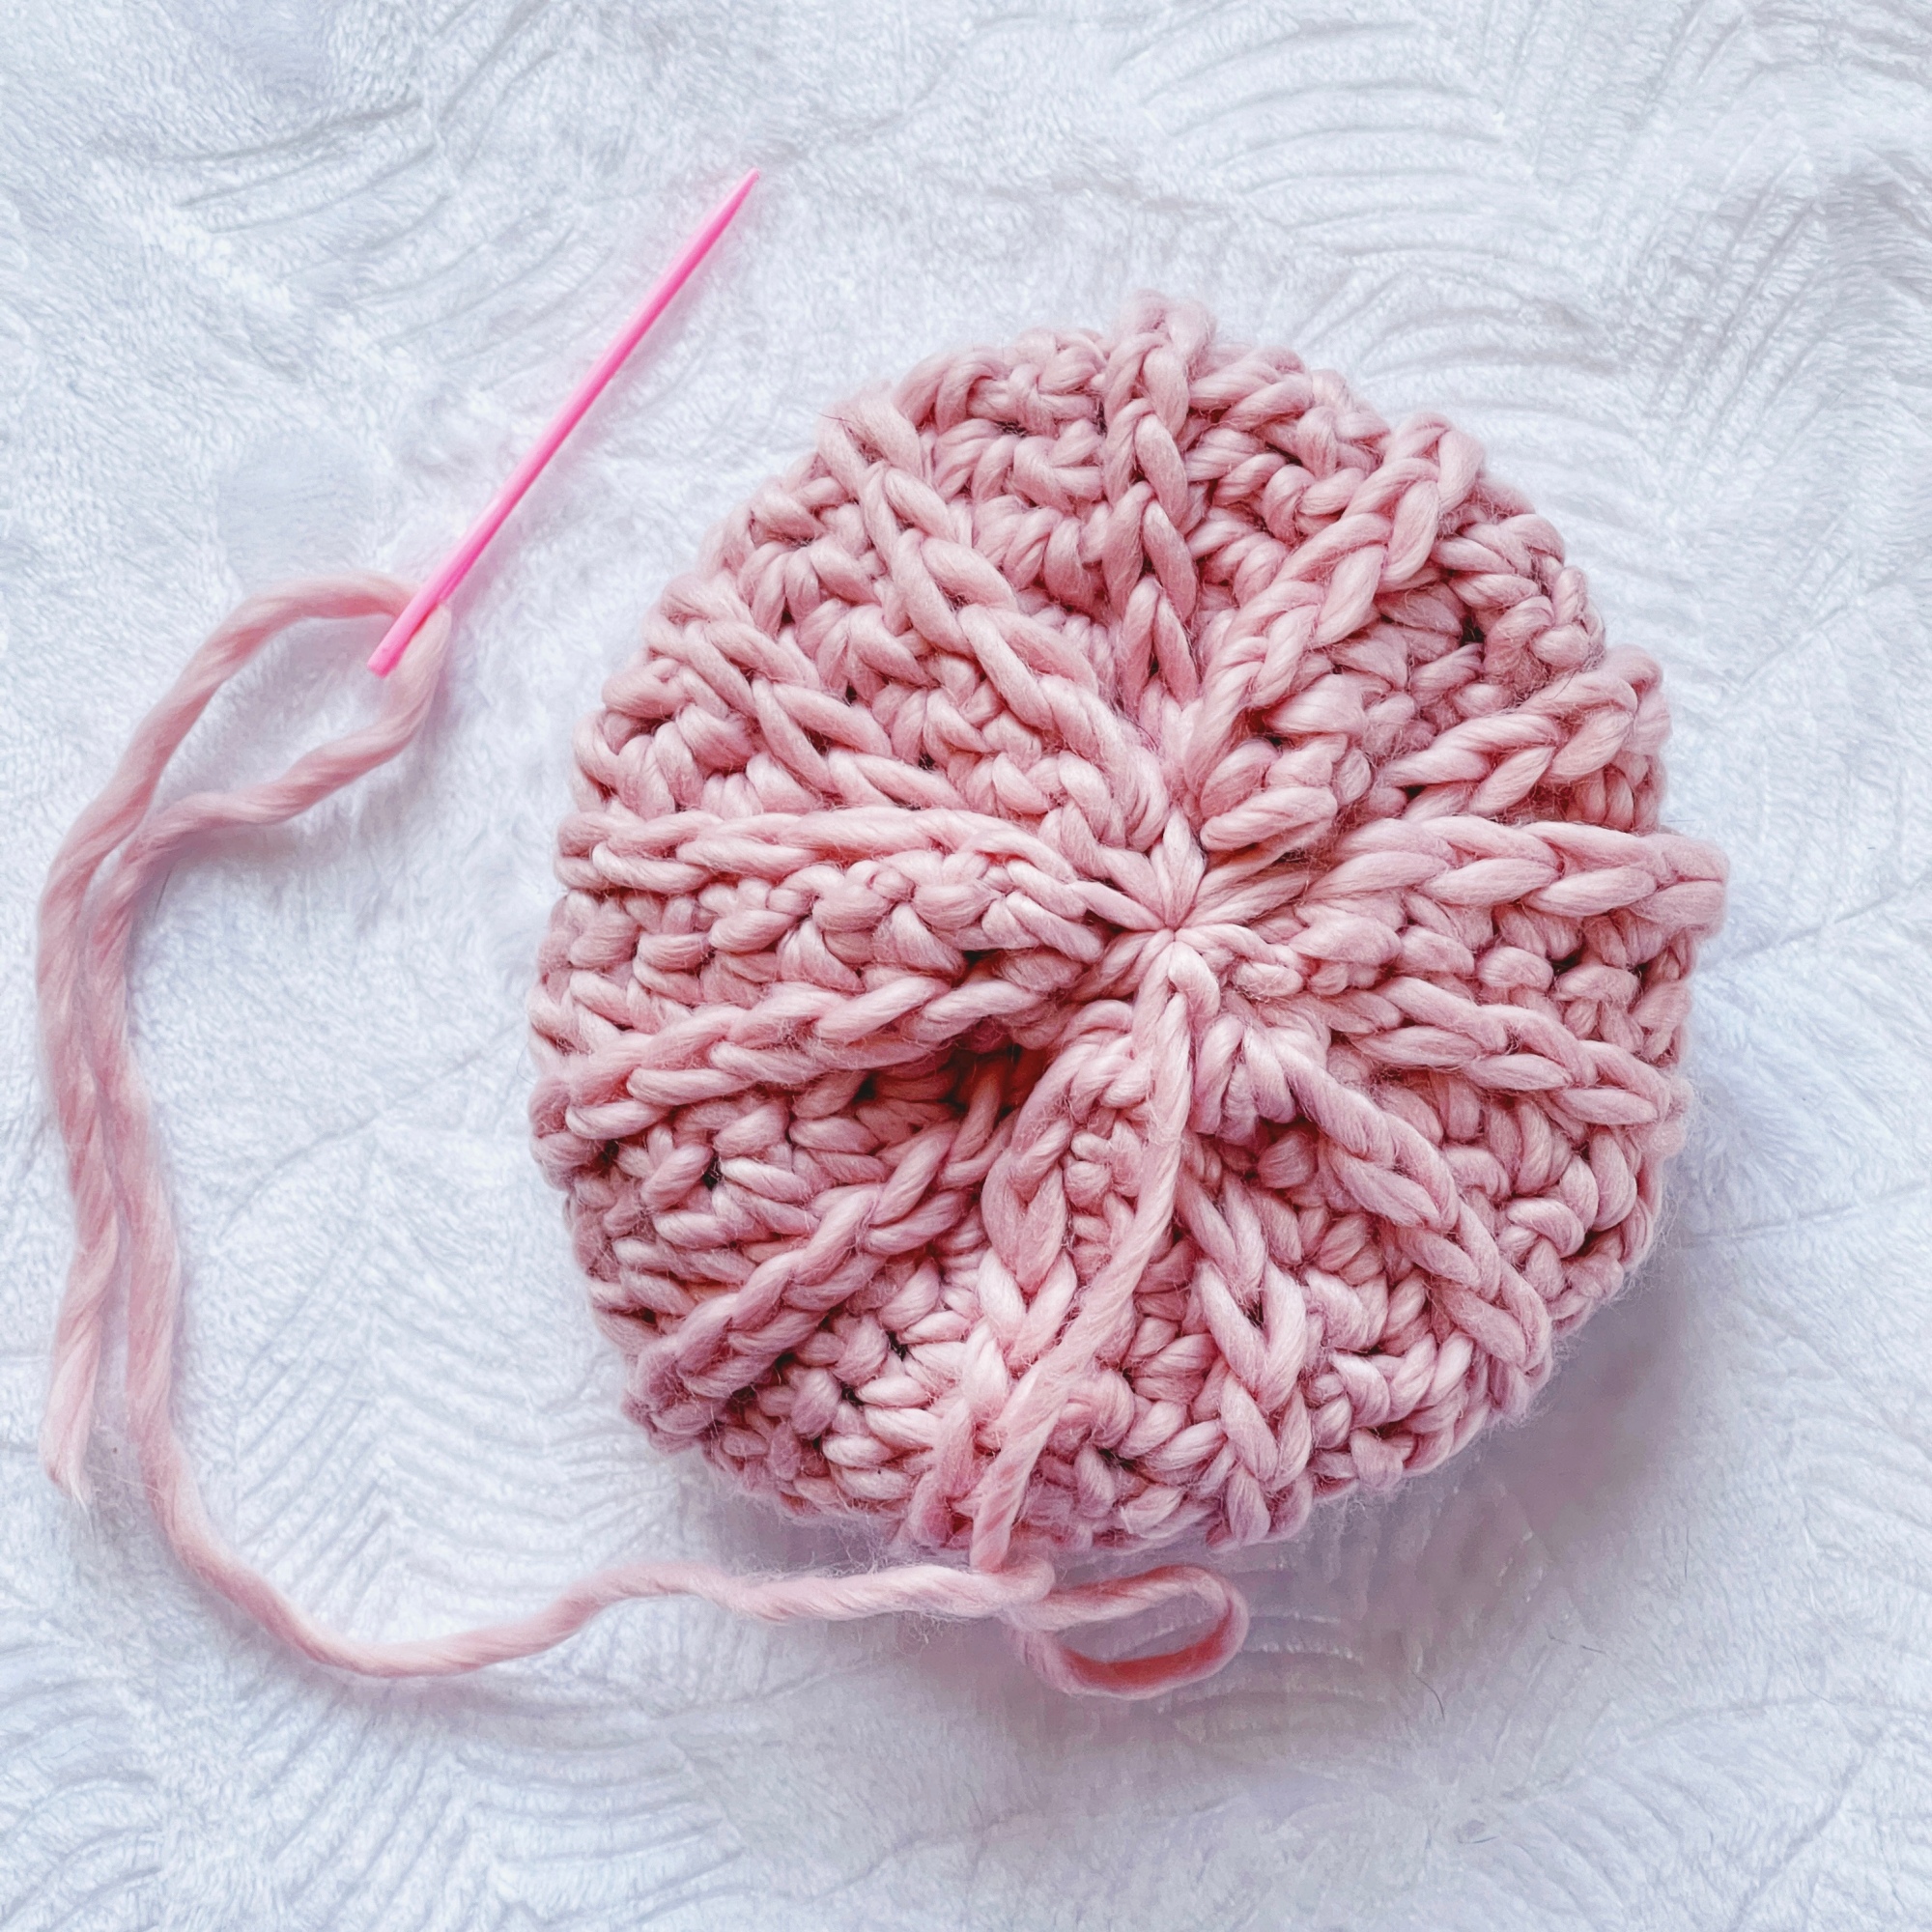
With wrong side up, bring beginning CH and final SC edges together. Surface crochet the sides together, working through both loops of the SC’s. Fasten off yarn, leaving a long tail (at least 12 inches).
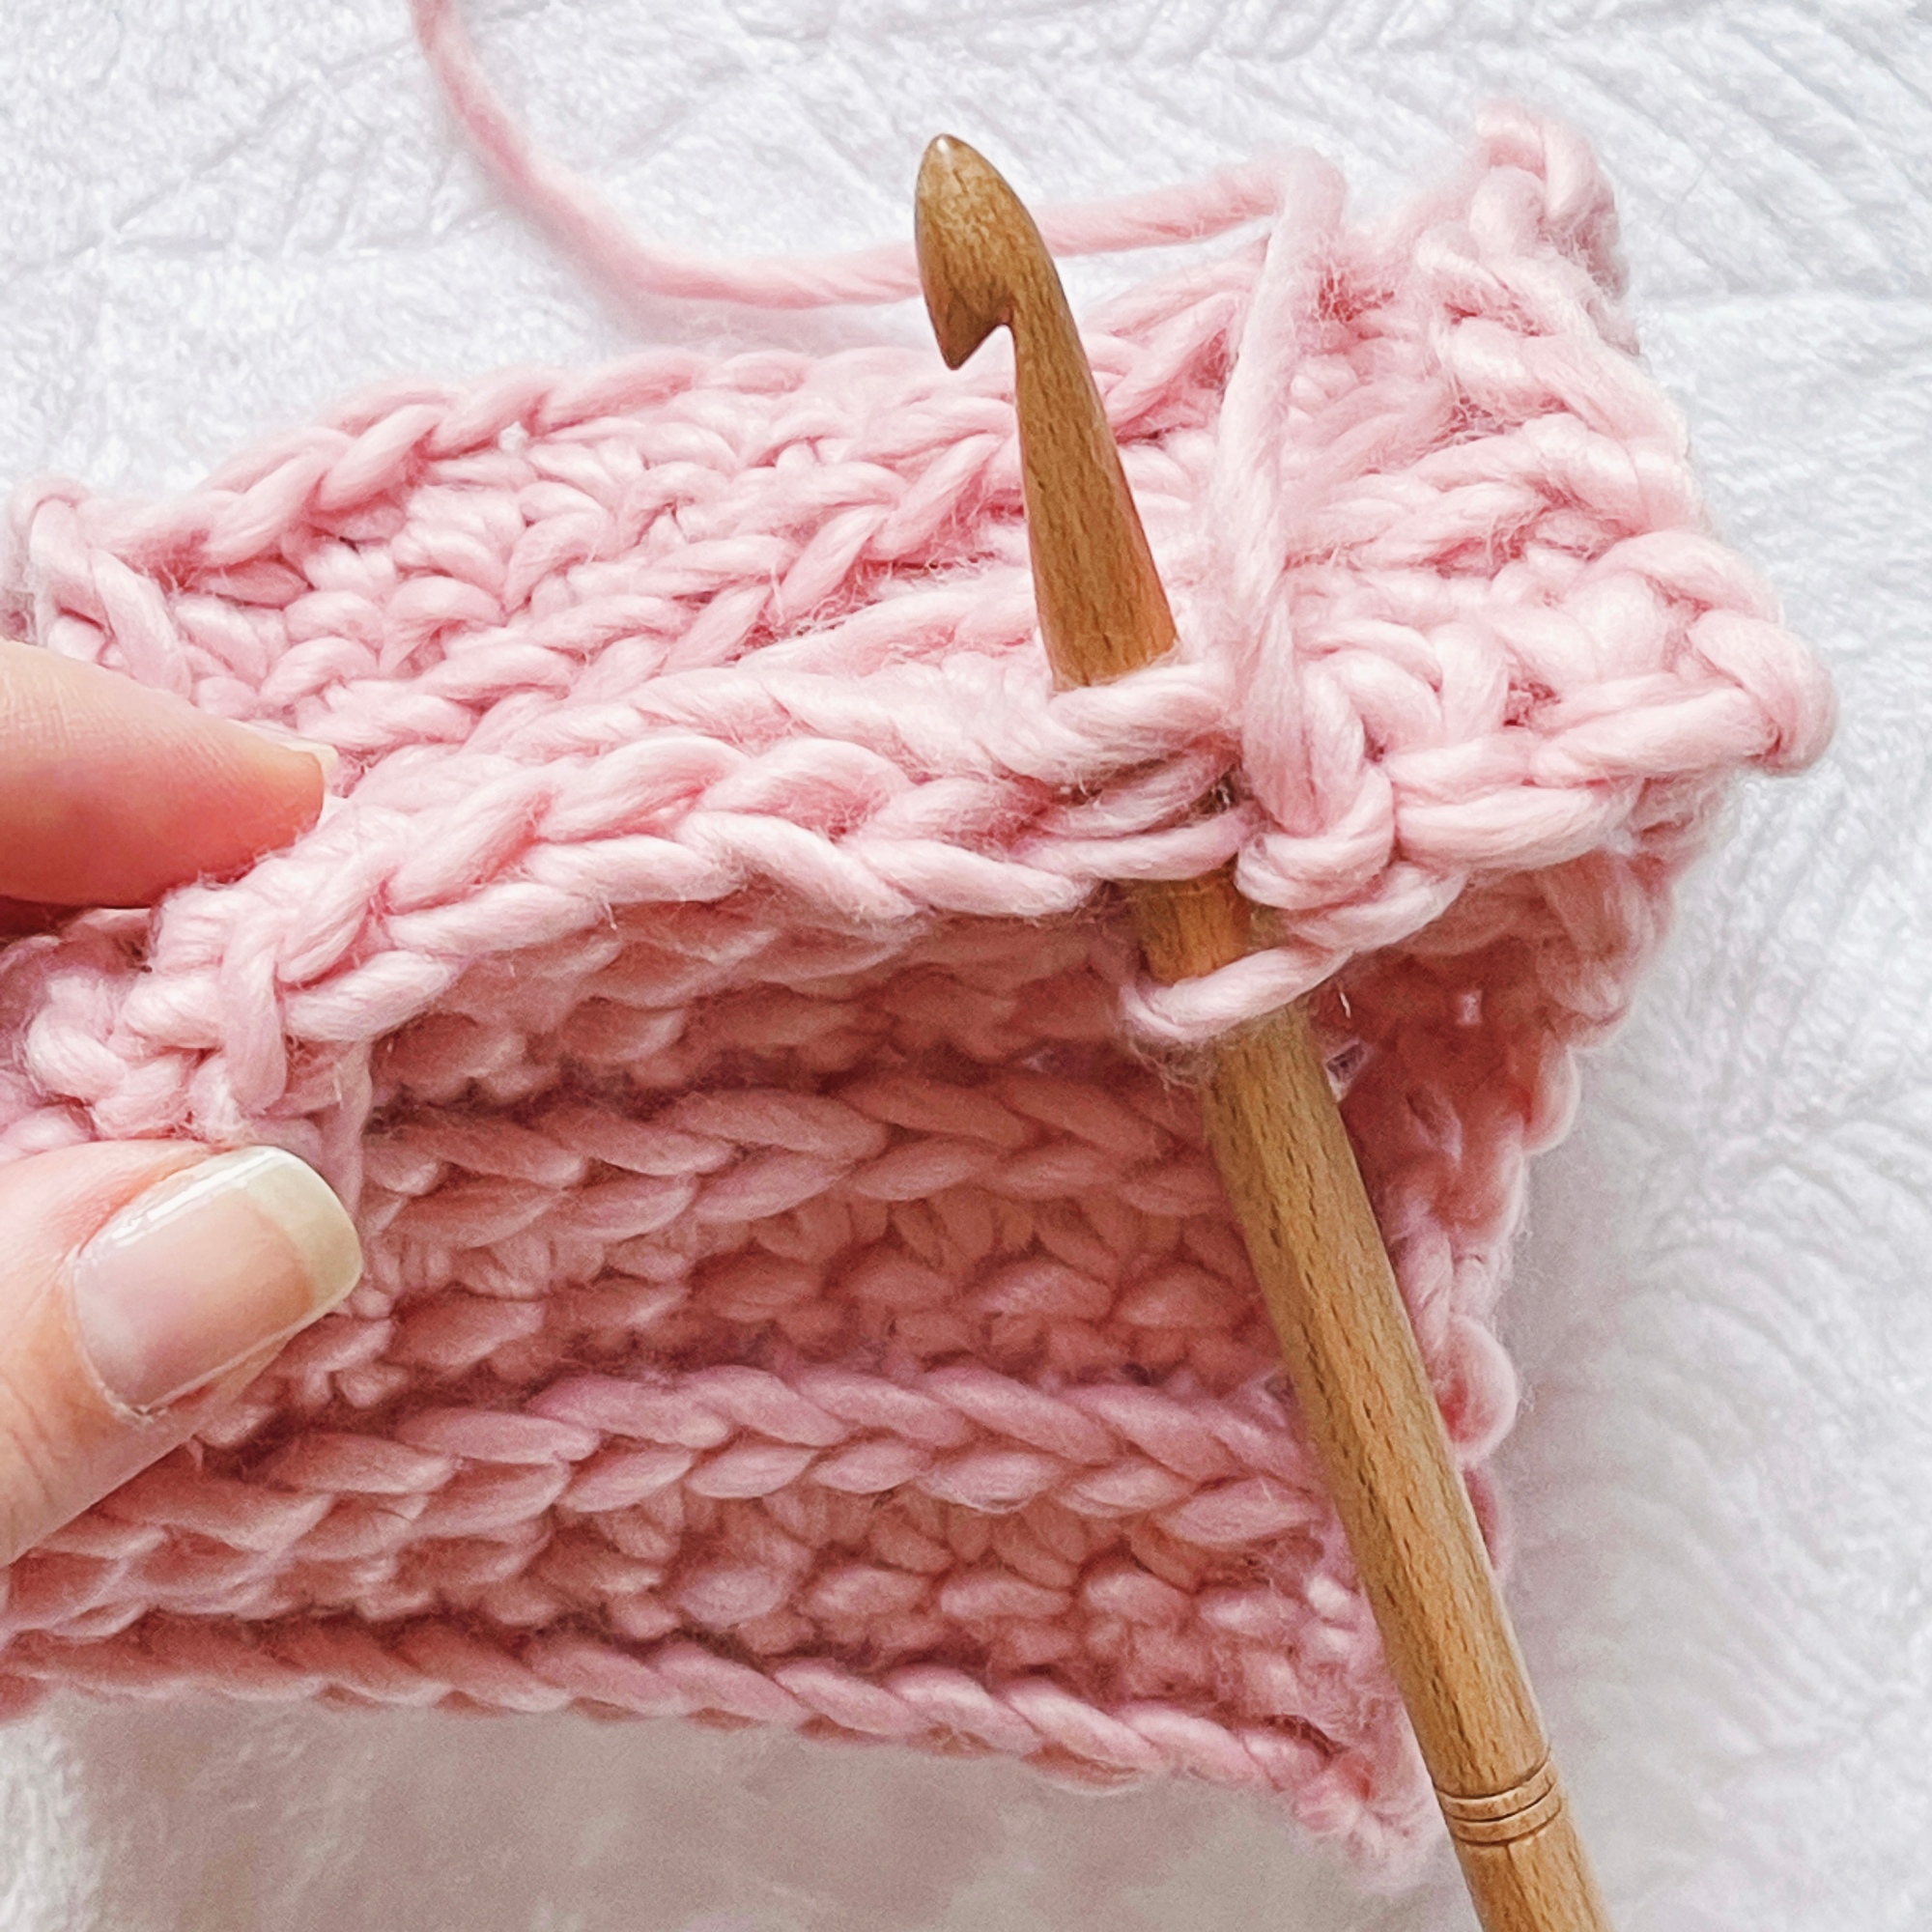
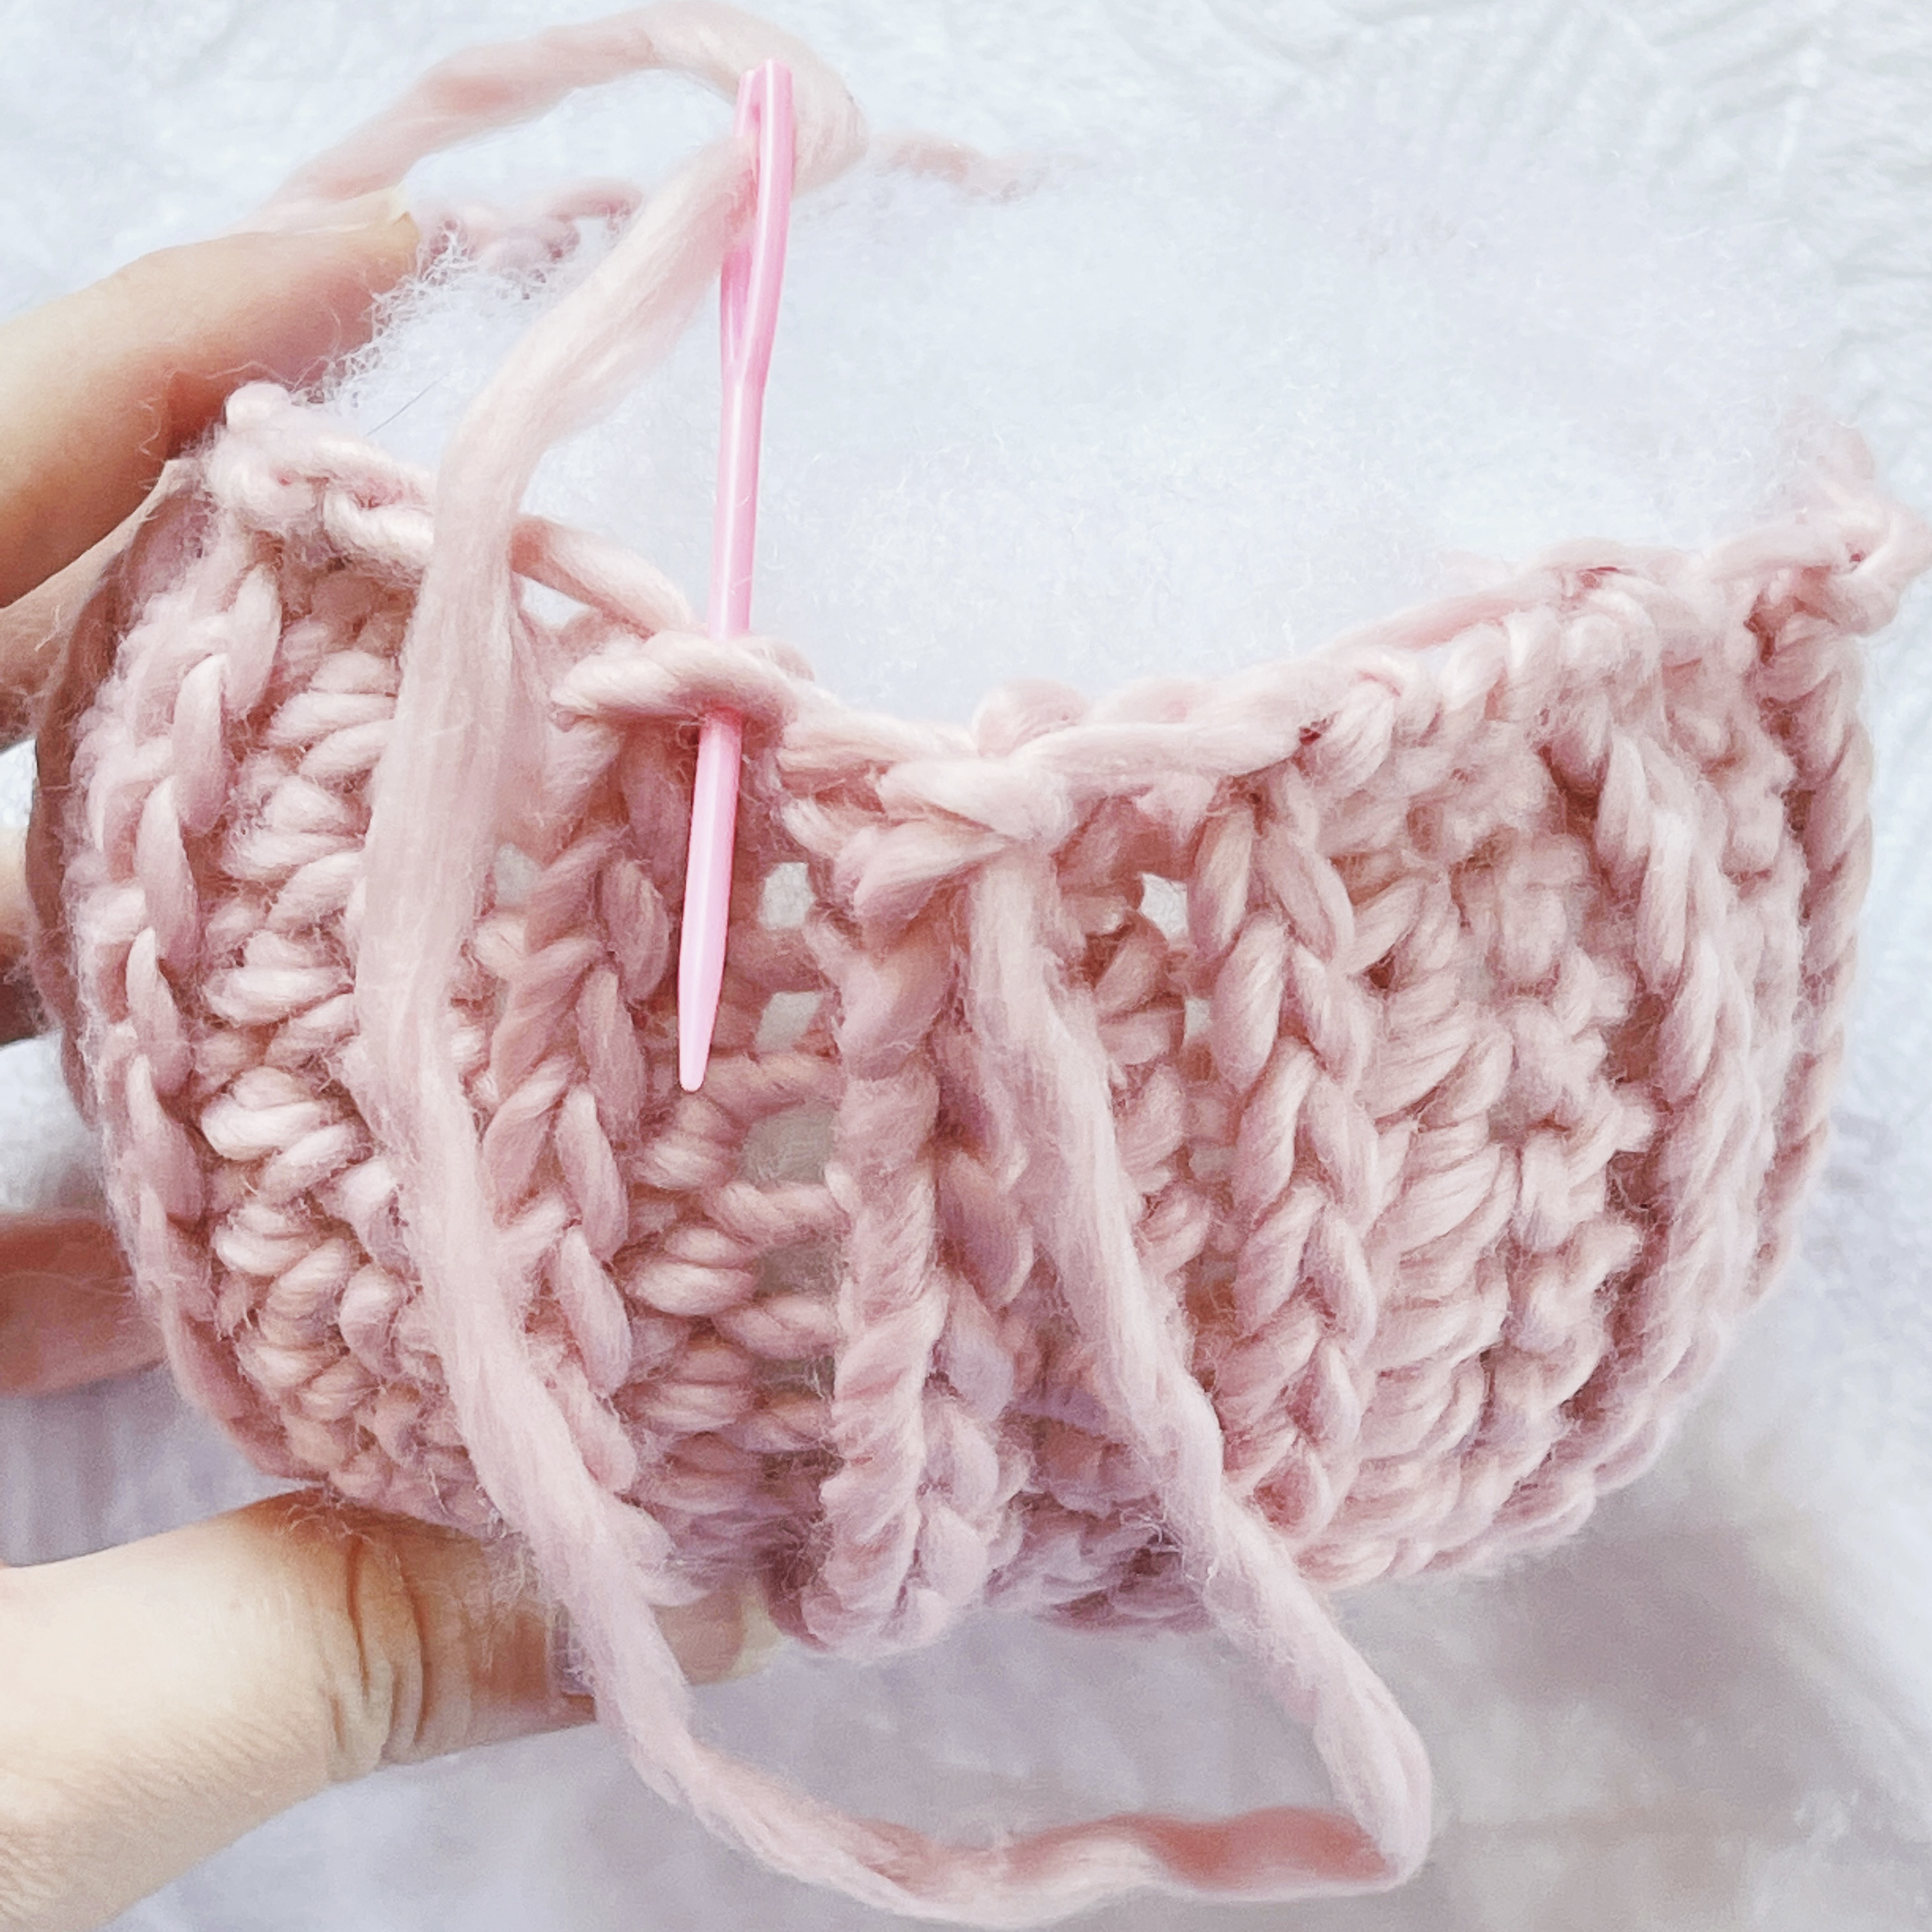
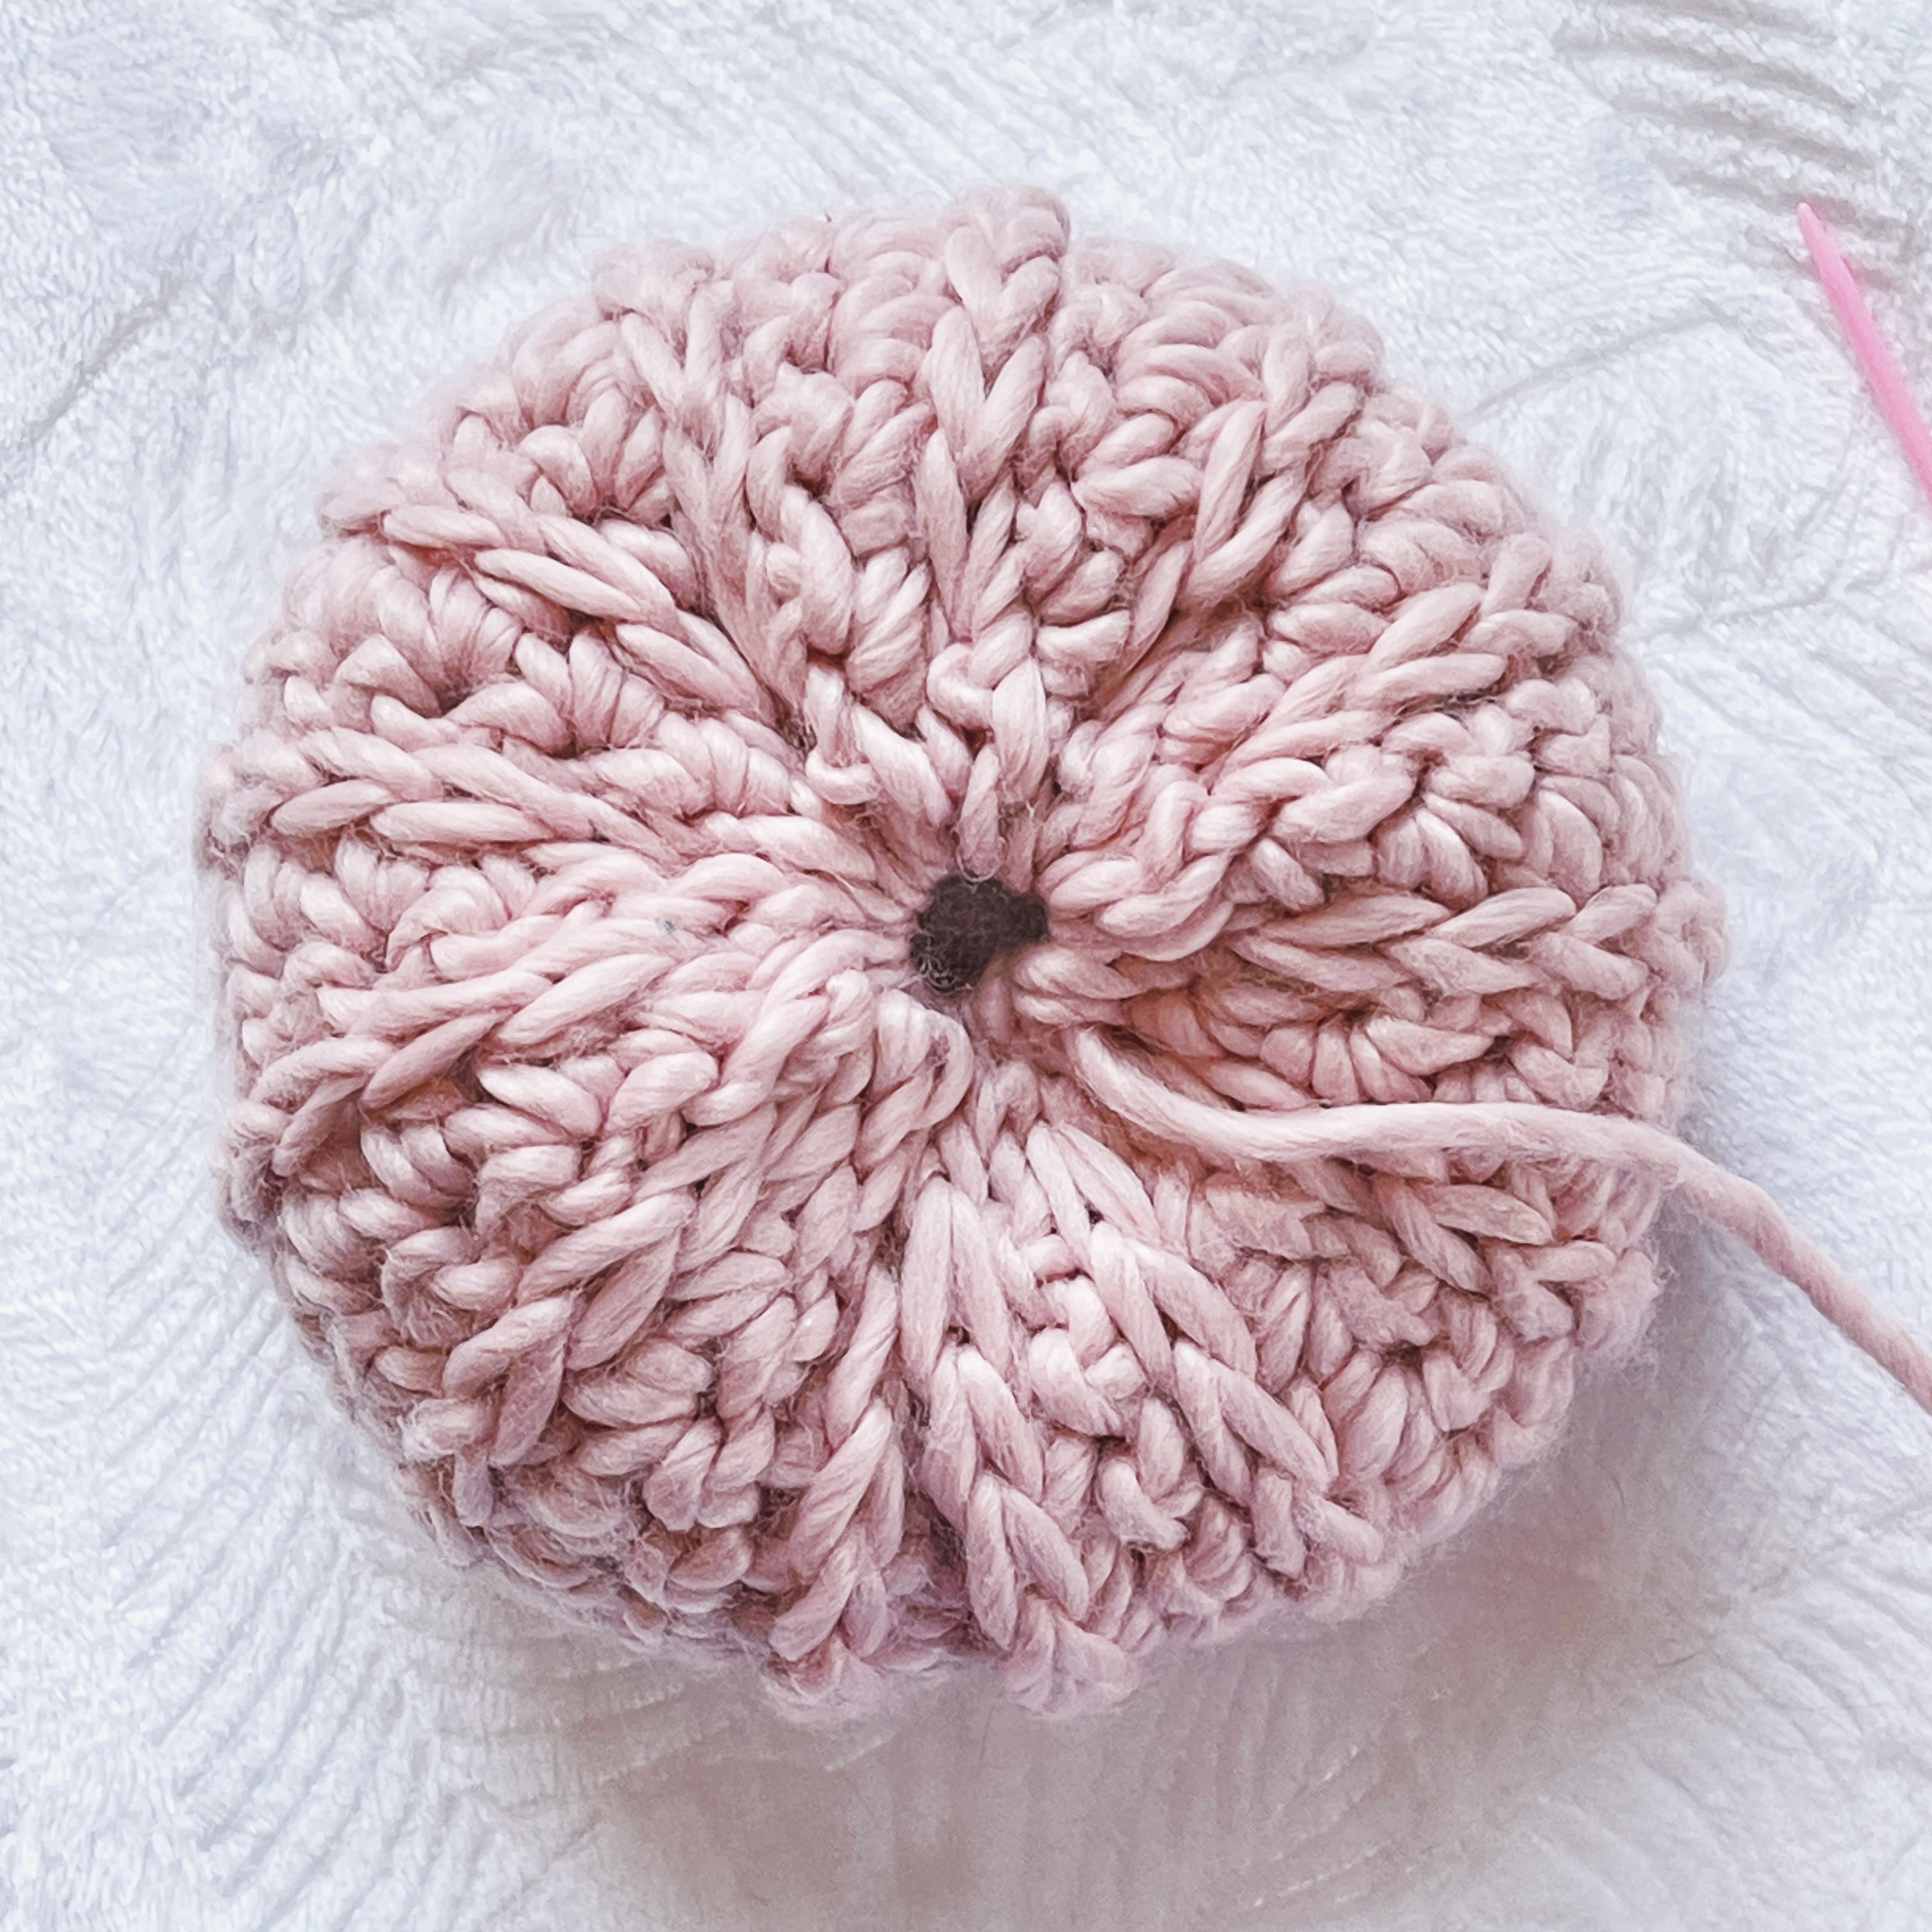
Using a large eye sewing needle, whip stitch along the edge in the raised HDC stitches. Pull tight to close and work around the hole a couple times to secure.
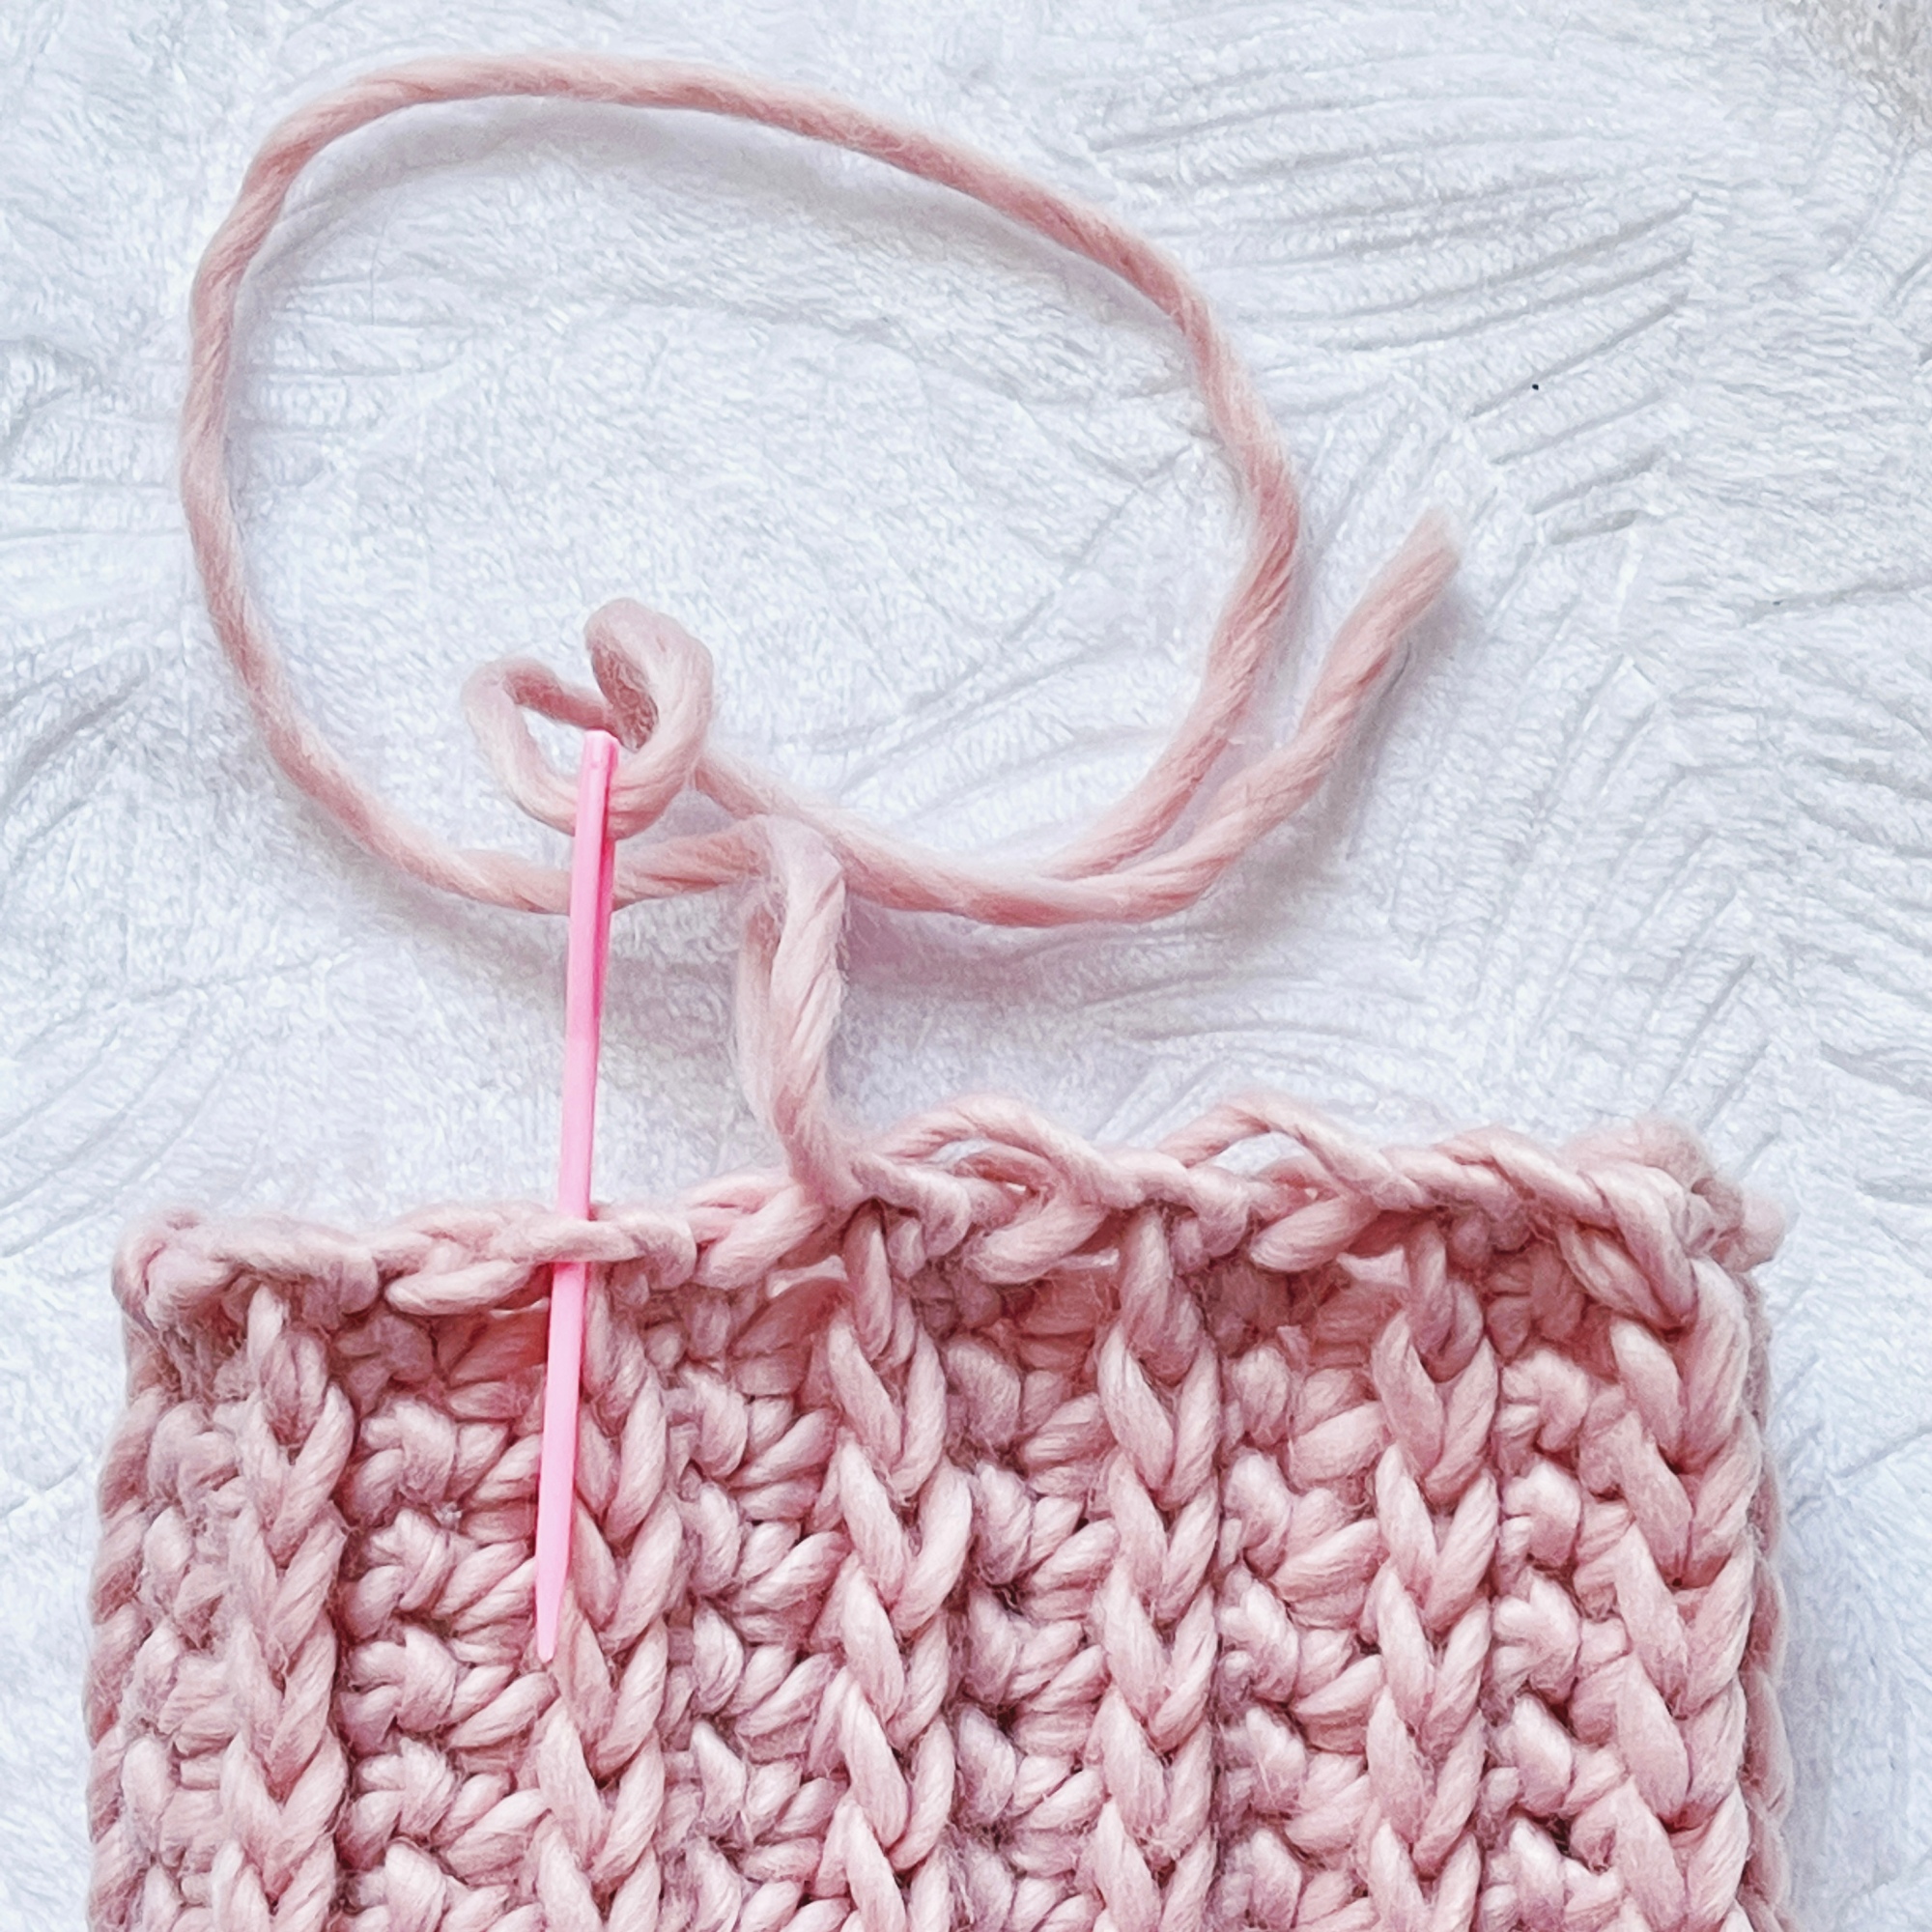
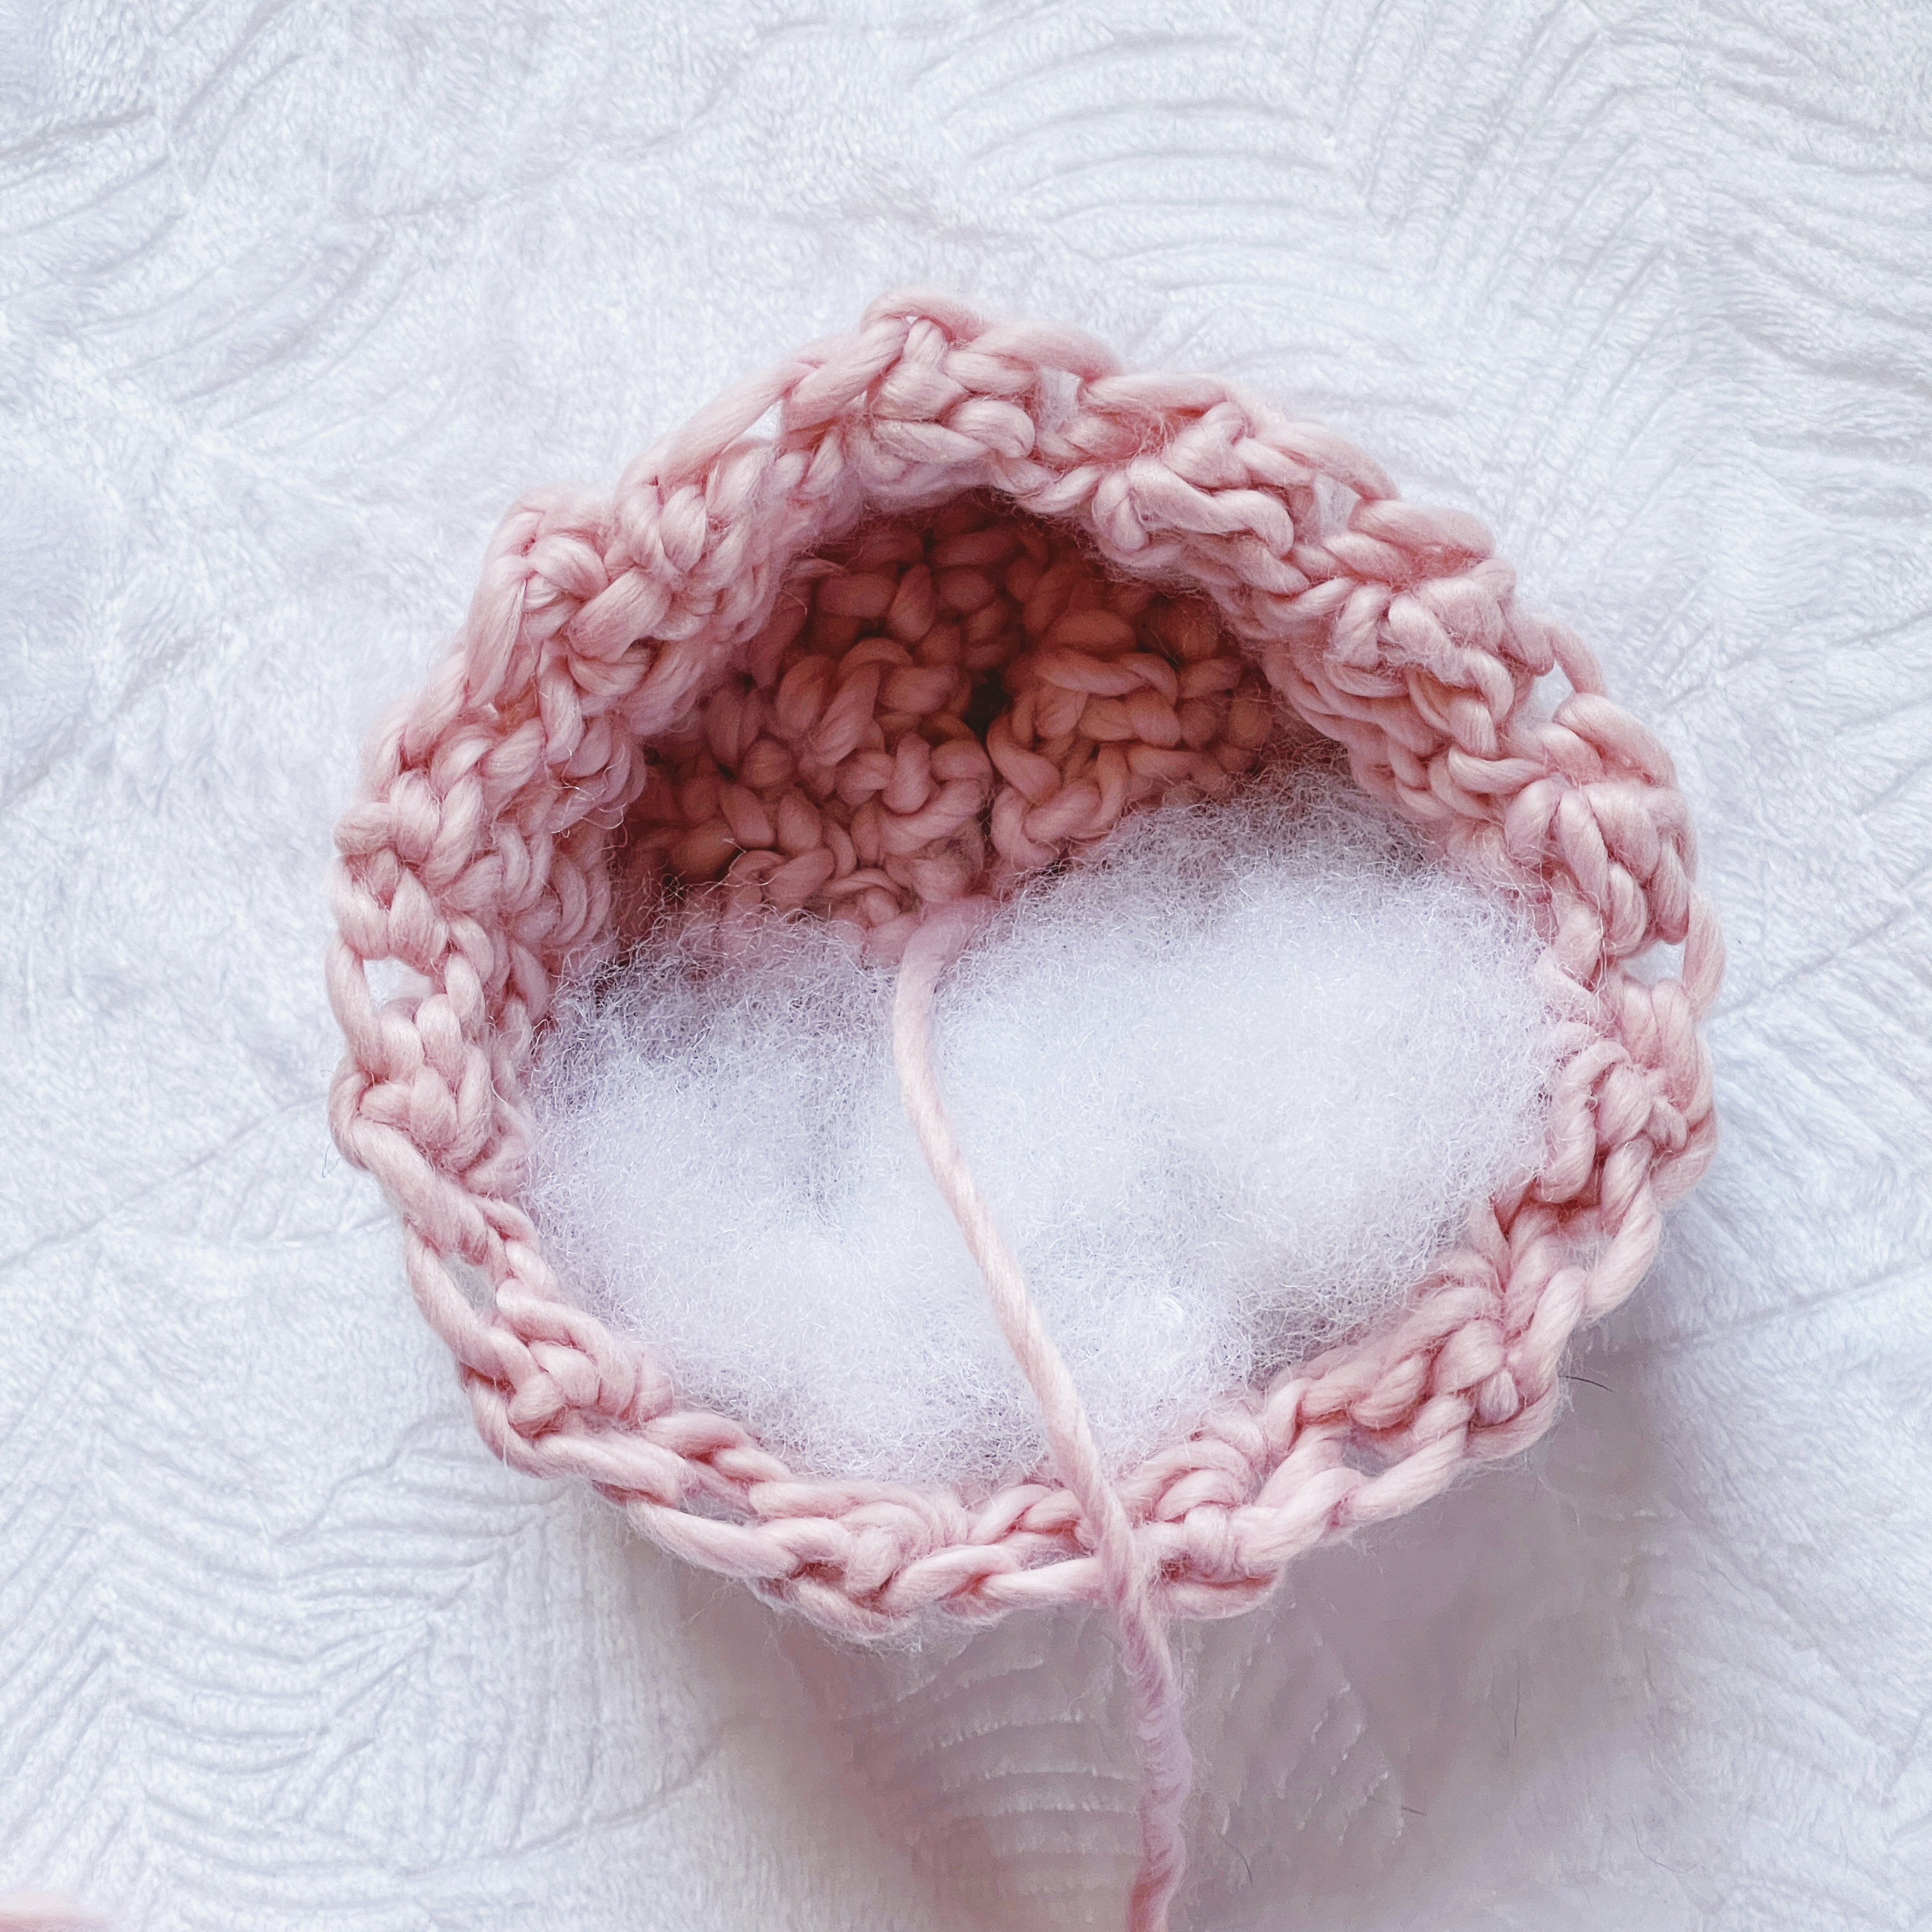
Thread the needle through the center and pull through. Add Poly-fil stuffing around the tail, making sure not to fill too much so that it shows through the fabric.
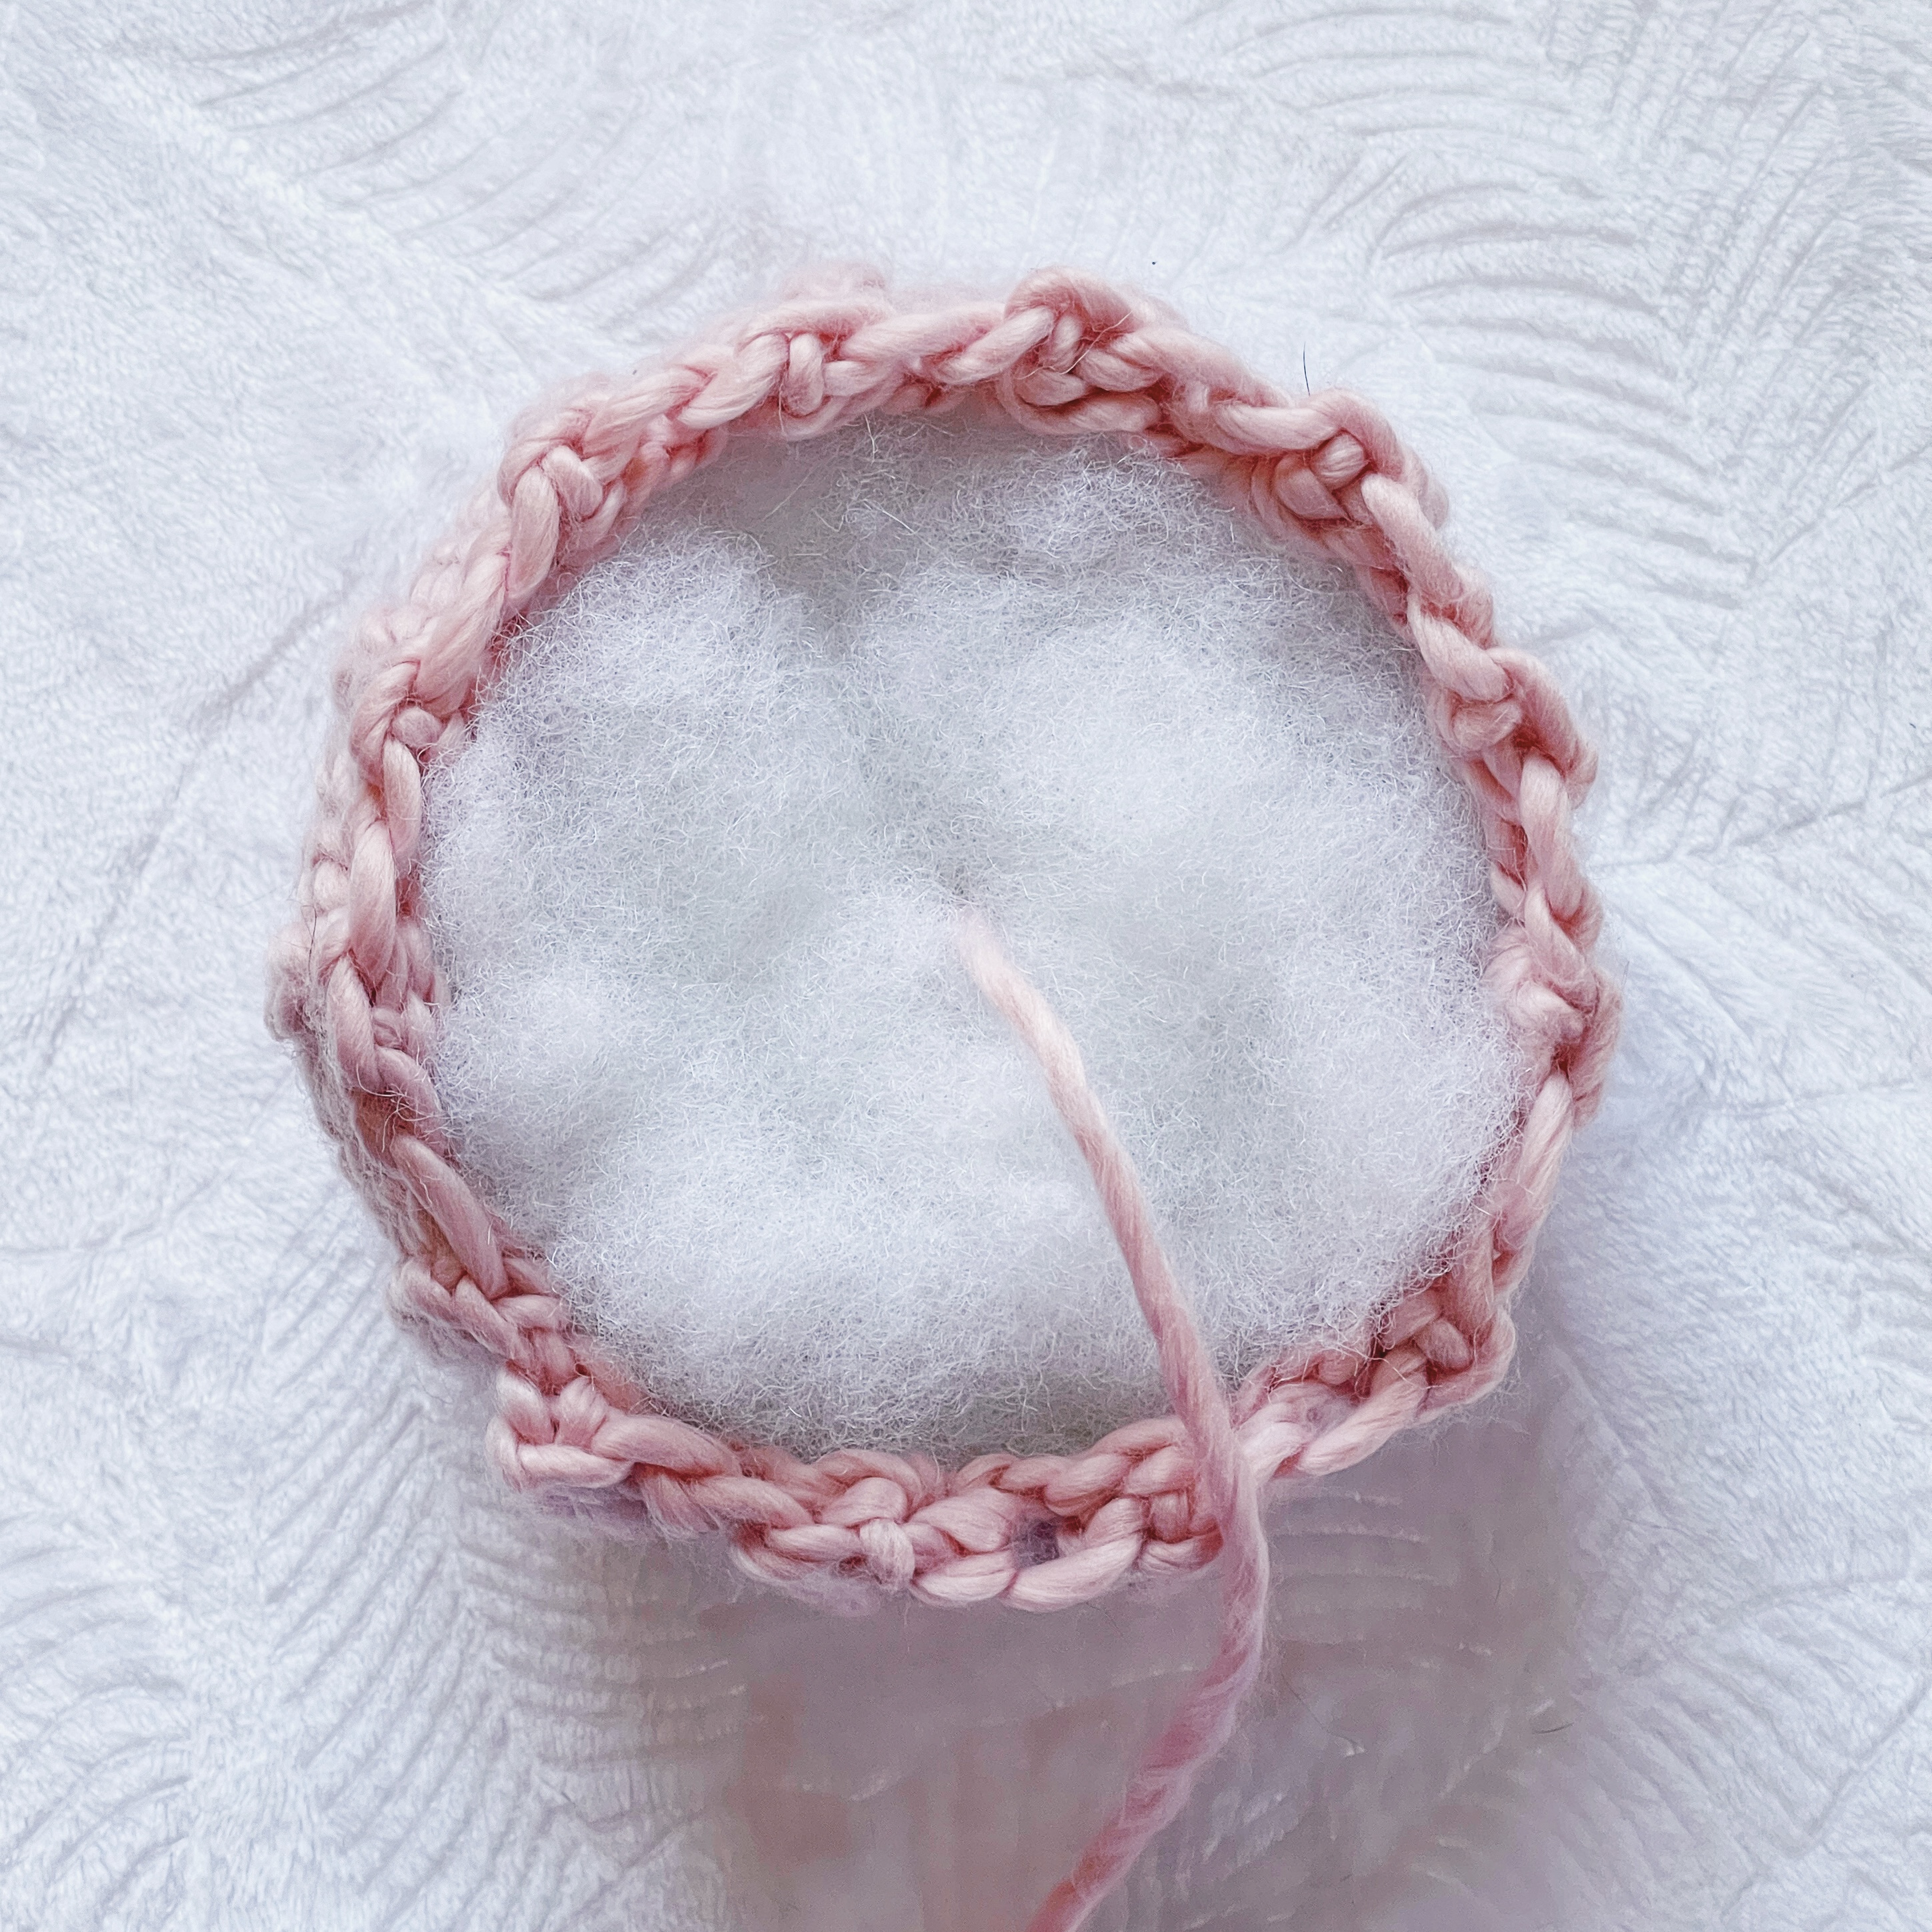
Once the pumpkin is filled, whip stitch around the edge. Pull to close, but leave a small hole in the center. Work around the hole a couple more times to secure and fasten off.
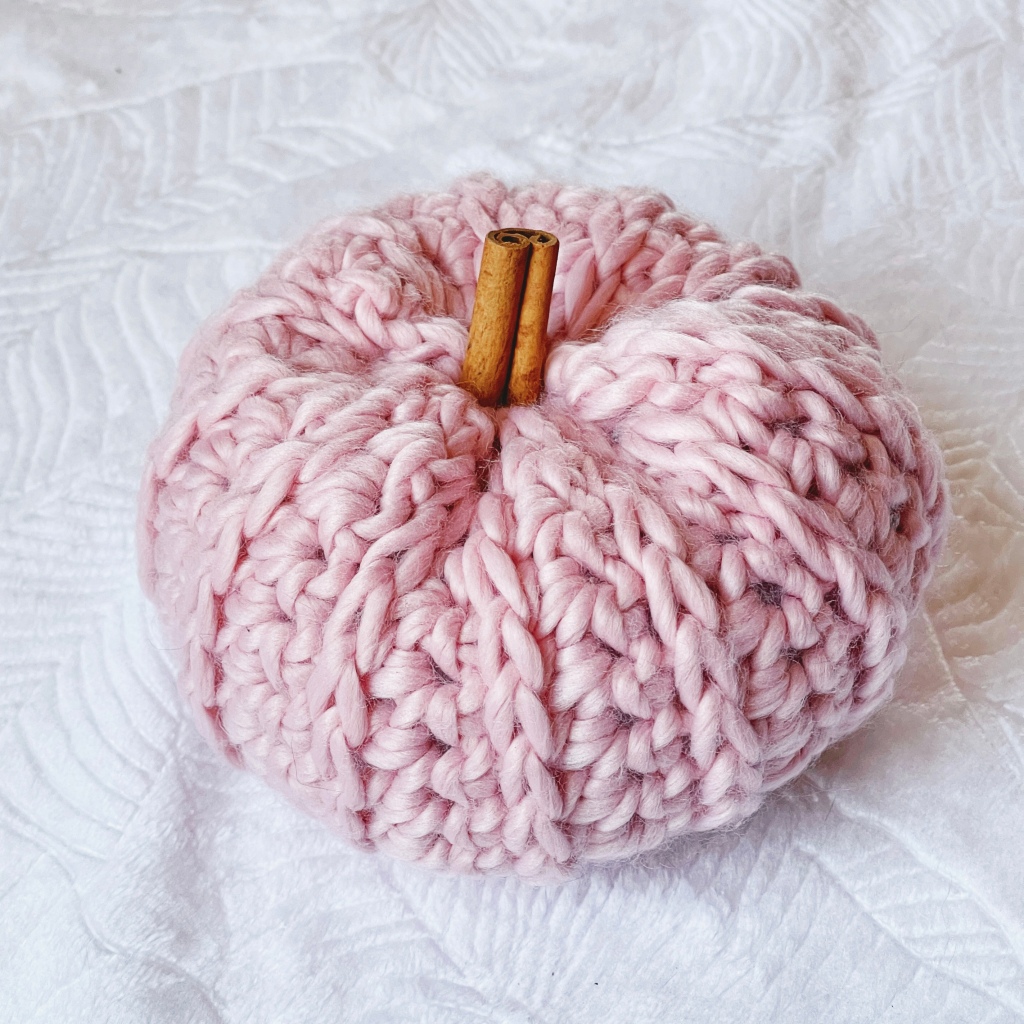
Cut a cinnamon stick in half and hot glue it into the hole on the top of the pumpkin.
Final measurements:
Before sewing: 4 1/2 x 11”
Finished pumpkin: 2 1/2” tall, 5” across
I hope you enjoy this pumpkin pattern and add your own cozy decorations to your home to celebrate this wonderful season! If you make some and share to Instagram make sure to tag me and use the hashtag #goldenhourpumpkins so I can see your beautiful creations!
This is an original pattern by Christina of February Sky Designs. Please do not claim this pattern as your own. If you wish to share this pattern, you may link to it but please do not reprint it on your site or sell it.
You may sell products made from this pattern but please clearly credit the design to me, Christina of February Sky Designs, and link to my blog februaryskydesigns.com. Thank you for respecting creators and their work!

