

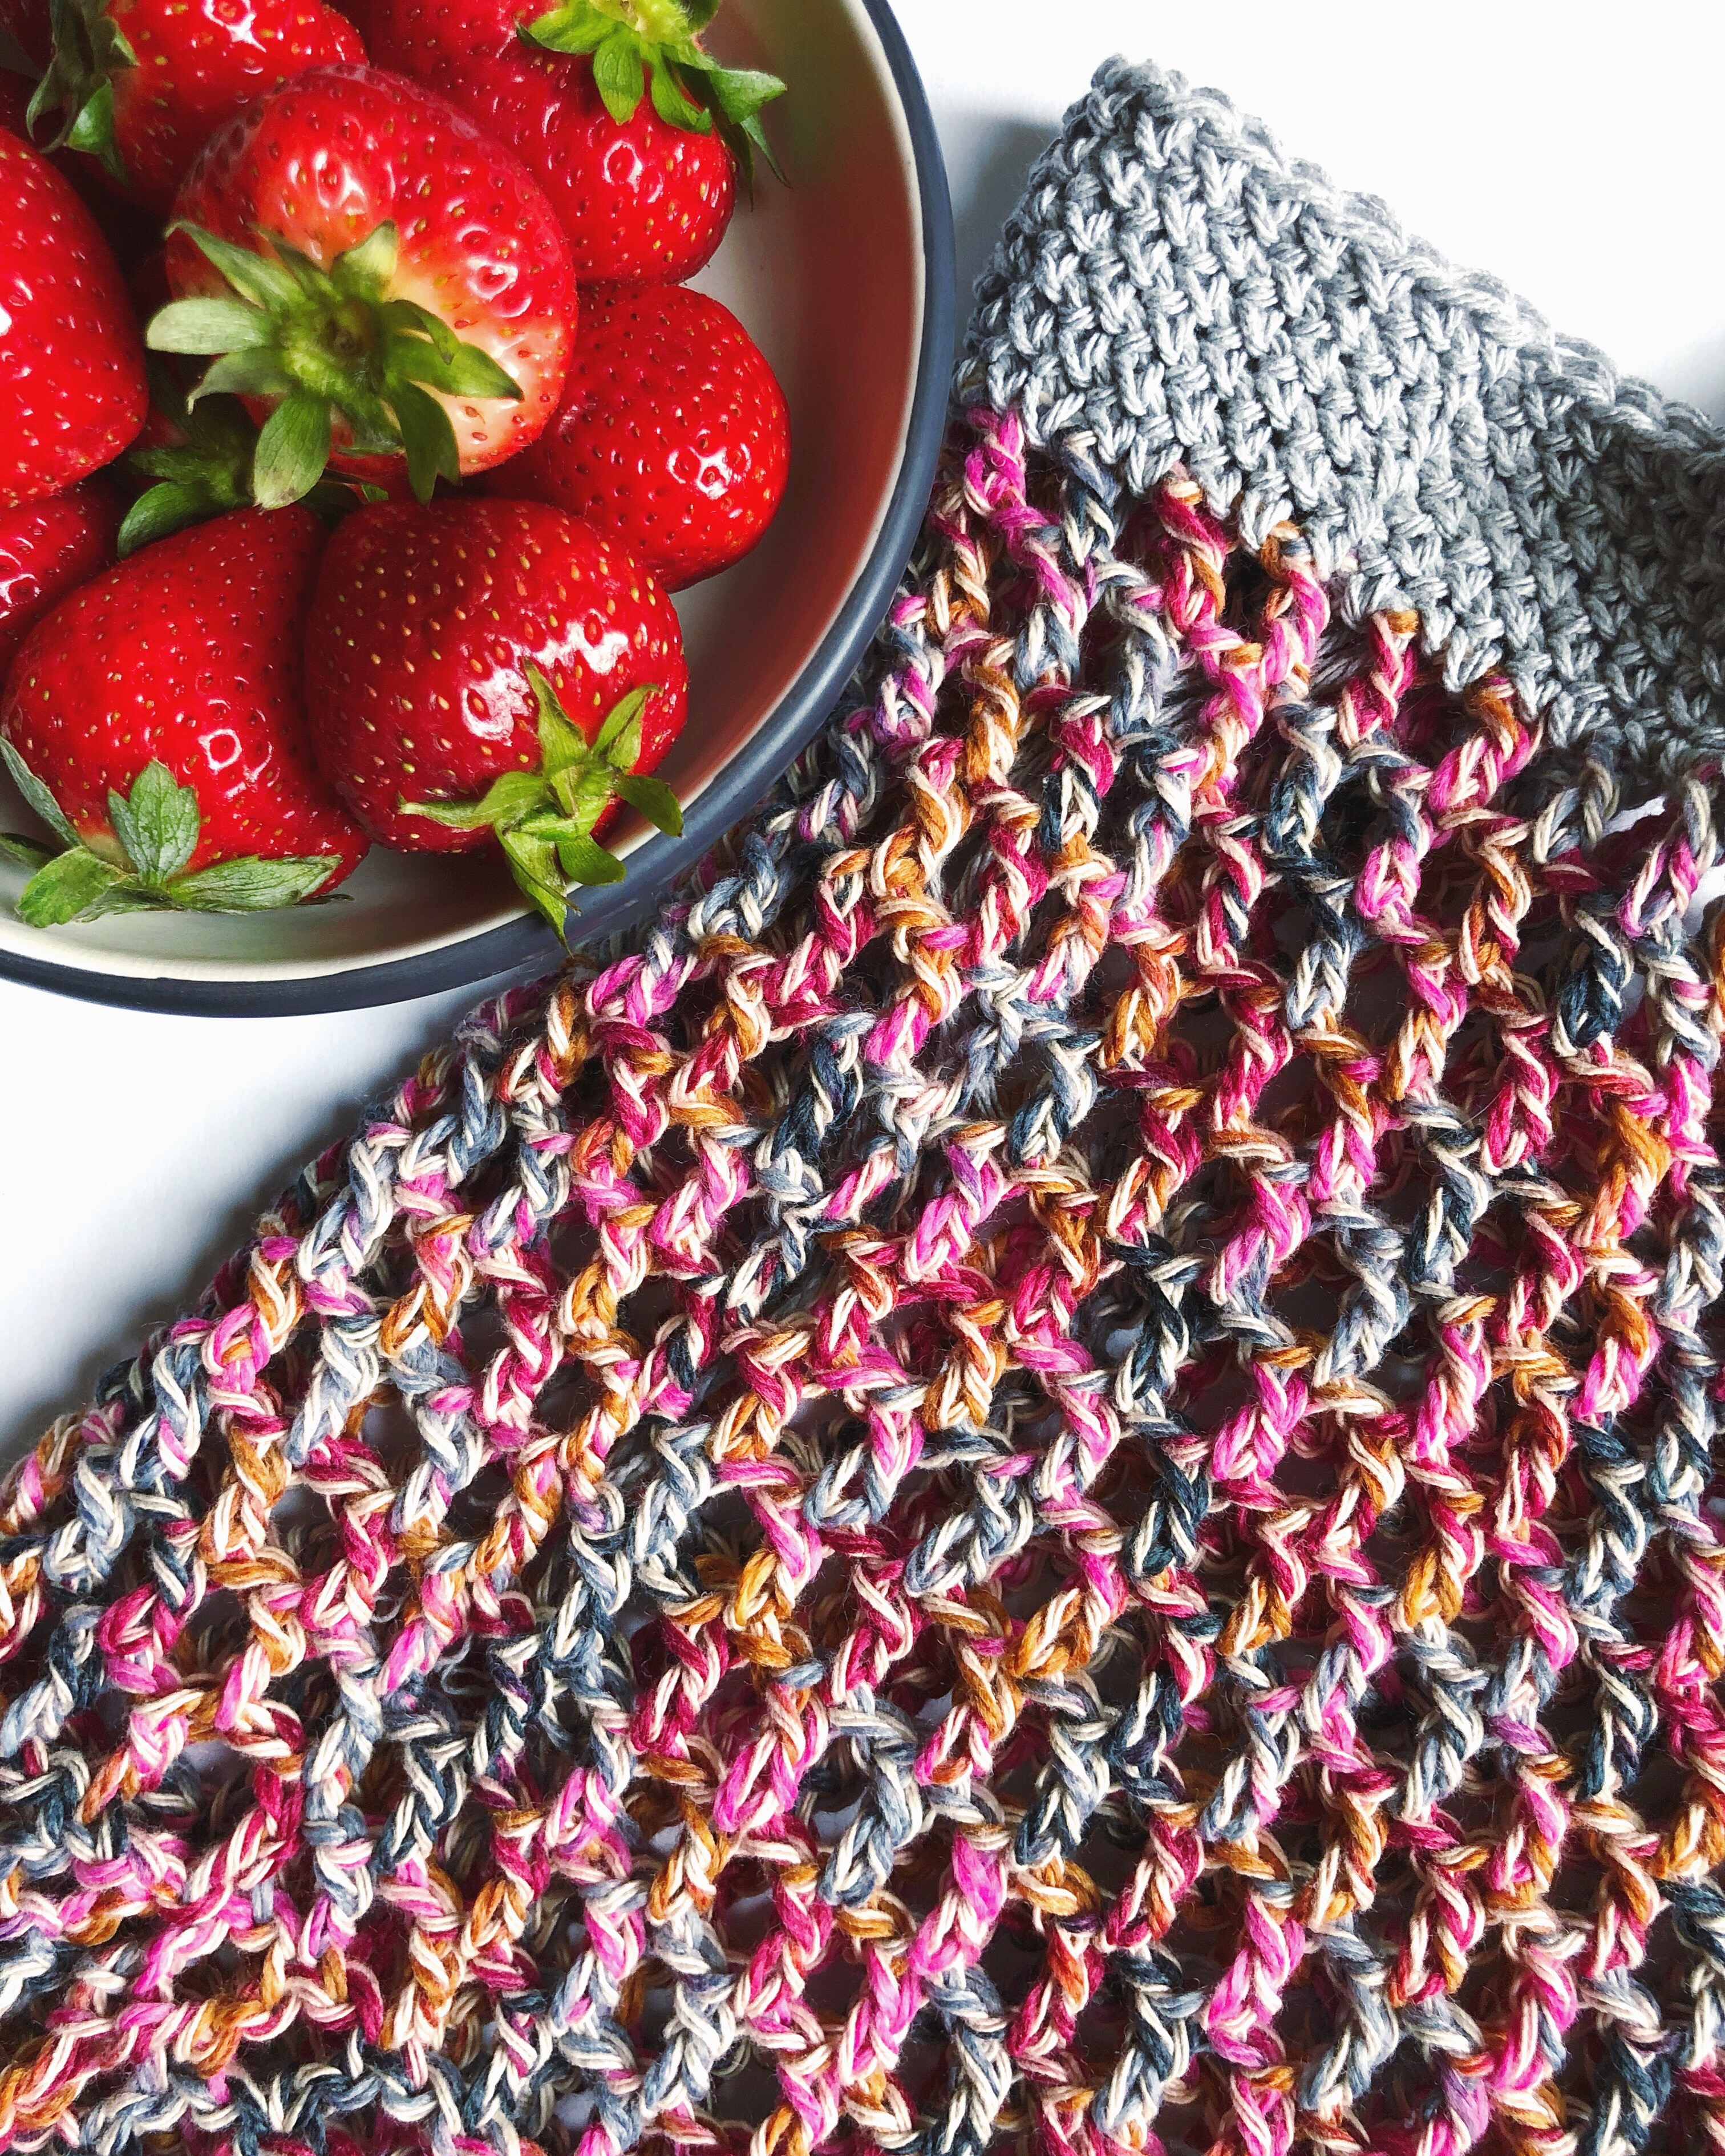
Hello summer-loving peeps! It’s time for beach days, day trips and farmer’s markets, and this handy bag has you covered! It’s the perfect size to throw your lunch and a book into or some local fruits and veggies, and it’s really cute to boot. Plus if you use recycled yarn like I did you can feel even better about making your own reusable bags! Scroll down for the easy crochet pattern, which includes picture tutorials on how to not have an obvious seam running up your bag.
Simple Summer Market Bag Crochet Pattern
Stitch abbreviations:
-Chain (CH)
-Single Crochet (SC)
-Double Crochet (DC)
Materials:
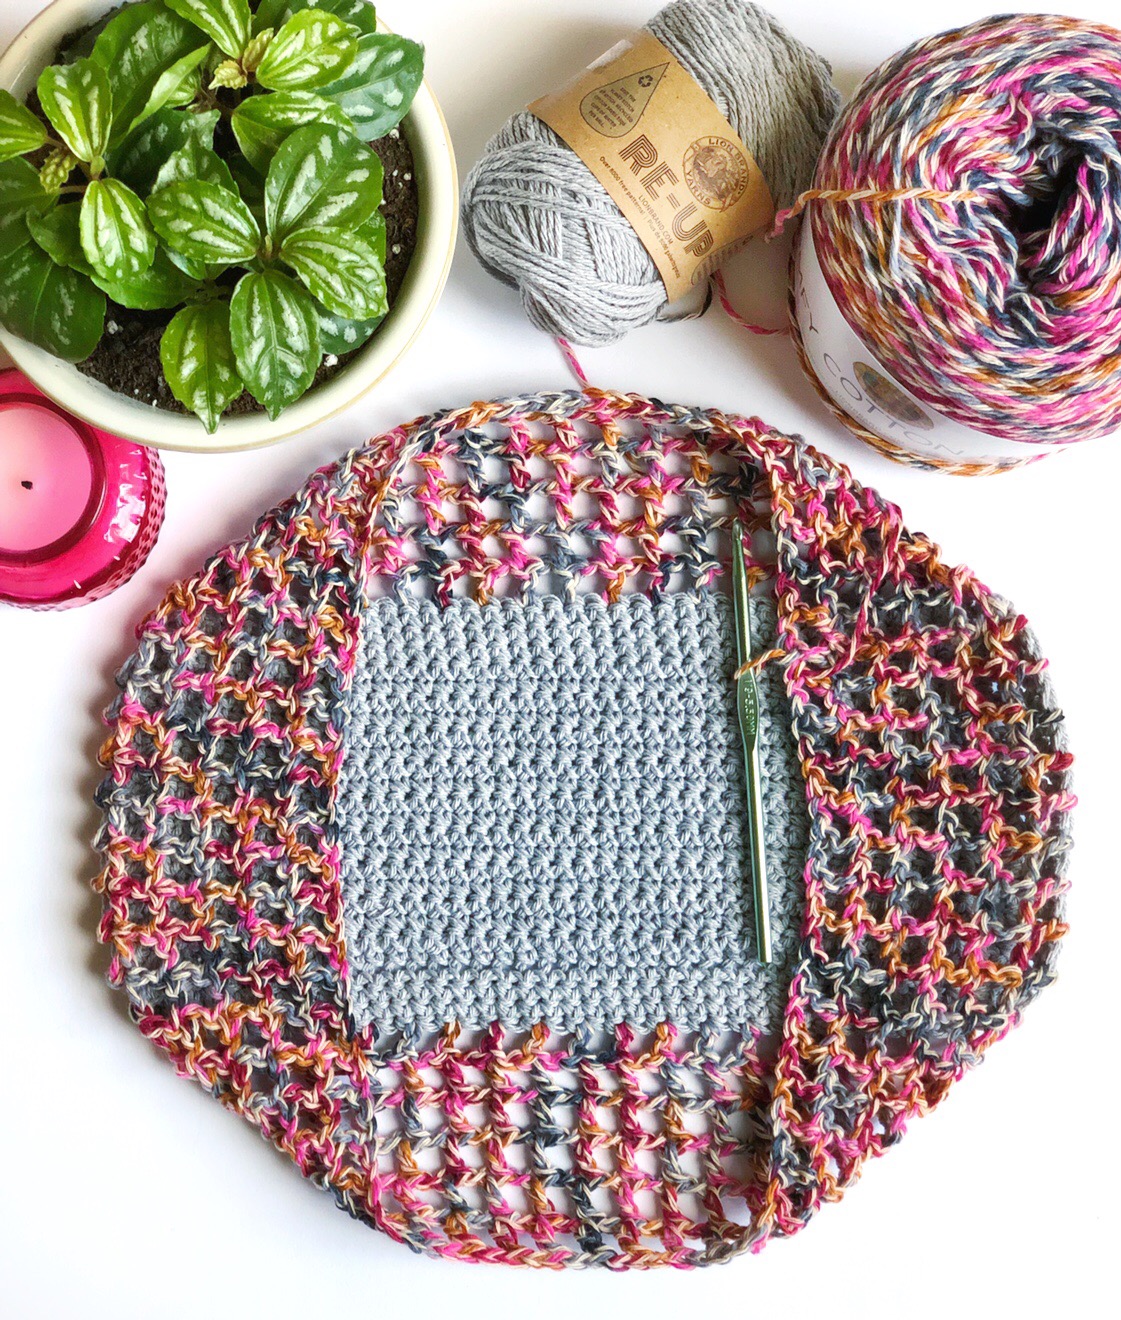
- 2 balls worsted weight cotton yarn, solid color- Pictured is Lion Brand Re-Up yarn in Grey
- 1 ball light (level 3) weight cotton yarn, multi-colored- Pictured is Lion Brand Comfy Cotton yarn in Mai Tai
- Size I/9 5.5 mm crochet hook
- Stitch markers
- Scissors
- Measuring tape or ruler
Special Notes:
- Each row made in the round (R22 and on) is joined with an invisible slip stitch. I added pictures to show how to do this, but joining with a regular slip stitch is also acceptable (but the join will be visible).
- After the invisible join, I’ve used the chainless SC and the chainless DC. I’ve included pictures that show how to do this, but regular SC and DC are also acceptable.

Pattern:
Base
Using solid color cotton yarn (yarn A), CH 41.
Row 1: SC into 2nd CH from the hook. SC across (40 SC).
R2: CH 1, turn. SC across (40 SC).
R3-18: Repeat R2 for 18 rows total.

R19: At the end of row 18, CH 1 and rotate rectangle so you’re now working on the left side edge. SC in 1st row space. Skip next space and make 2 SC’s into the next space. Repeat skip and 2 SC’s until you reach the bottom, where your starting CH was begun. (16 SC)

R20: CH 1, rotate rectangle so you’re working along the starting CH. SC in each CH loop (40 SC)
R21: CH 1, repeat R19 along the right edge of the rectangle. When you reach the end, CH 1 and invisible slip stitch into the first SC from R18.
Invisible Slip Stitch:


Chainless Single Crochet:

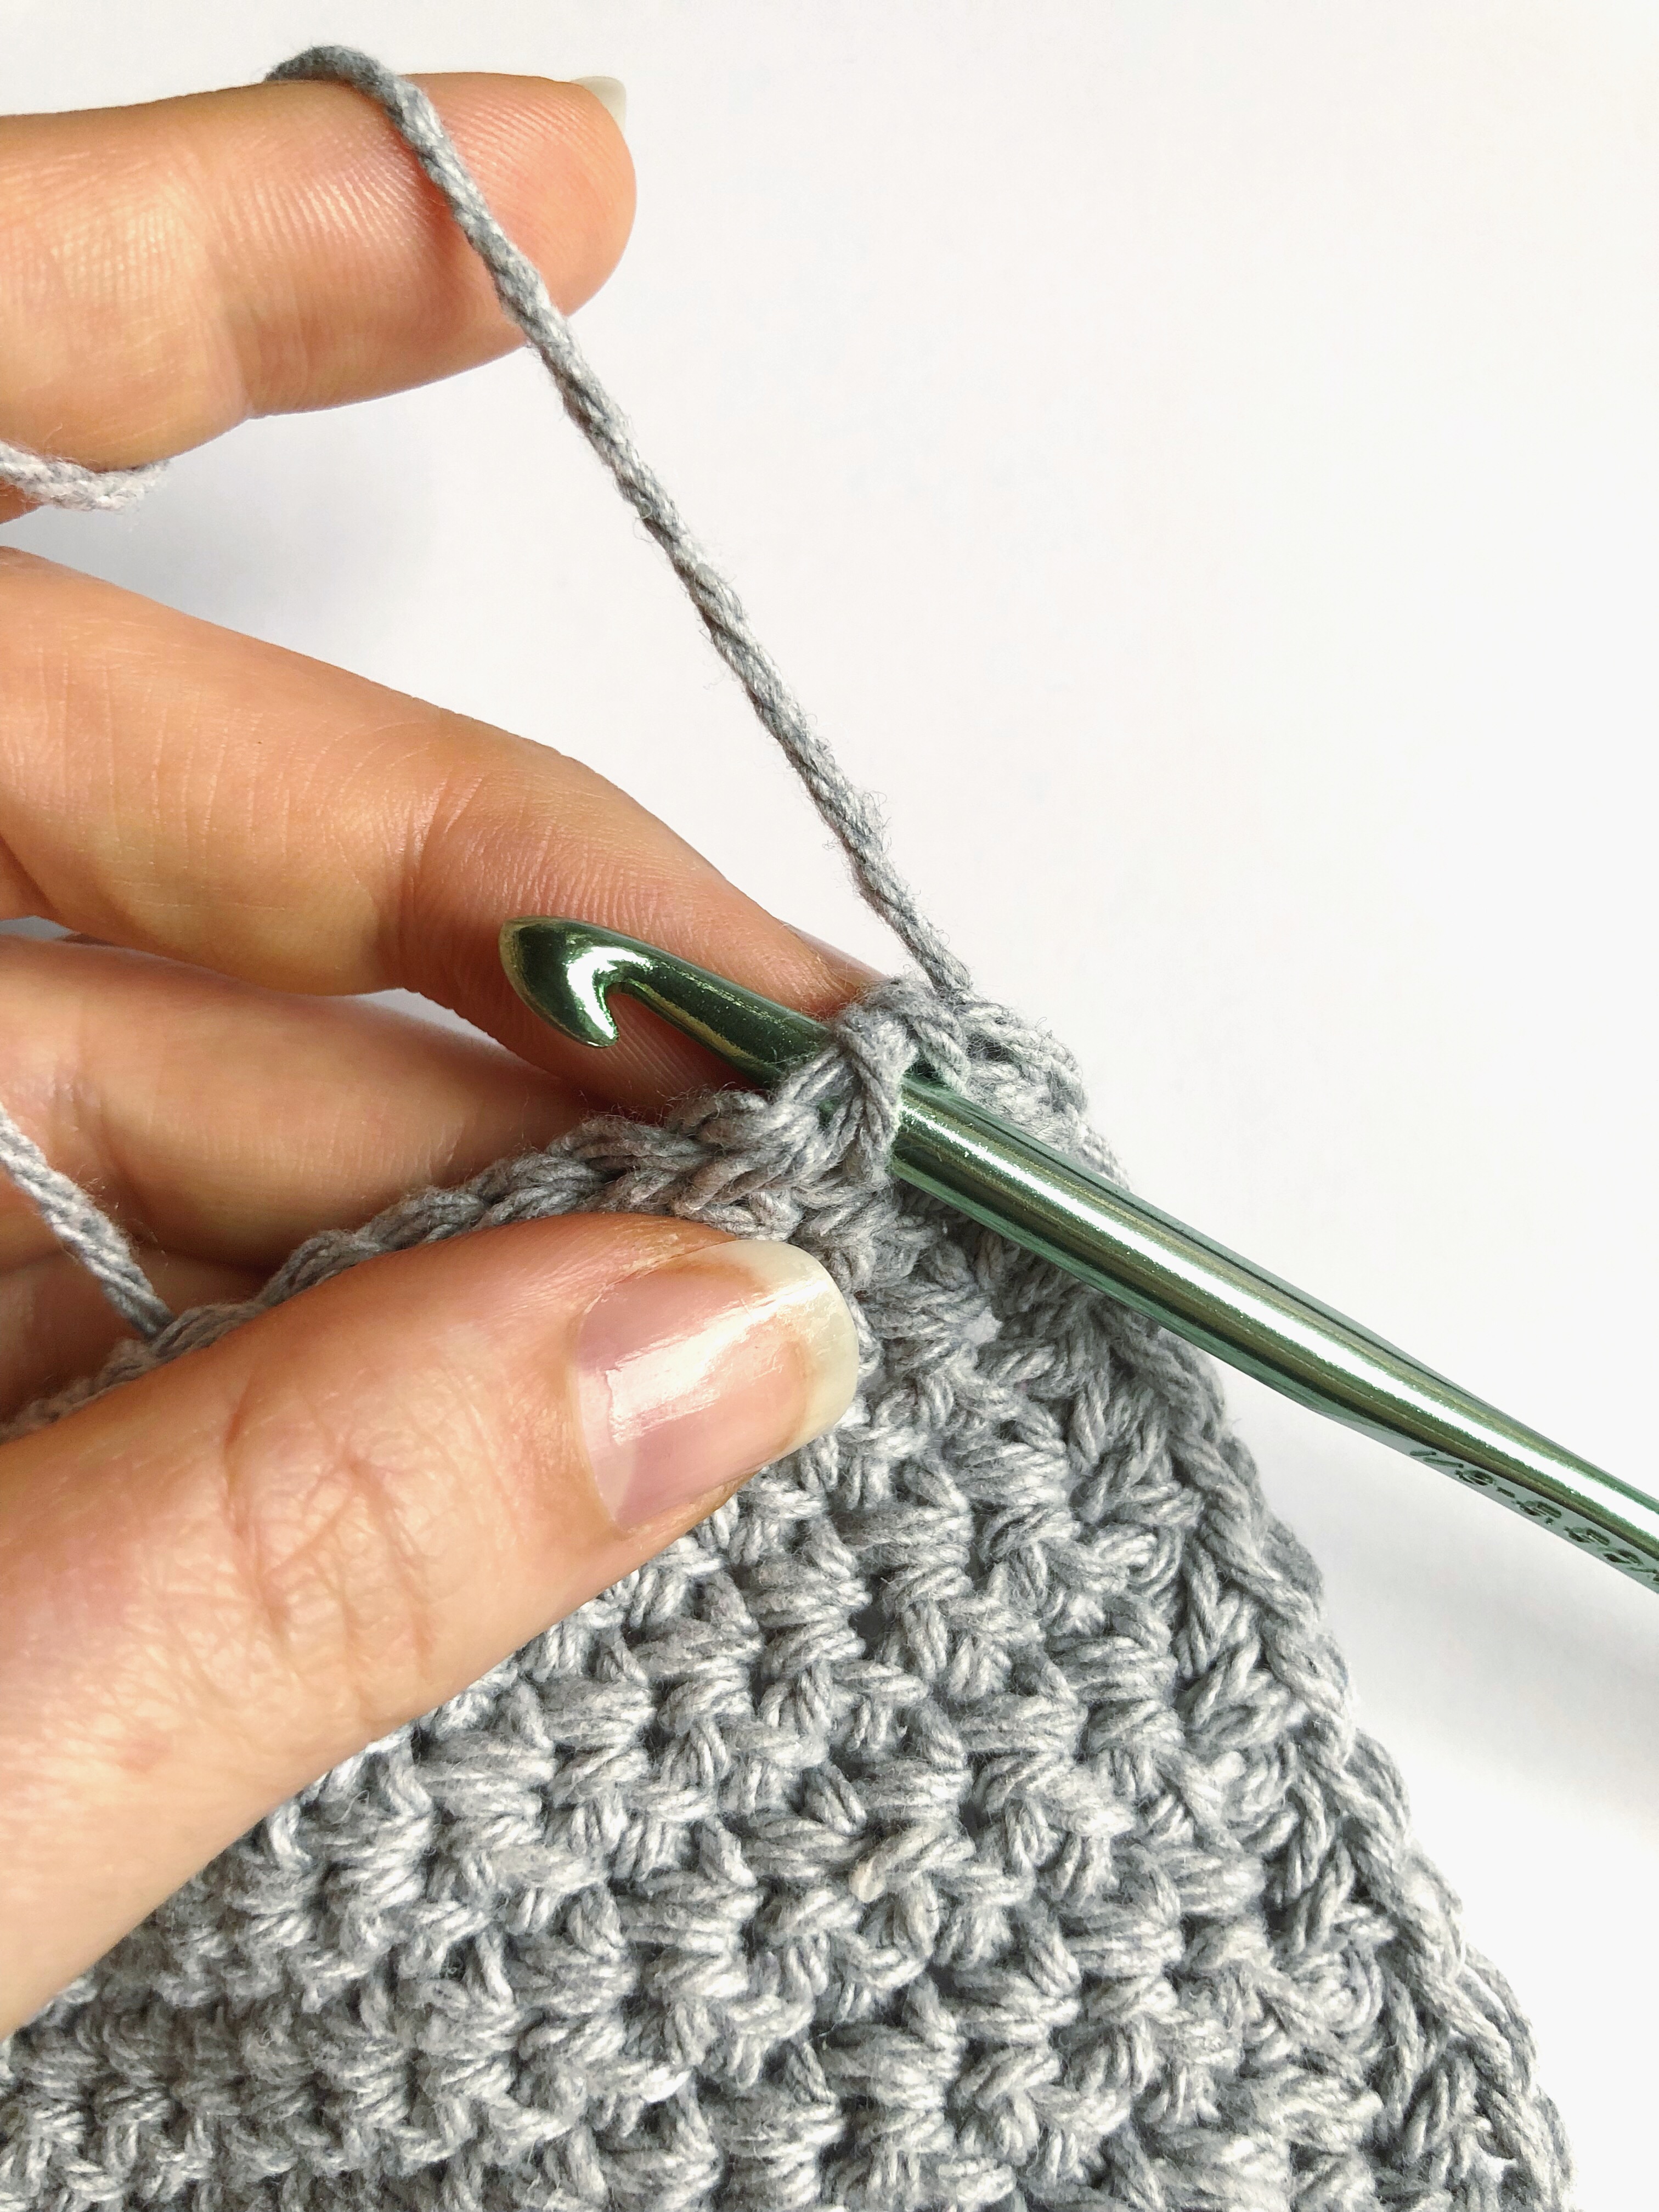

R22: Chainless SC into 1st SC. Place a stitch marker into this SC. SC around the rectangle, making 1 SC in the corner CH’s. Join to 1st chainless SC.
R23-24: Repeat R22 twice, 3 rows total. Do not join at the end of R24.

Body
R25: Finish last SC with Yarn B (Comfy Cotton yarn). Join to the chainless SC from R24. Chainless DC into the SC (see photos).
Chainless Double Crochet:

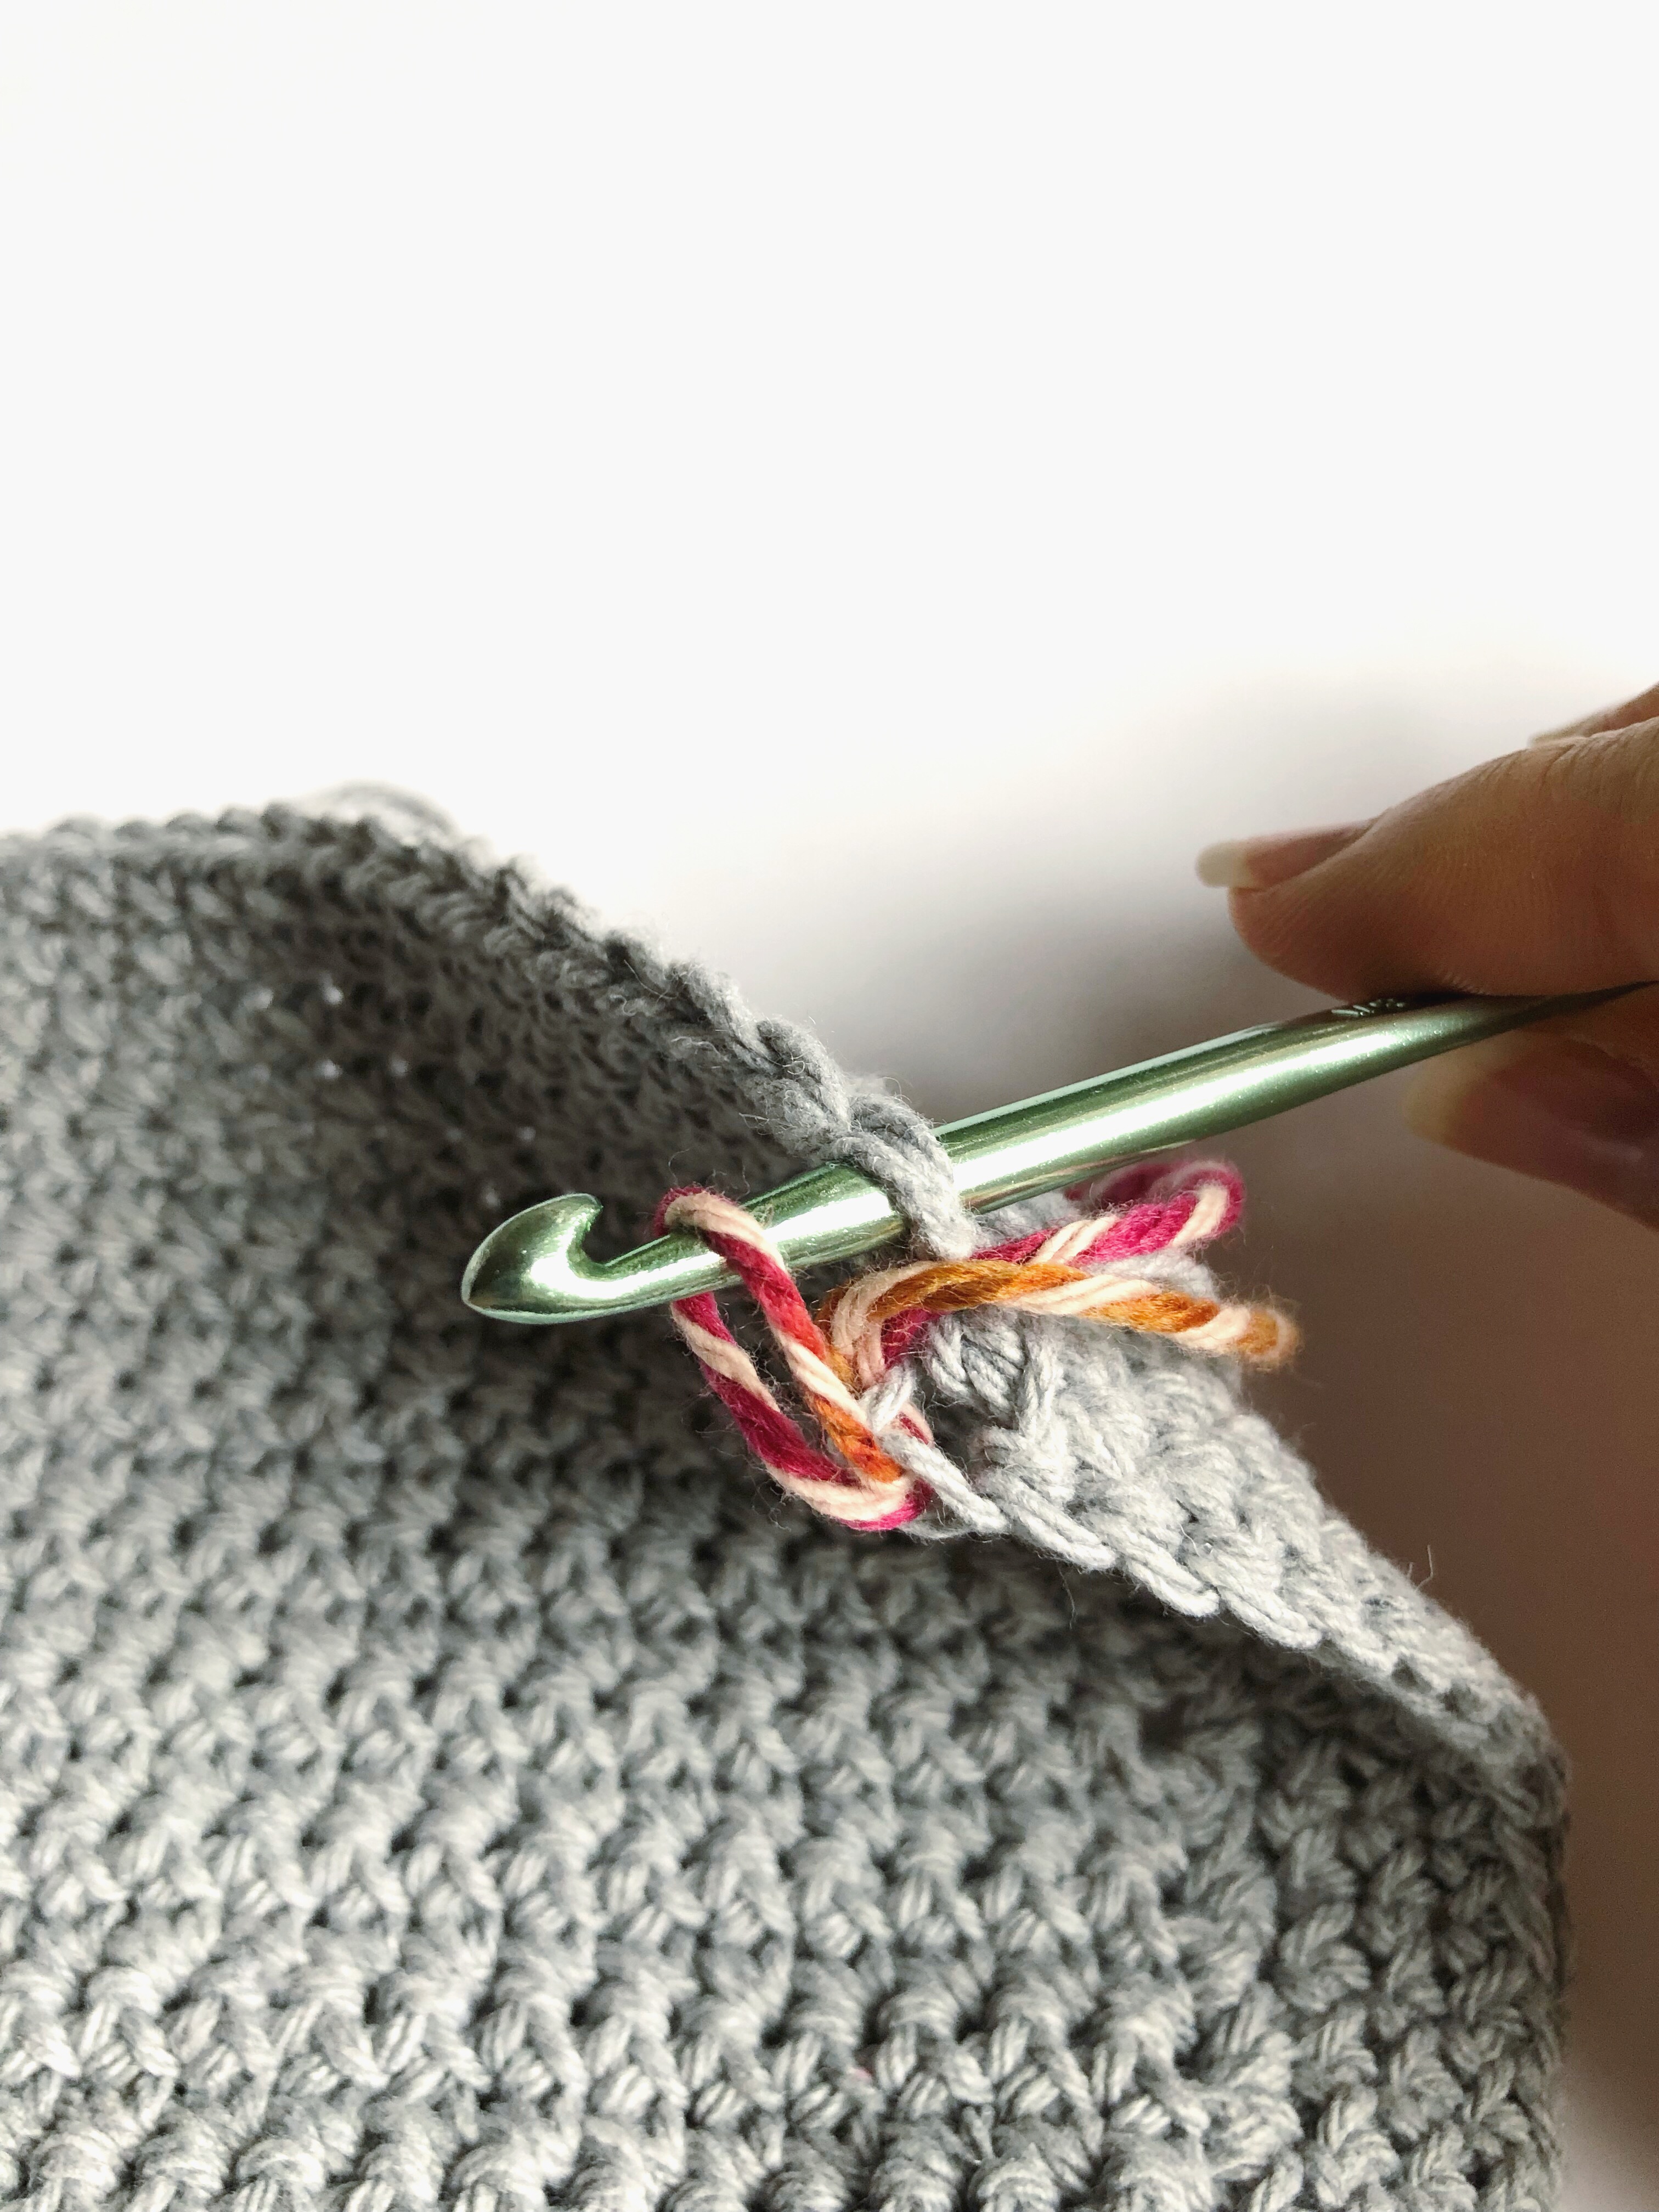


Place a stitch marker into the top of the chainless DC. *CH 1, skip 1, DC into next SC*. Repeat from * to * around the base, ending with a CH 1 before joining into 1st DC.


R26: Make a chainless DC and place a stitch marker in the top two loops (do this for all rows). *CH 1, DC into the top of next DC*. Repeat from * to * around the base. (59 DC) Join to 1st chainless DC.
R27-R44: Repeat R25 for 20 DC rows total. Do not join at the end of R44.
R45: Join Yarn A and slip stitch into 1st chainless DC from R44. Chainless SC and SC around in each DC and CH space. Join.

Strap
Lay bag body flat and use a ruler or measuring tape to find the mid-point. Place a stitch marker in the middle stitch of the front and back of the bag. Count 10 SC’s on each side of the midpoint and place a stitch marker in each spot. Remove the midpoint stitch markers. You’ll have 4 stitch markers in place, two on each side, with 20 SC’s in between.
R46: Chainless SC, then SC until you reach the first stitch marker. CH 50. SC into the SC after the next stitch marker, and continue to SC around to next stitch marker on the back of the bag. CH 50 again. SC into the SC after the next stitch marker, and continue to SC around until you reach the chainless SC. Join.
R47-R50: SC around all SC’s and the CH 50’s, joining each round, for 4 rows total. Tie off after joining the last row and weave in ends.


Final measurements:
Base: 12 x 5.5 in.
Body: 15 x 15 in.
Strap: 55 in.

This is an original pattern by Christina of February Sky Designs. Please do not claim this pattern as your own. If you wish to share this pattern, you may link to it but please do not reprint it on your site or sell it.
You may sell products made from this pattern but please clearly credit the design to me, Christina of February Sky Designs, and link to my blog februaryskydesigns.com. Thank you for respecting creators and their work!


Pingback: Simple & Easy DIY Summer Market Handbag – DIY Fabric Crafts
Pingback: The Braeburn Beanie | February Sky Designs
Pingback: The Inselberg Backpack Pattern | February Sky Designs