
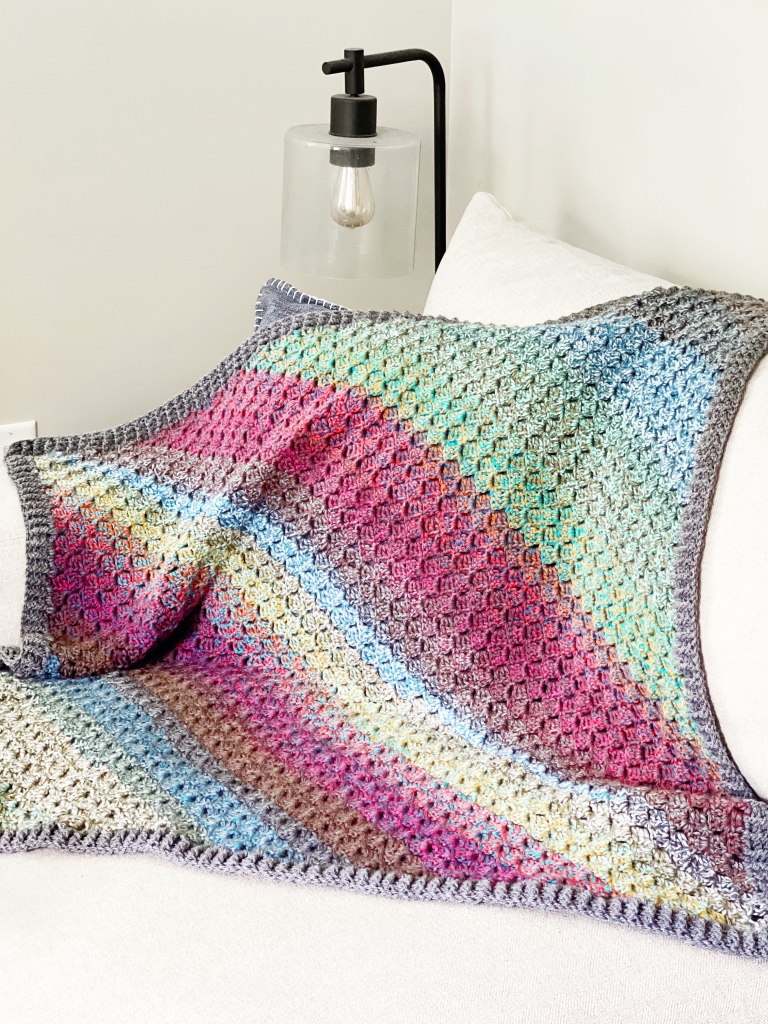
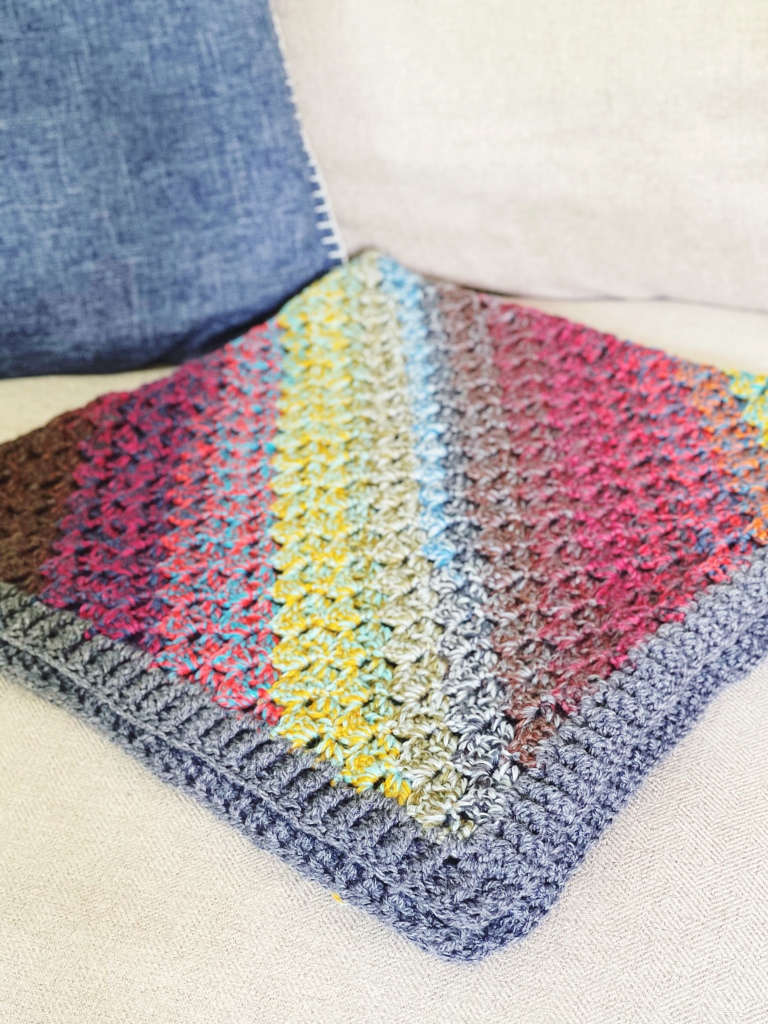
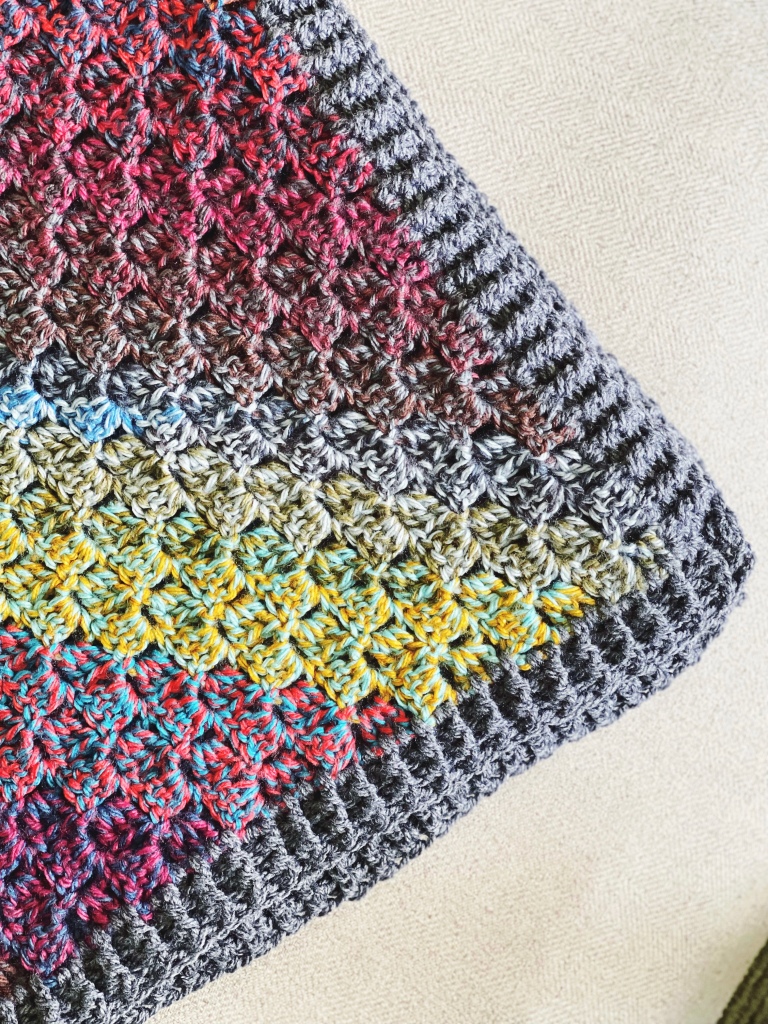
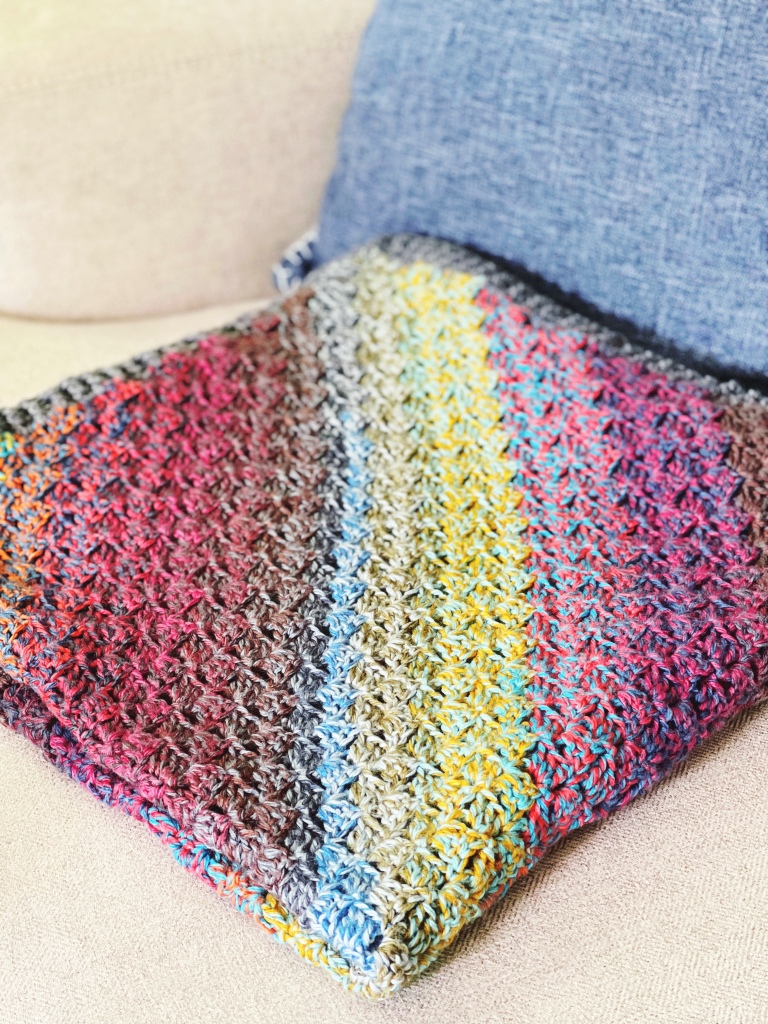
When I’m looking for a new project, I usually fall into two camps- trying something I’ve never experienced before (new yarn, new stitches, new construction), or a simple project that I can do almost without thinking. This lovely blanket falls into the second category for me, and it was a relaxing pleasure to work on. It has: one stitch throughout, no color changes, only a few ends to weave in, and it can be easily customized to any size you want. It doesn’t get any easier than that!
The only technique you need to be familiar with is Corner to Corner crochet. This is done using a set of double crochets and chains, and once you get the hang of it you’ll be flying through this project. It’s actually the one stitch I can do consistently without looking, so I’m able to bring projects like this on road trips and not get carsick!
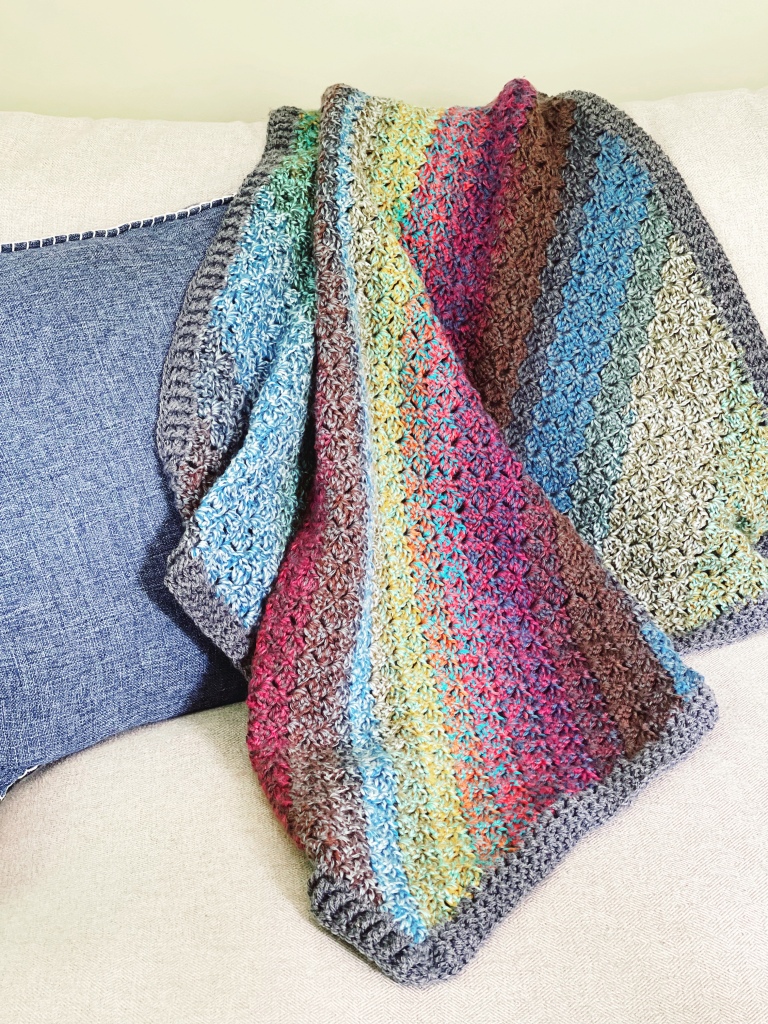
The optional border is still using double crochets, but you’ll grab a contrasting colored yarn and make a nice ribbed edge by working front and back post DC’s. Don’t worry, I have all the picture tutorials you need to make this blanket. Just grab your striped yarn and let’s get started!
Materials:
-850 yards of worsted yarn- suggested Lion Brand Mandala Tweed Stripes (2 skeins)- Pictured is Wish Bone
-100 yards of worsted yarn in contrasting color for border- Pictured Lion Brand Basic Stitch in Charcoal
Size J/10 6mm hook, or size needed to obtain gauge
Stitch abbreviations:
-Chain (CH)
-Double Crochet (DC)
-Corner to Corner (C2C)
-Back Post Double Crochet (BPDC)
-Front Post Double Crochet (FPDC)
Gauge: 3” by 3” = 4×4 squares
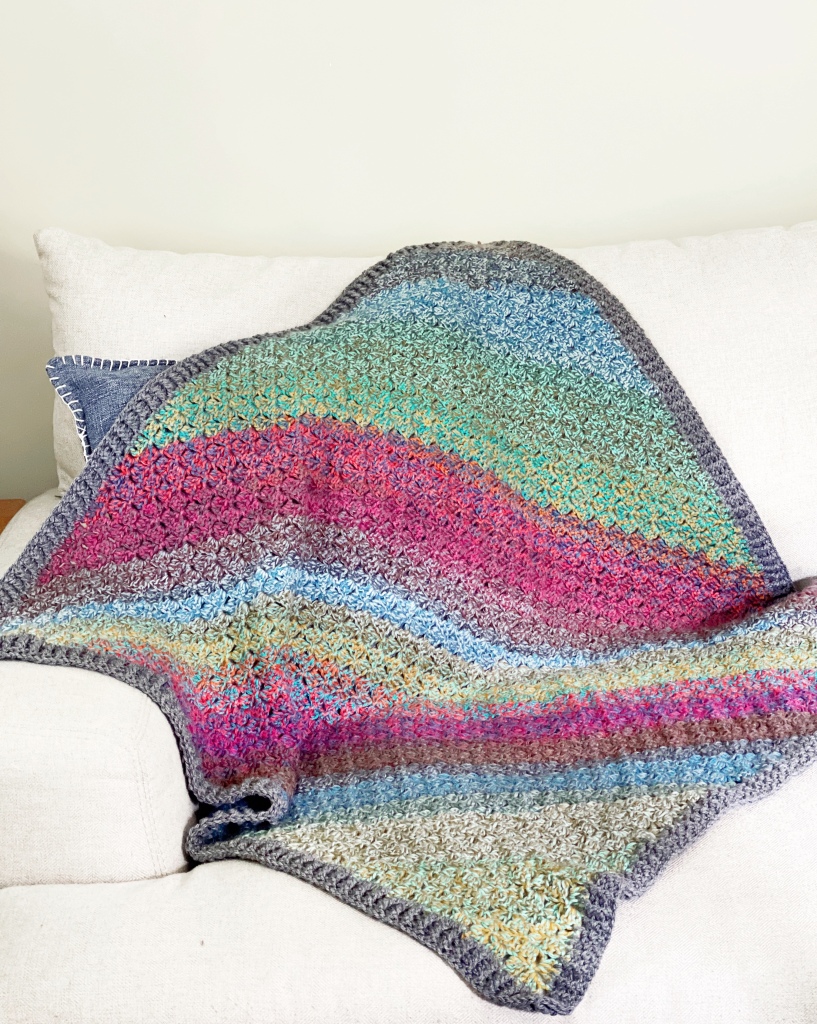
Measurements: Blanket with border 36” by 36”, 44×44 squares
Notes: This blanket is easily customizable by continuing the base to the desired length before starting to decrease. Any yarn and hook can be used, but I recommend creating a 4×4 square gauge to determine how many squares you’ll need for the full blanket.
Pattern:
See photos below pattern for step-by-step C2C instructions.
Using striped yarn, begin C2C pattern. Continue until base sides reach 44×44 squares before decreasing, or continue until desired size. Fasten off and continue to border.
Border:
See pictures for more details.
Attach contrasting yarn to one corner of blanket. CH 3, DC 2 in CH 3 space. Continue to DC across, making 3 DC in each block.
After final DC of the row, CH 3. Work 2 DC in the last DC of the row. Turn and work 3 DC in each block across next side. Repeat corner (CH 3, DC 2 in last DC of row).
After the last corner is turned, SL ST into 1st CH 3 of the border foundation row. CH 2. Alternate FPDC and BPDC in each DC. After last FP or BP of the side, CH 3, turn, and continue FP/BP in each DC across. The CH 3 will create the corner.
Continue around until reaching the beginning CH 2. SL ST into CH 2 space. CH 2 and make 2-3 more rows of Fp/BP border. F/O and weave in ends.
Corner to Corner Pictorials:

CH 6. DC in 4th CH from the hook and next 2 CH’s. 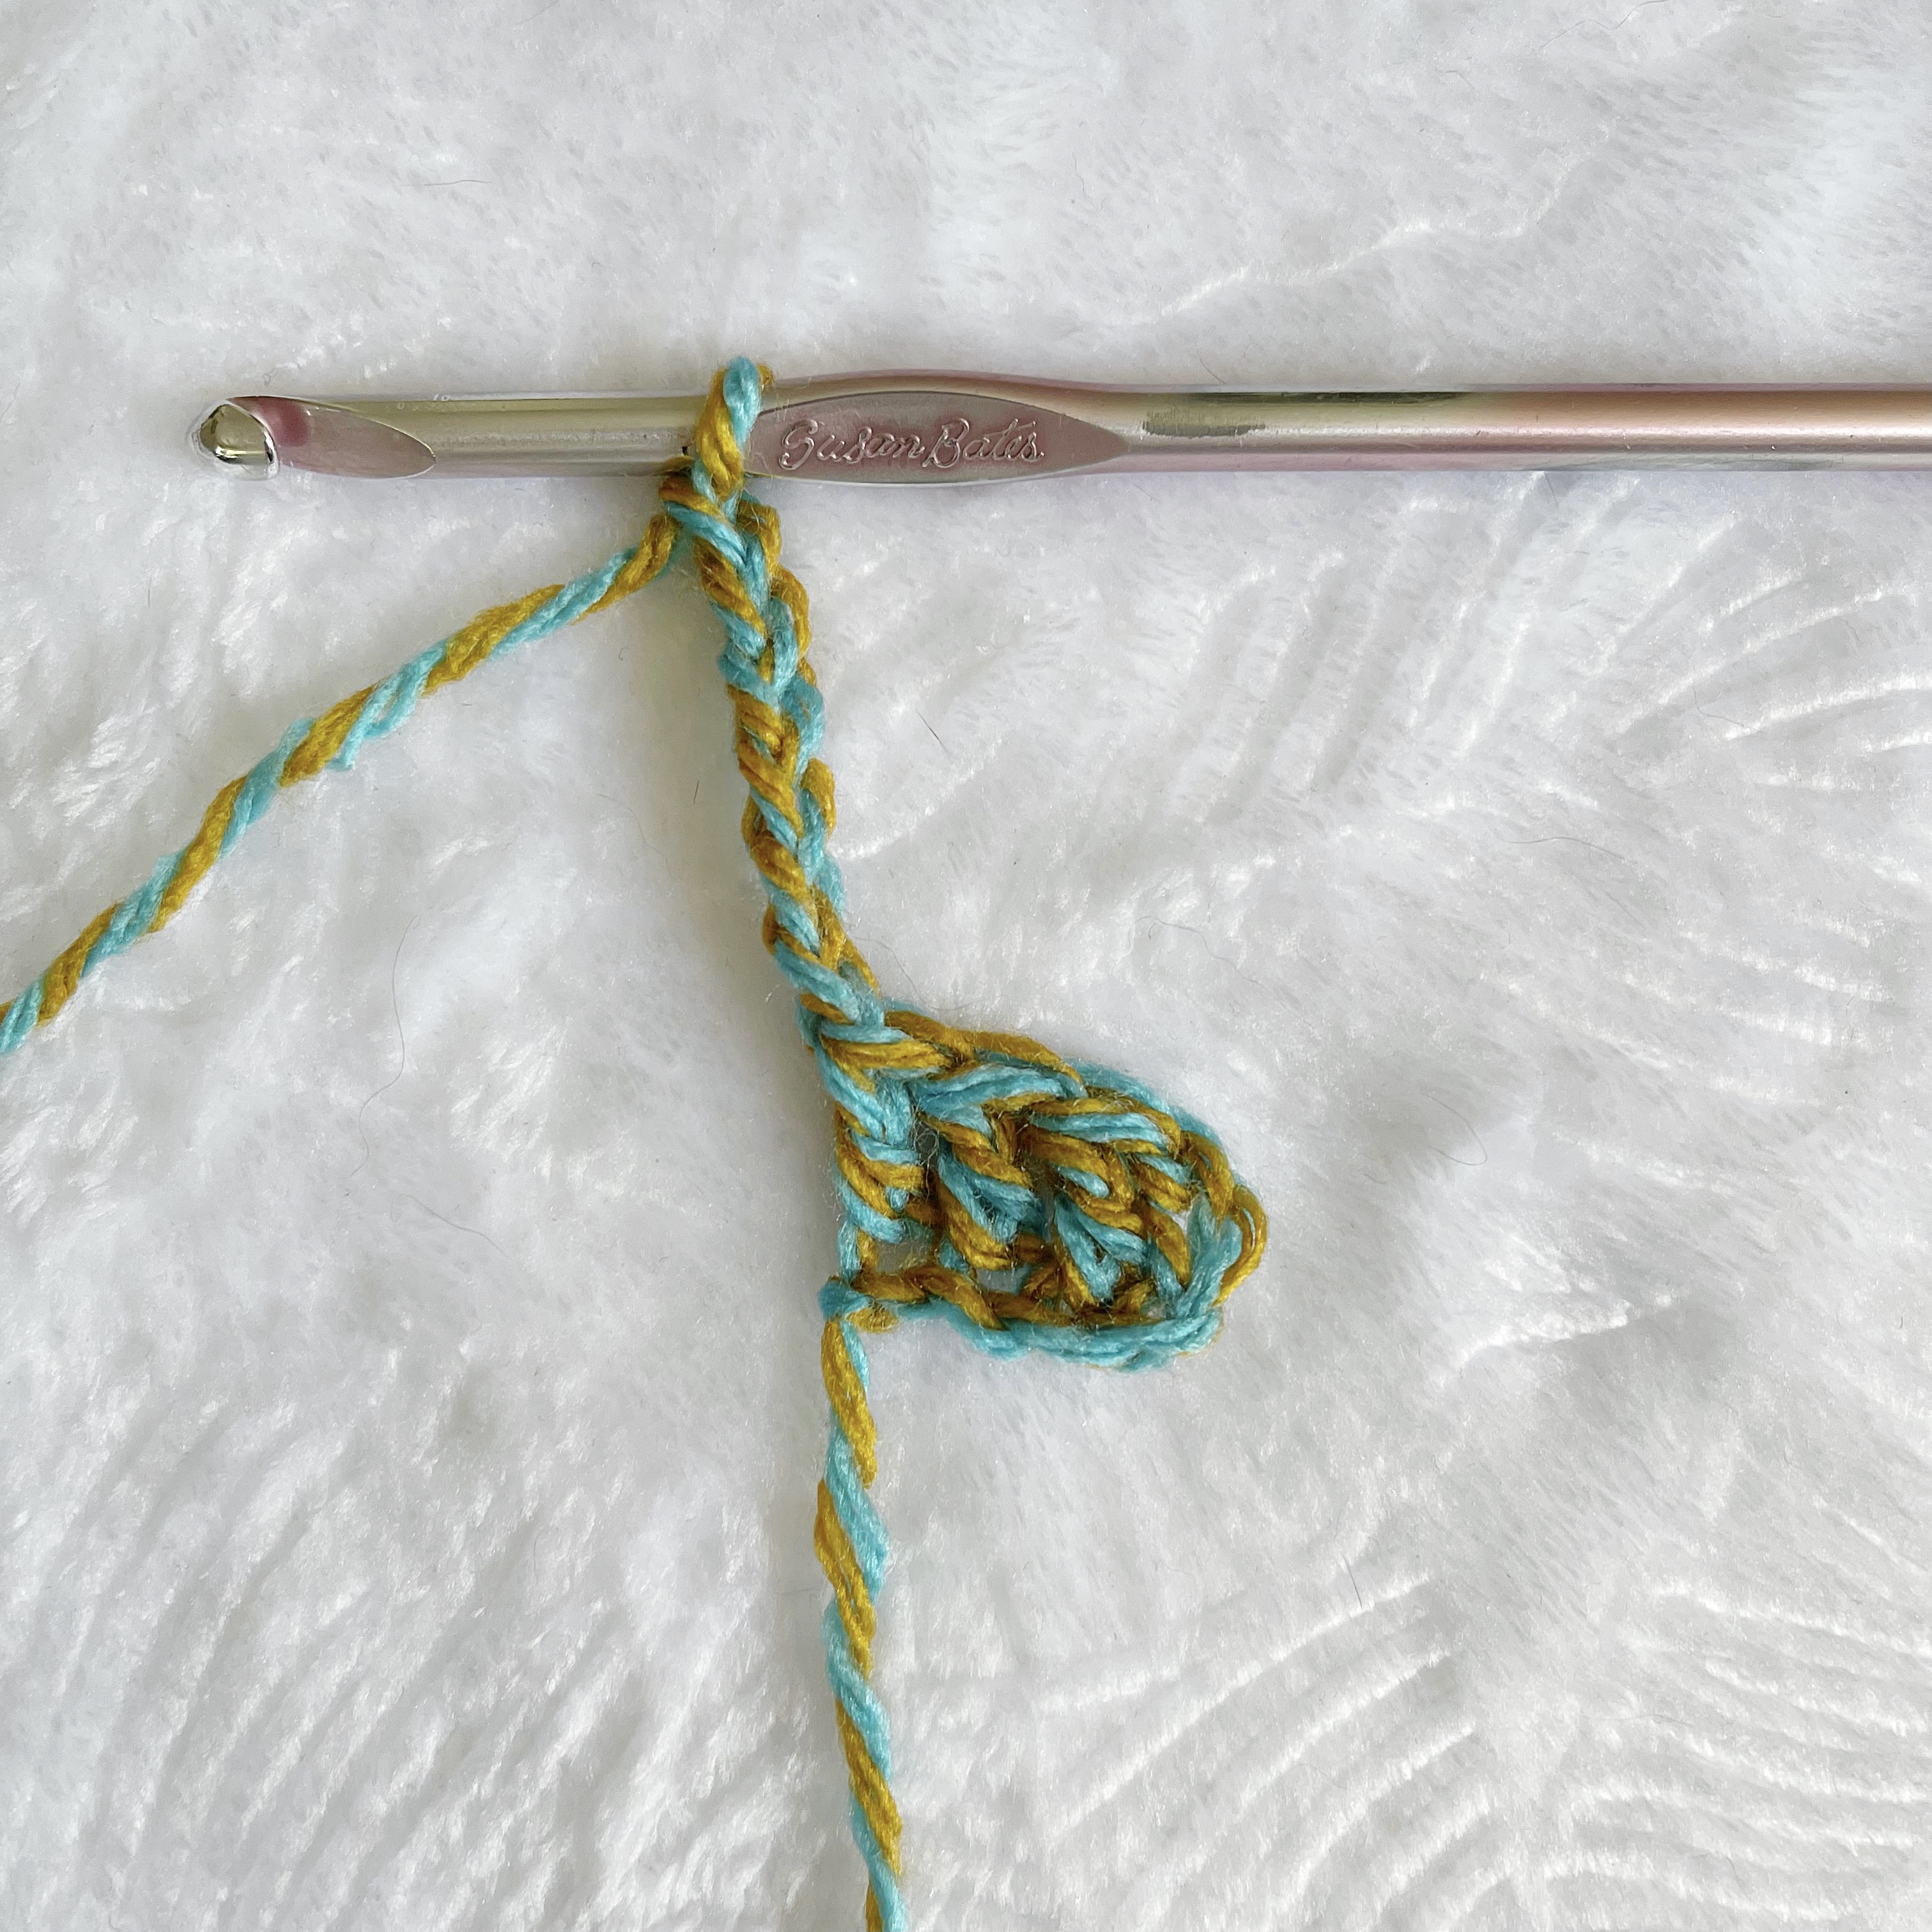
CH 6. DC in 4th CH from the hook and next 2 CH’s. 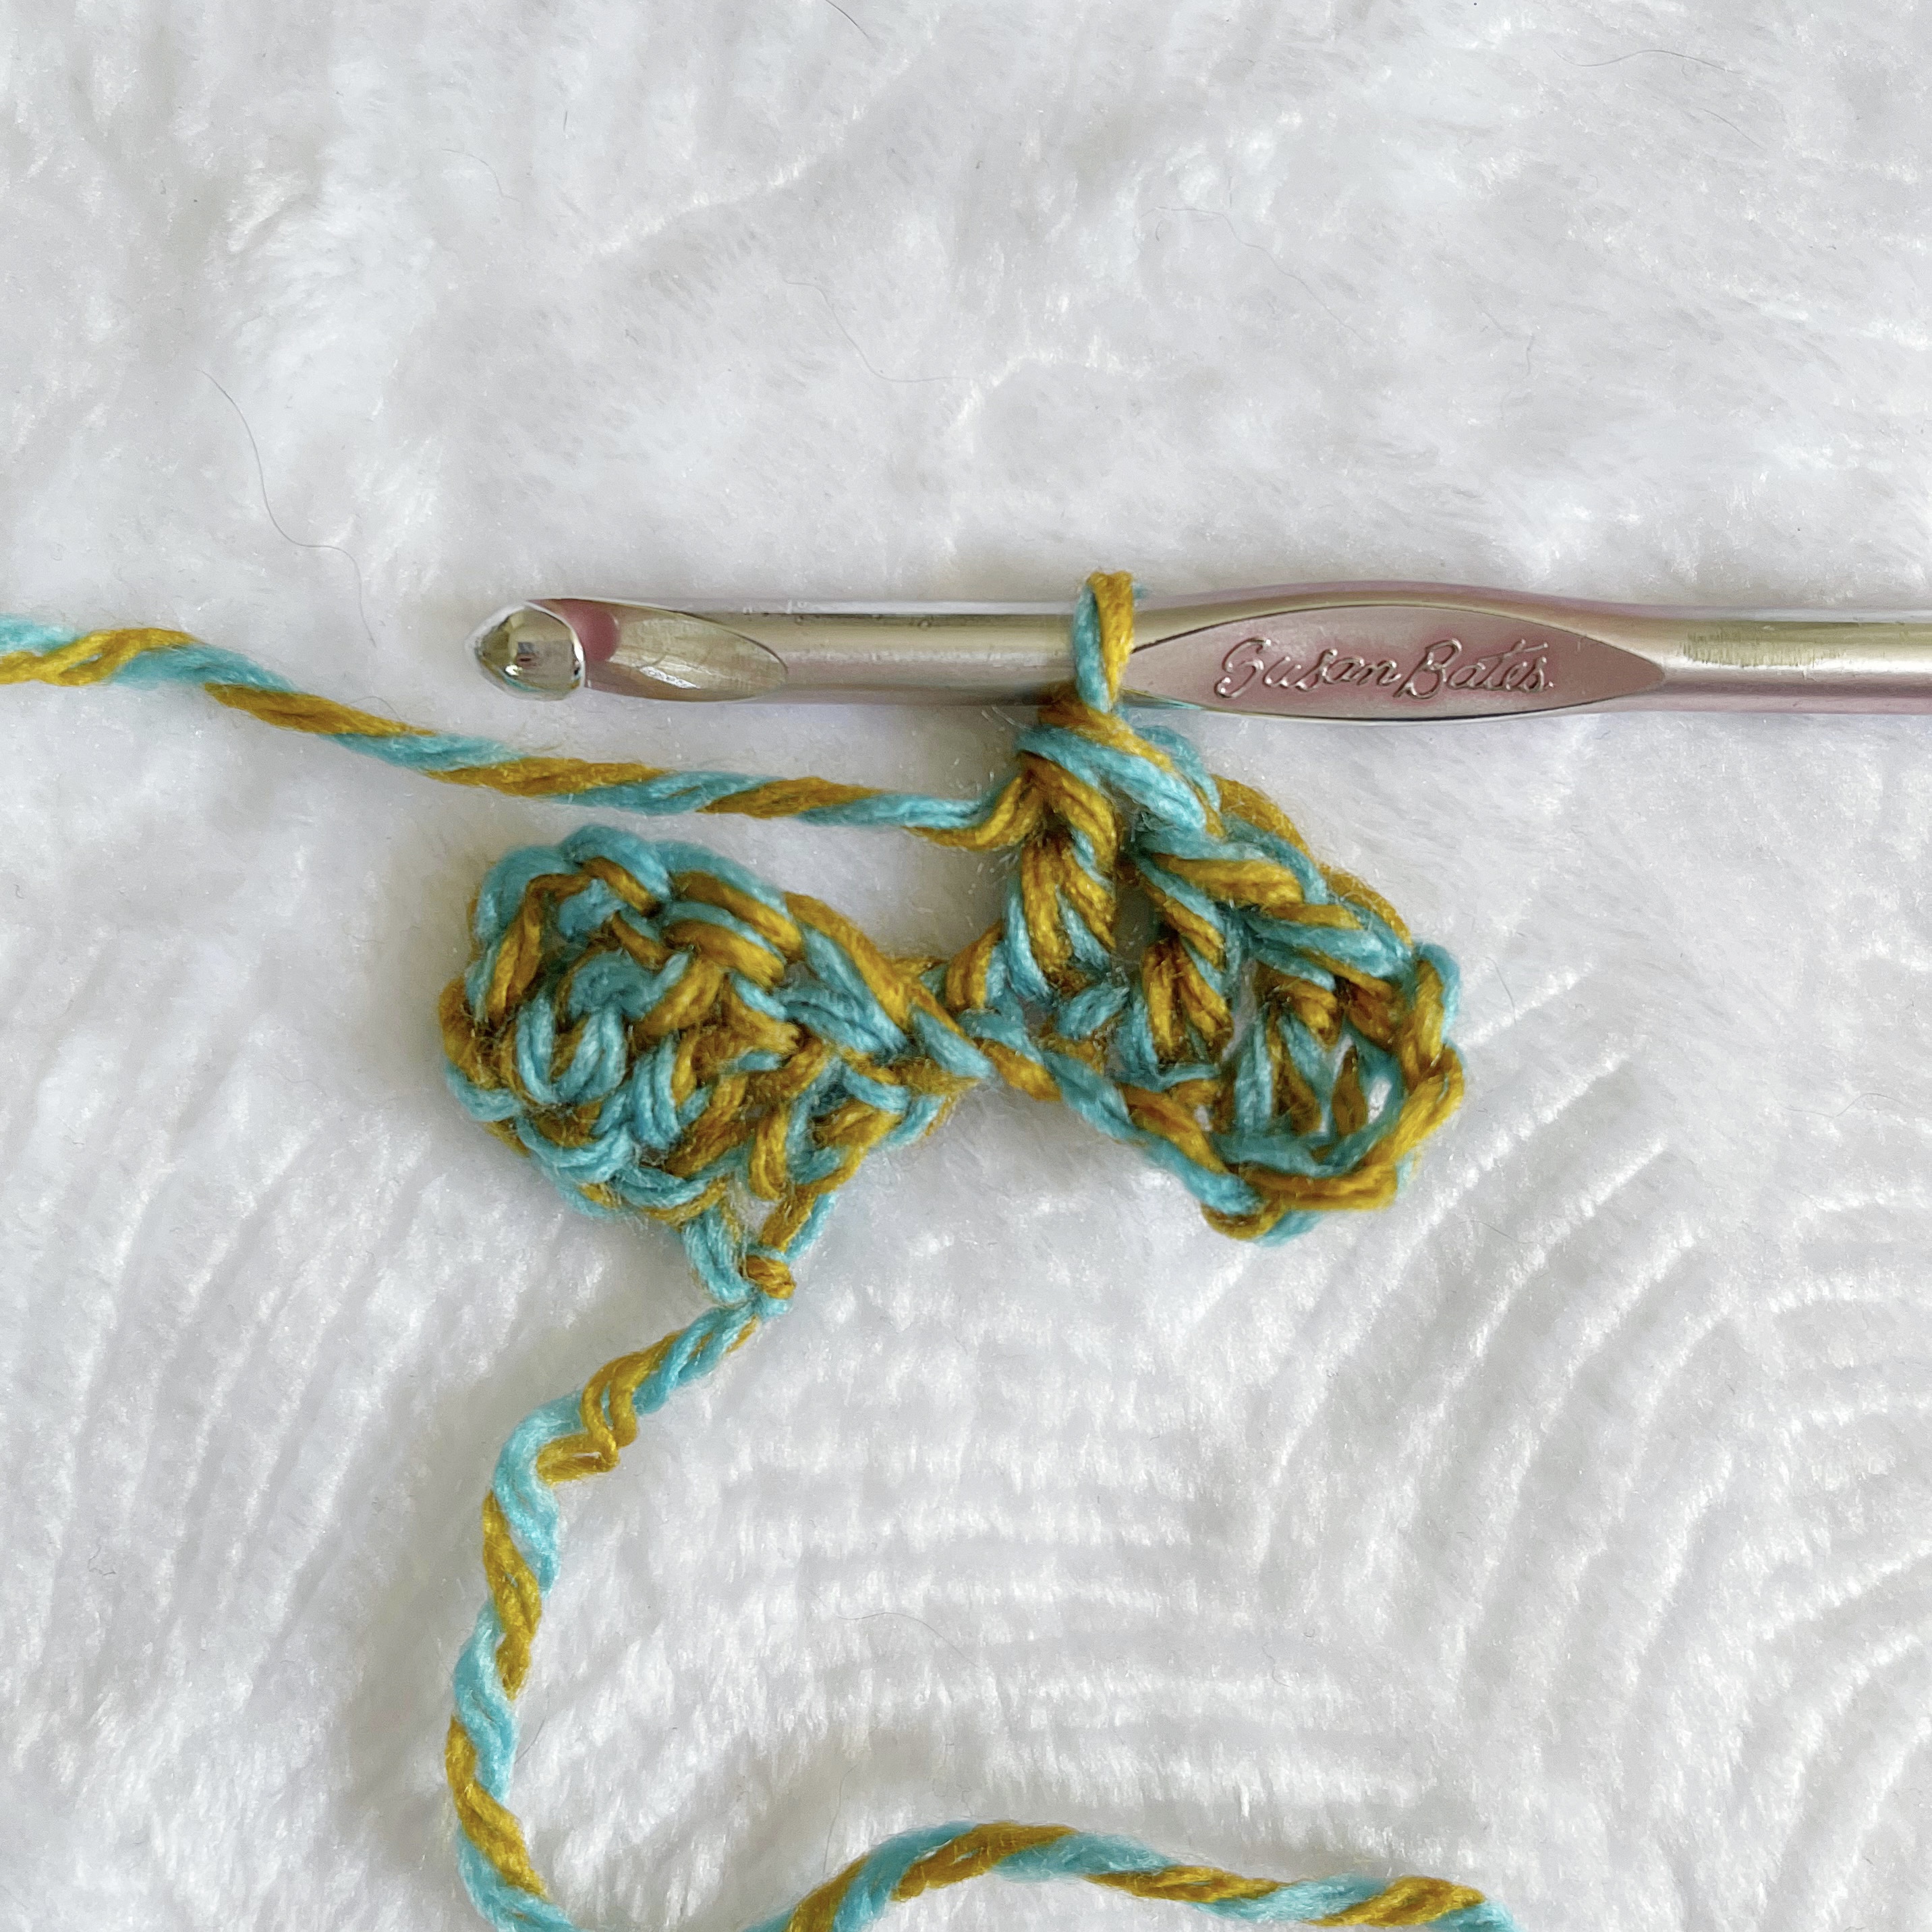
Turn second square and slip stitch into the CH 3 space of the first square.
First two squares attached. 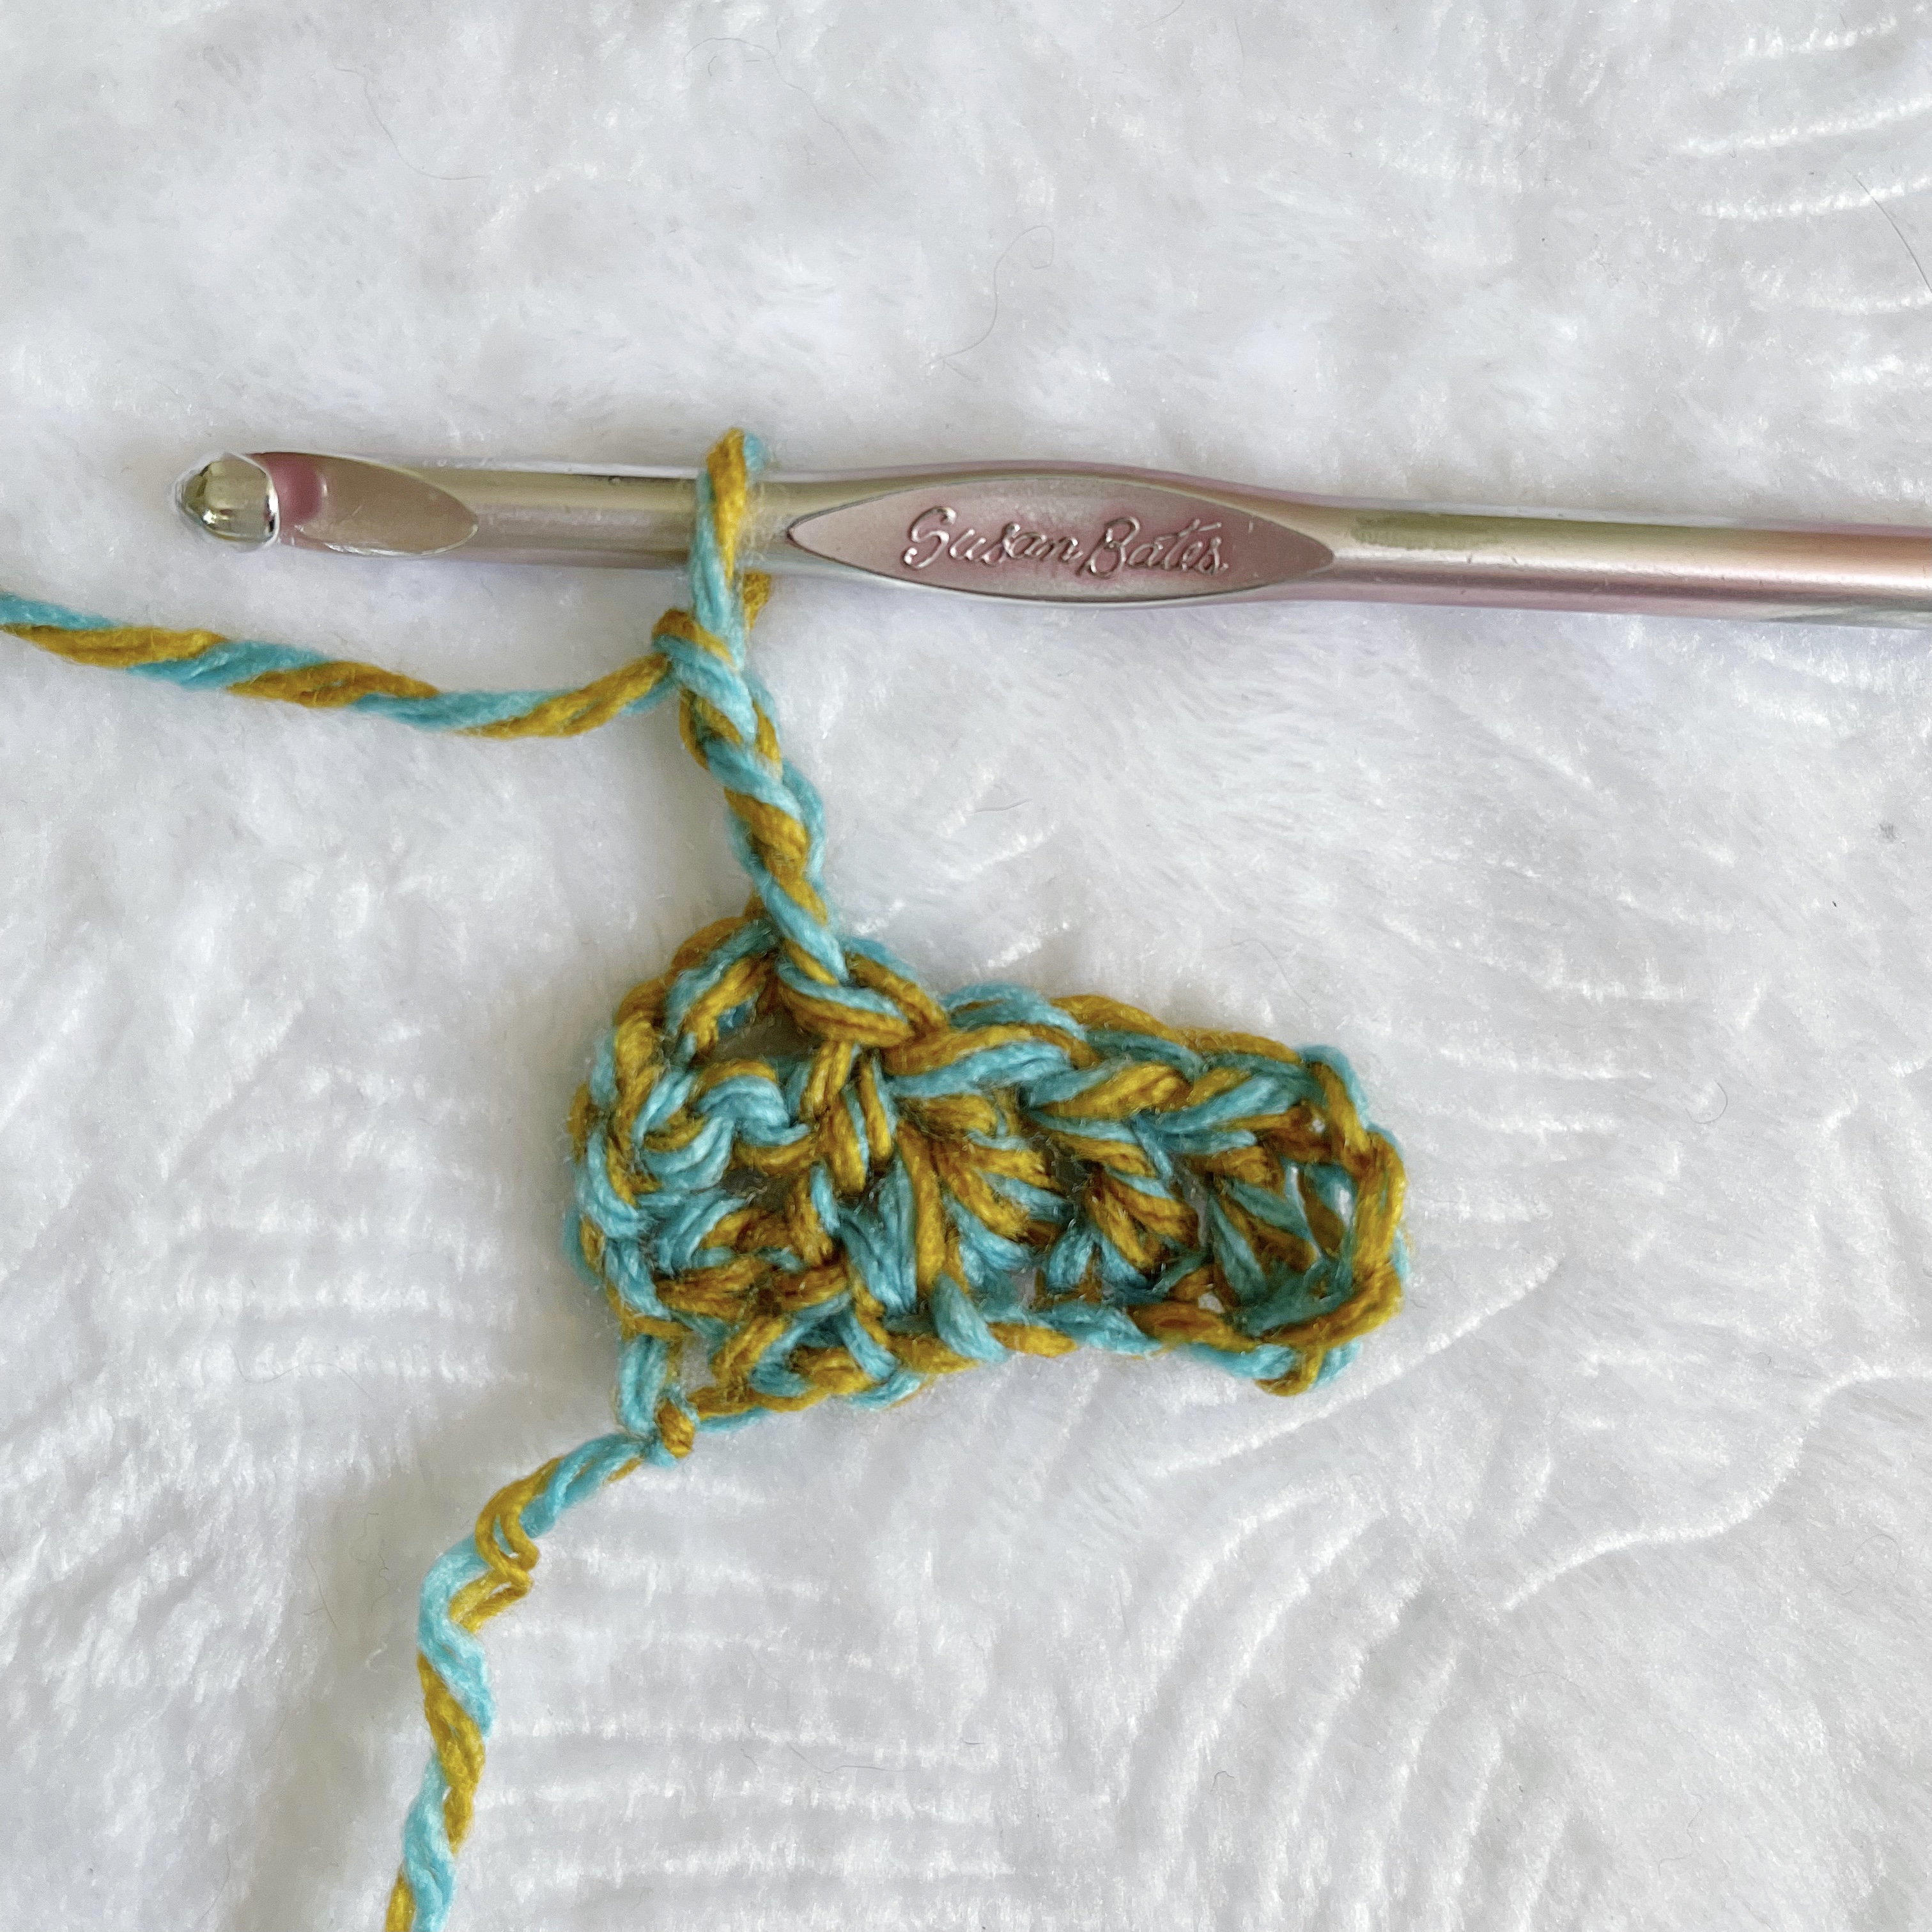
CH 3. 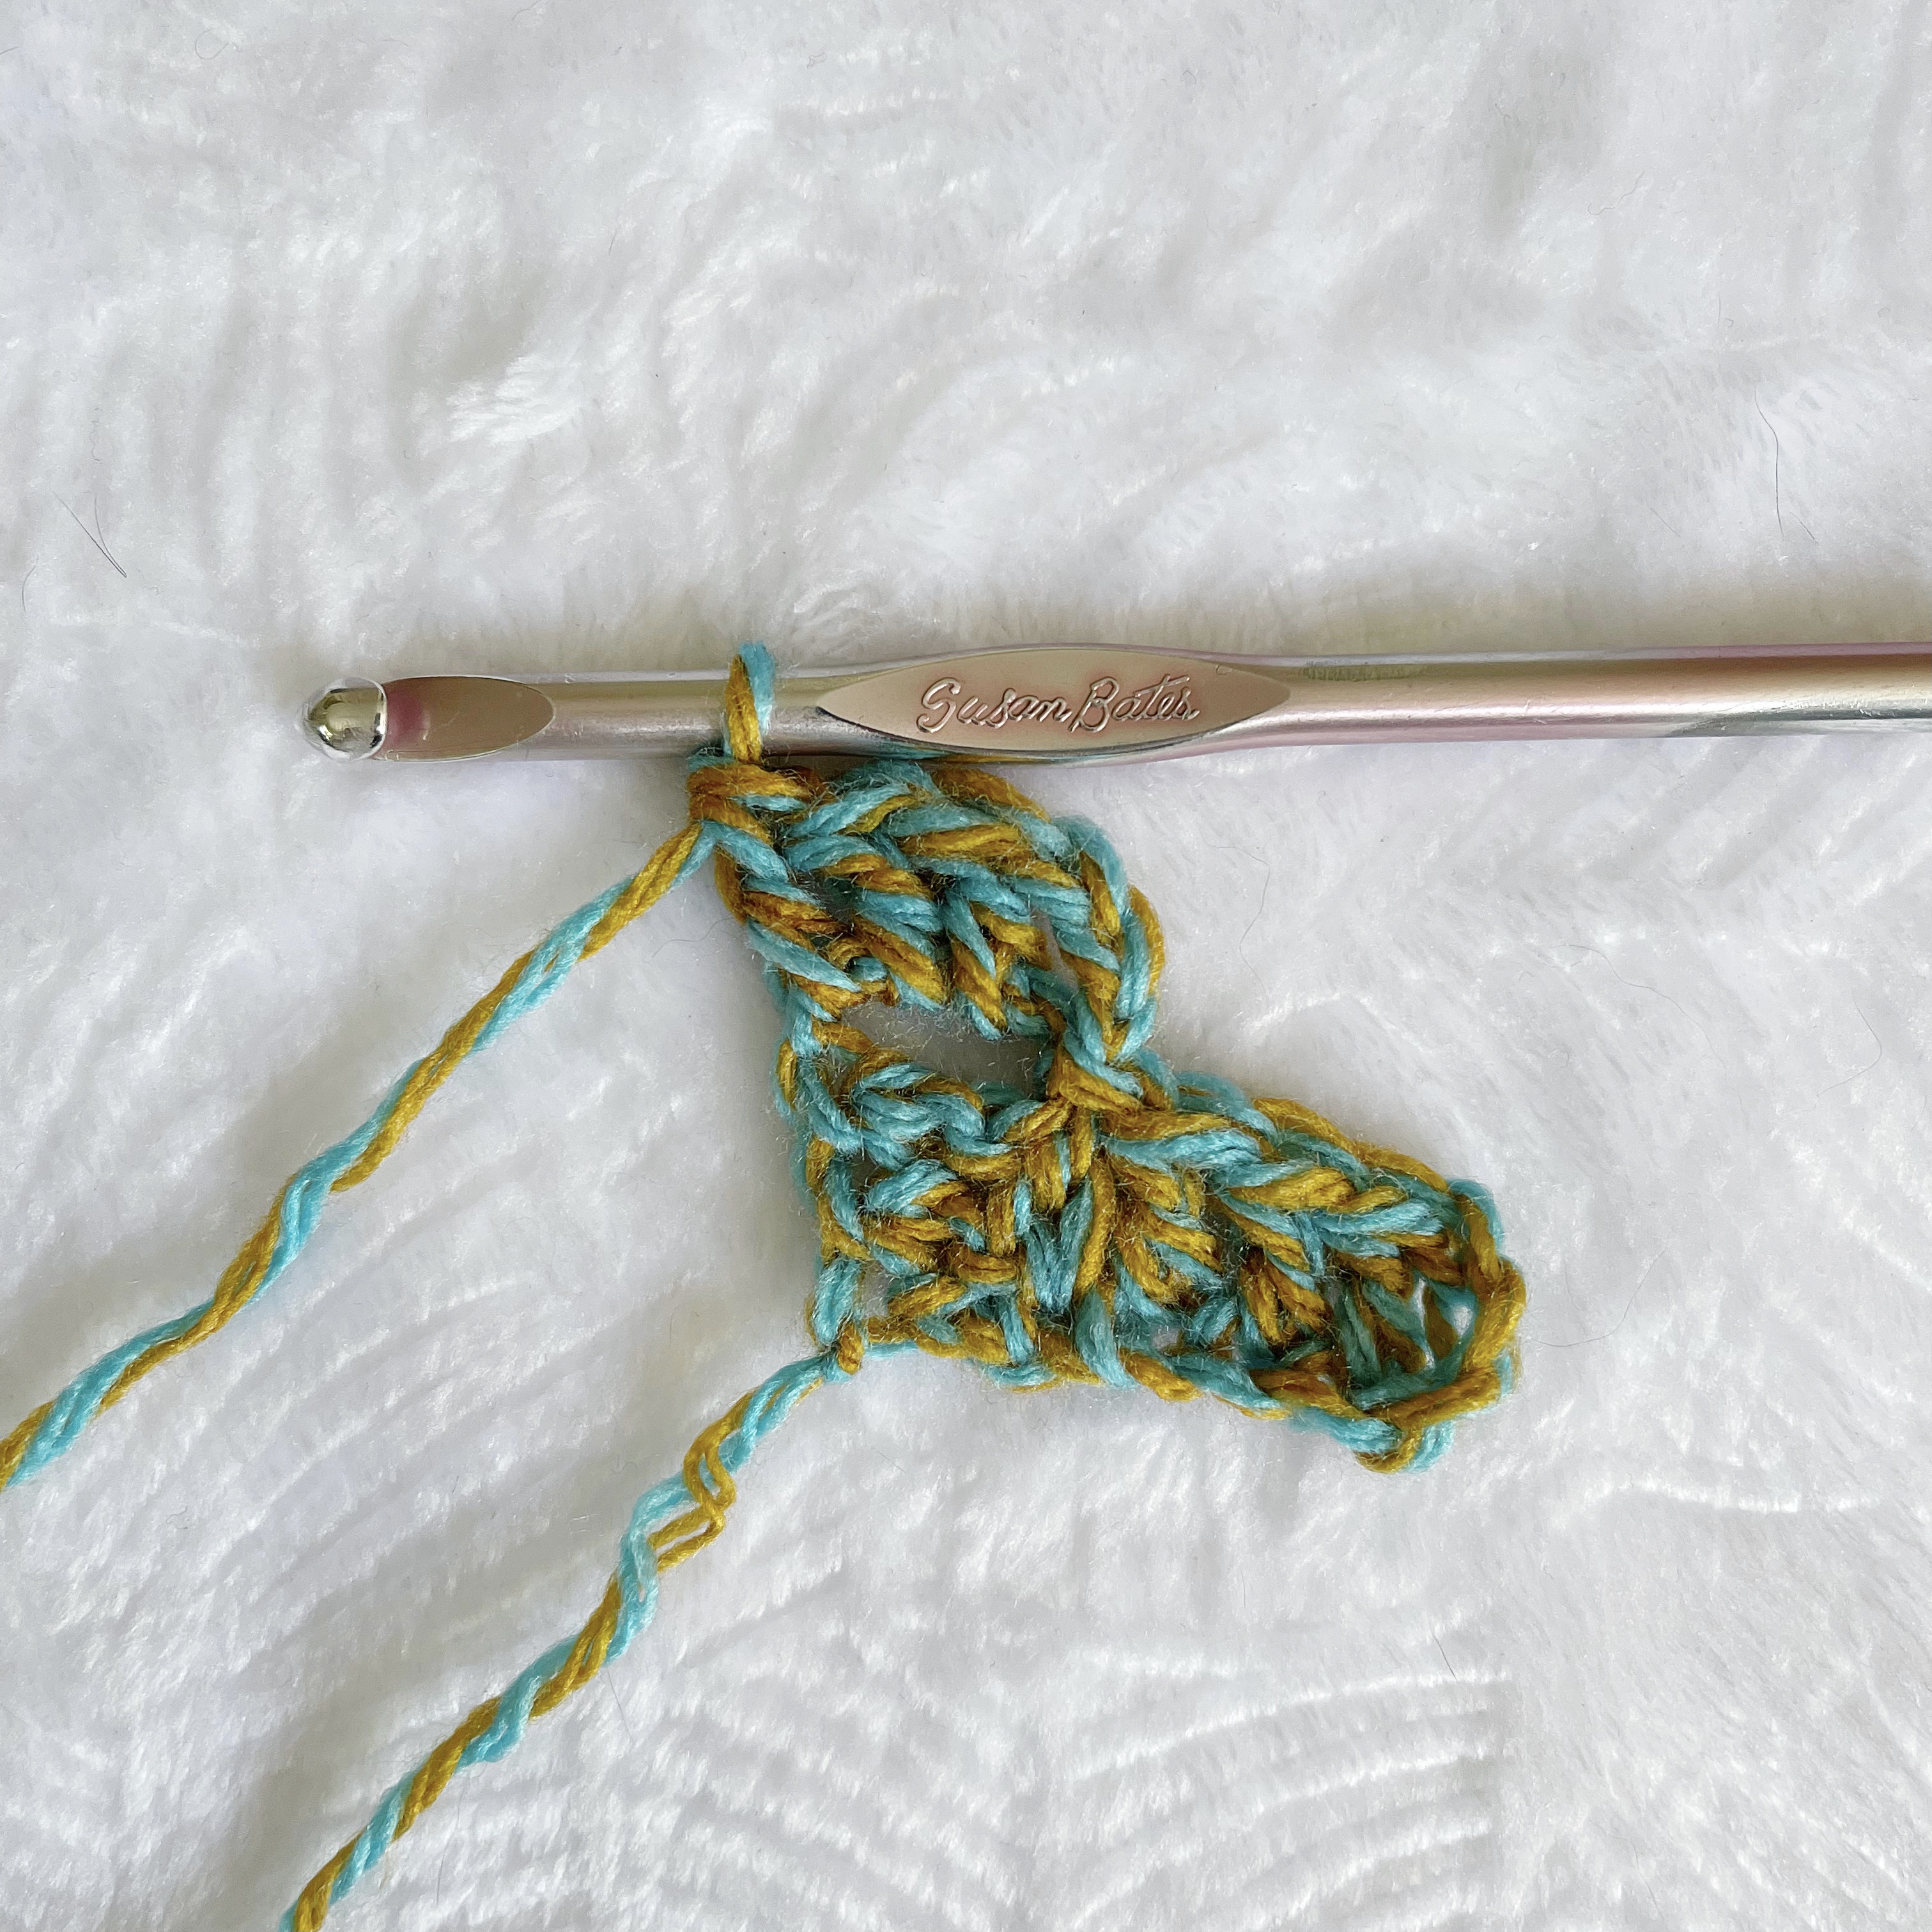
Make 3 DC’s in the CH 3 space.
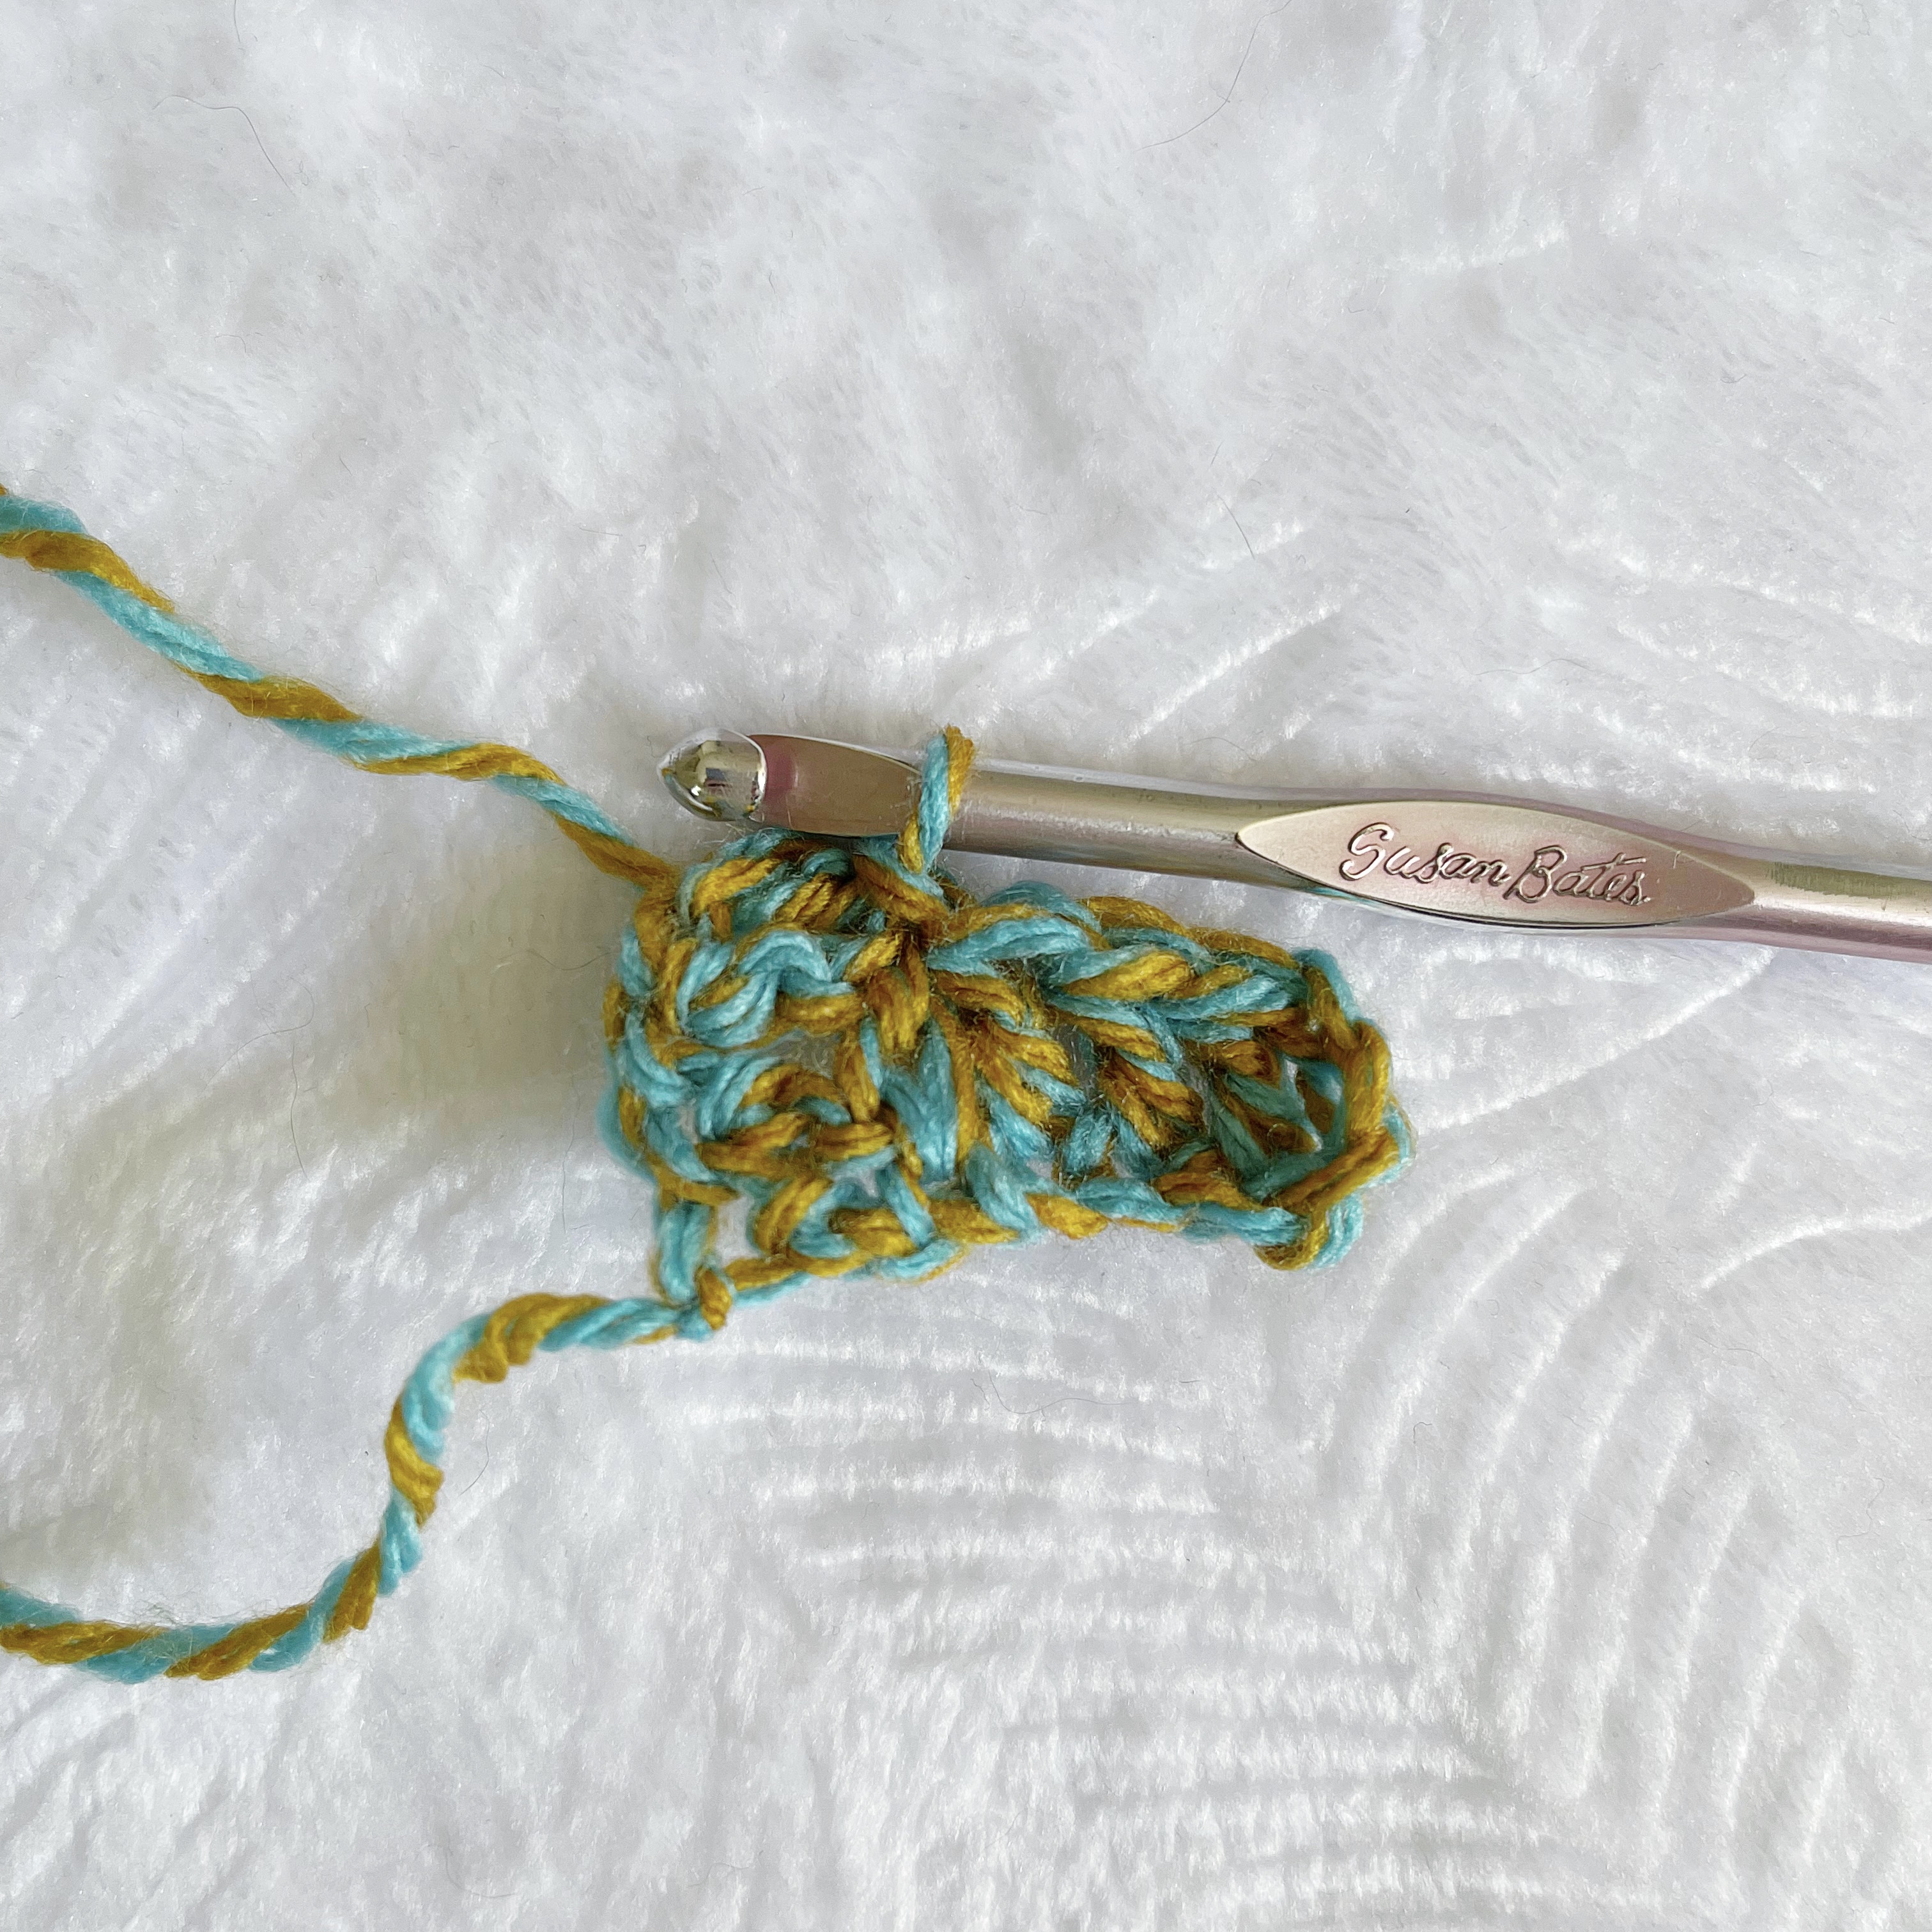
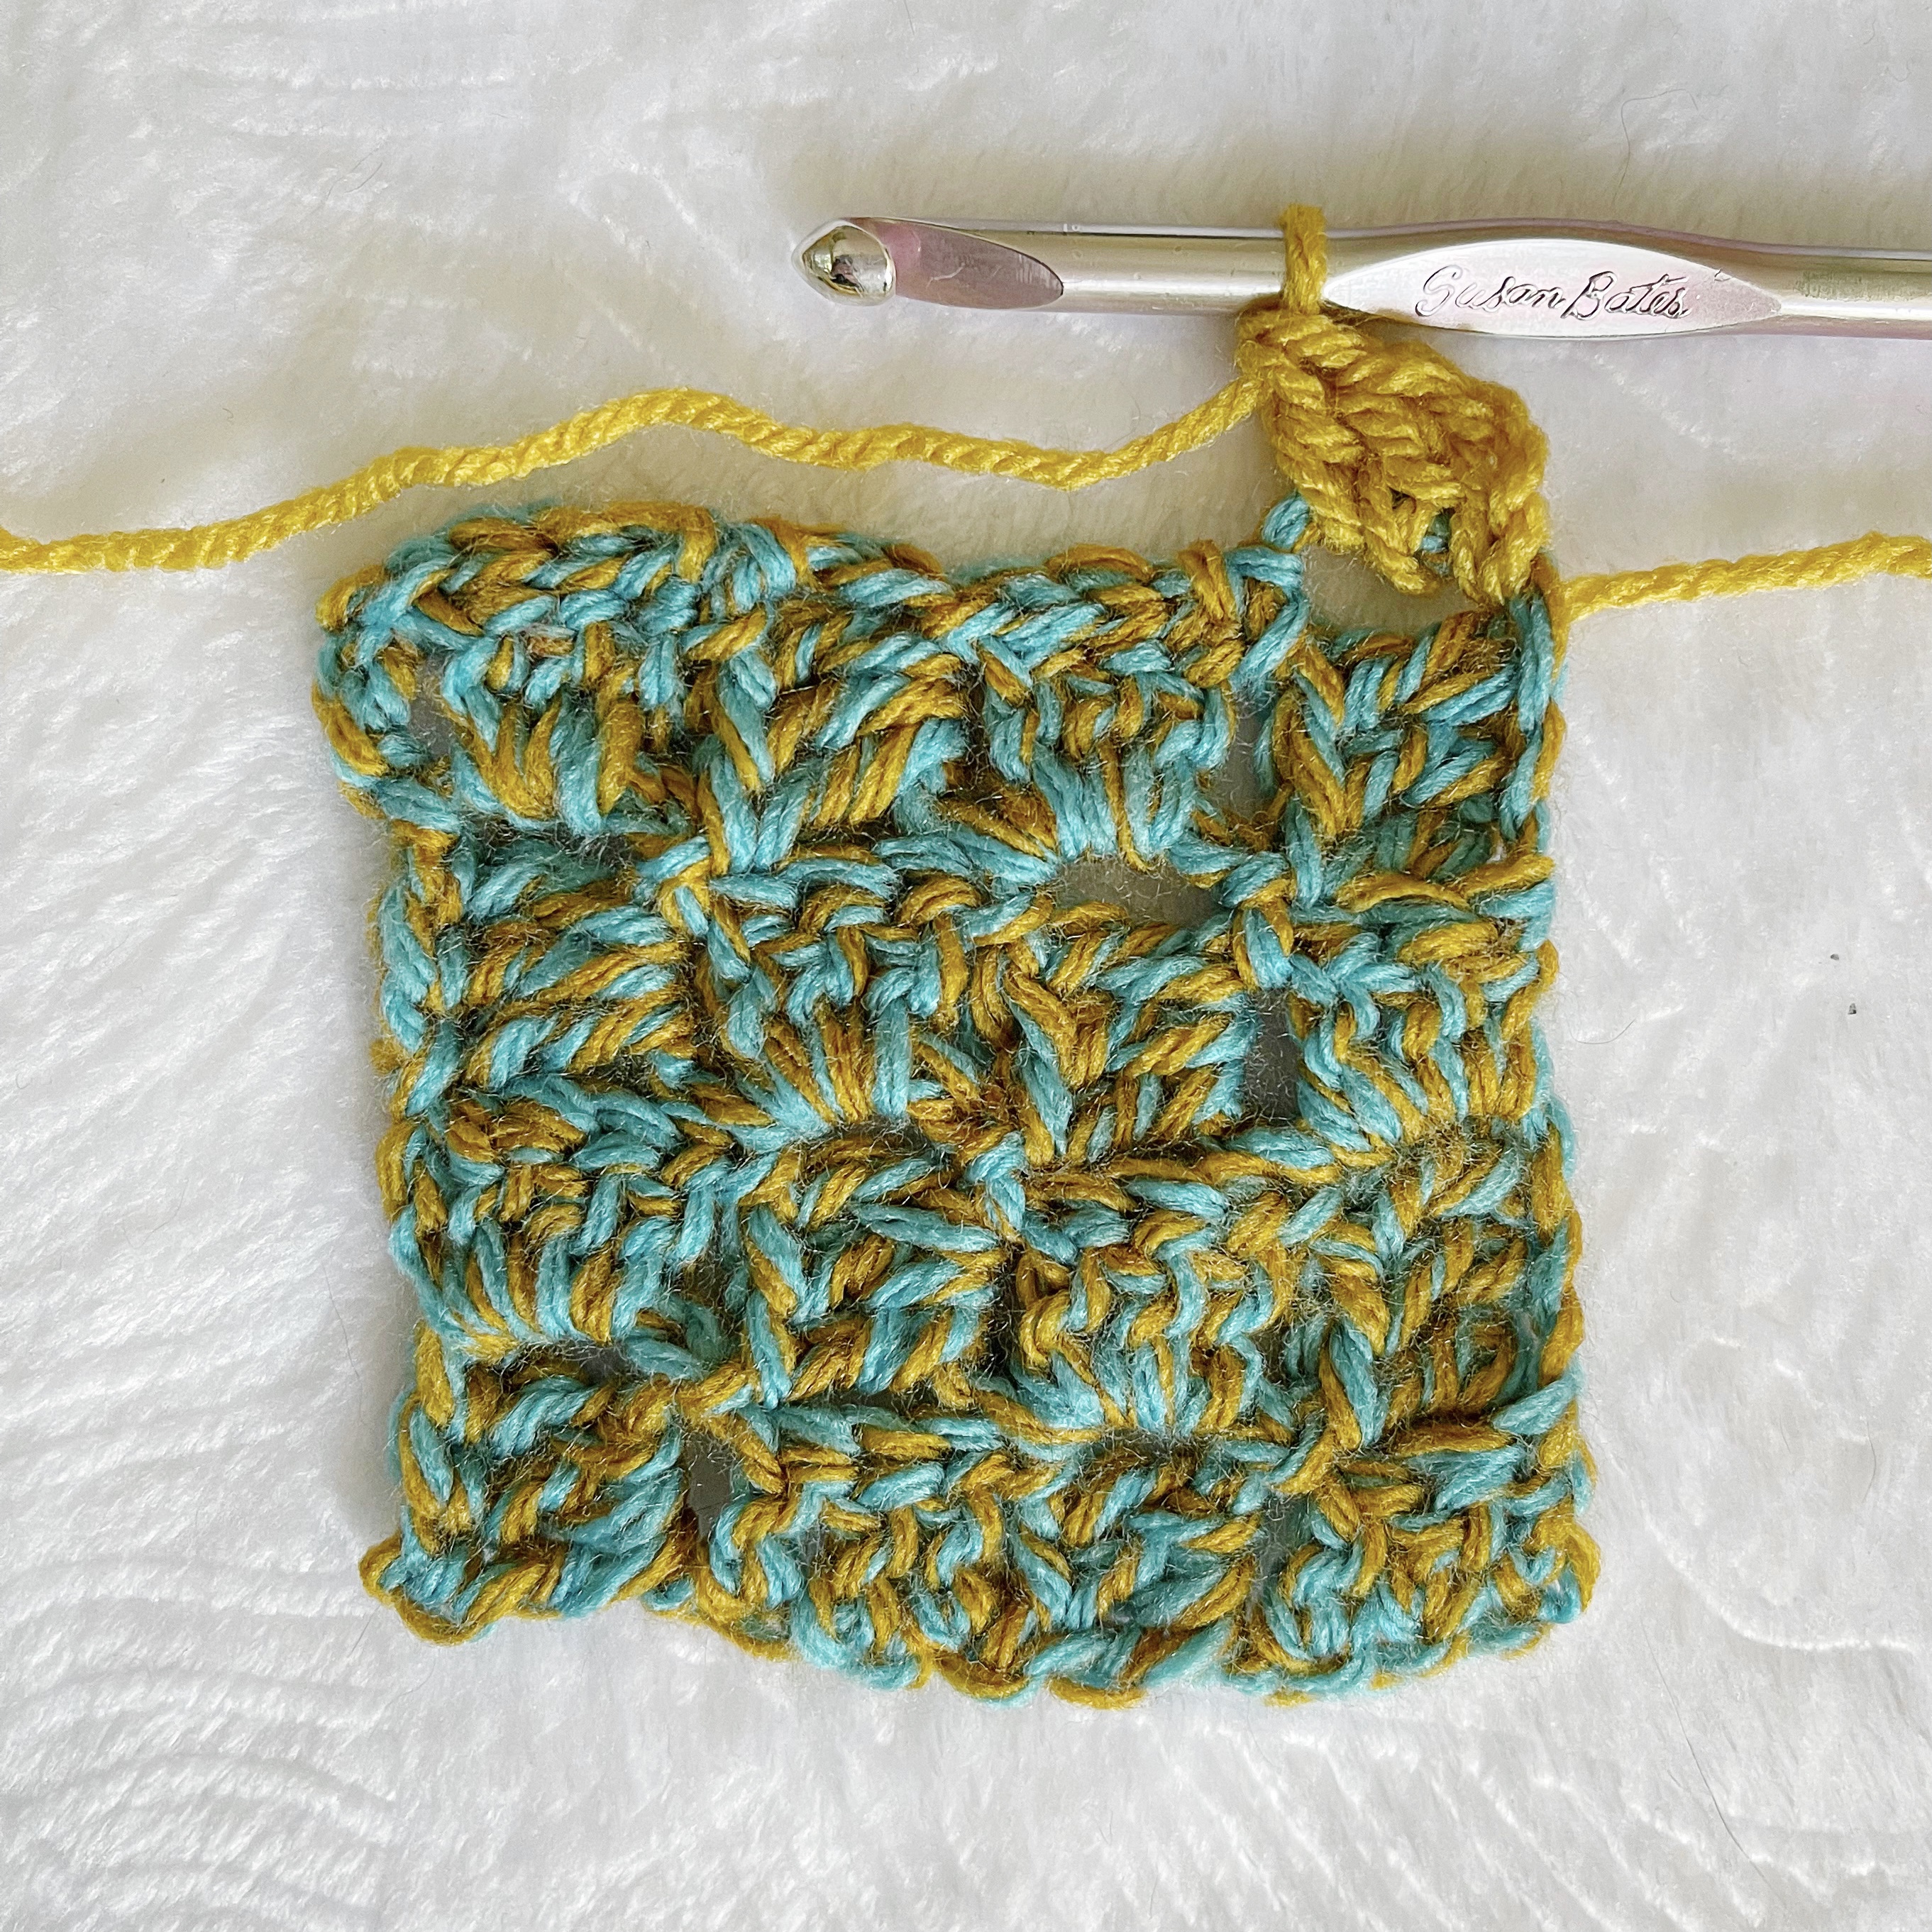
Rows 1 and 2 complete. CH 6. Repeat DC in 4th CH from the hook and next two CH’s. 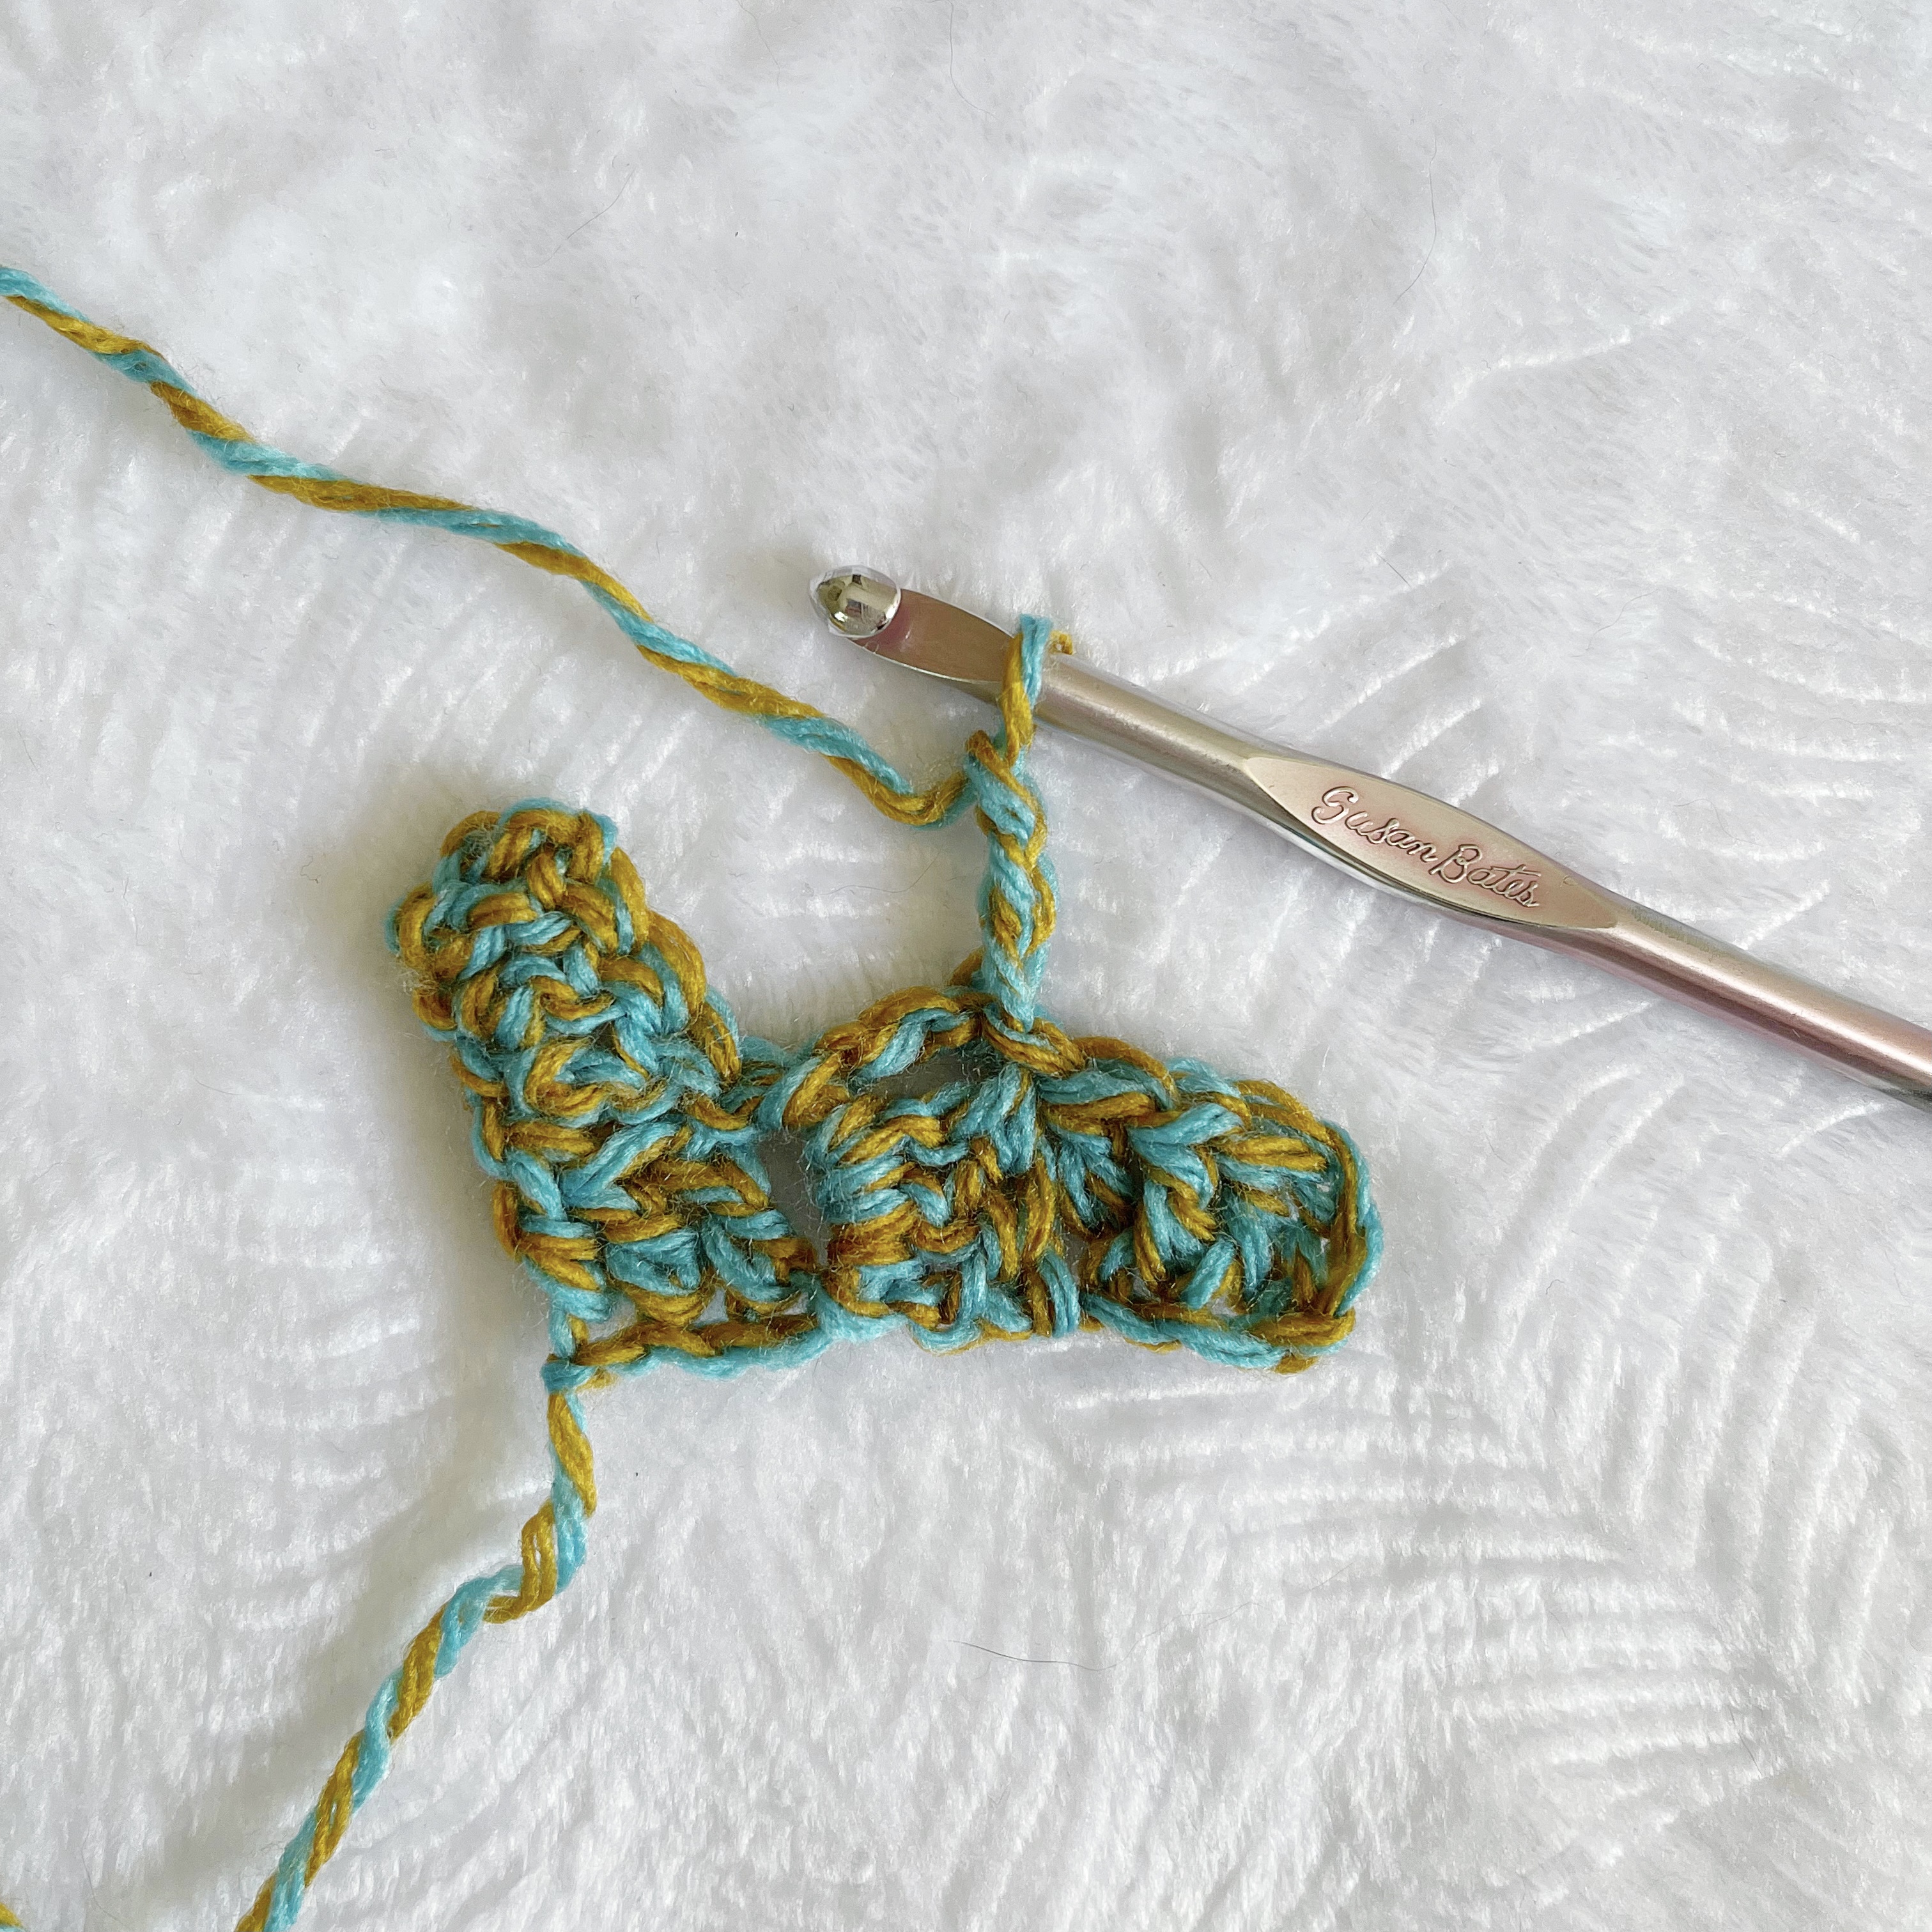
Attach square in CH 3 space with SL ST. CH 3, DC 3 in CH 3 space. 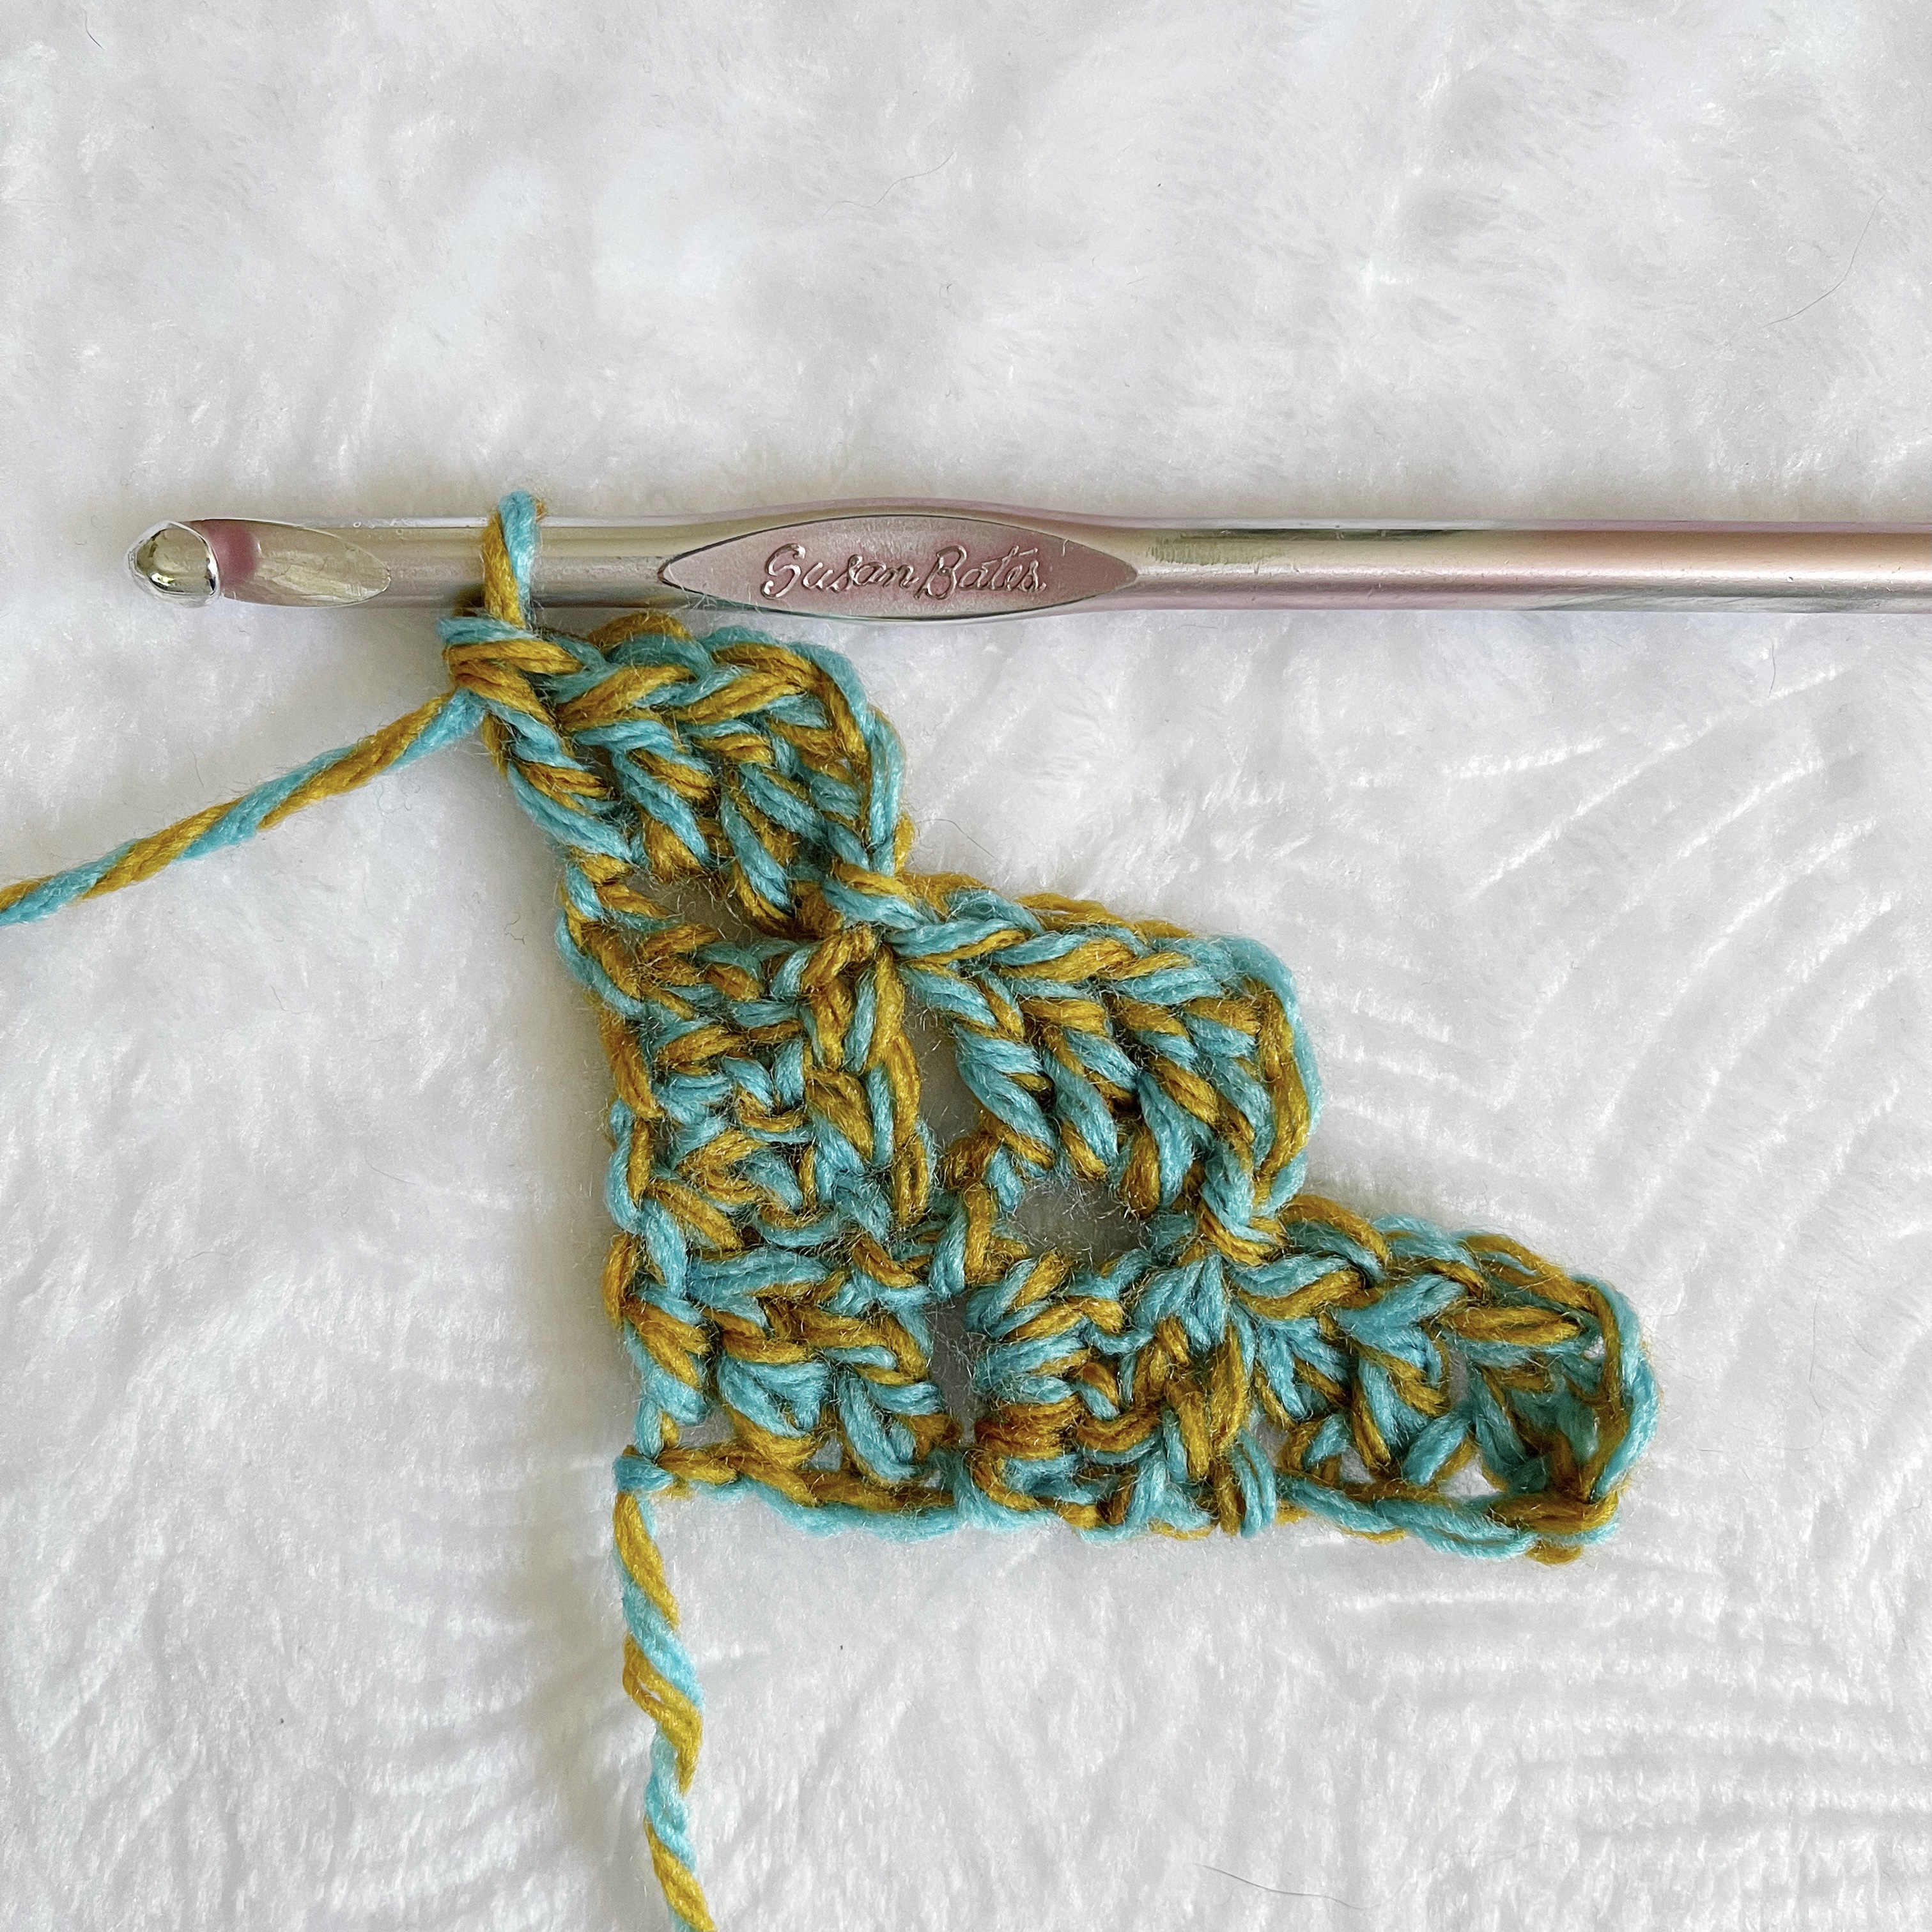
SL ST into next block. Repeat CH 3 and DC 3 in CH 3 space.
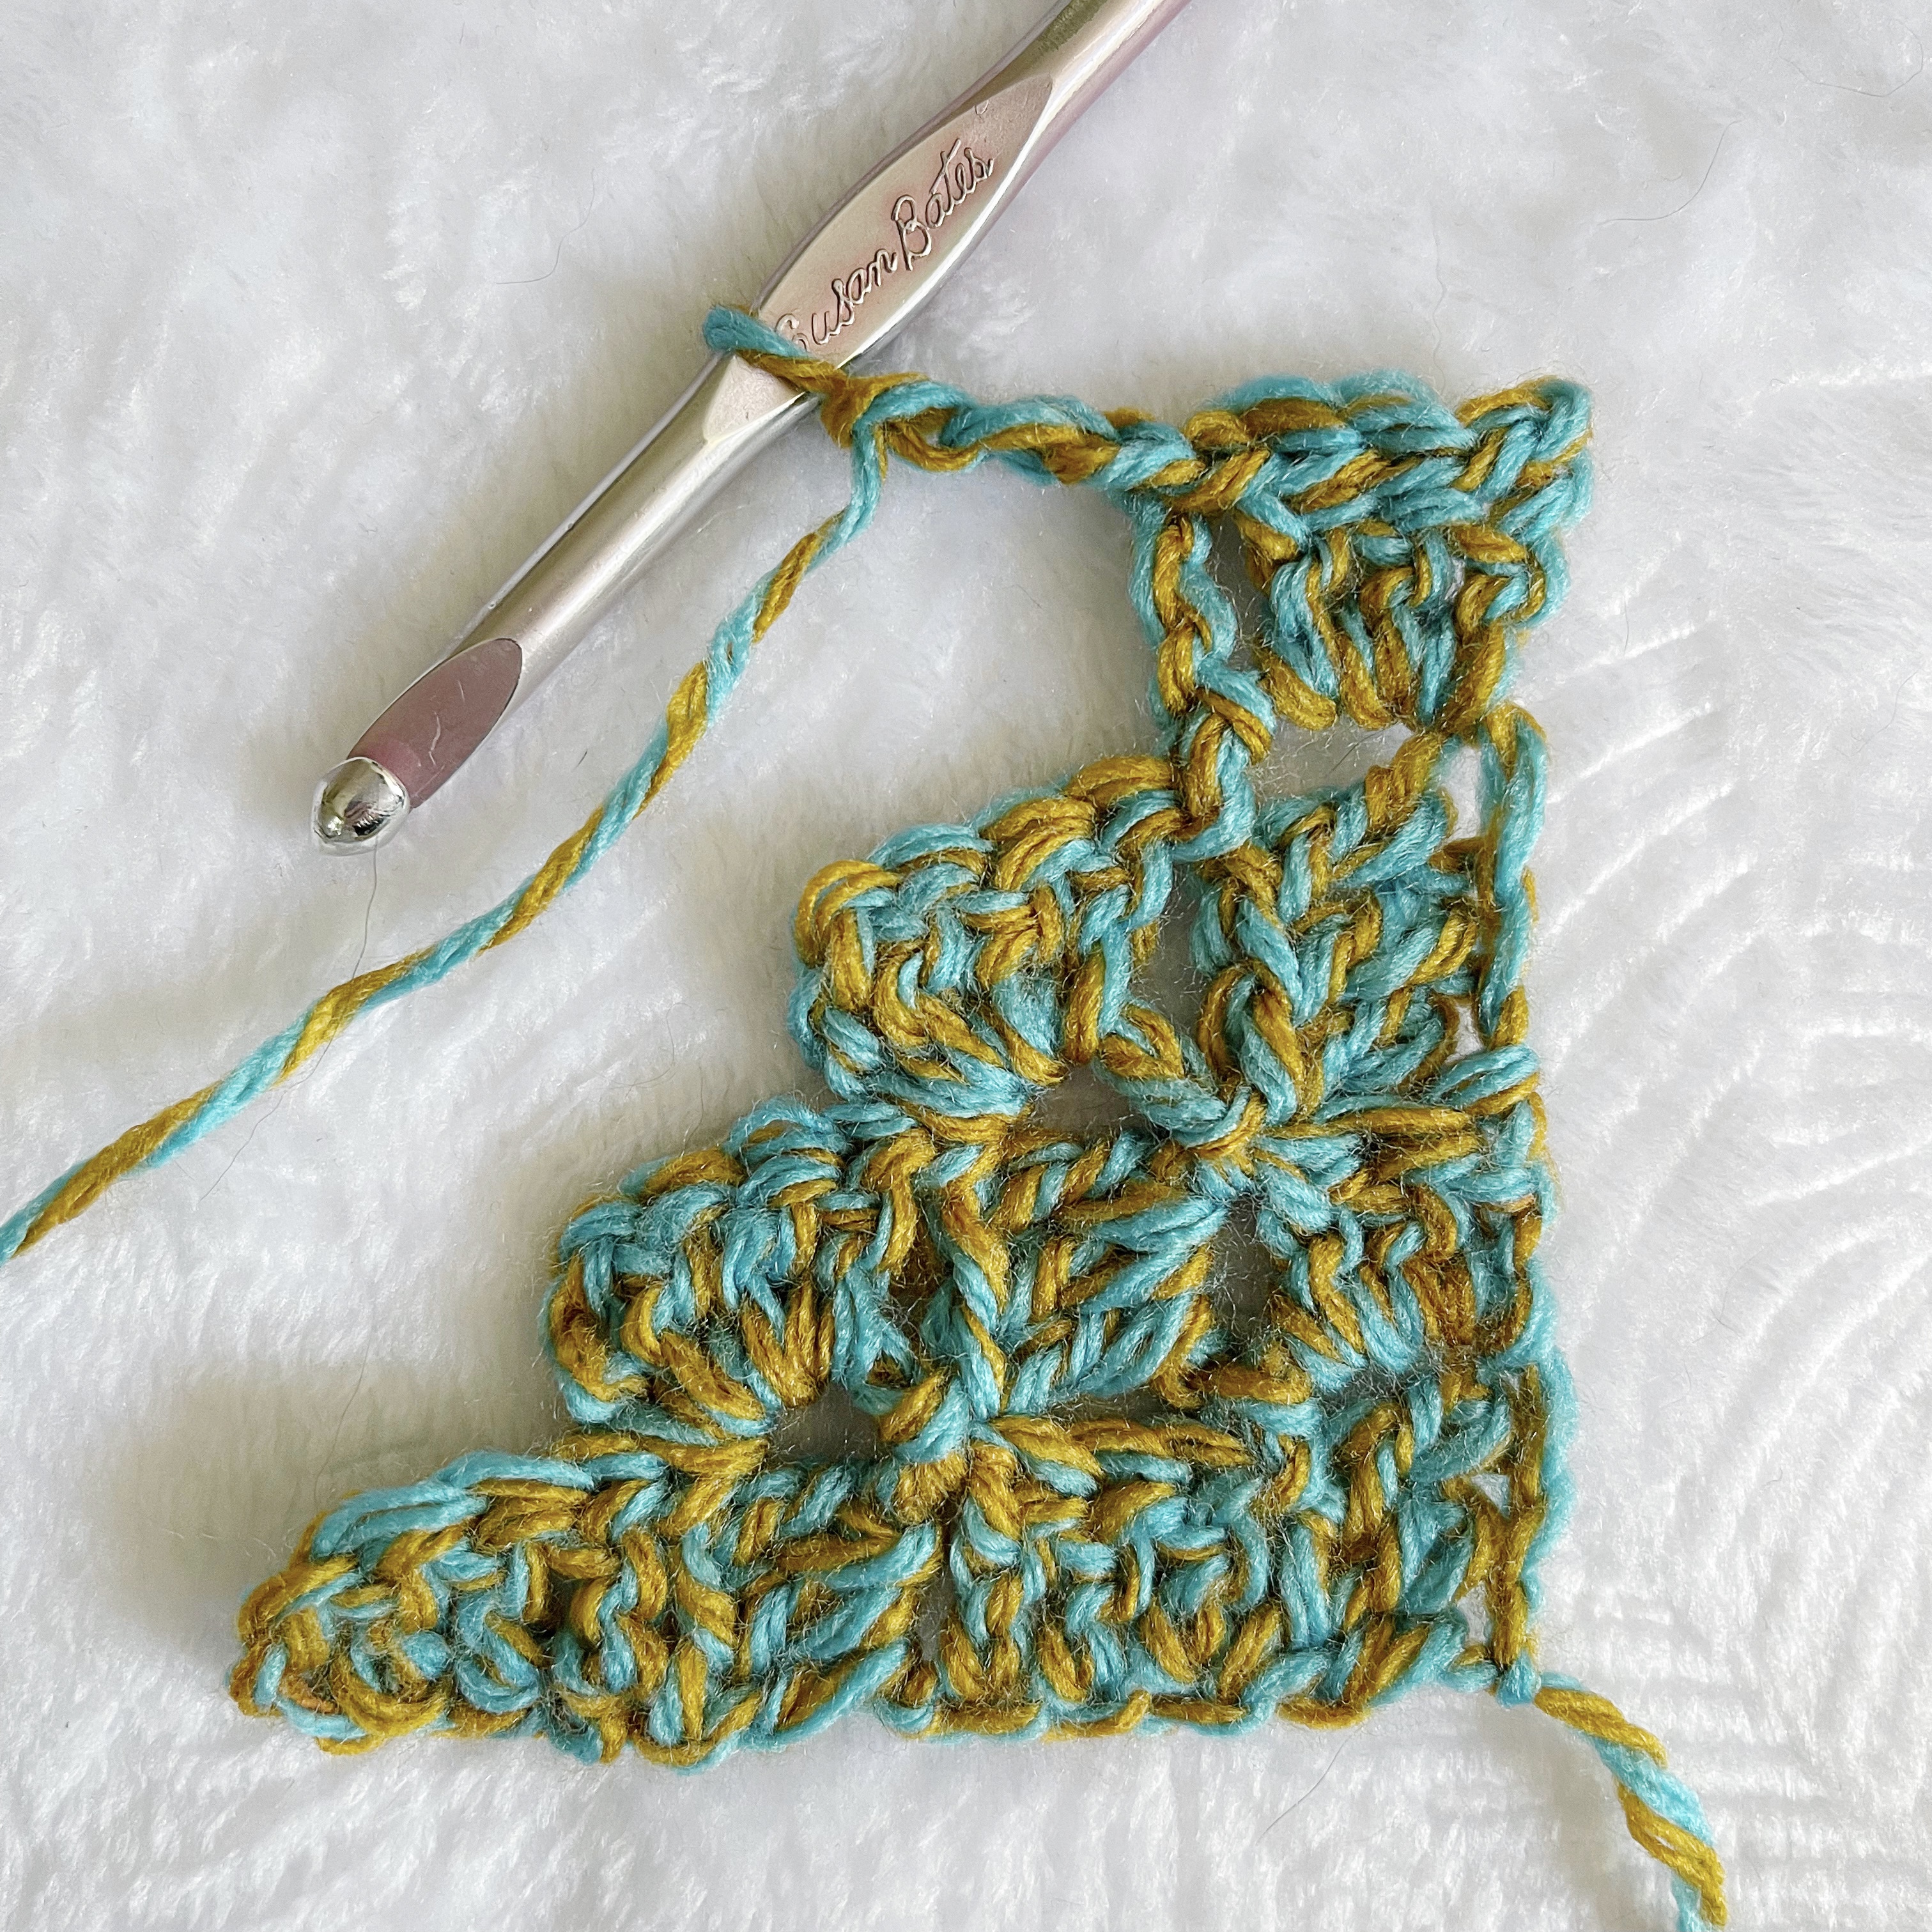
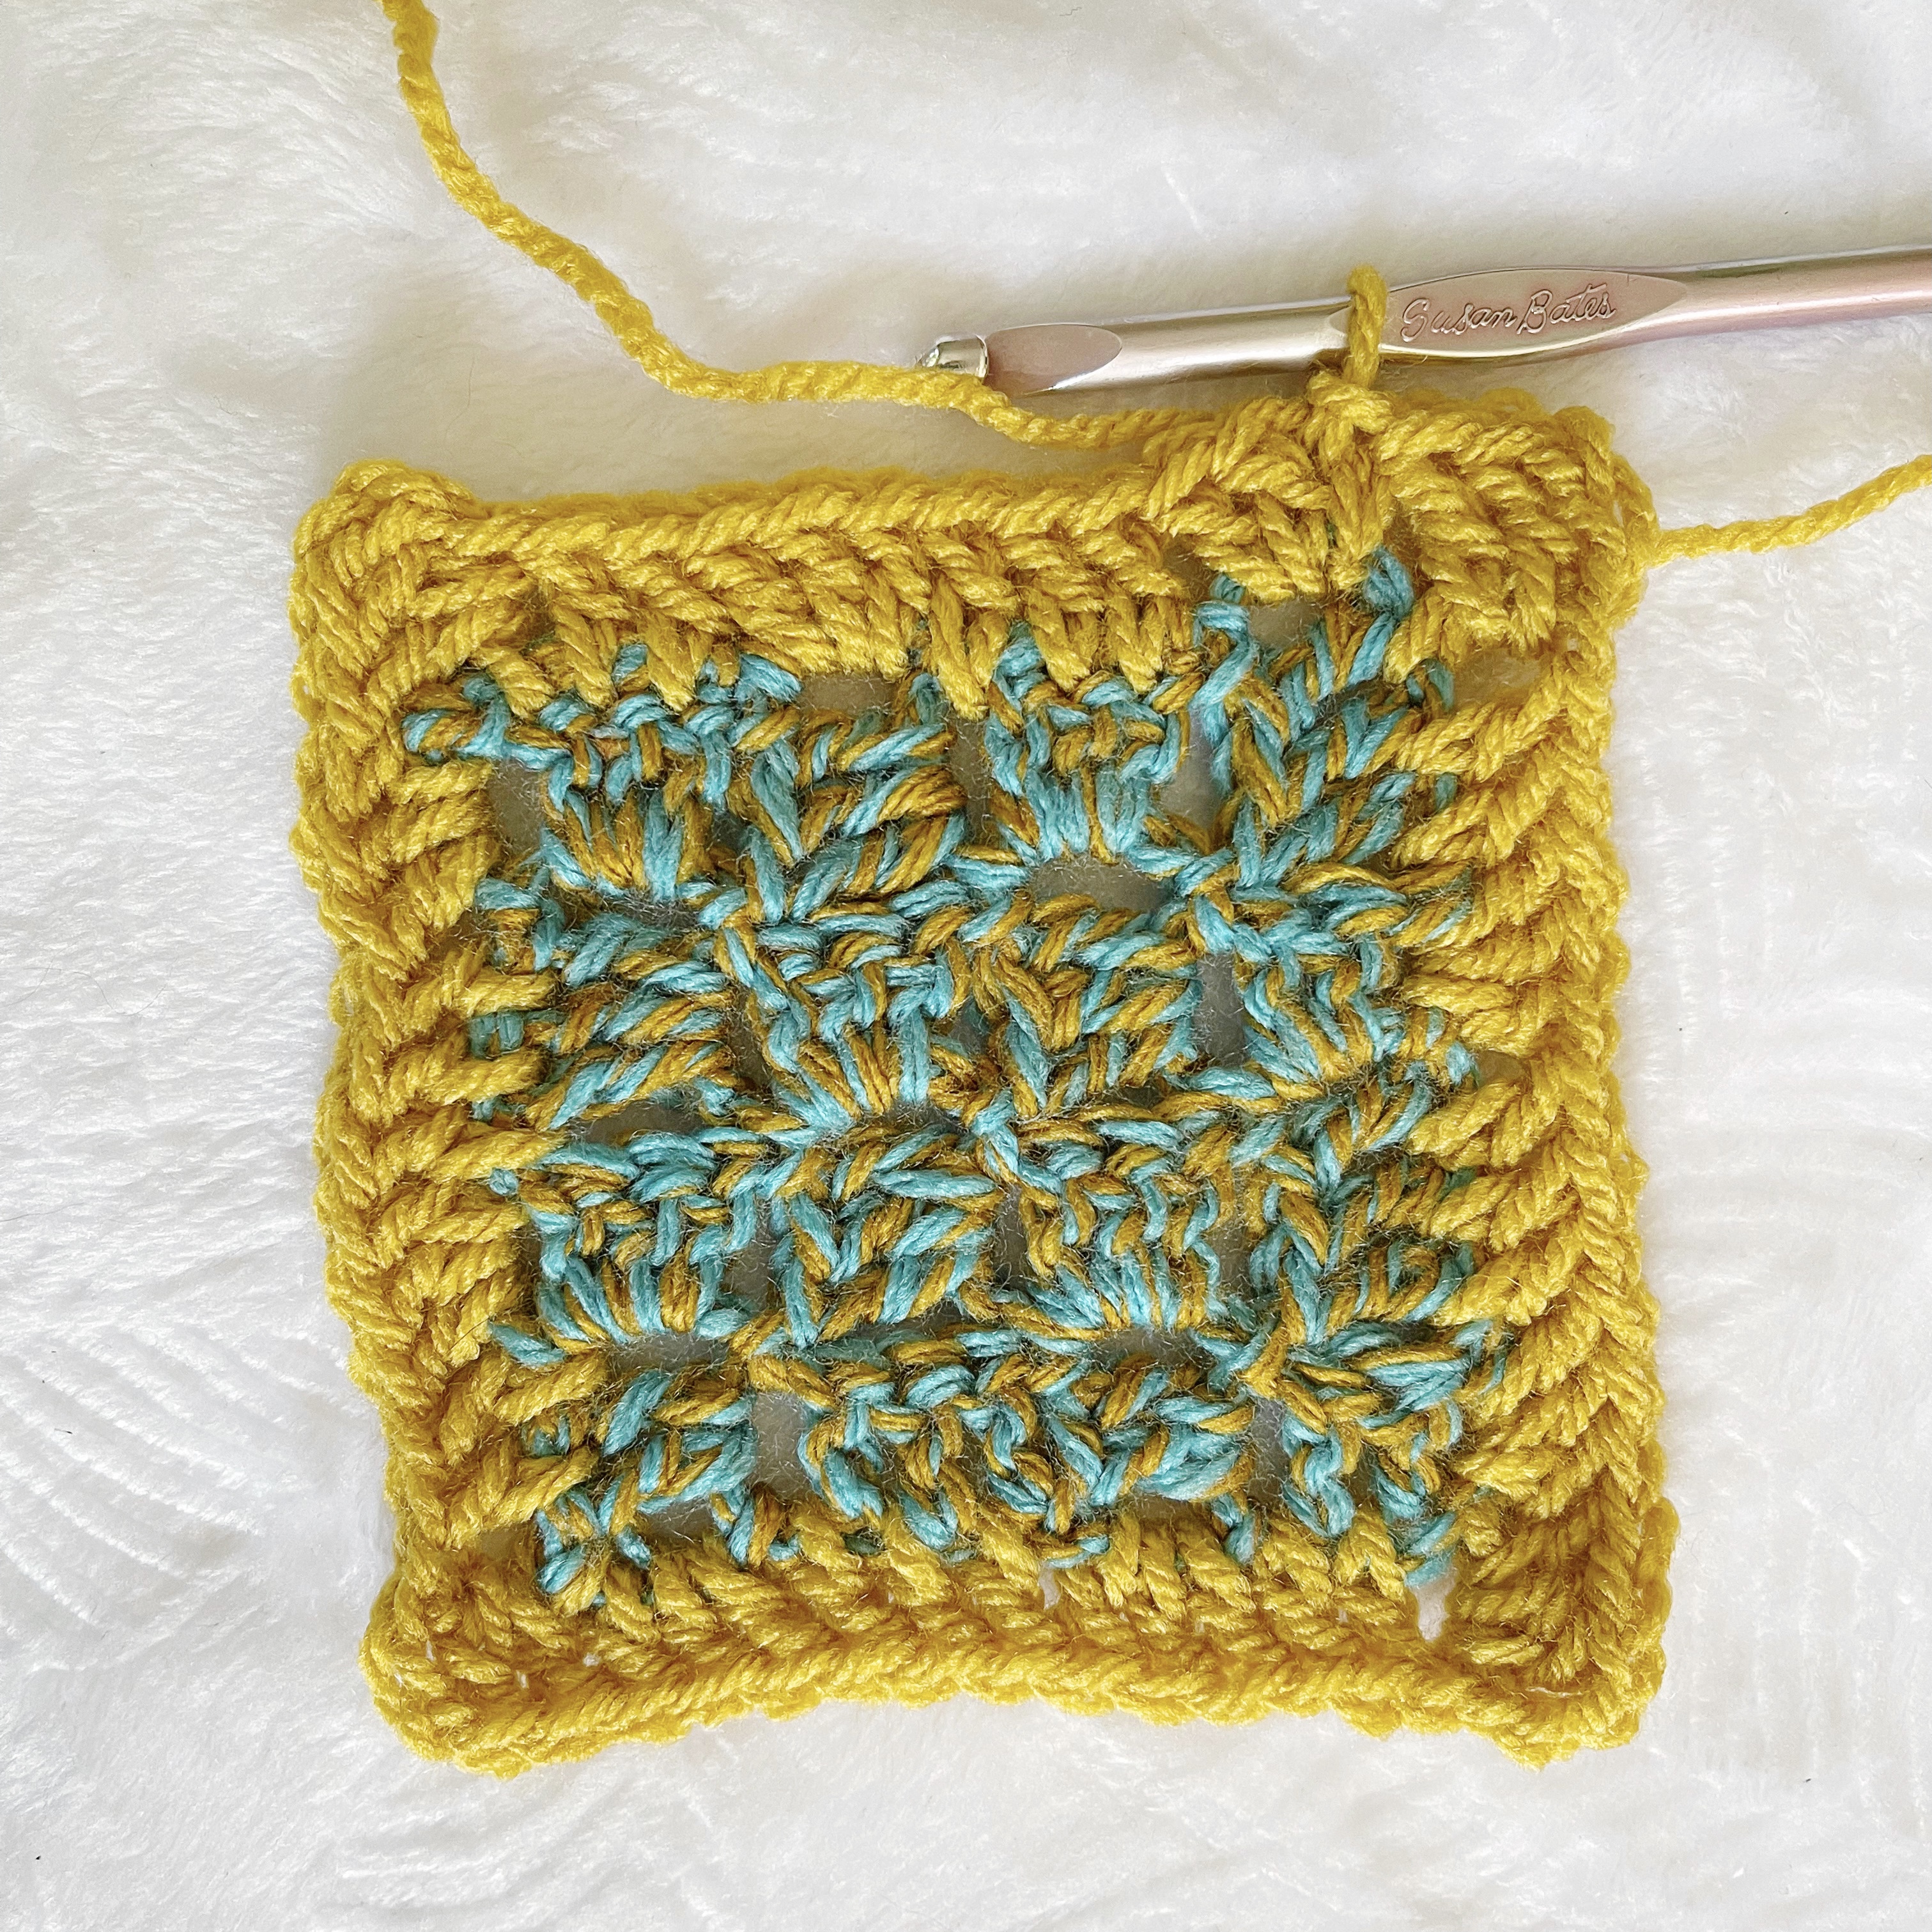
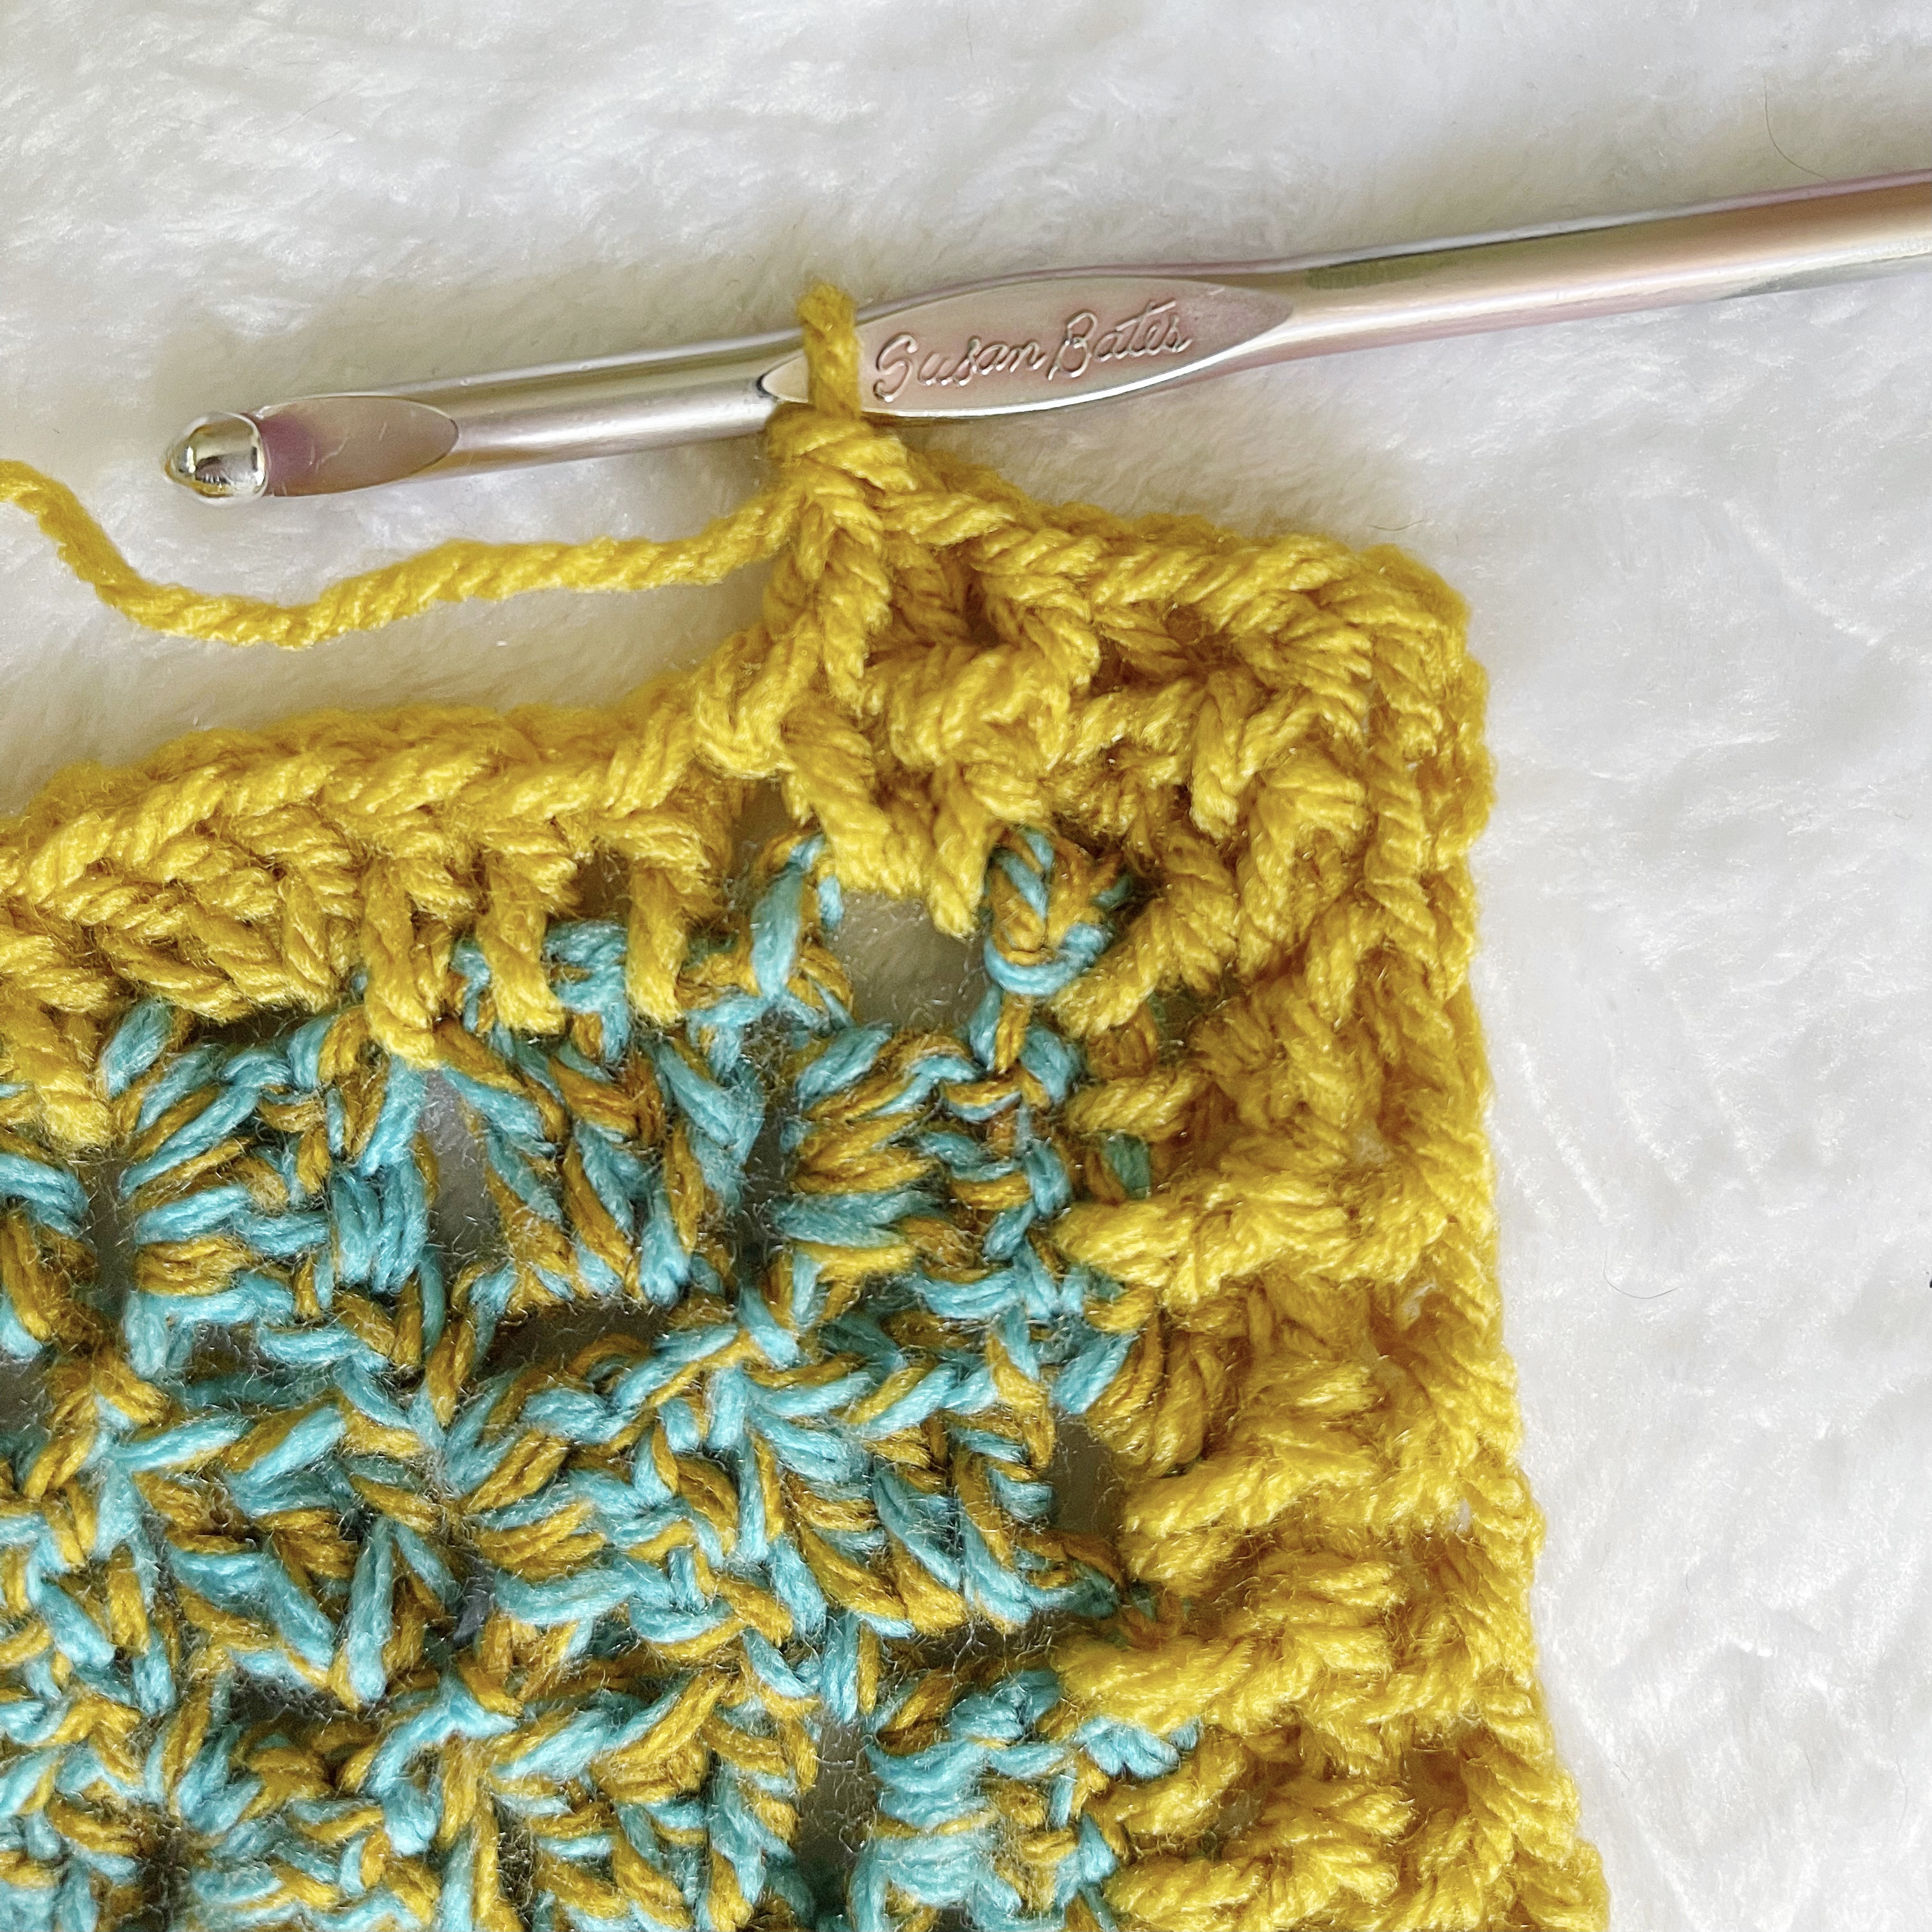
Decreasing: On final block of row, turn and slip stitch in each DC and into the CH 3 space. Continue with next block. 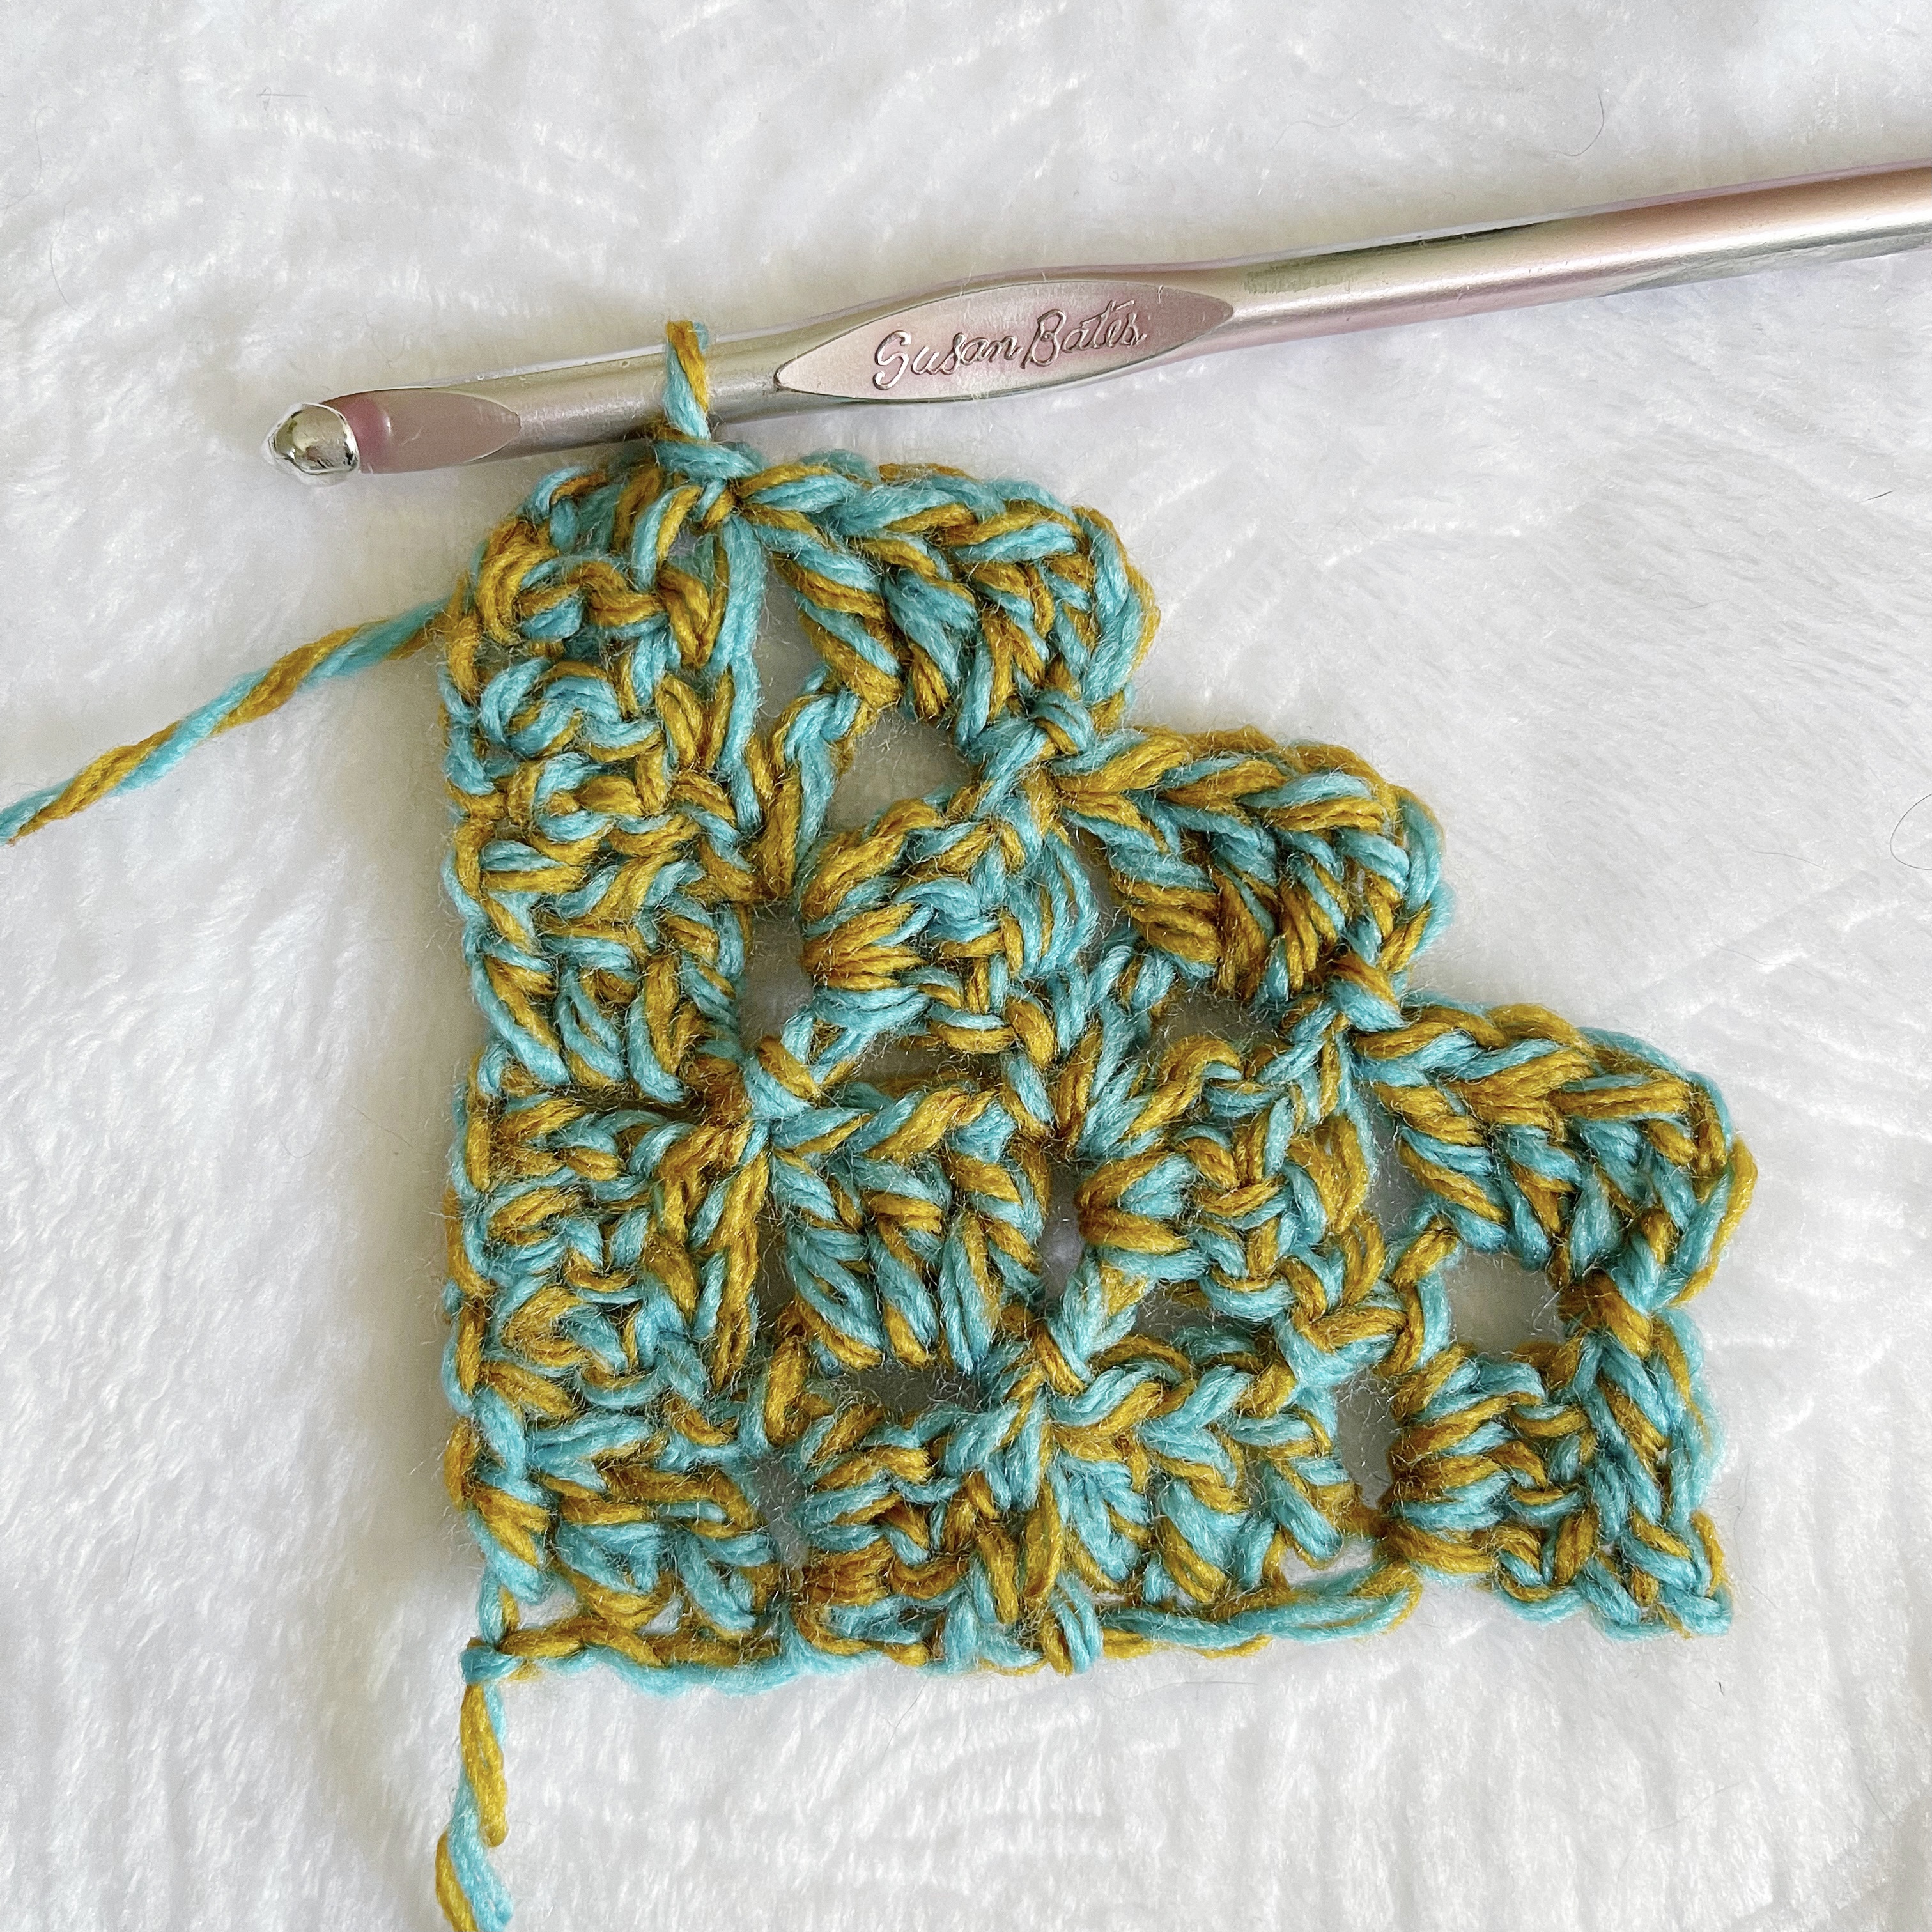
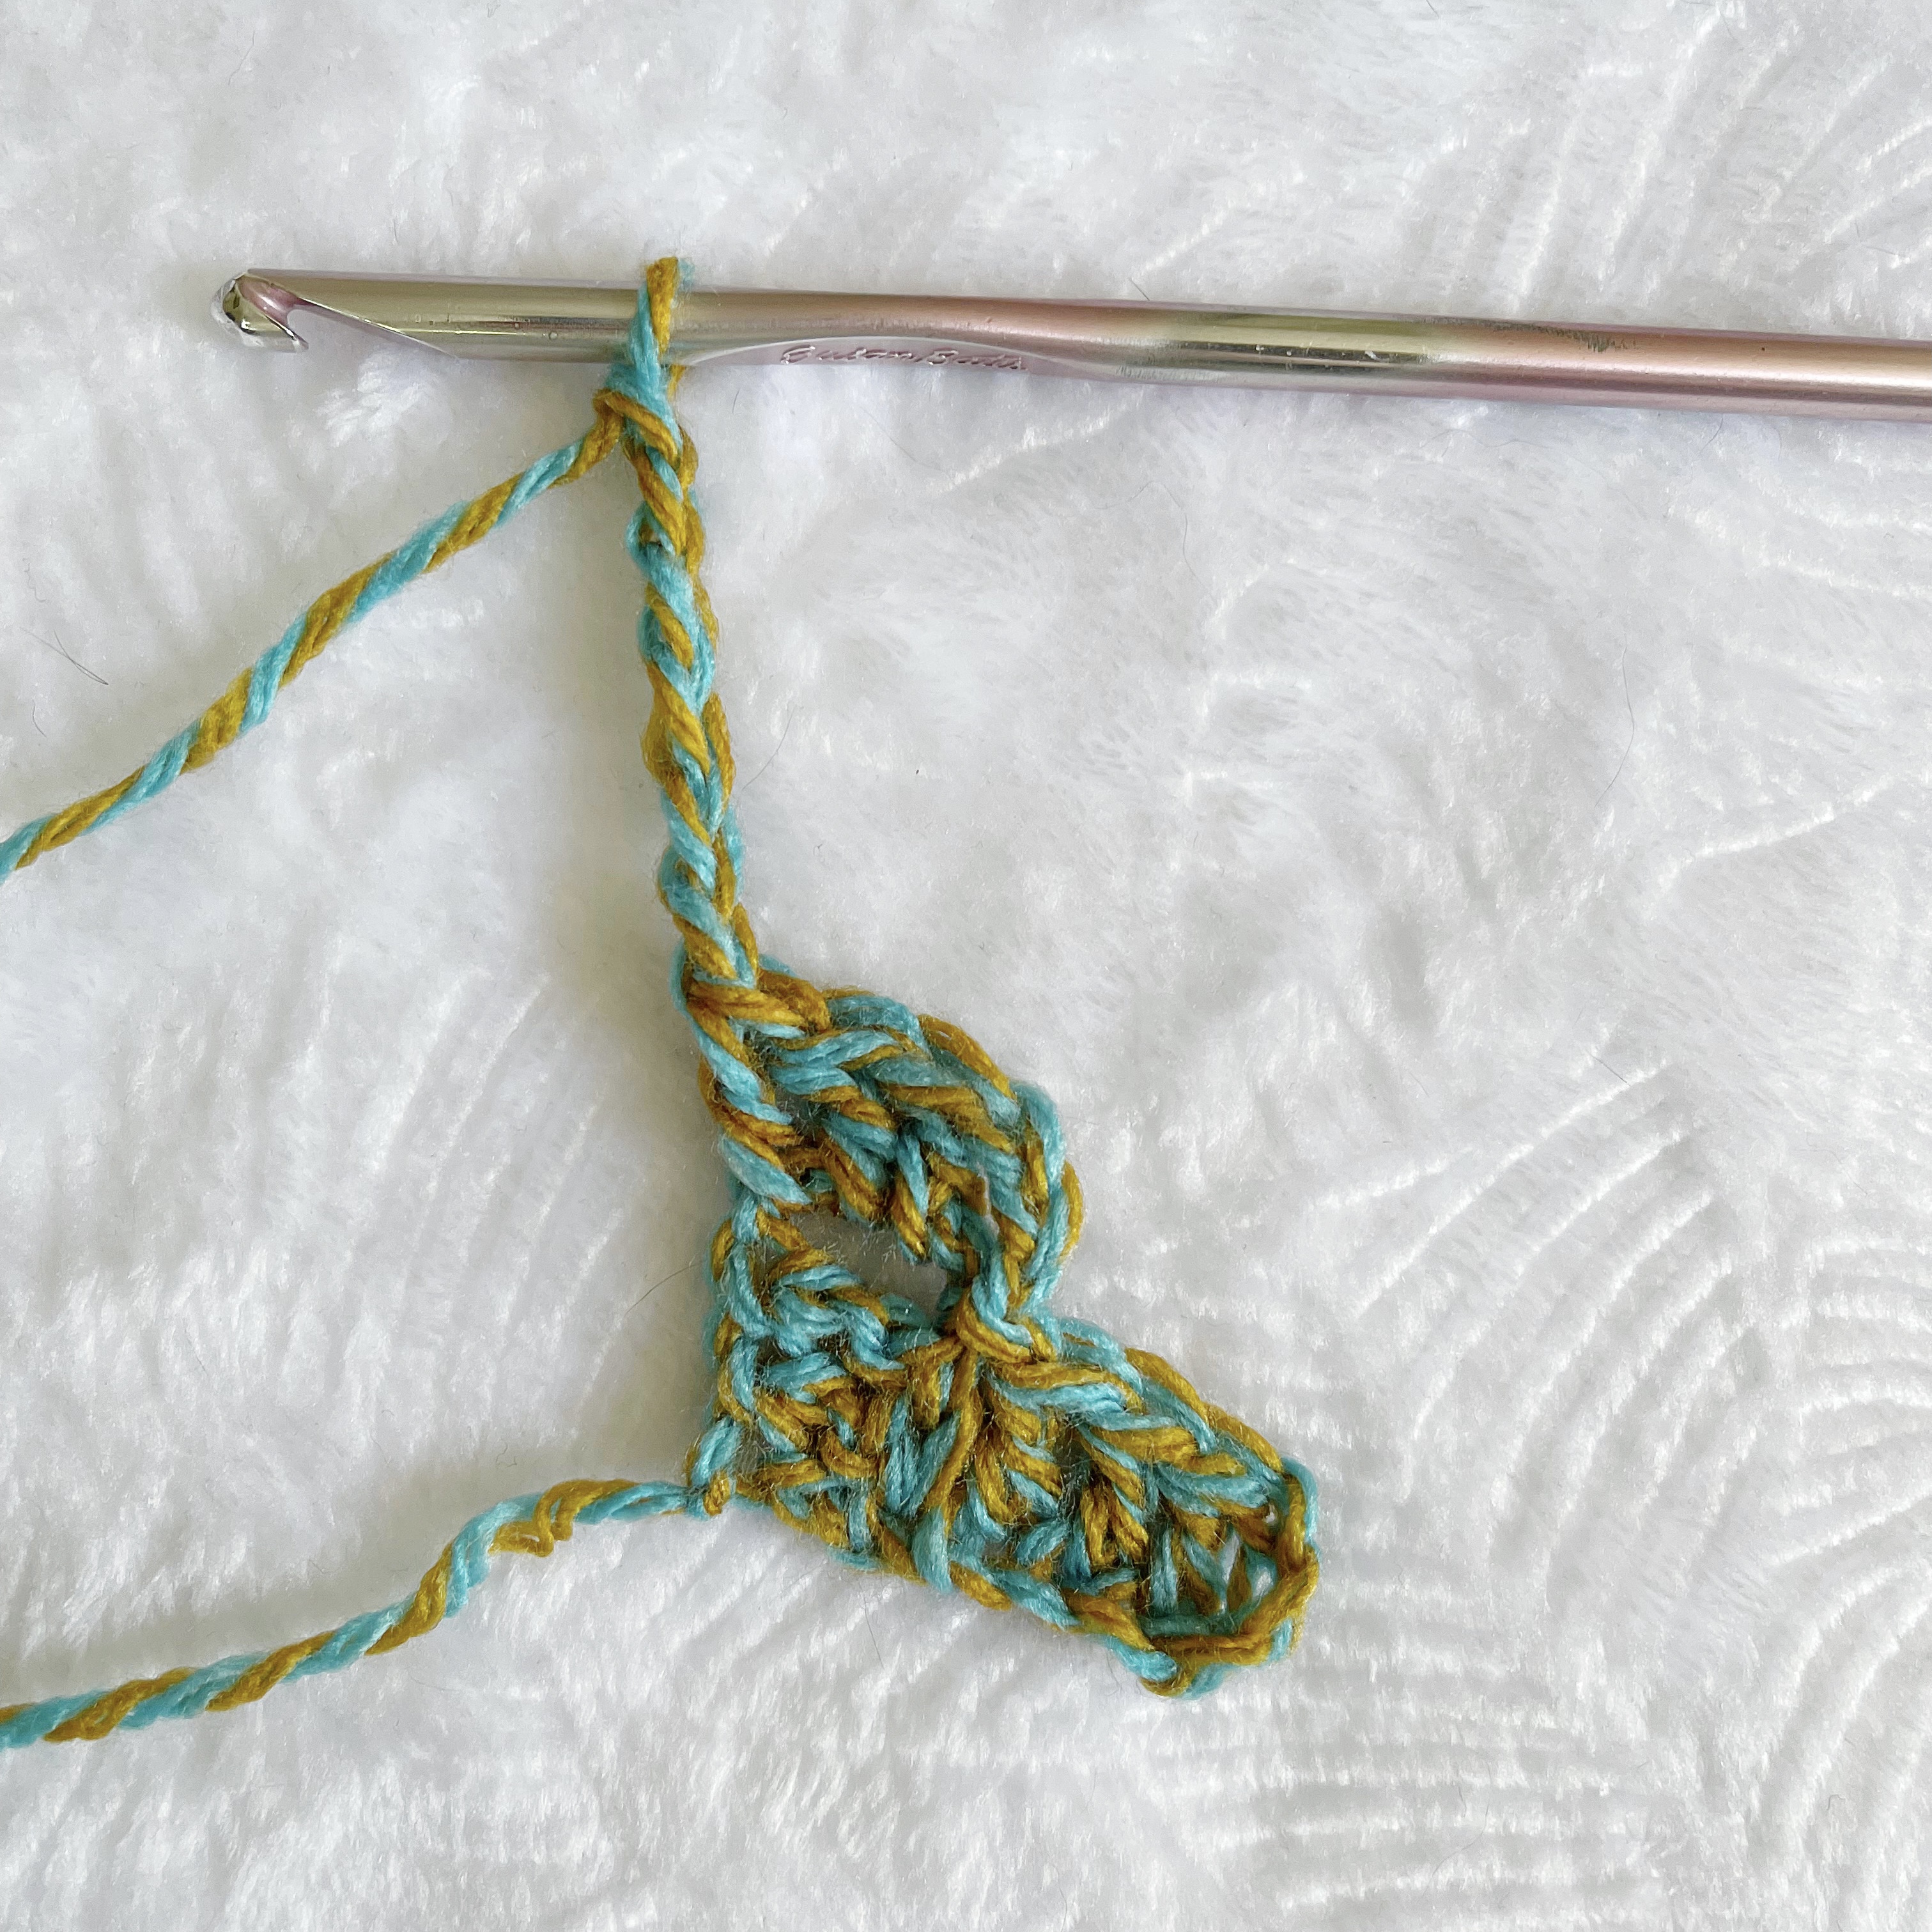
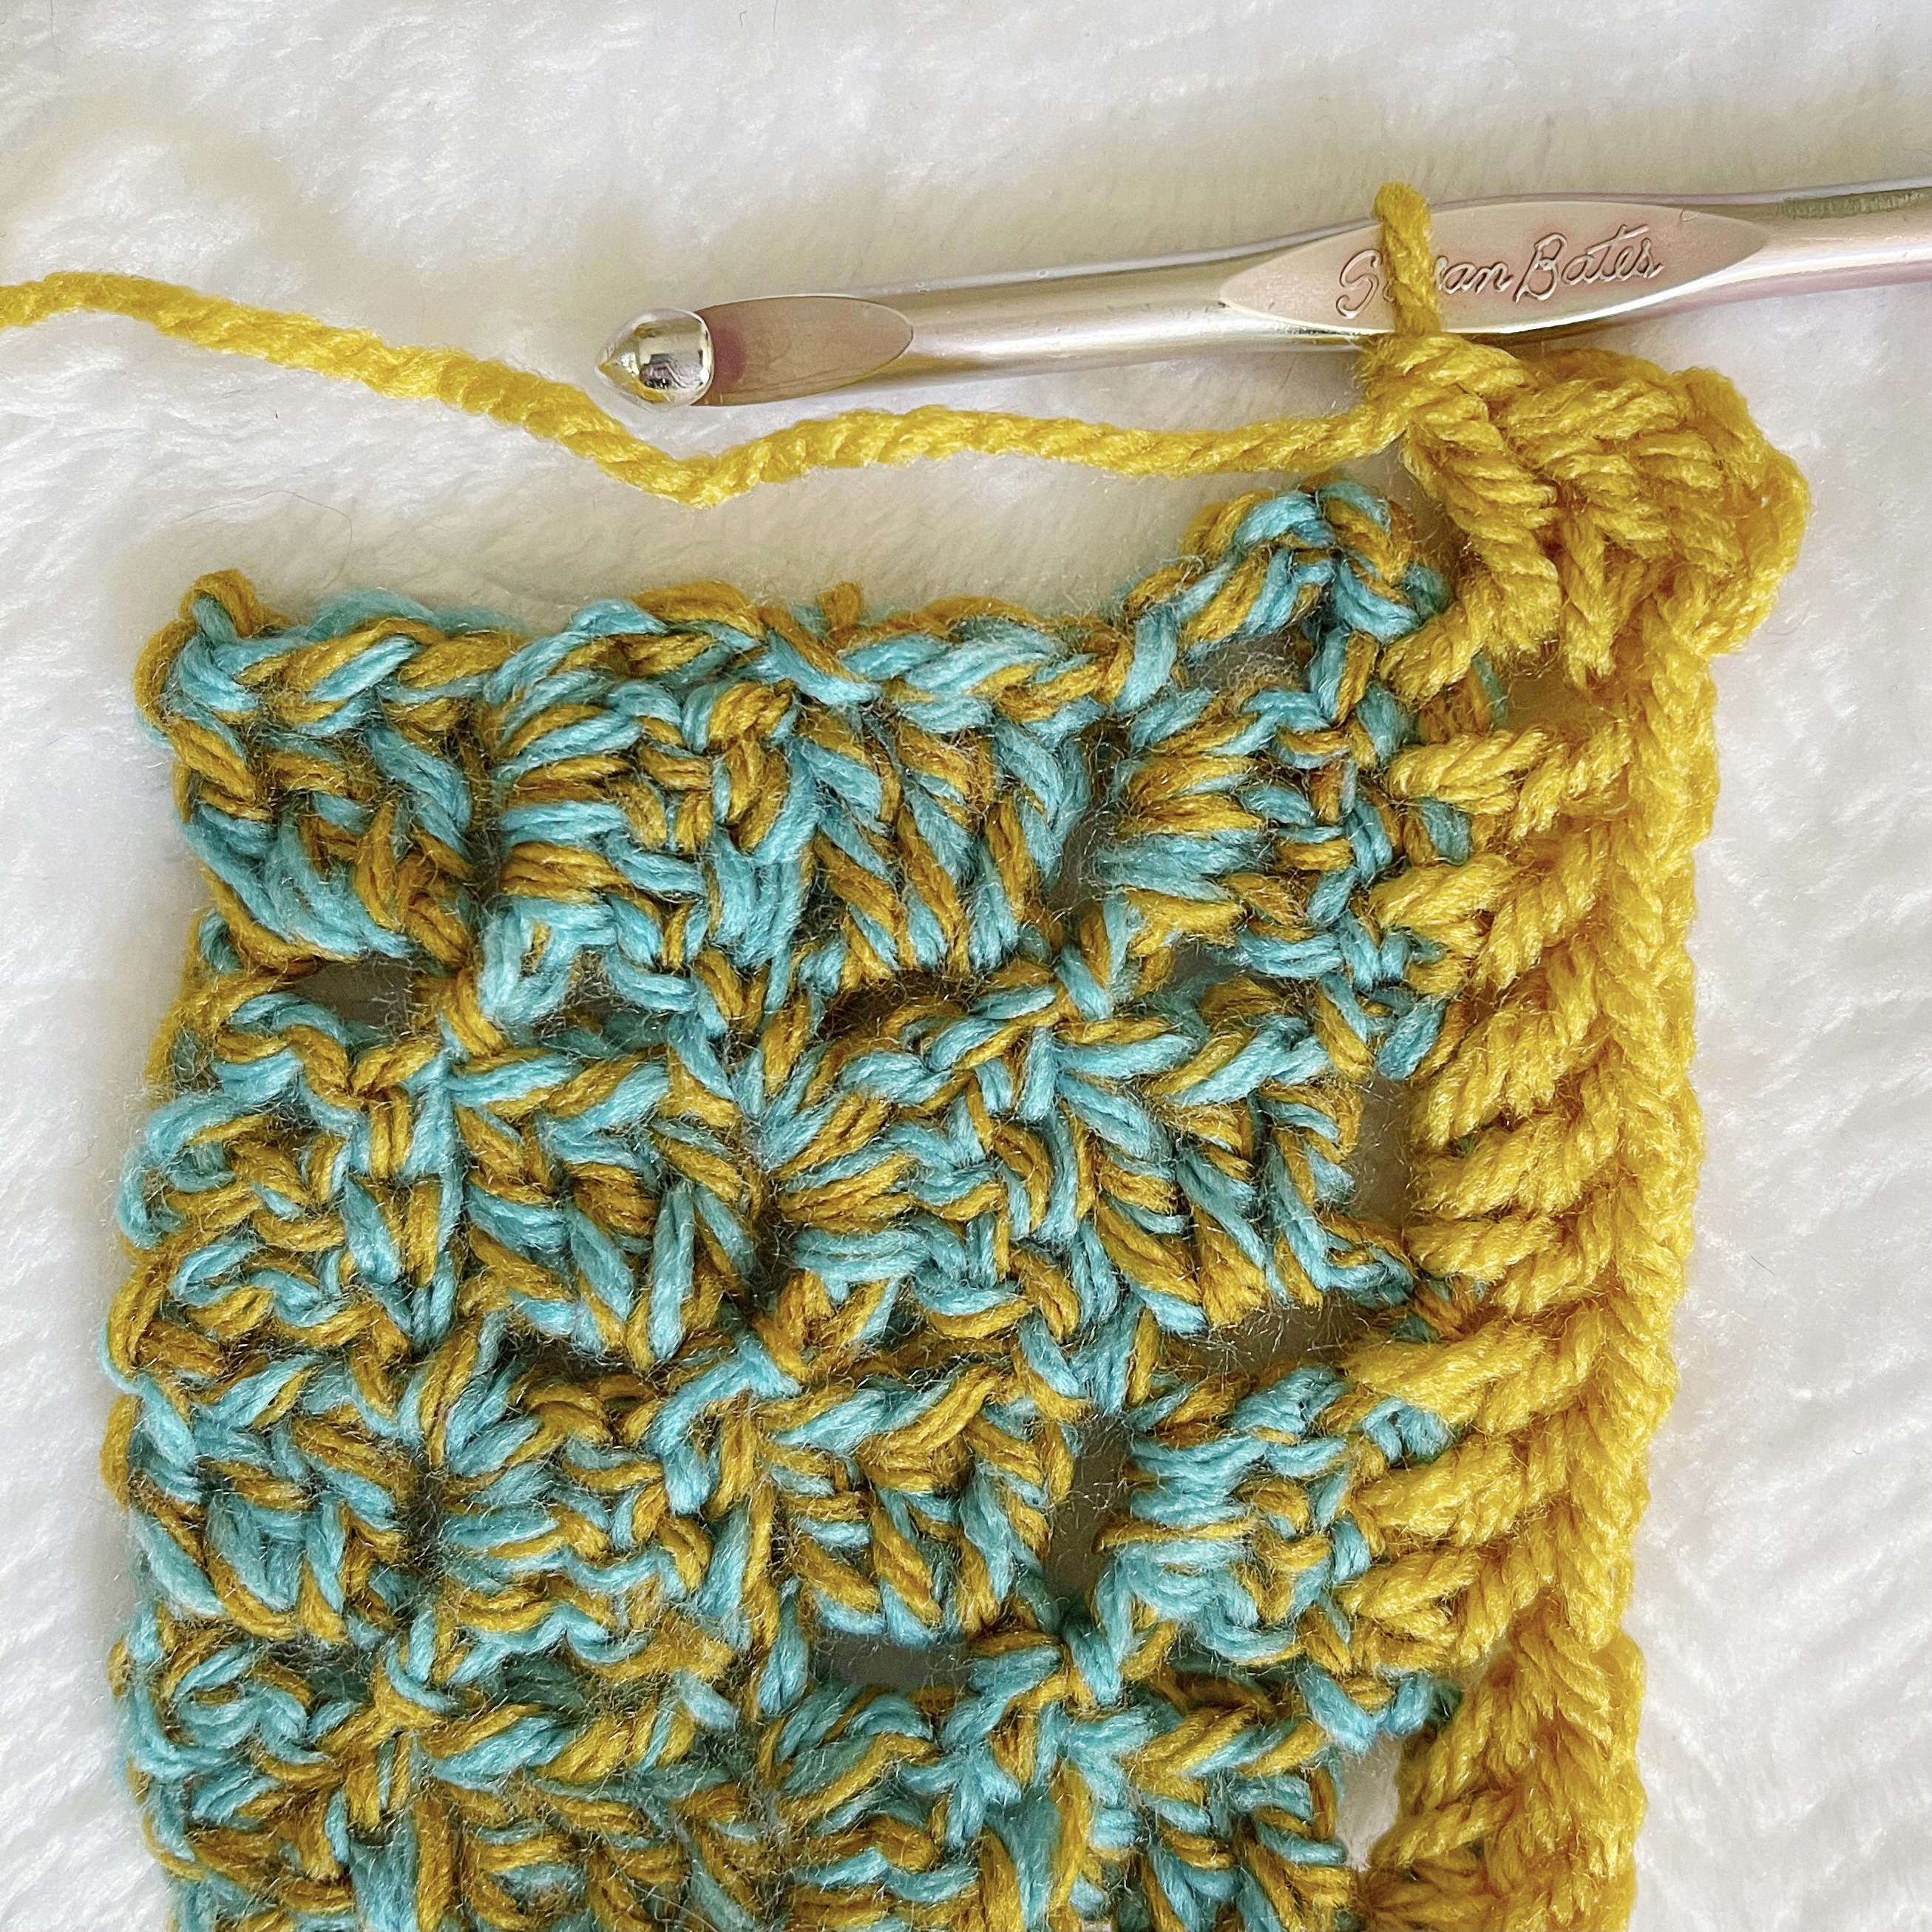
Continue decreasing by SL ST into final block, turning and SL ST across last block made. 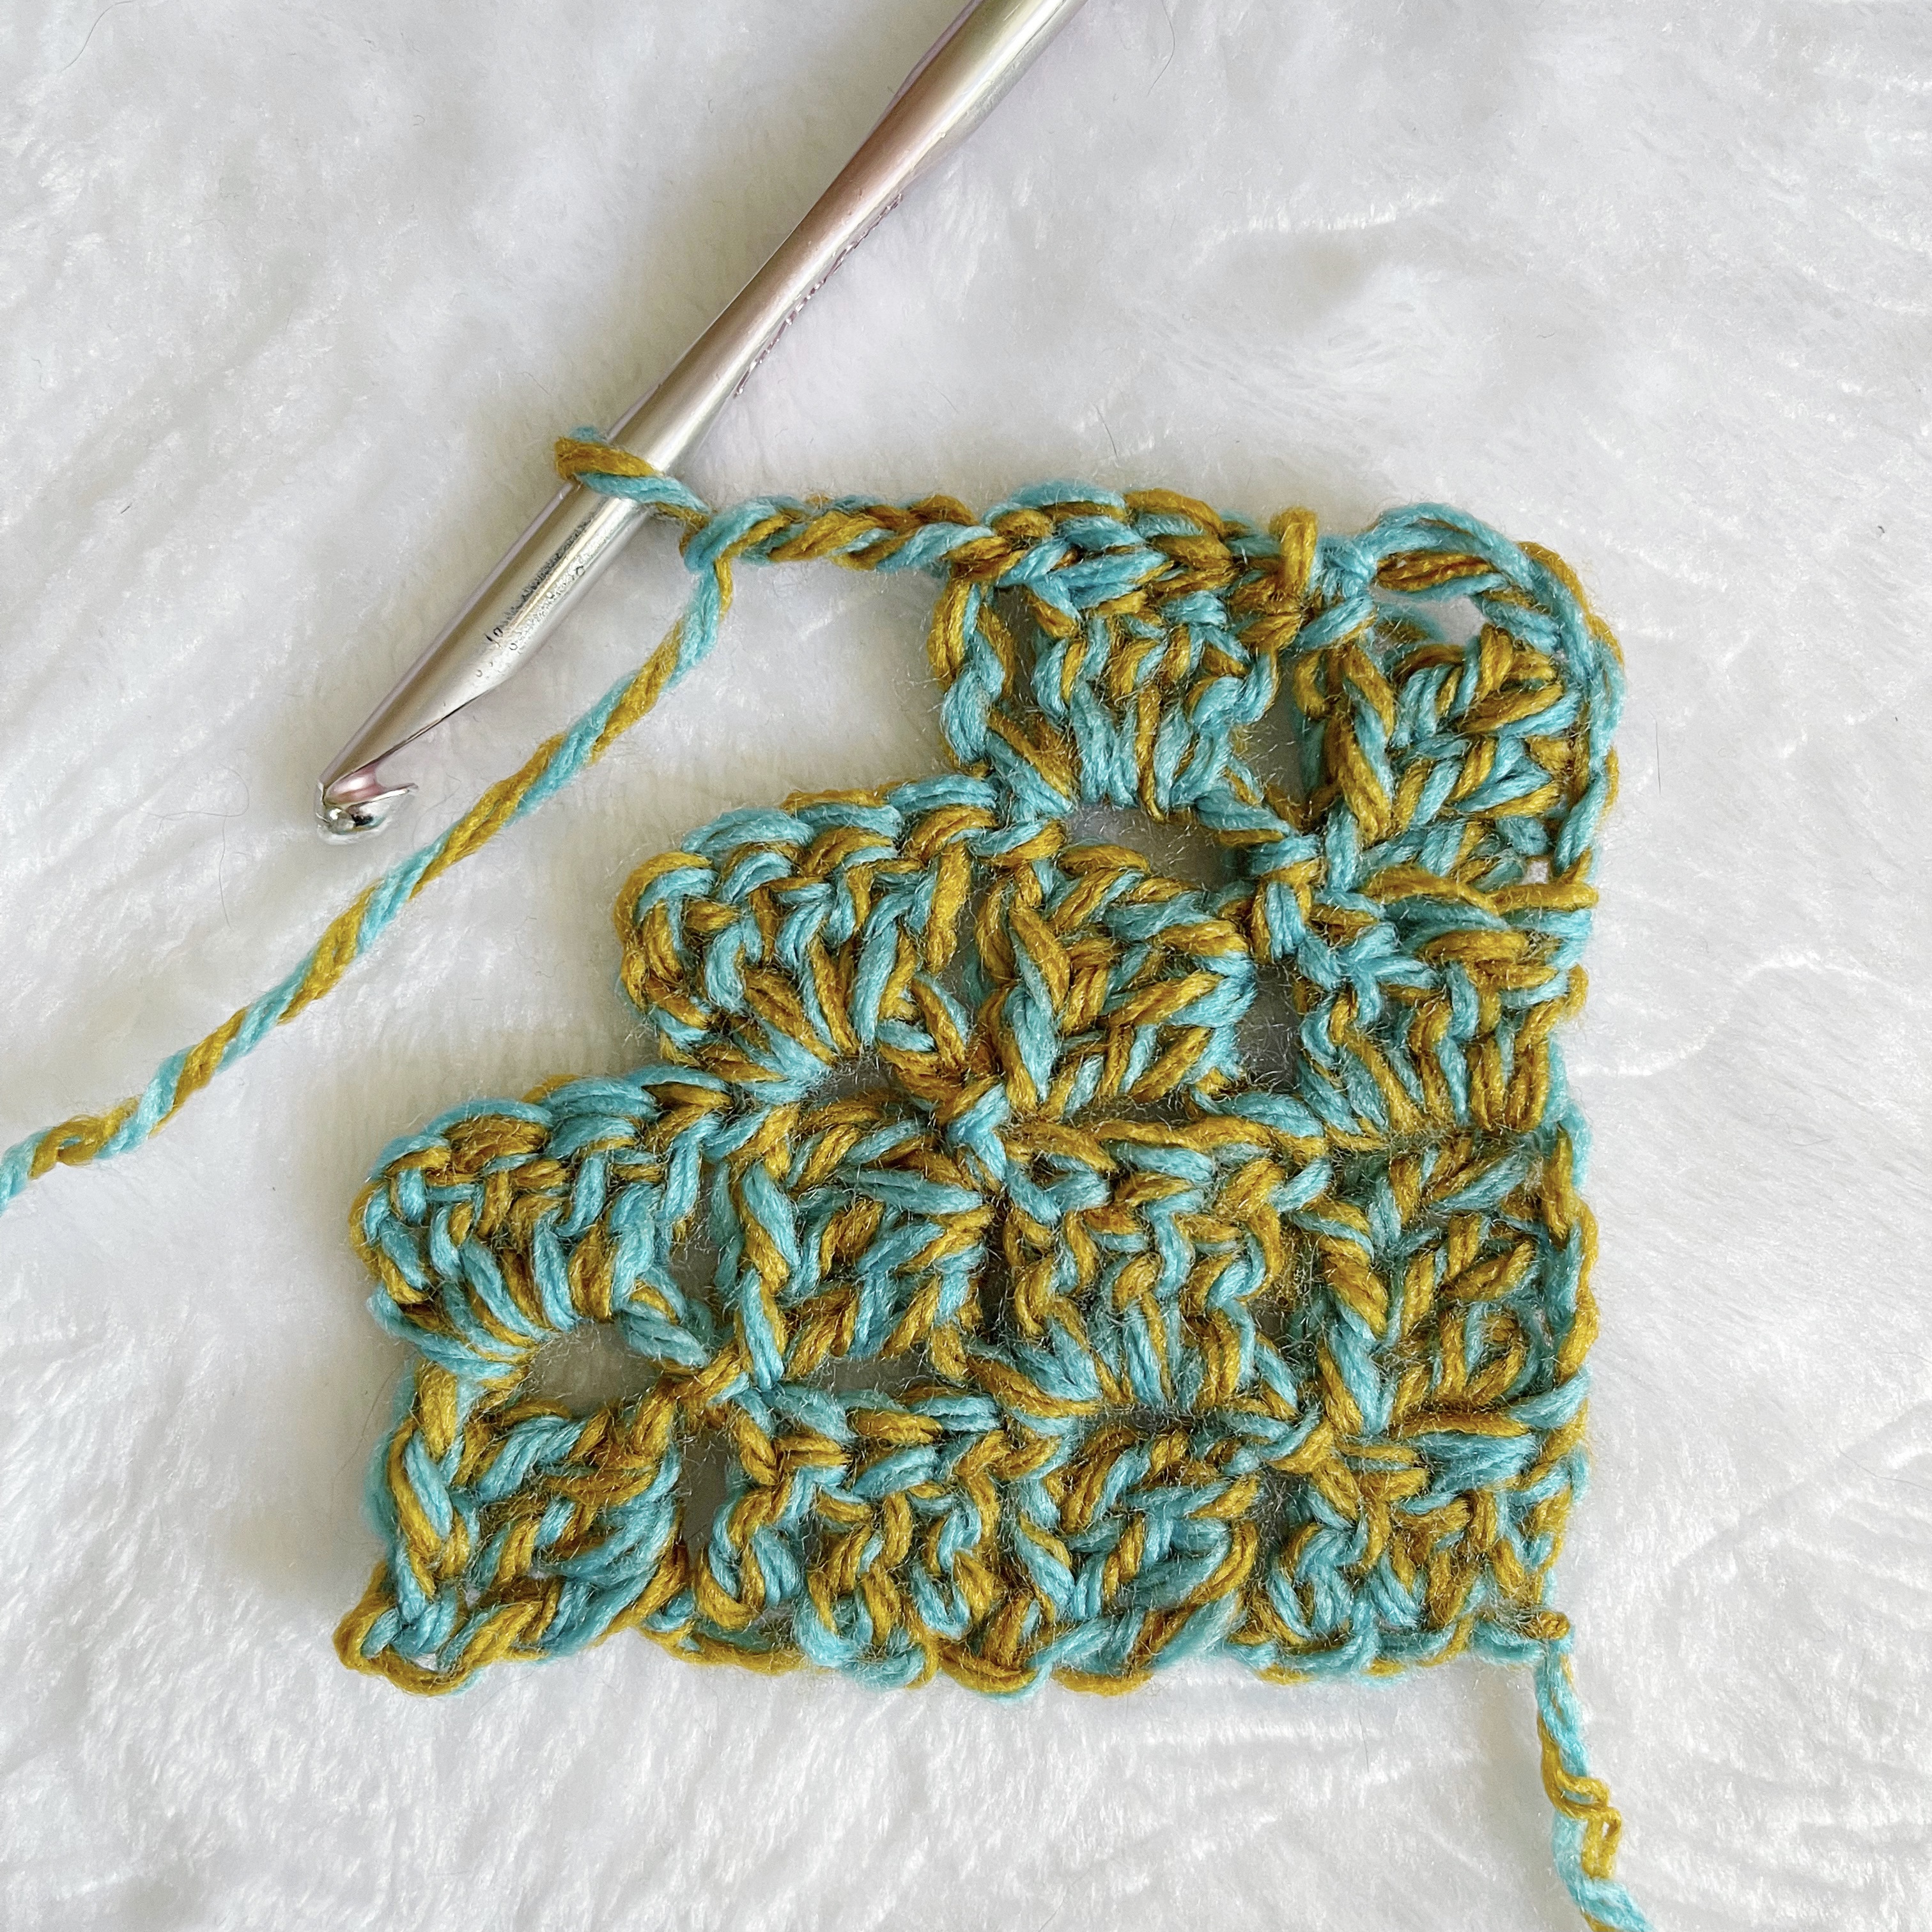
CH 3 and continue blocks until finished.
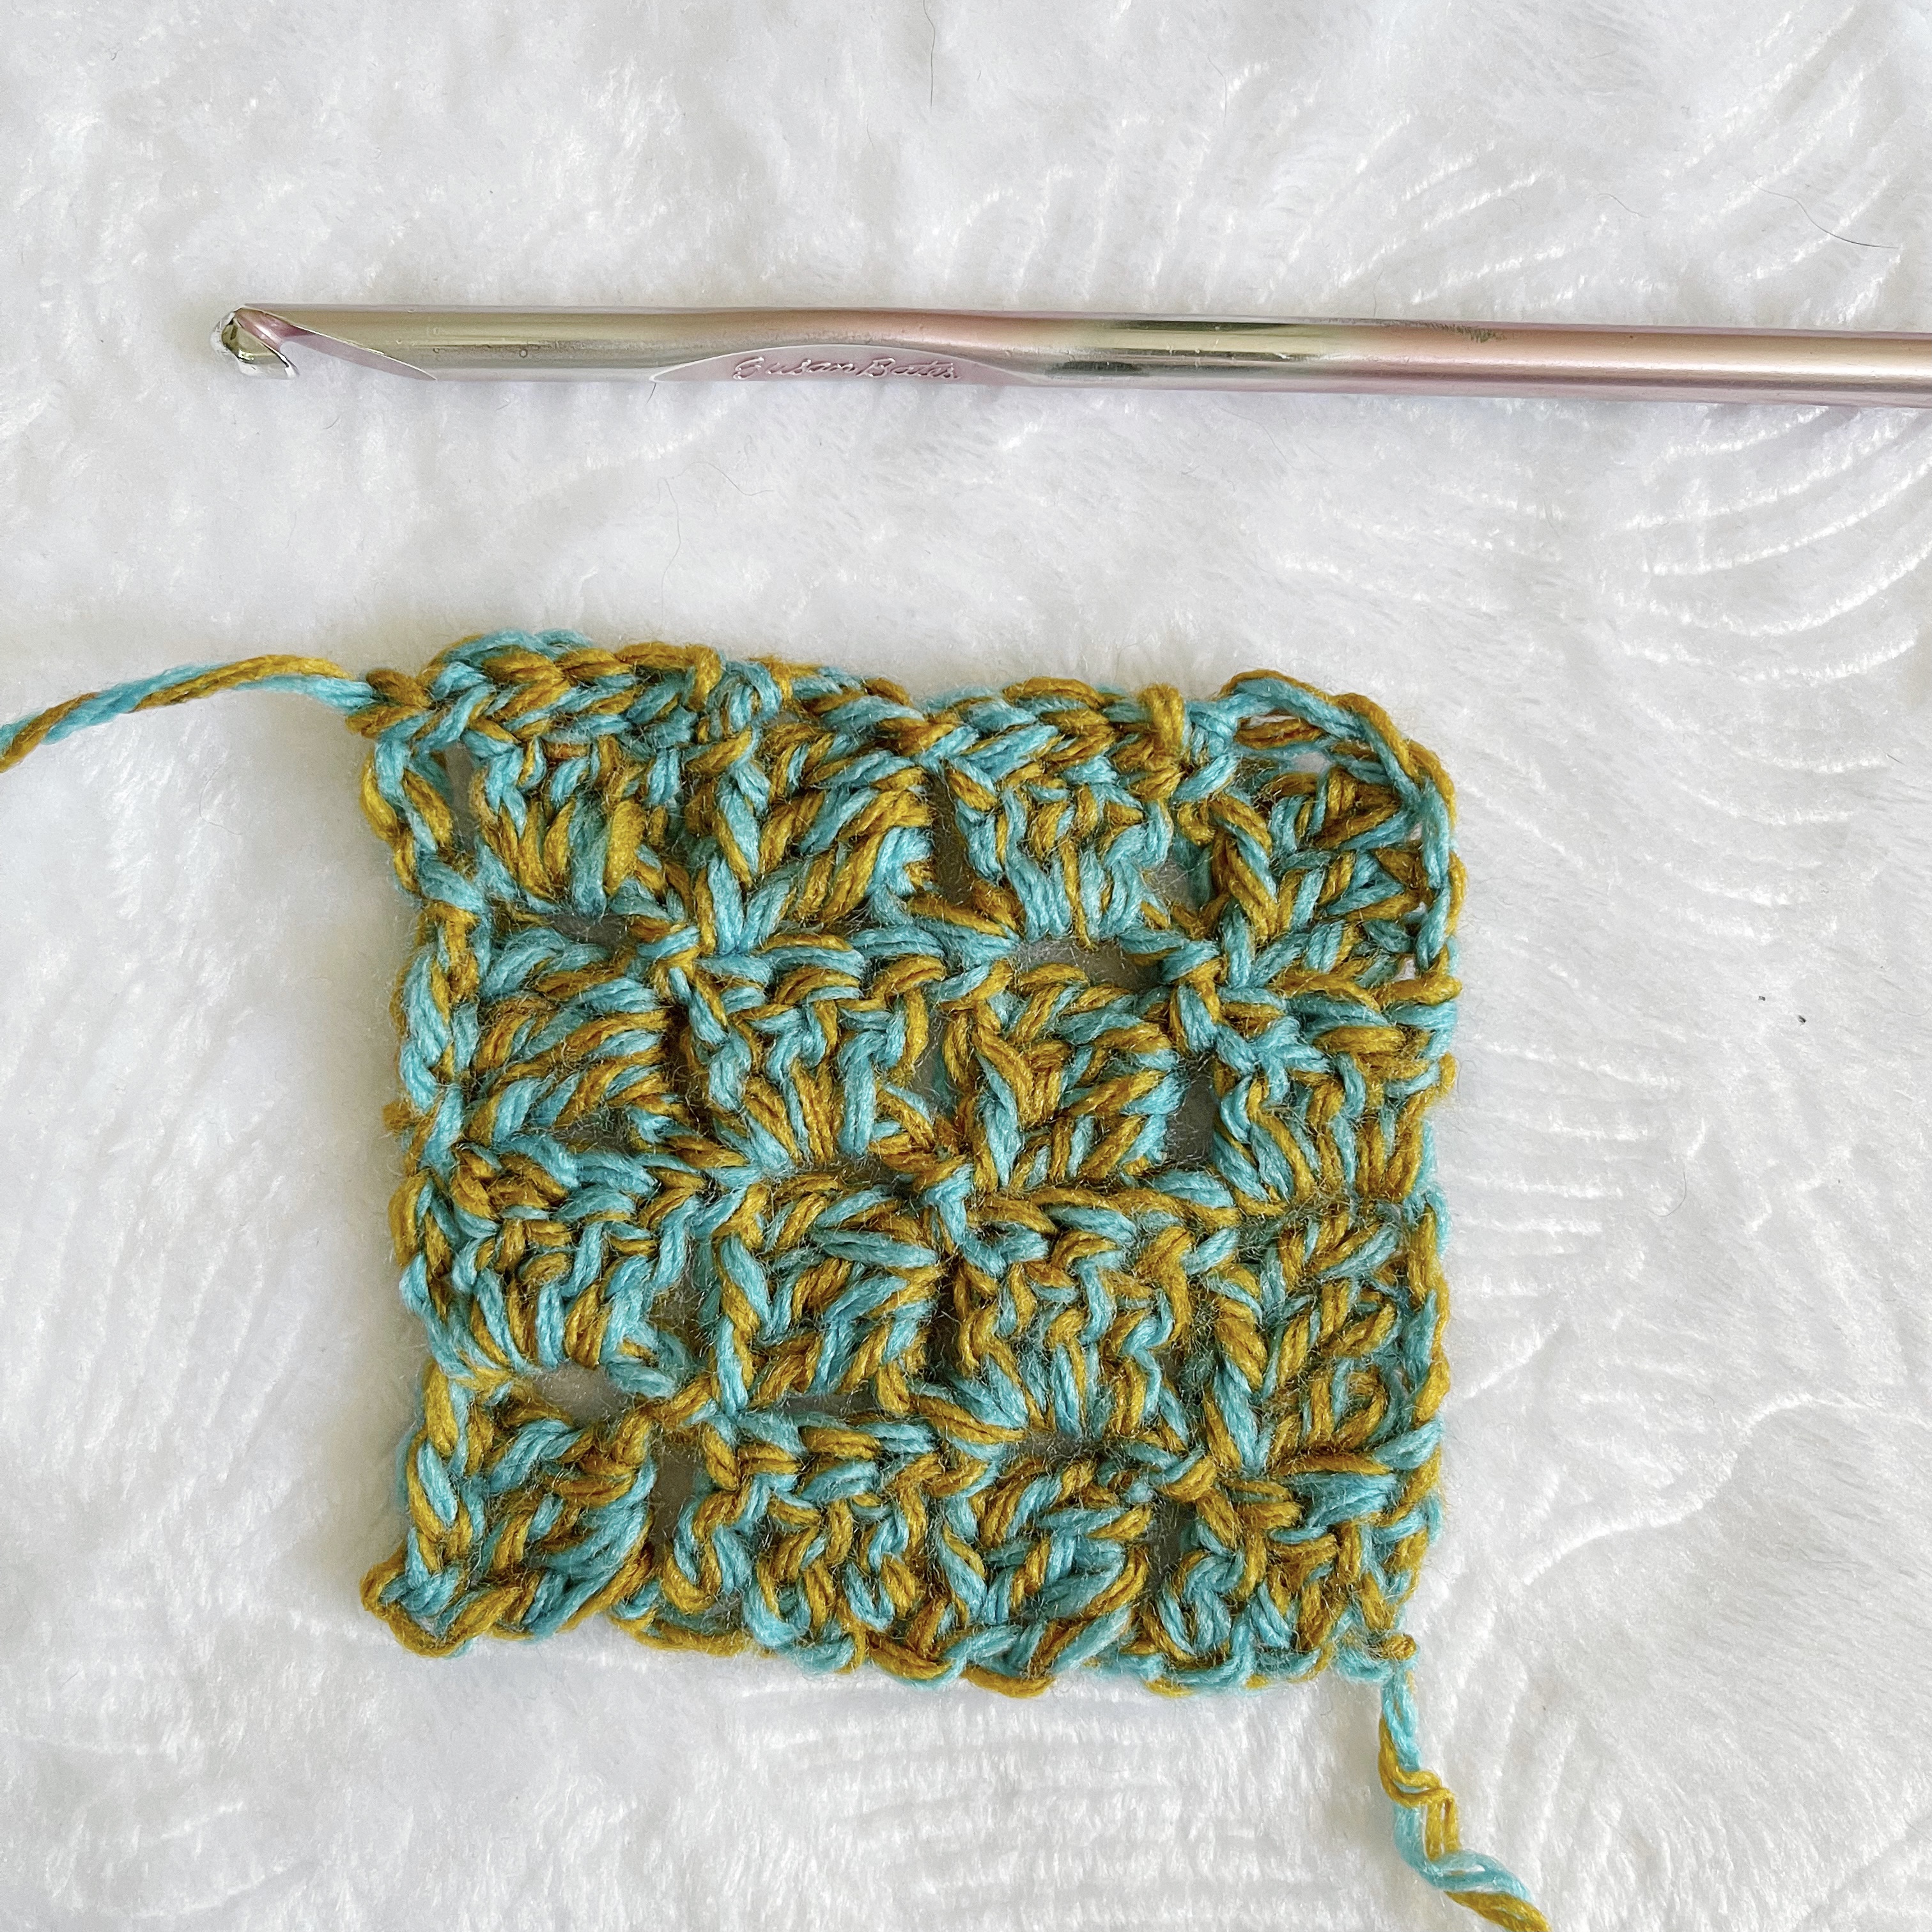
Finished gauge, 4×4 blocks 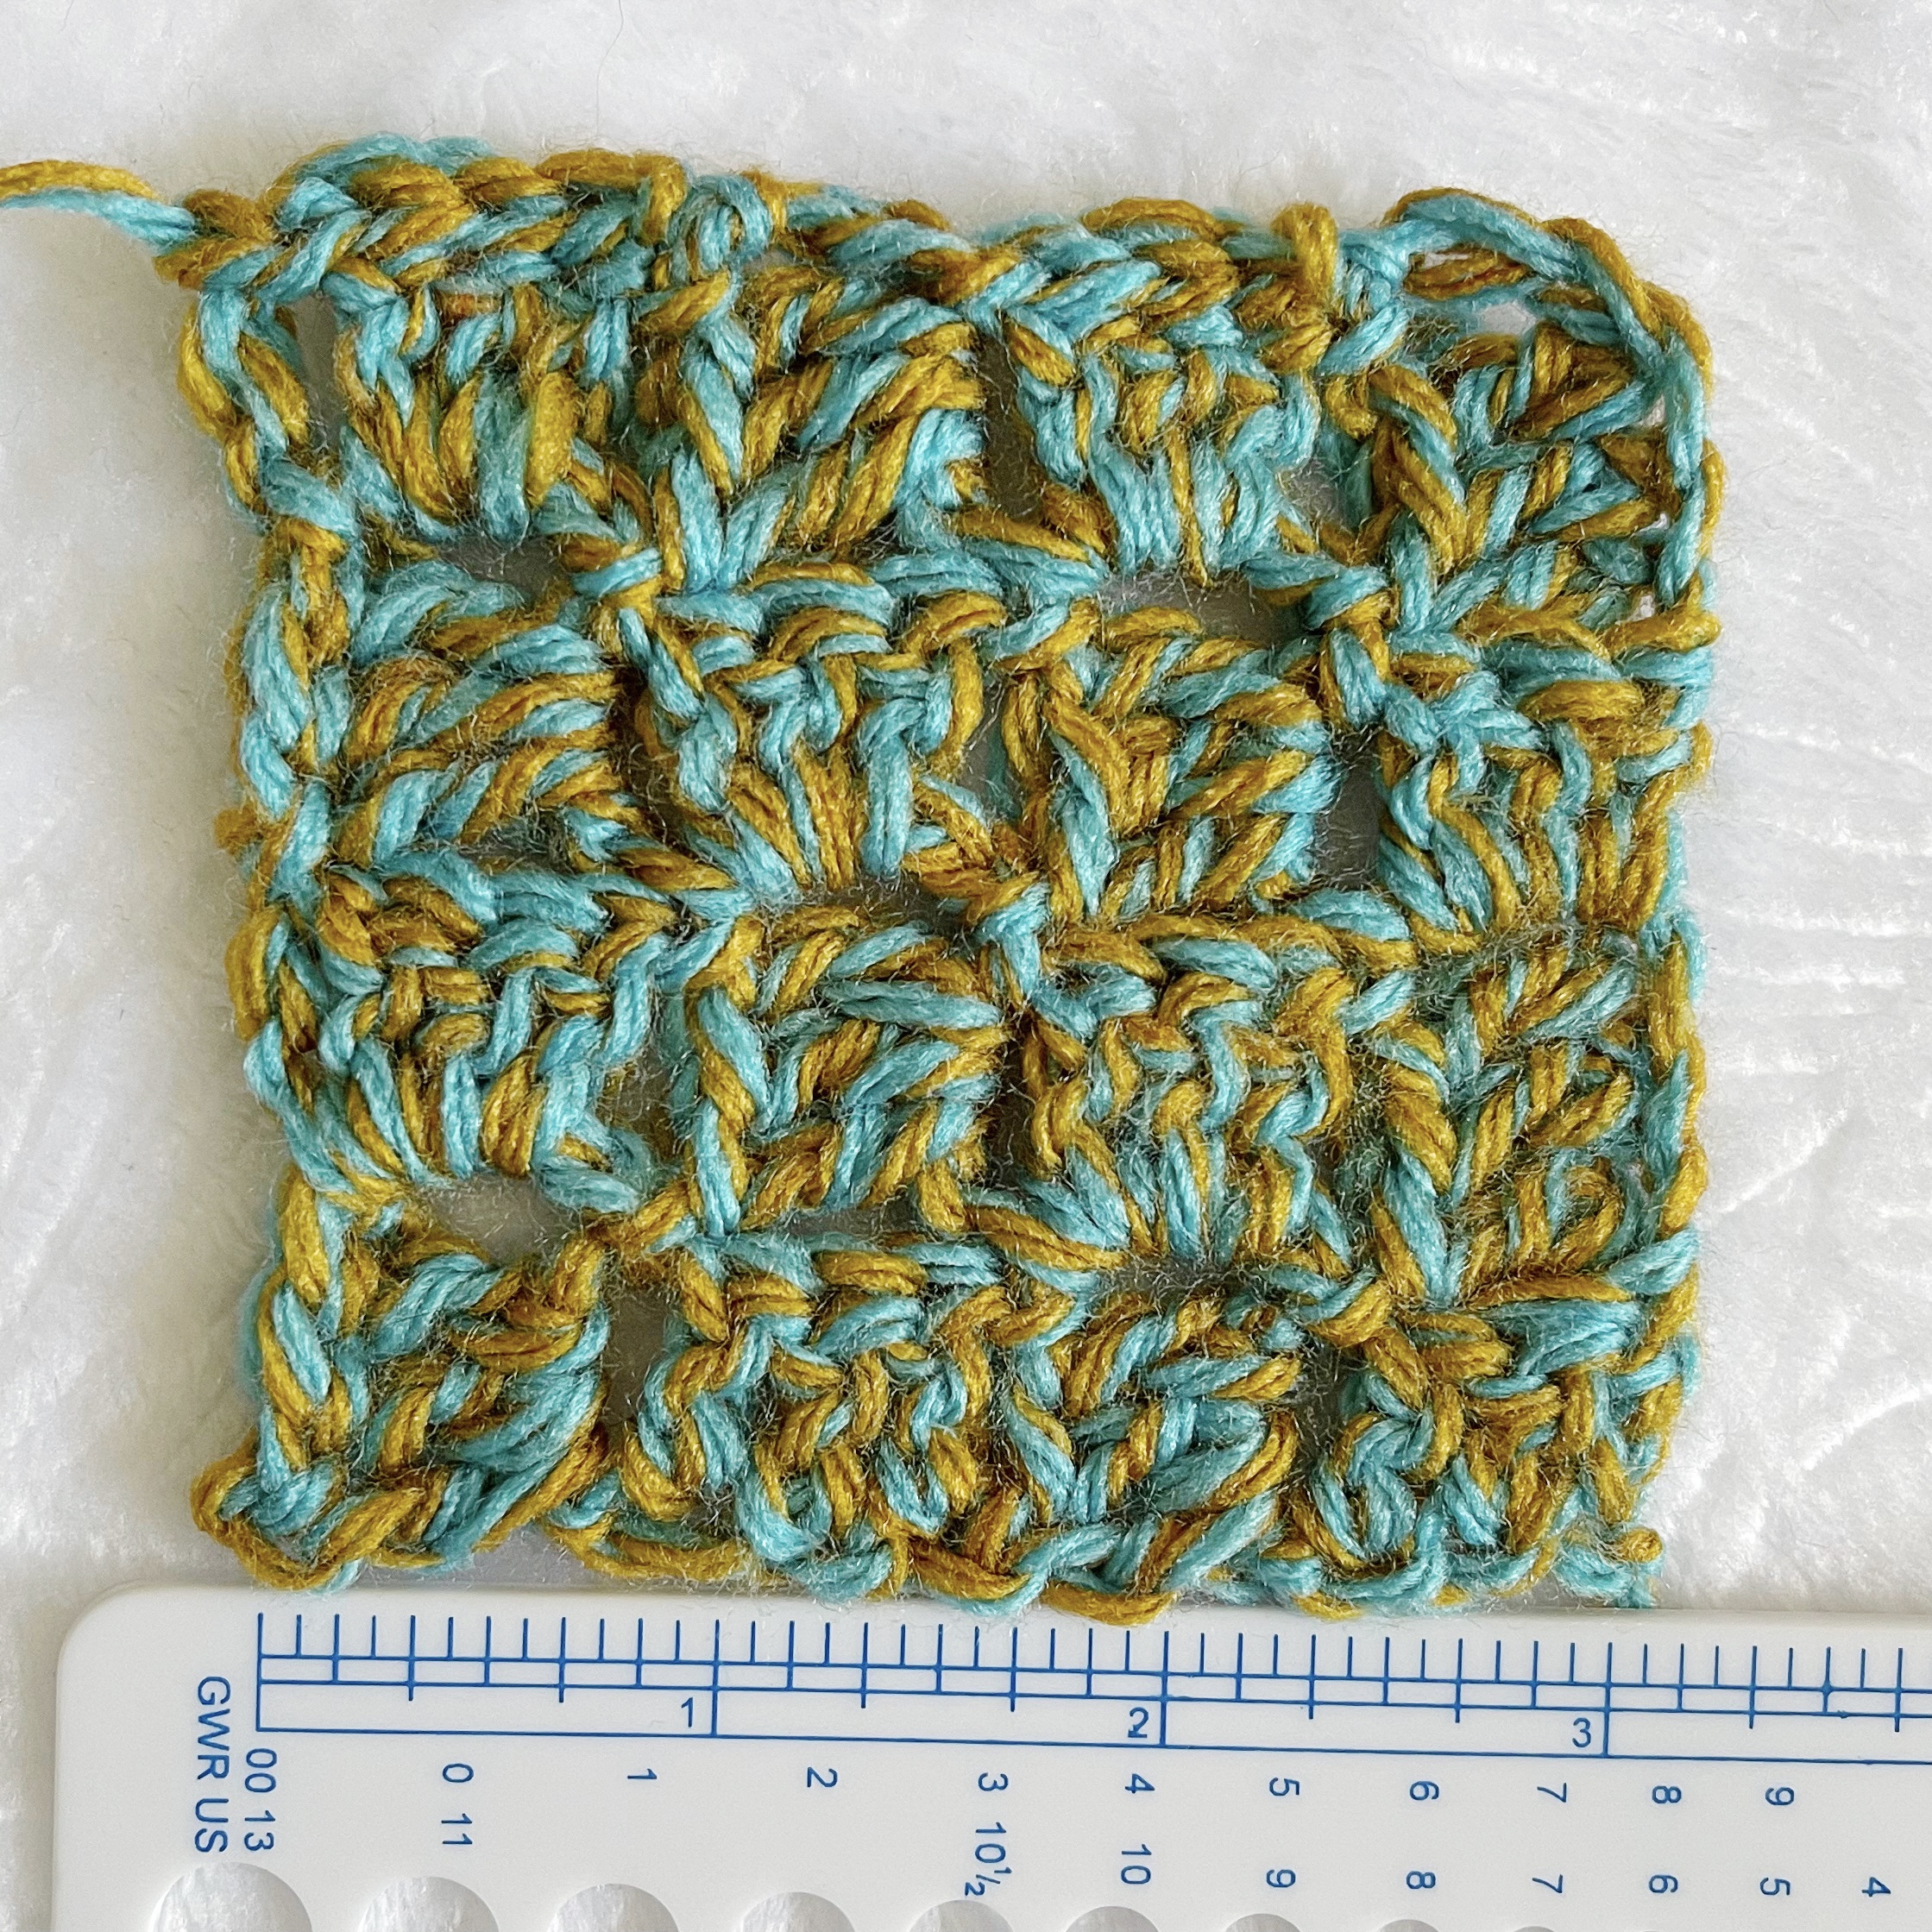
Gauge 3″ x 3″ 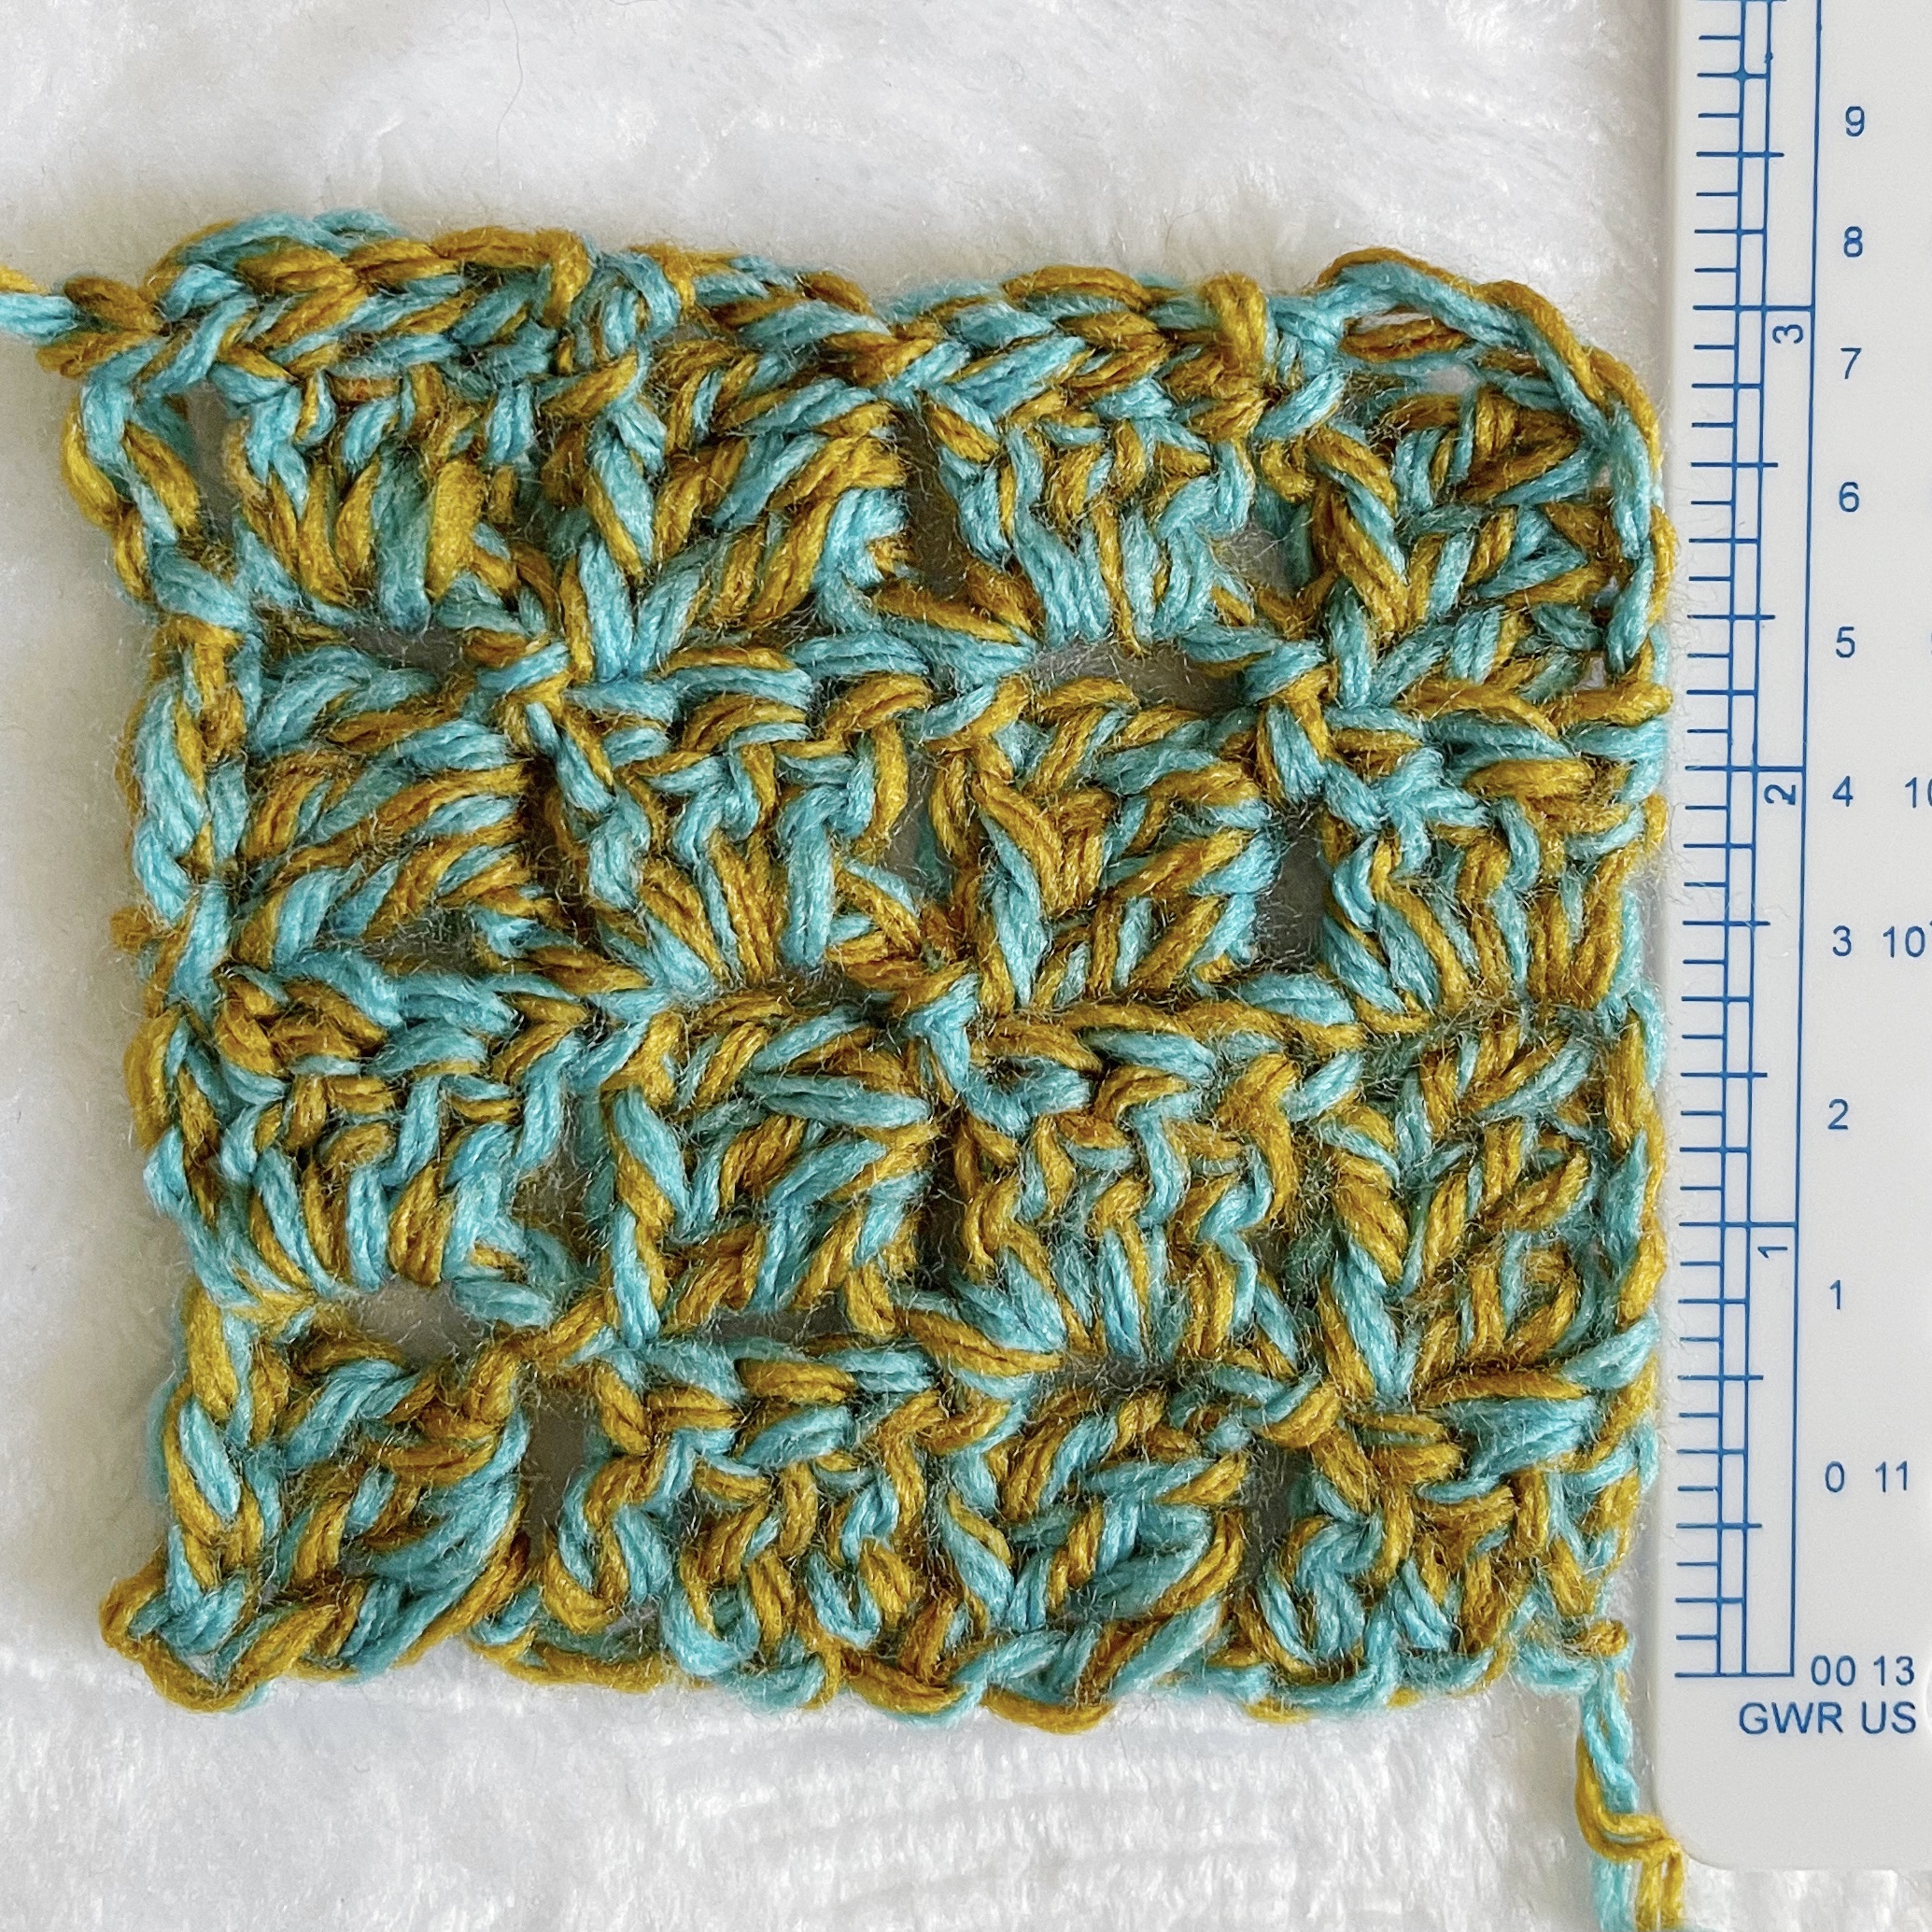
Gauge 3″ by 3″
Border Pictorials:
Border: Attach yarn to corner, CH 3, DC 2 in CH 3 space. 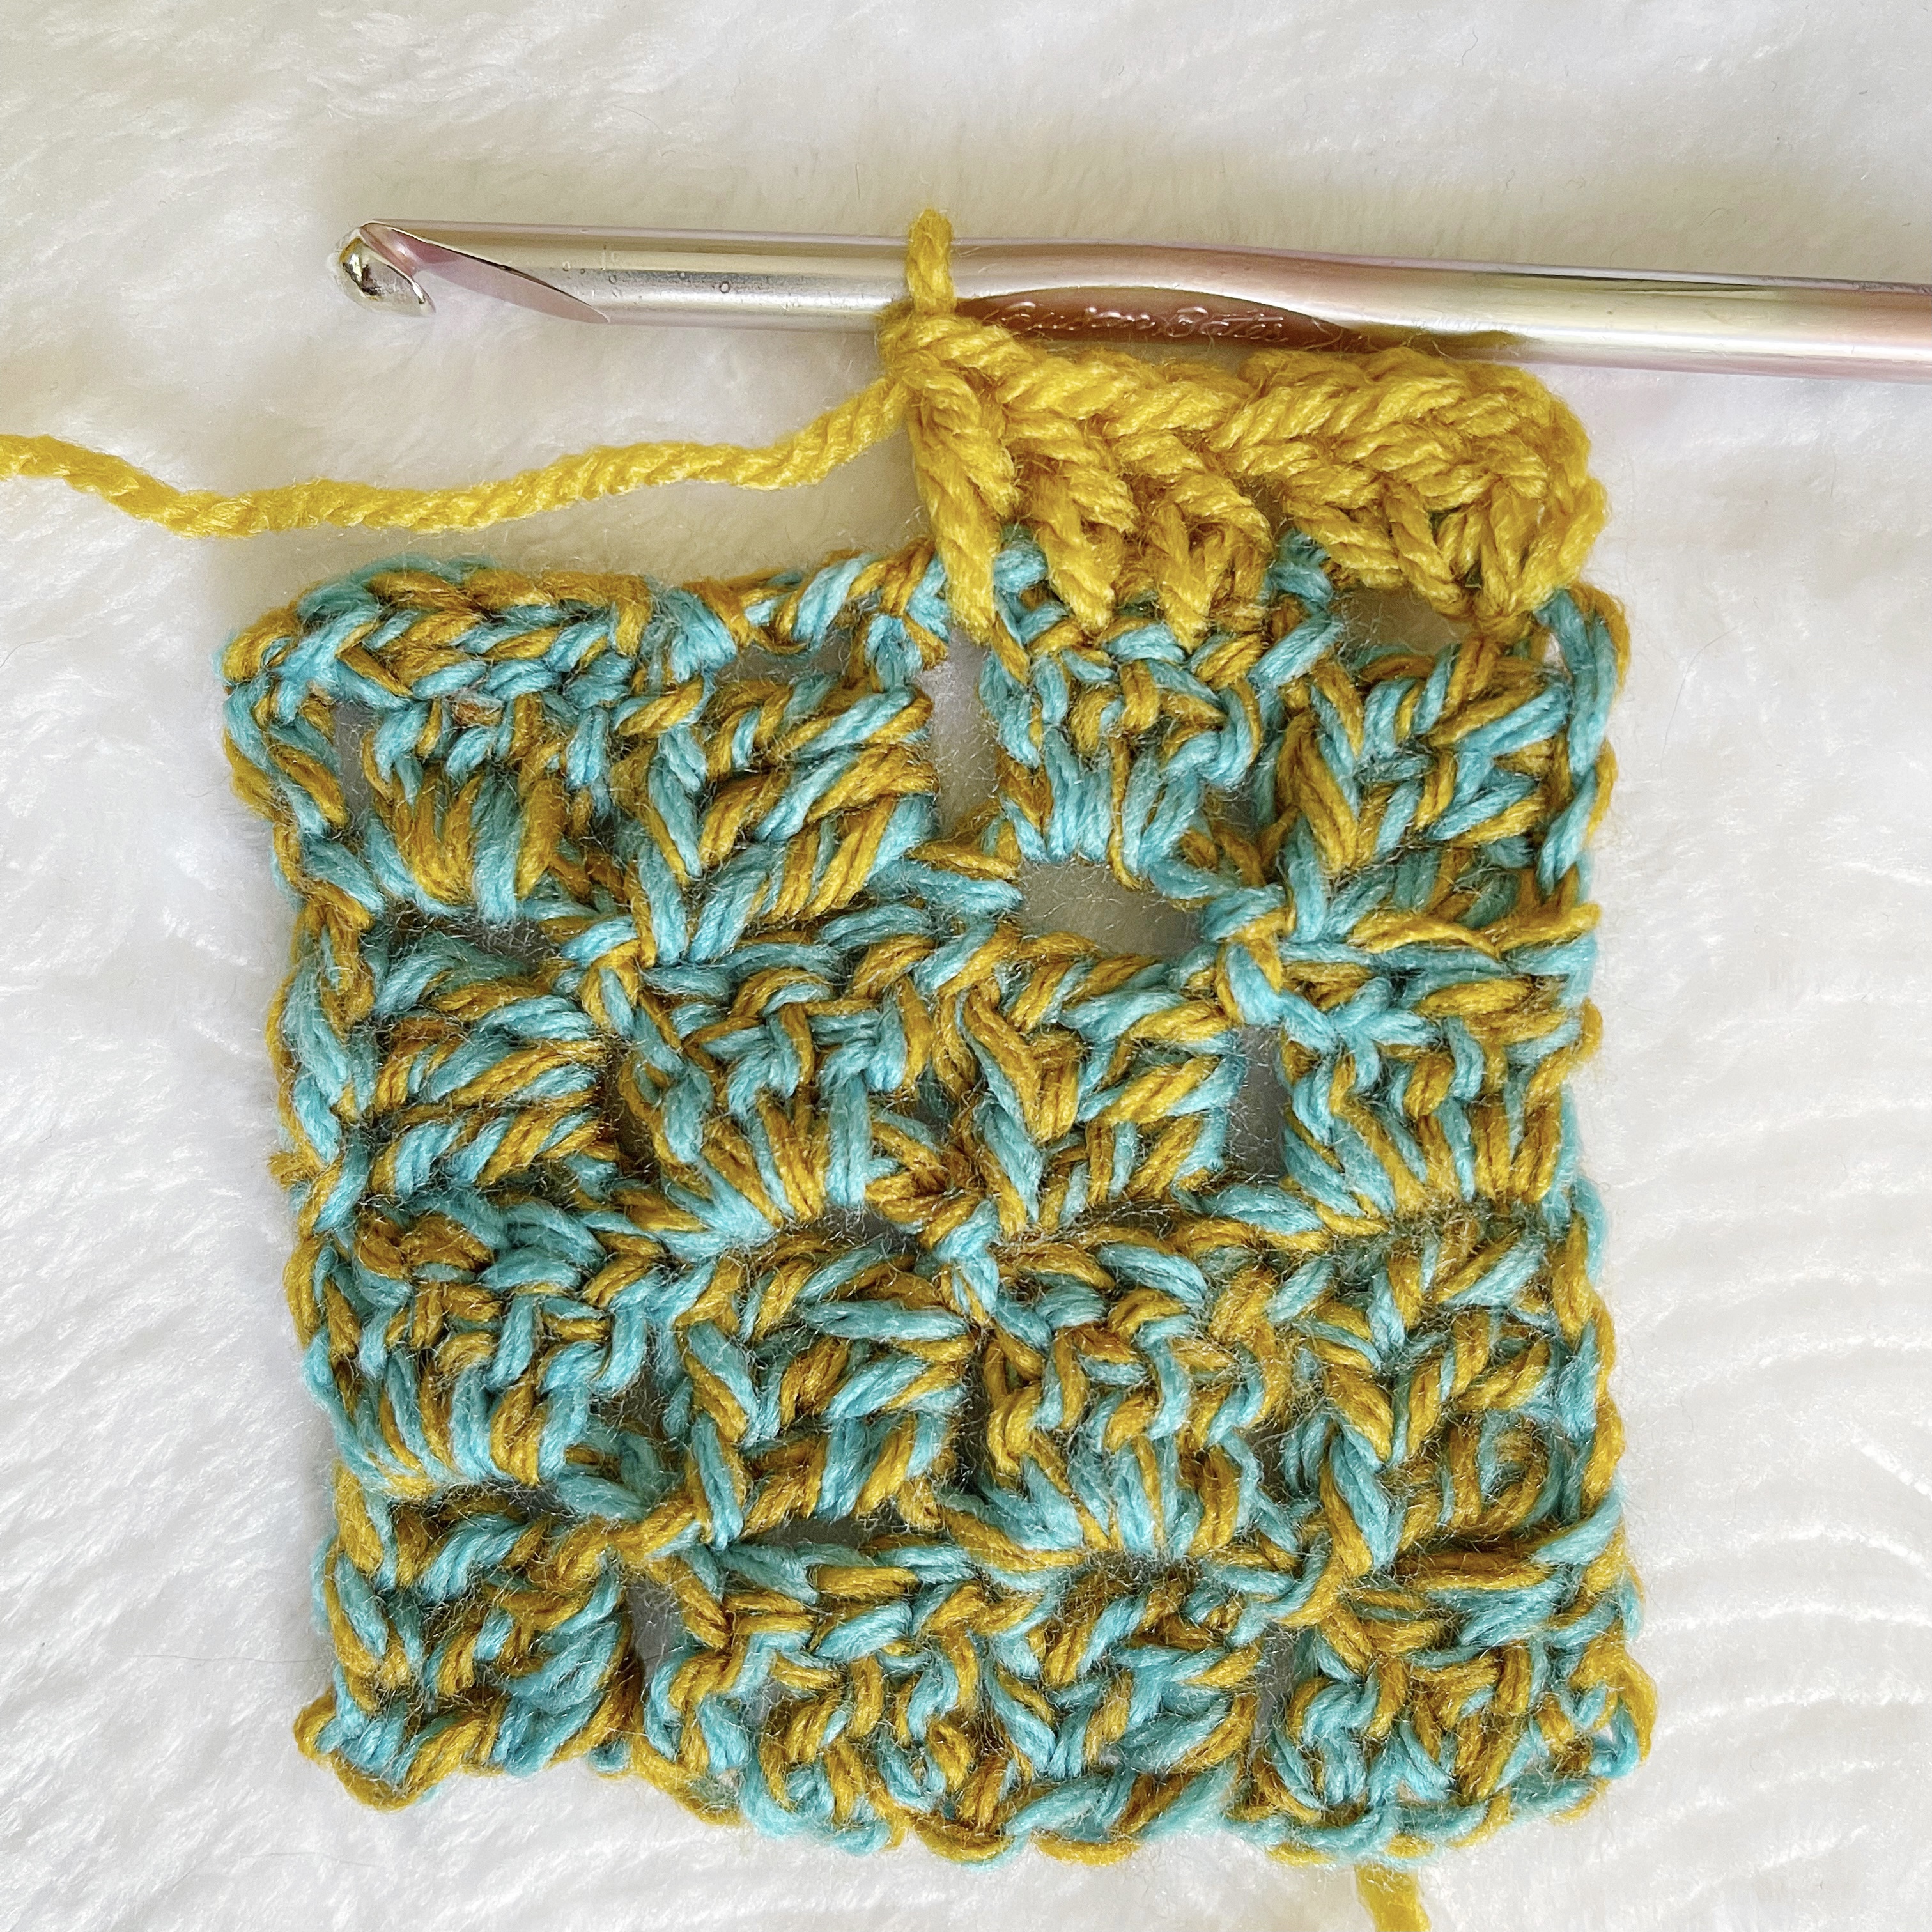
Continue to DC across, making 3 DC in each block. 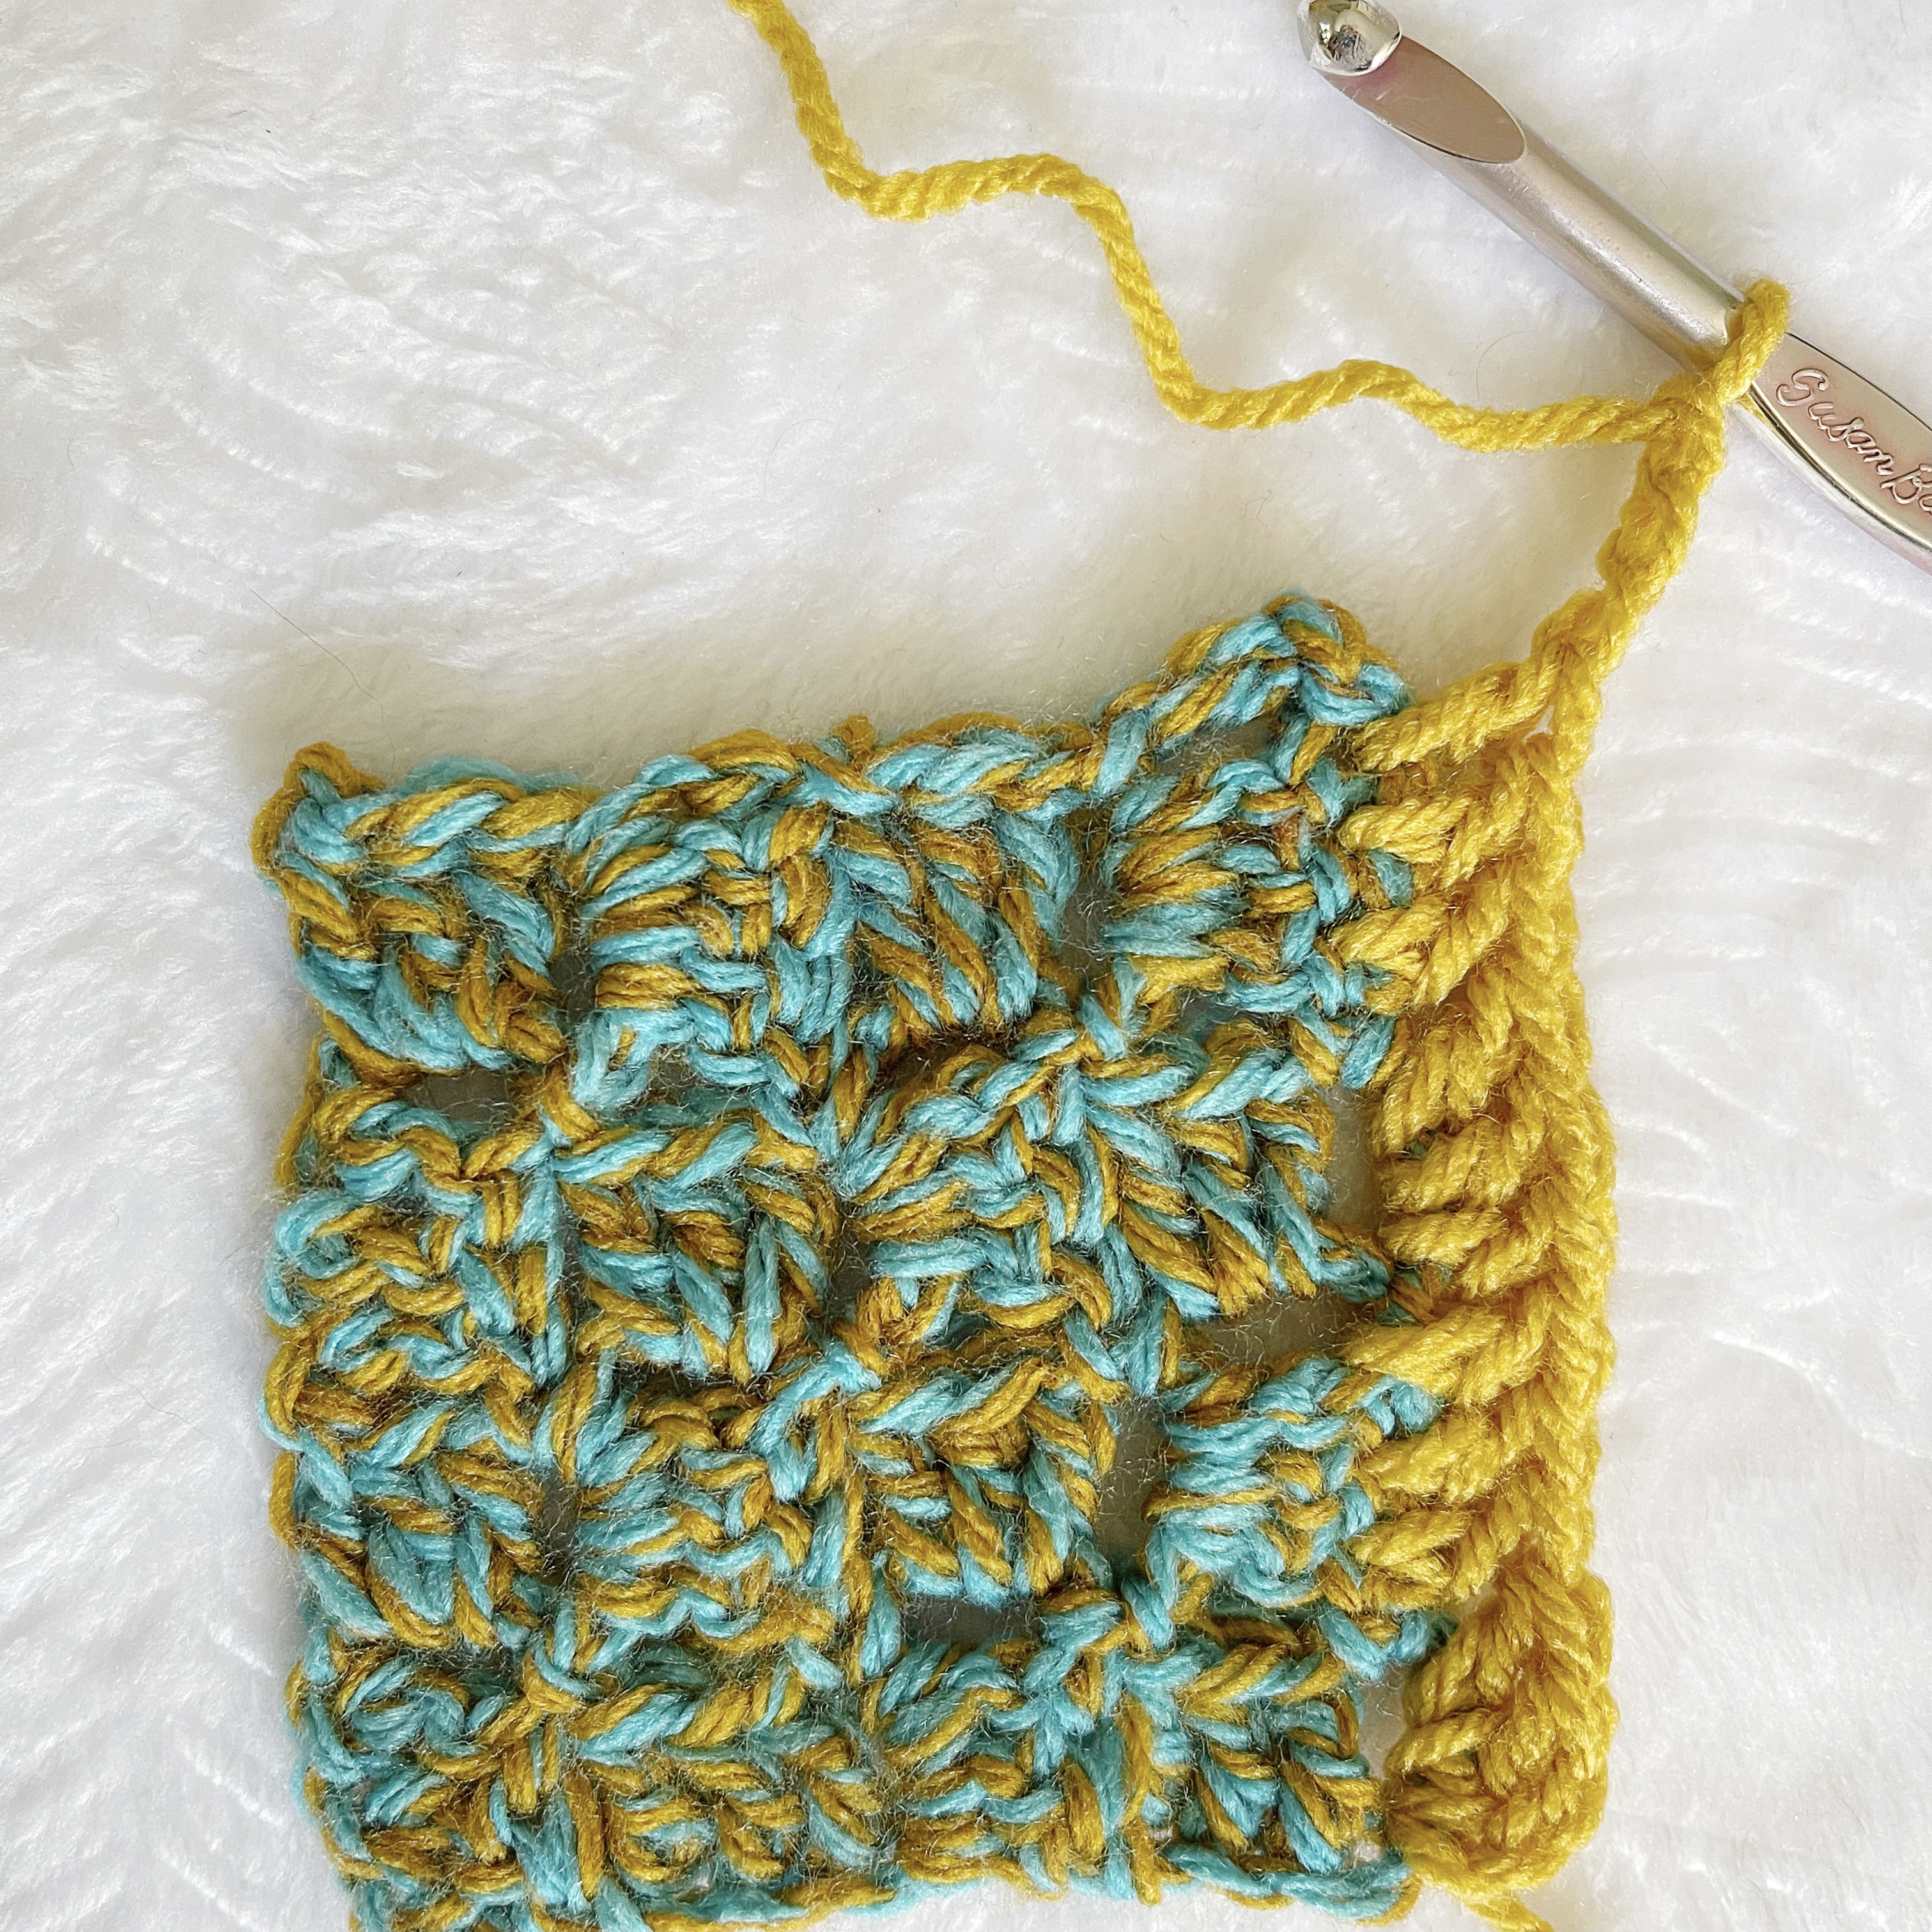
After final DC of the row, CH 3.
Work 2 DC in the last DC of the row. 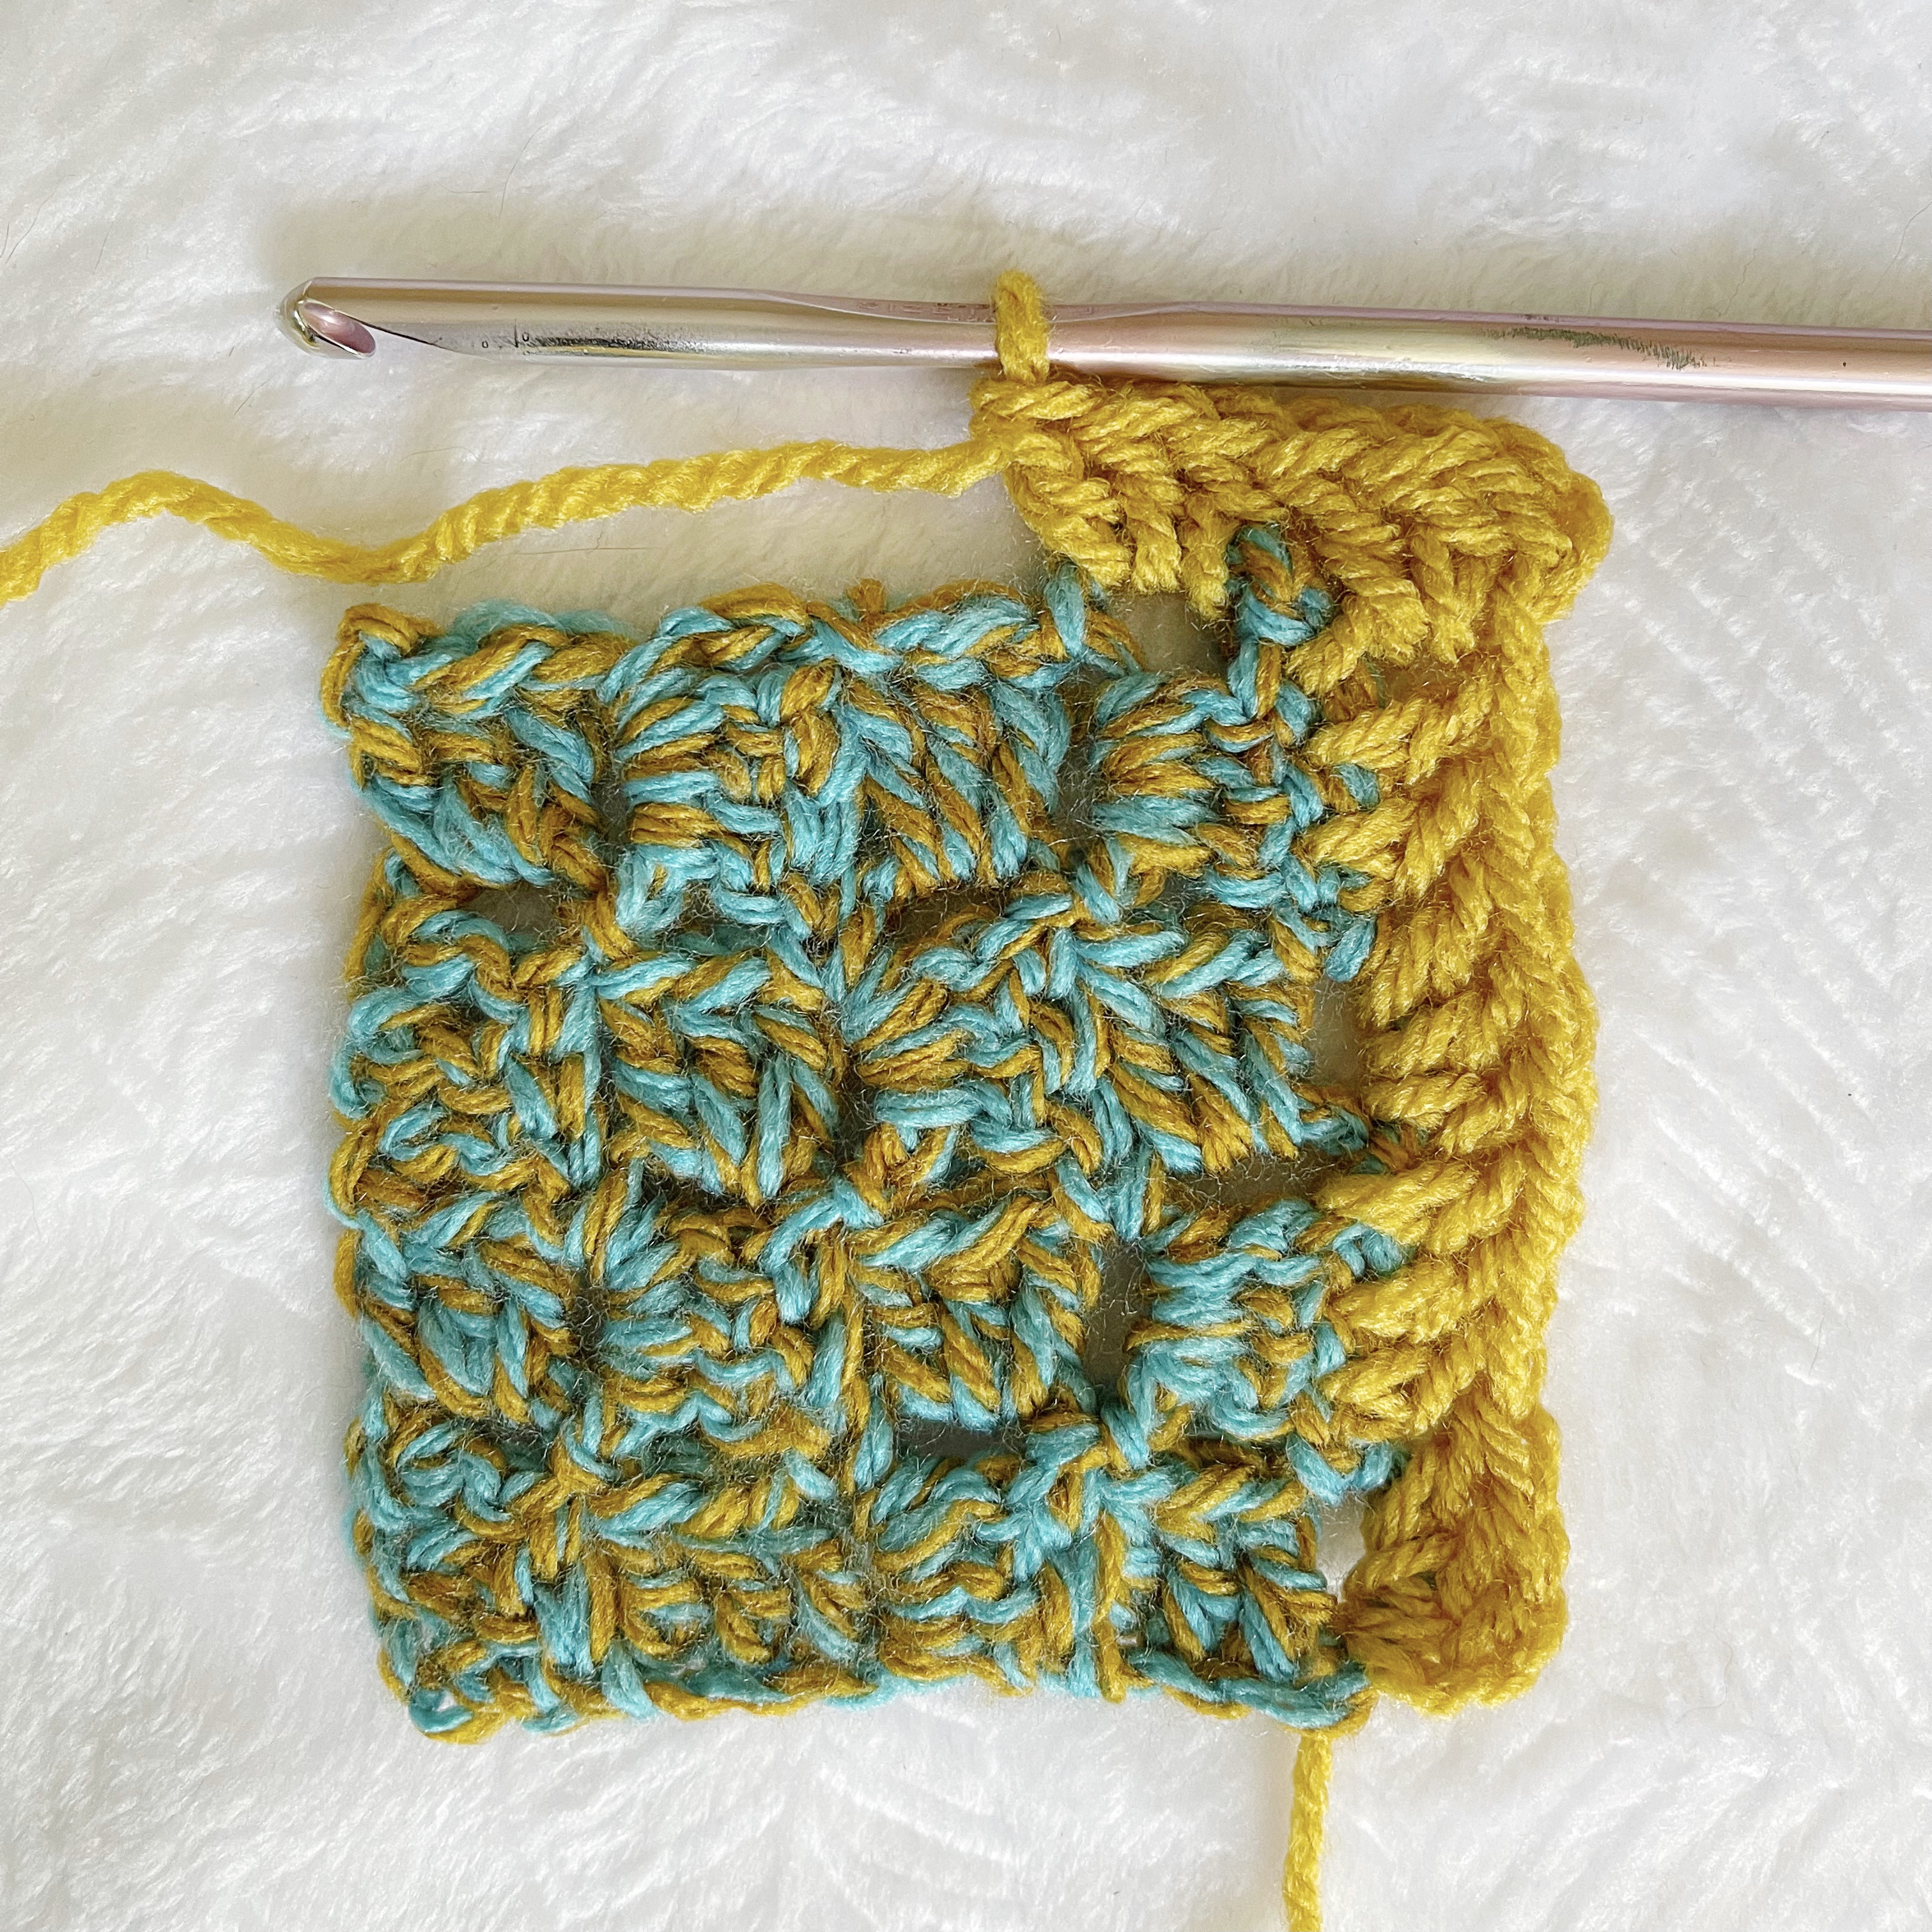
Work 3 DC in each block across next side. 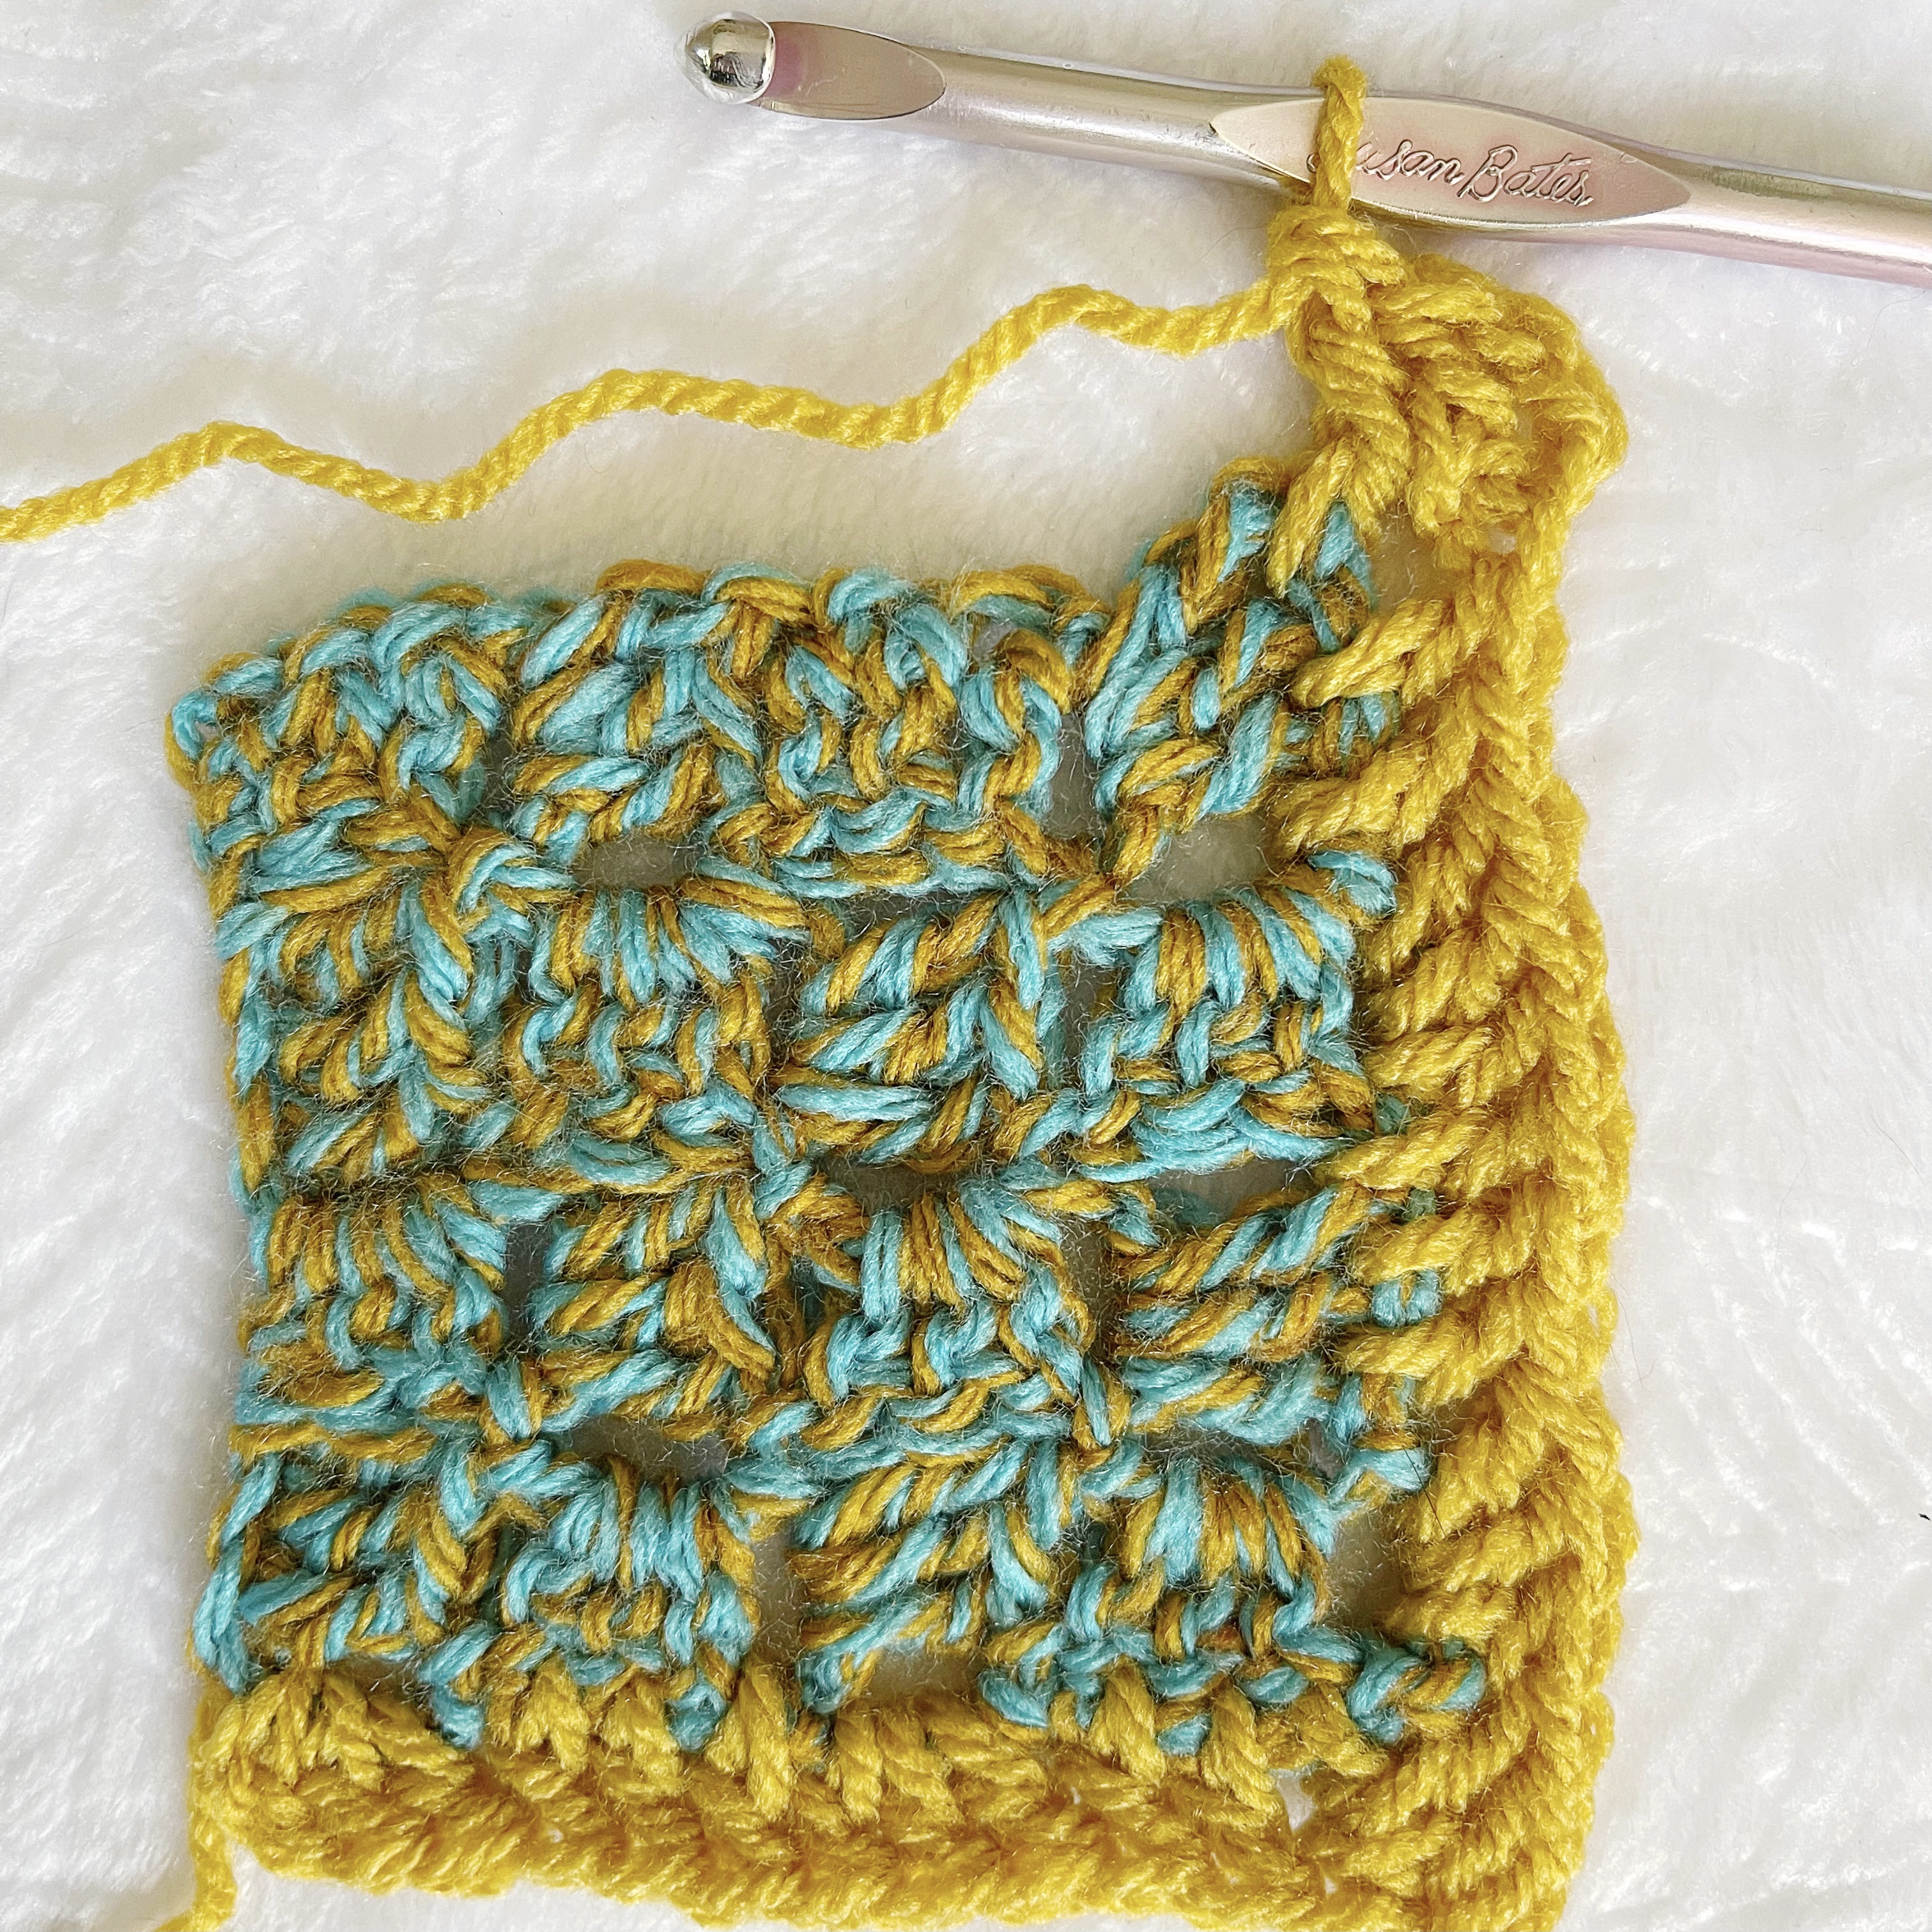
Repeat corner (CH 3, DC 2 in last DC of row).
After the last corner is turned, SL ST into 1st CH 3 of row. 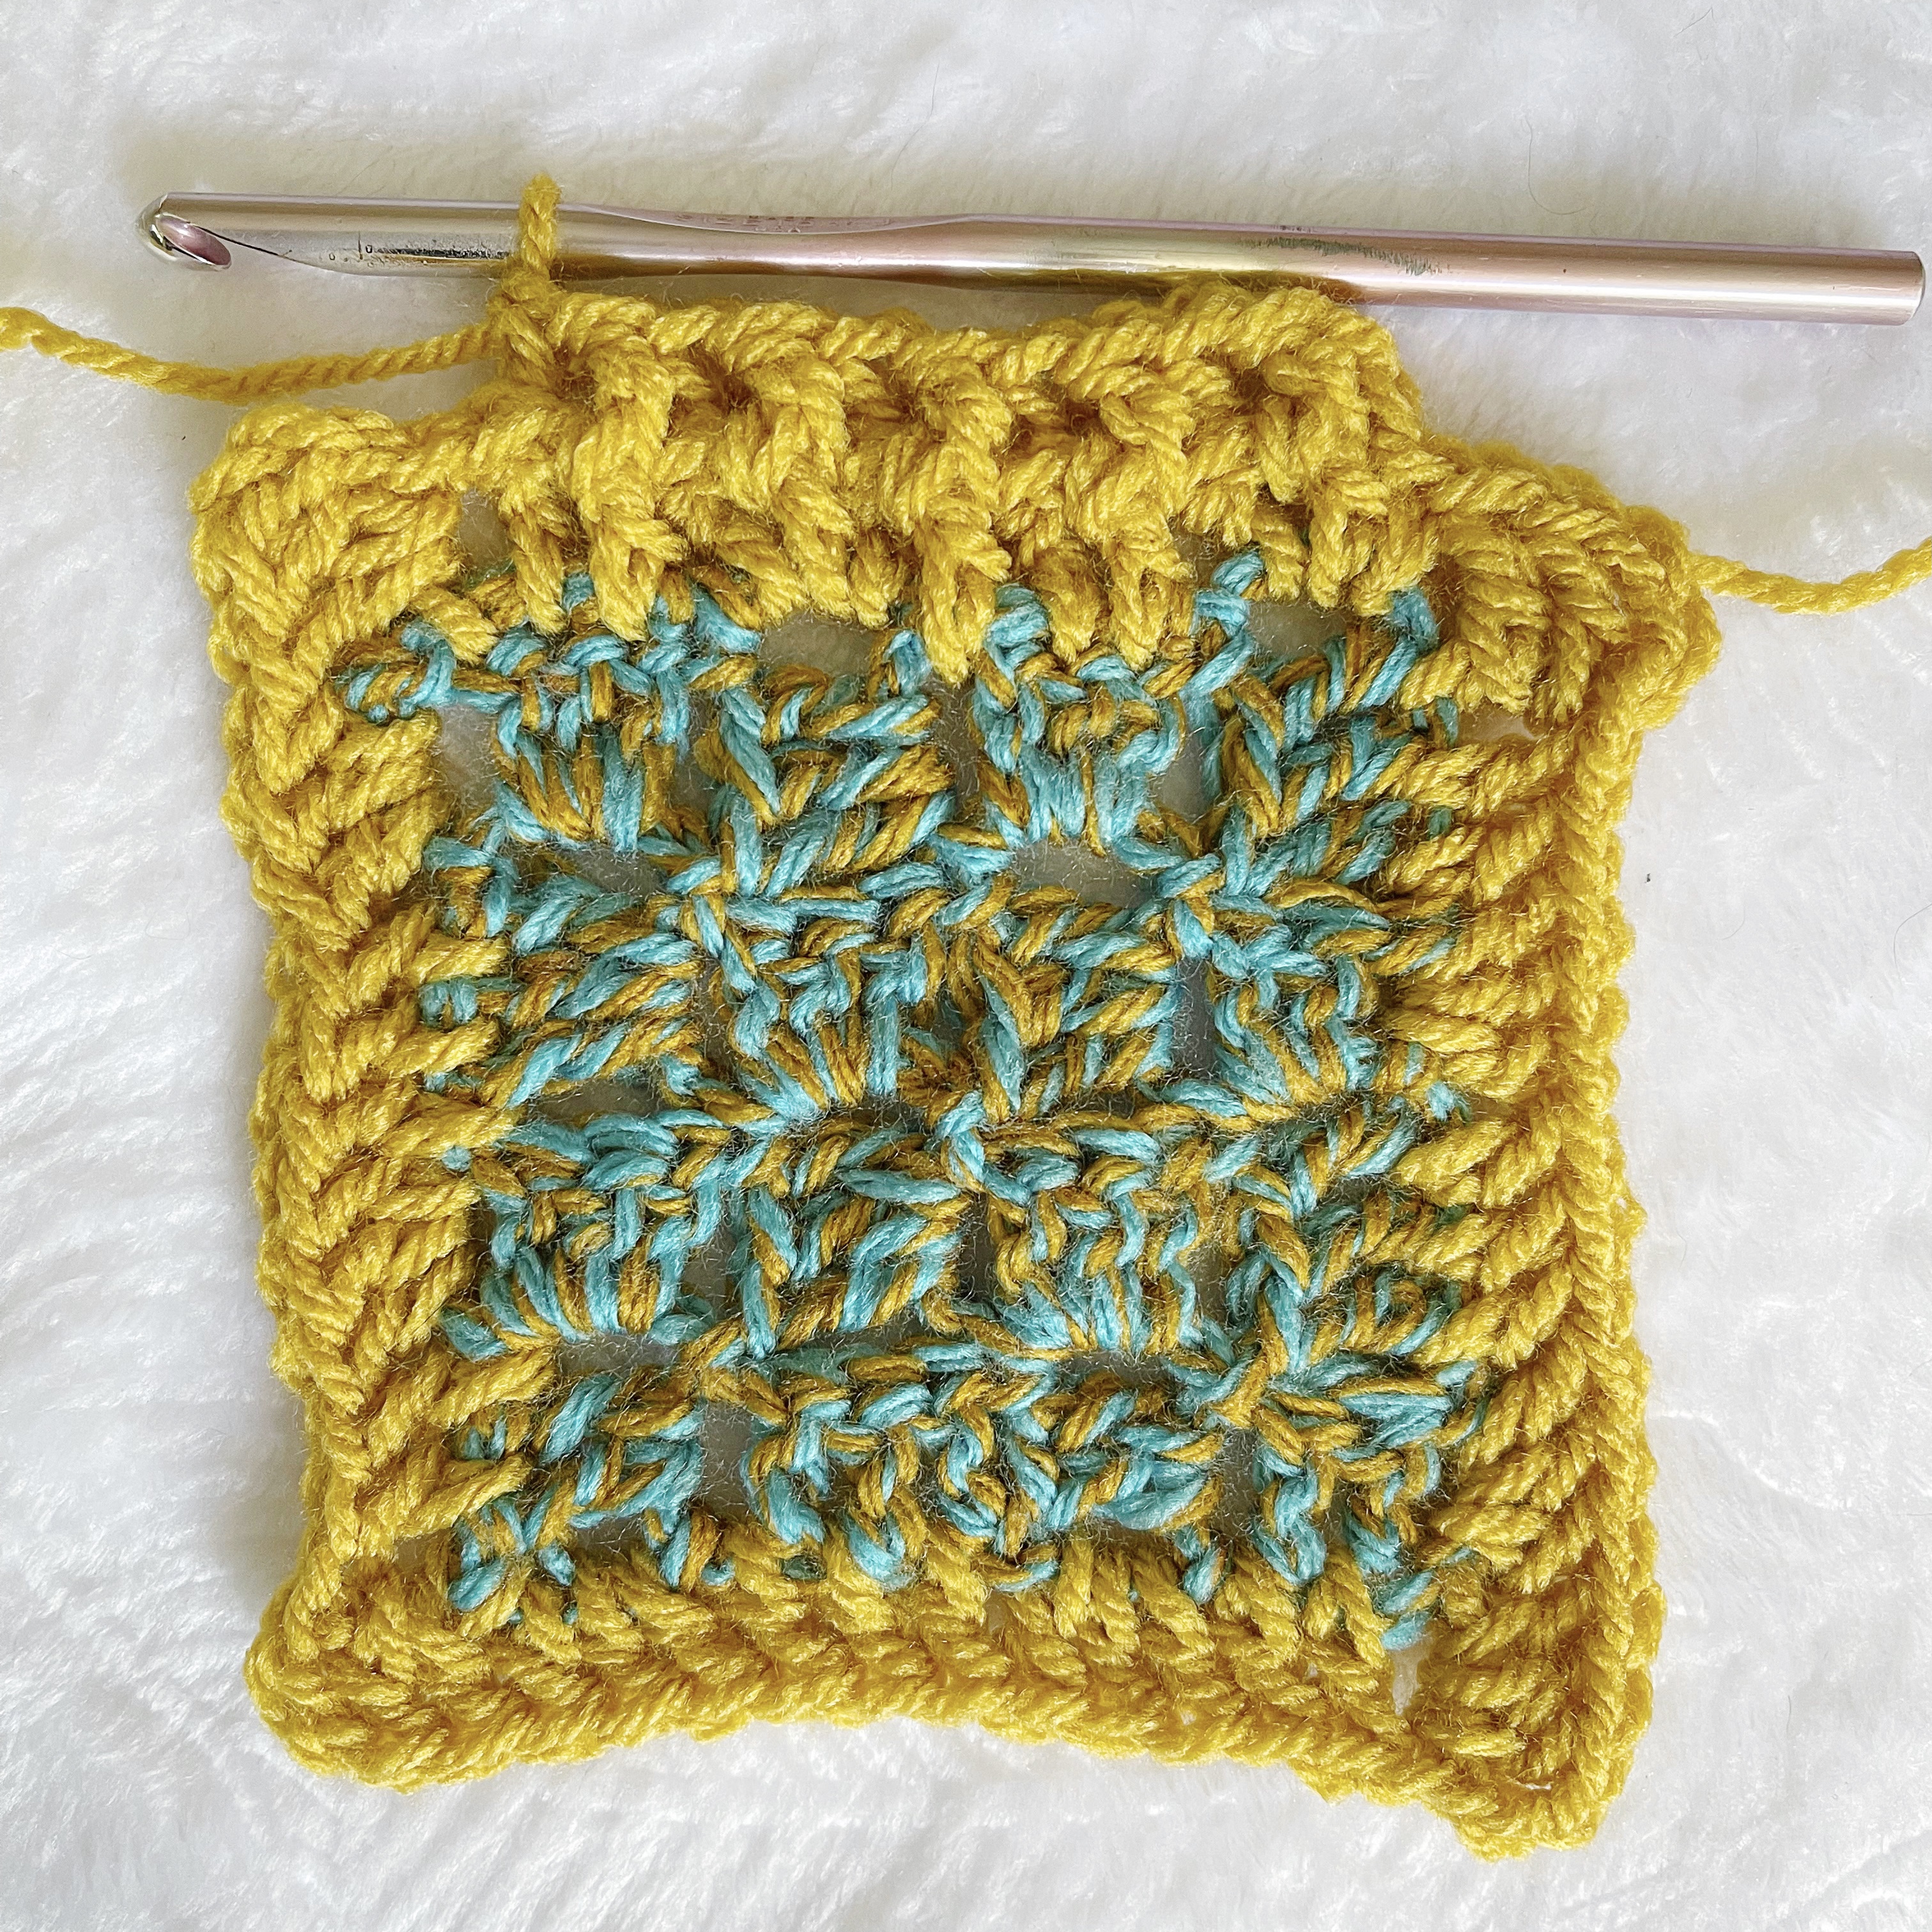
CH 2. FPDC, BPDC, repeat across each DC. 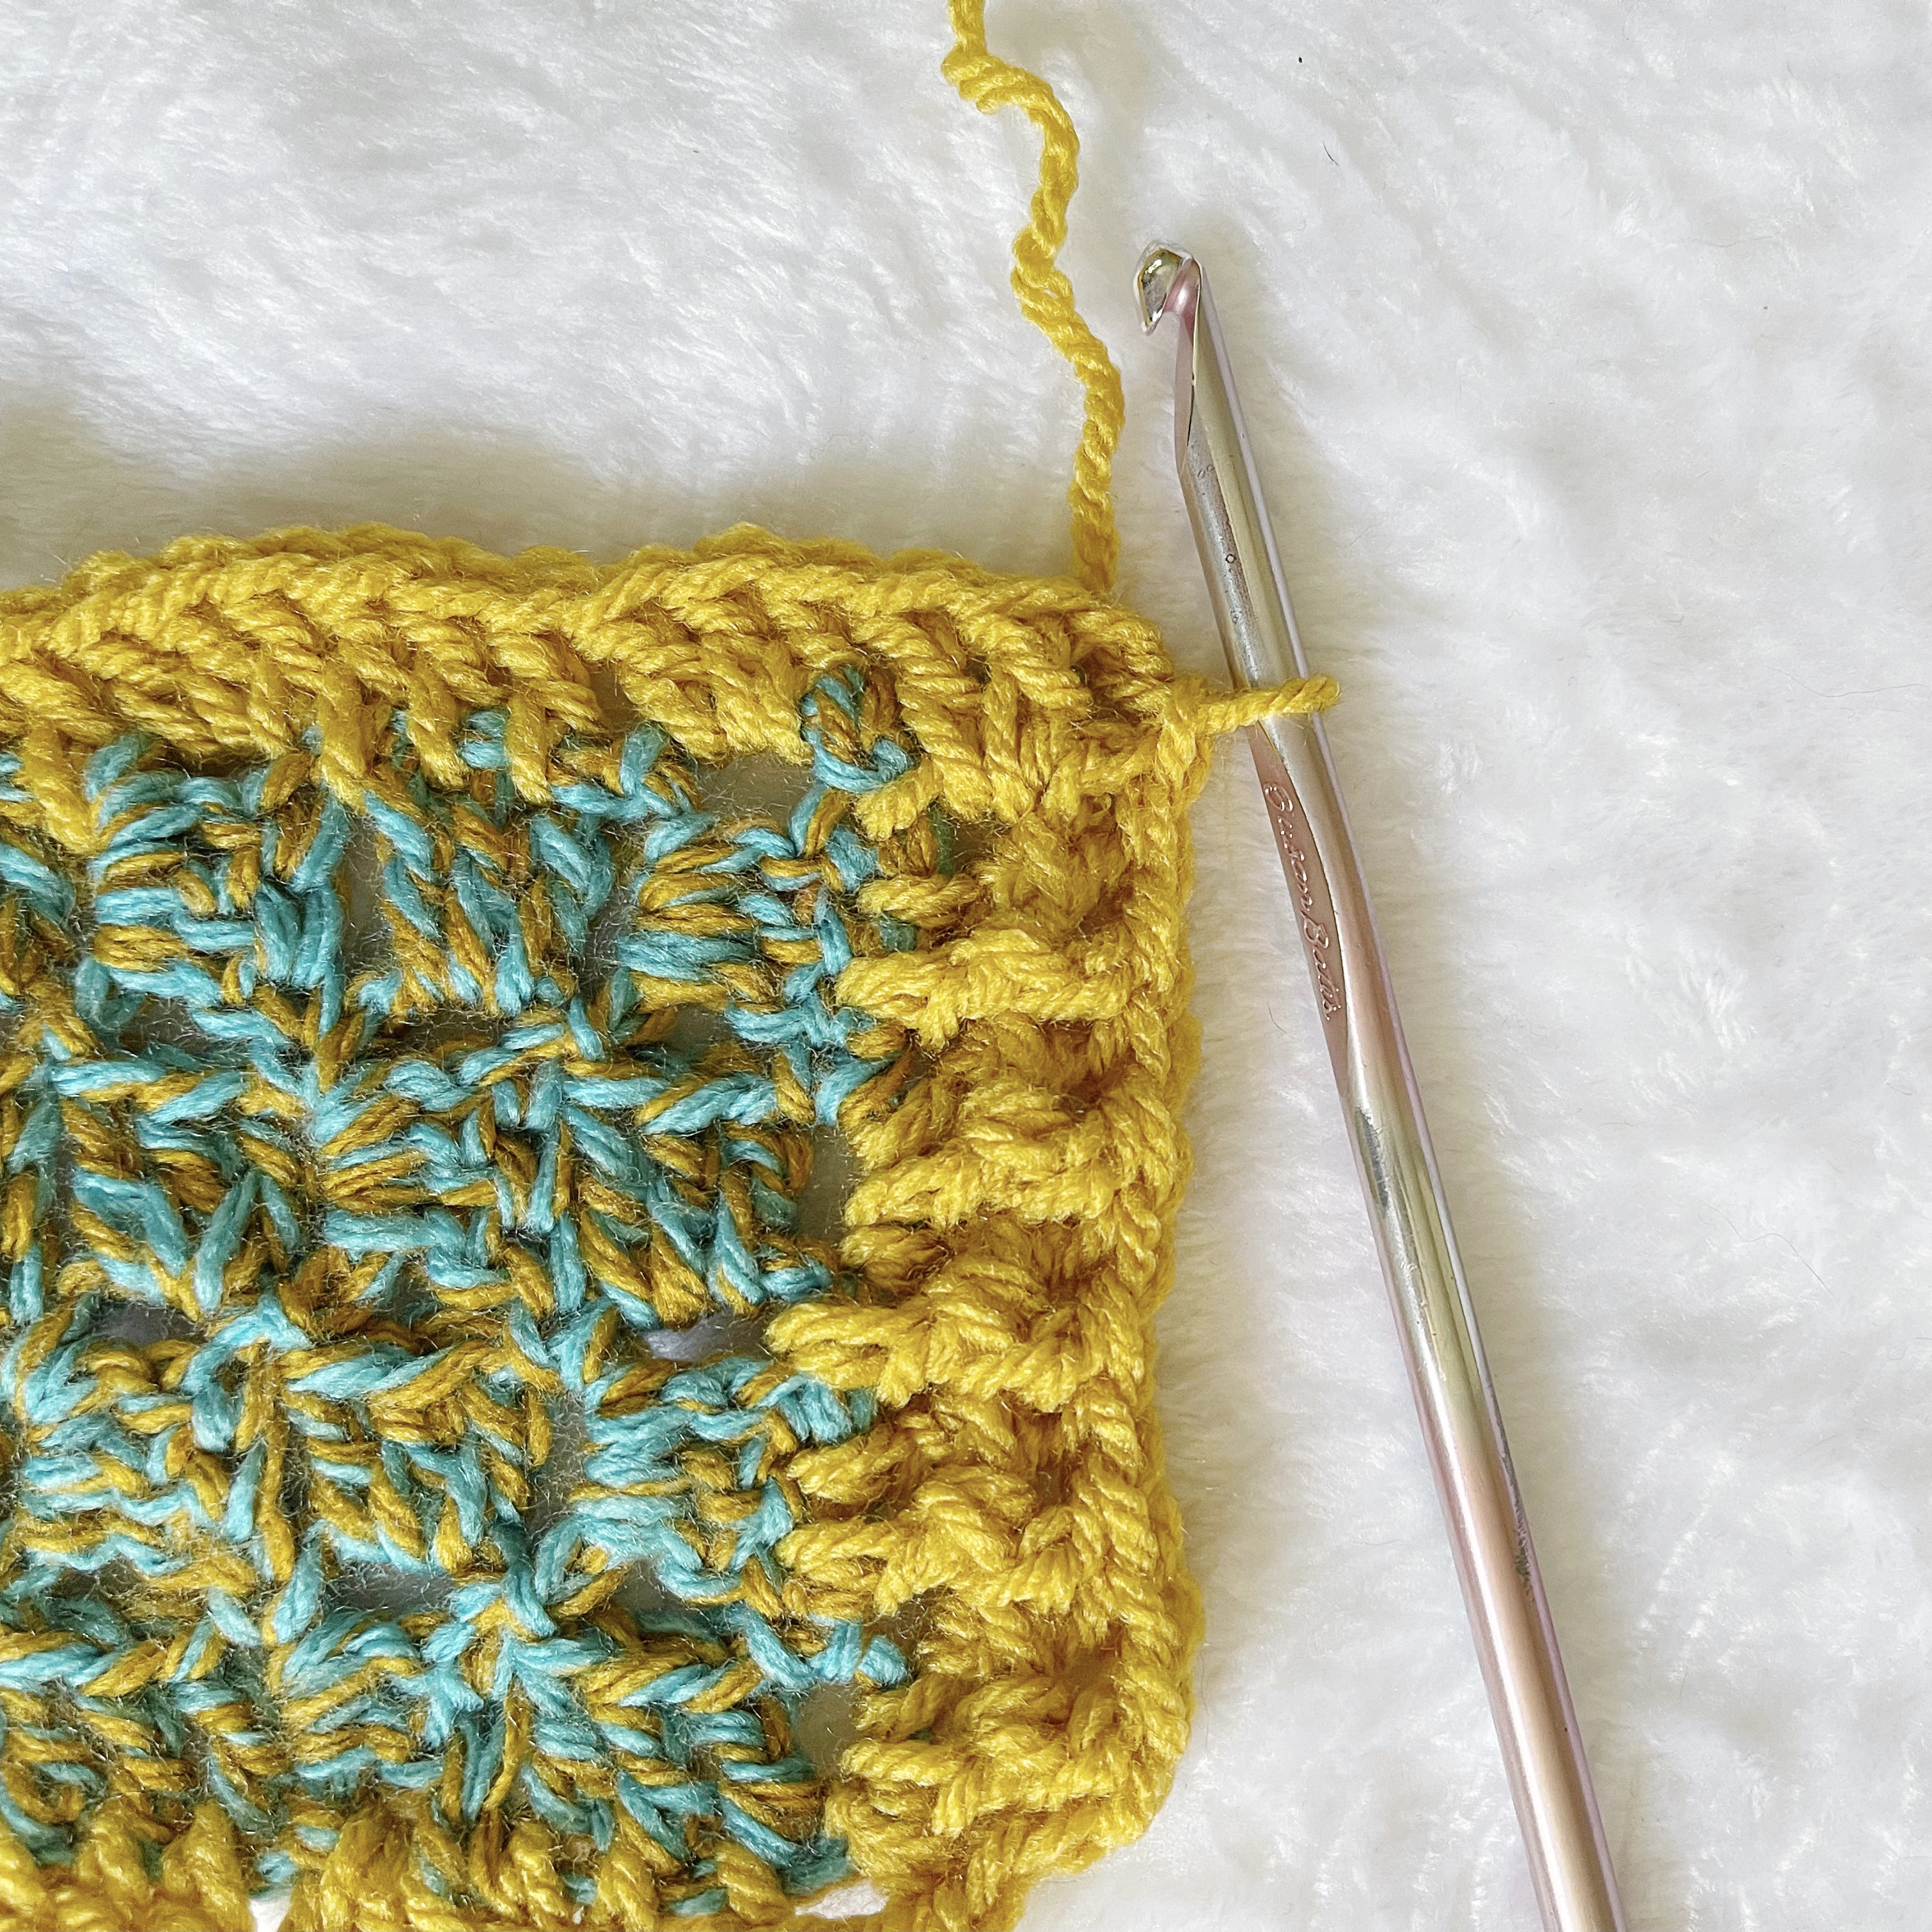
After last FP or BP, CH 3, turn, continue FP/BP in each DC across.
The CH 3 will create the corner. 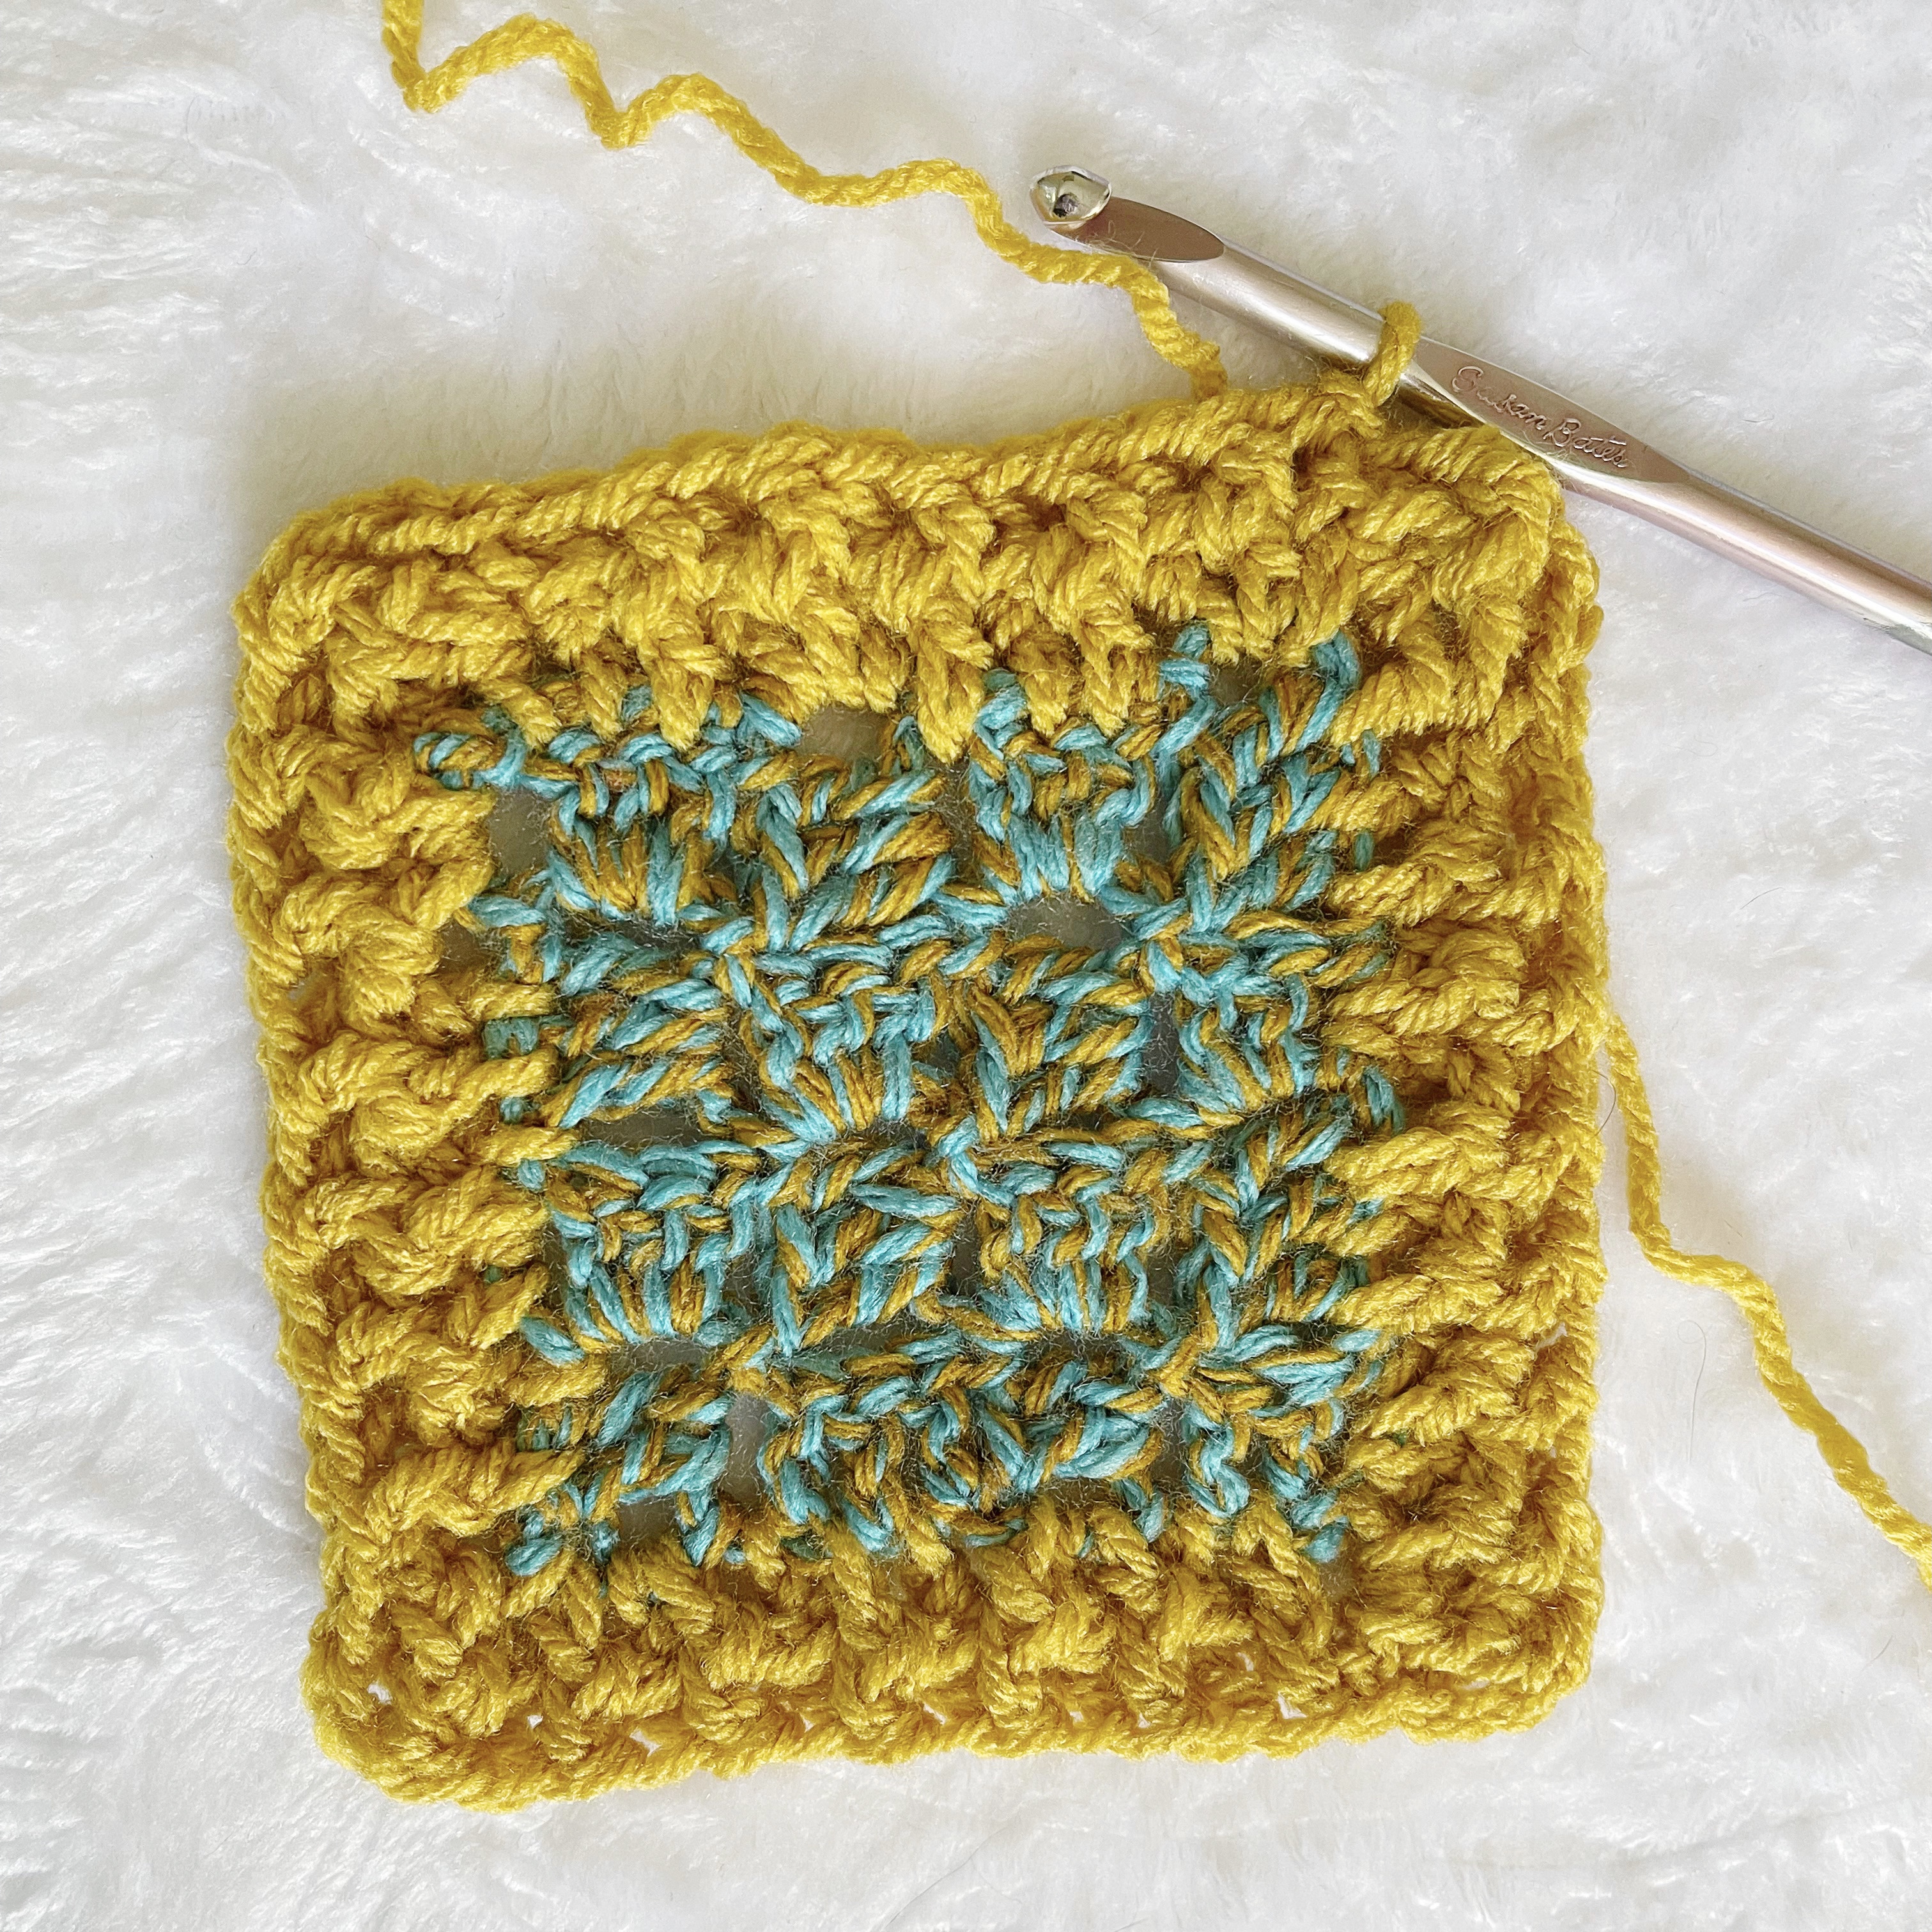
Continue around until reaching the beginning CH 2. SL ST into CH 2 SP. CH 2 and make 2-3 more rows of border. F/O and weave in ends.
This is an original pattern by Christina of February Sky Designs. Please do not claim this pattern as your own. If you wish to share this pattern, you may link to it but please do not reprint it on your site or sell it.
You may sell products made from this pattern but please clearly credit the design to me, Christina of February Sky Designs, and link to my blog februaryskydesigns.com. Thank you for respecting creators and their work!

