Cozy Crochet Pumpkin Cushion!

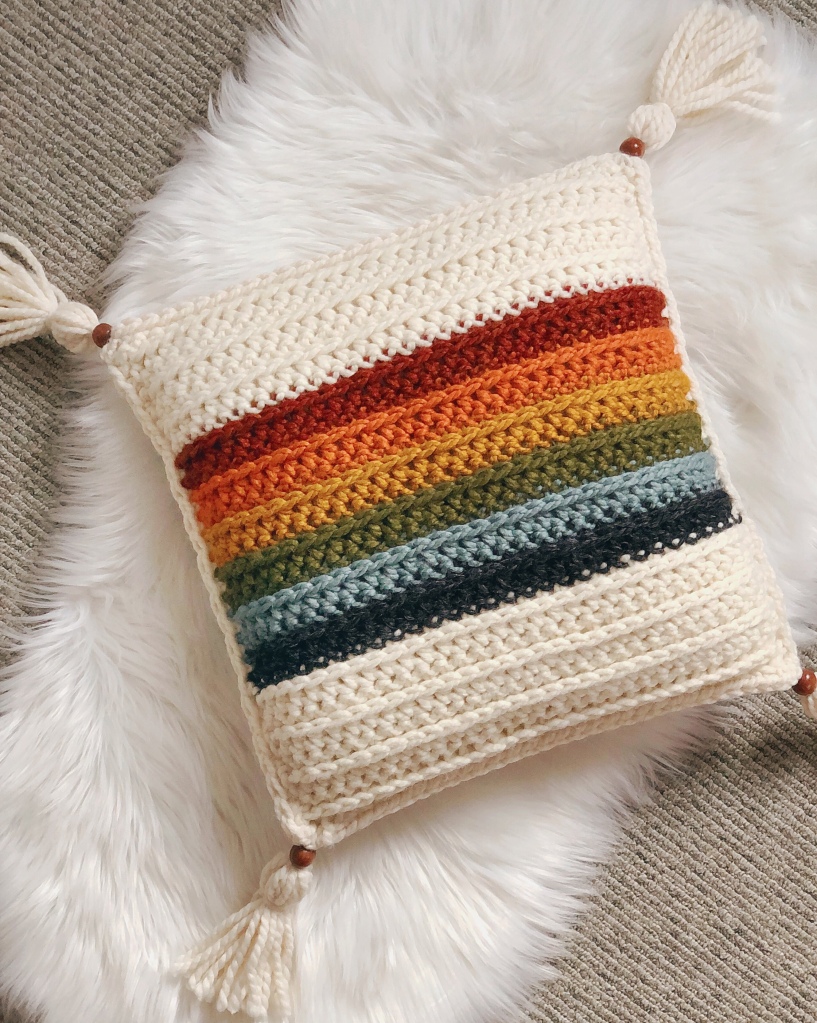
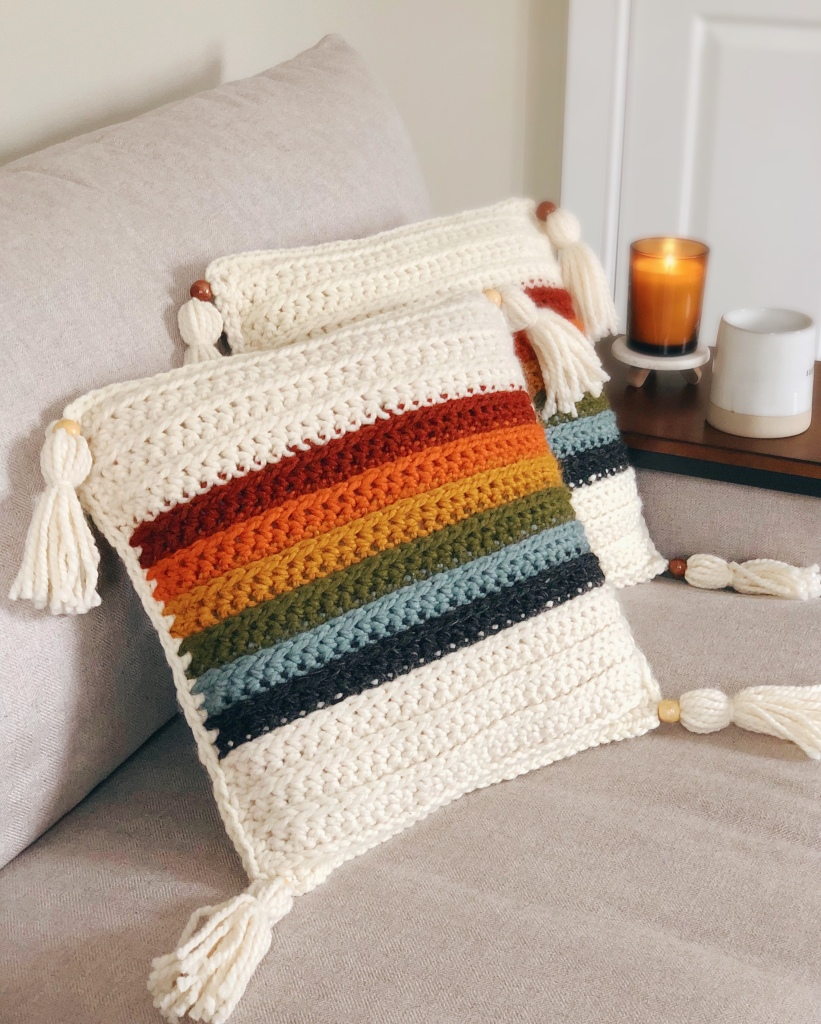
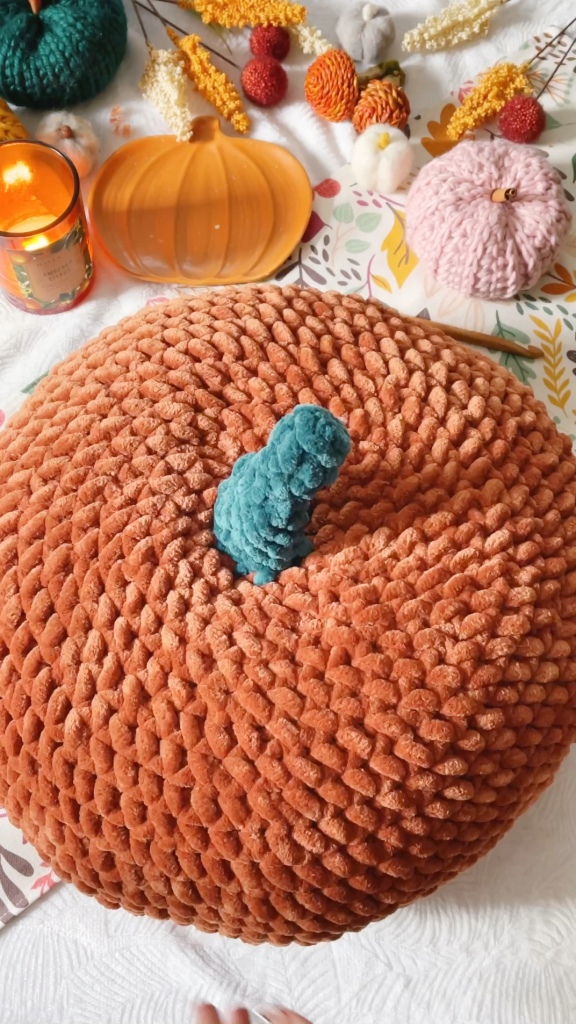
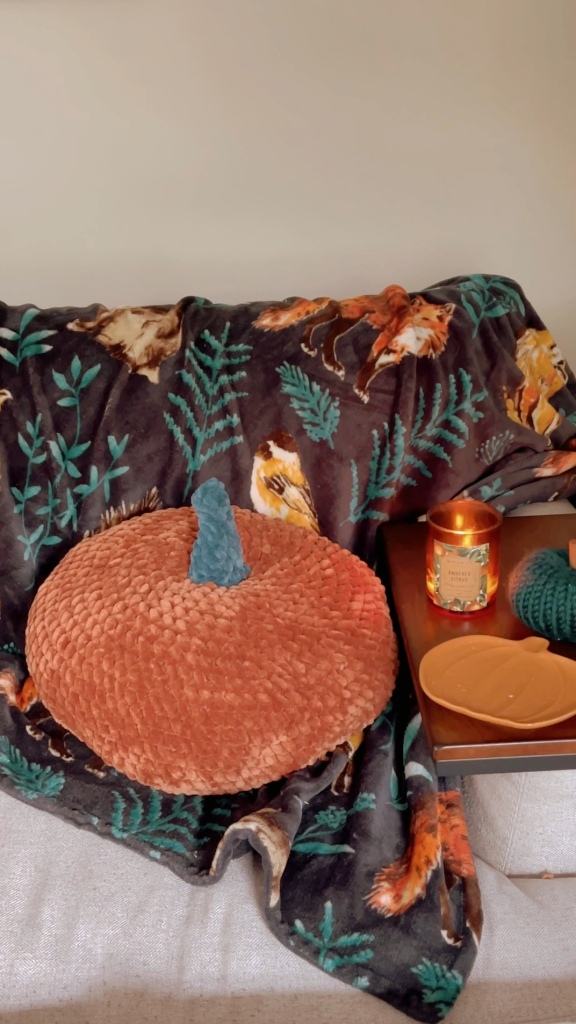
Every change of season makes me want to add new, cute throw pillows to my office couch, and fall always fills me with inspiration! I’ve seen really cute pumpkin pillows being sold in stores, so naturally I decided to make my own. I love how this came out, and I’m excited to share this super quick and easy pattern with you!

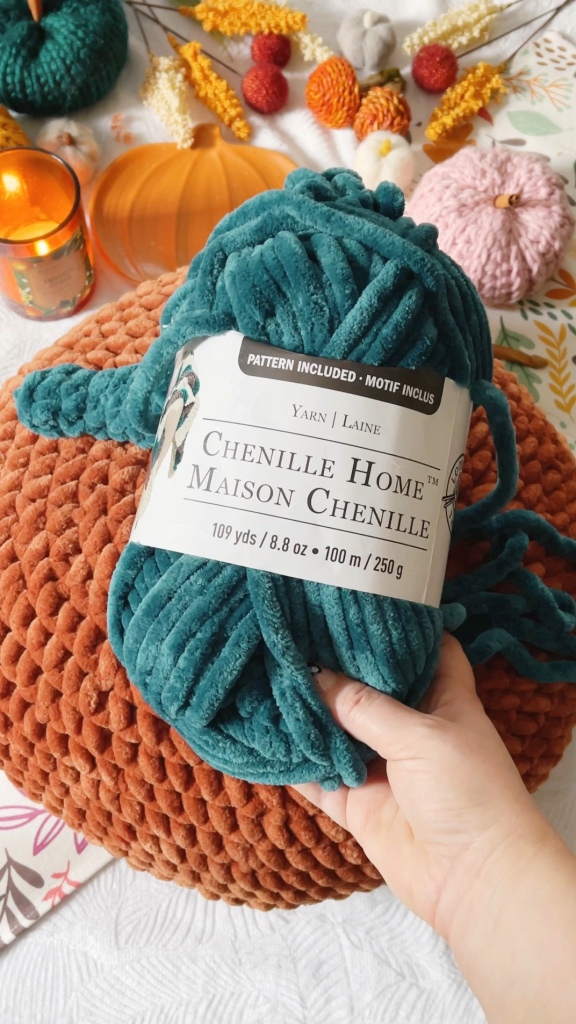
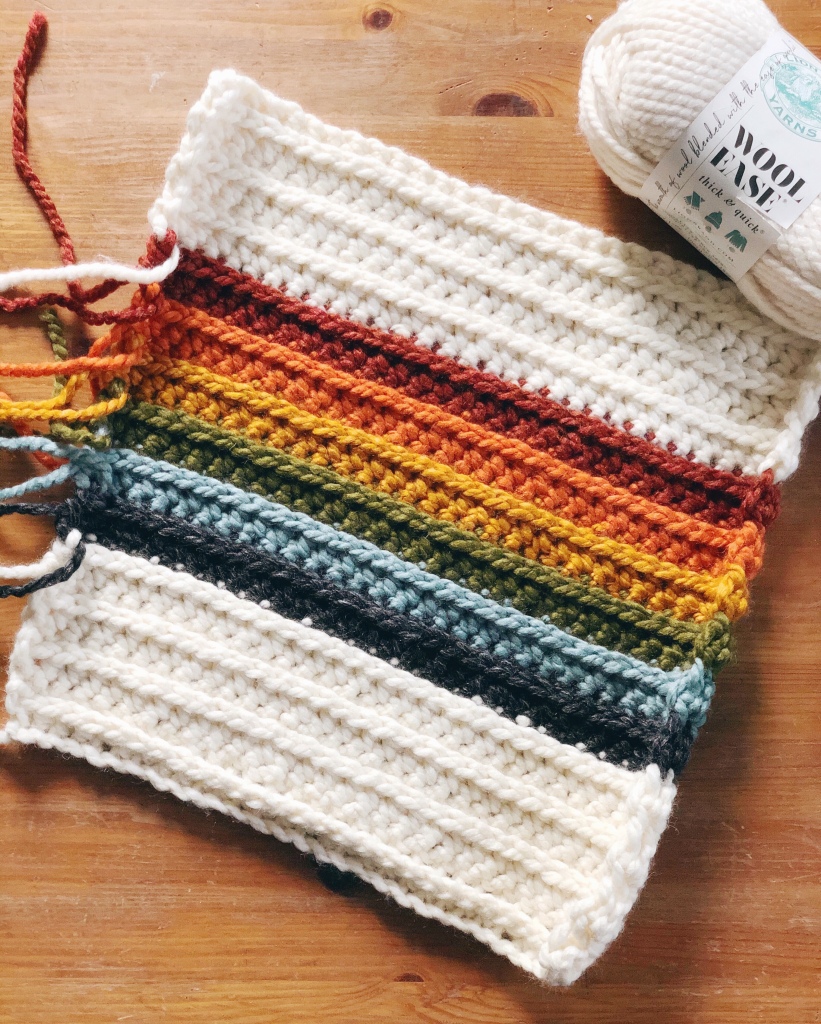
I used Chenille Home yarn from Michaels, and I highly recommend this yarn for this project, and any pillow project! The ends can be pretty sheddy, but once it’s worked up it feels so soft and squishy, but also pretty high-end and like a pillow you could buy at Target 😉.

For this pattern you’ll need:

  • 2 skeins of Chenille Home (x yards of Jumbo/level 7 yarn) in main color
  • small amount of second color for stem
  • 11.5mm/P crochet hook
  • stitch marker
  • large eye sewing needle
  • scissors
  • polyfil stuffing

Stitch Abbreviations:

  • SC- single crochet
  • INC- increase
  • DEC- decrease
  • MC- magic circle
  • CH- chain
  • REP- repeat

Notes:

-CH in MC does not count as a stitch.

-Place a stitch marker in the first stitch of each round.

-Rounds are continuous and not joined.

-Decreases are made in the amigurumi style. Invisible DEC is done by working in the front loops of two stitches to make one SC.

-Finished pumpkin is 18” diameter, 10″ tall without stem.

PATTERN:

Start with Magic Circle.

R1: CH 1, SC 8 into MC. (8)

R2: INC in each ST. (16)

R3: SC, INC. REP. (24)

R4: SC 2, INC. REP. (32)

R5: SC 3, INC. REP. (40)

R6: SC 2, INC. *SC 4, INC*. REP * to * until last 2 STS, SC 2. (48)

R7: SC 5, INC. REP. (56)

R8: SC 3, INC. *SC 6, INC*. REP * to * until last 3 STS, SC 3. (64)

R9: SC 7, INC. REP. (72)

R10: SC 4, INC. *SC 8, INC*. REP * to * until last 4 STS, SC 4. (80)

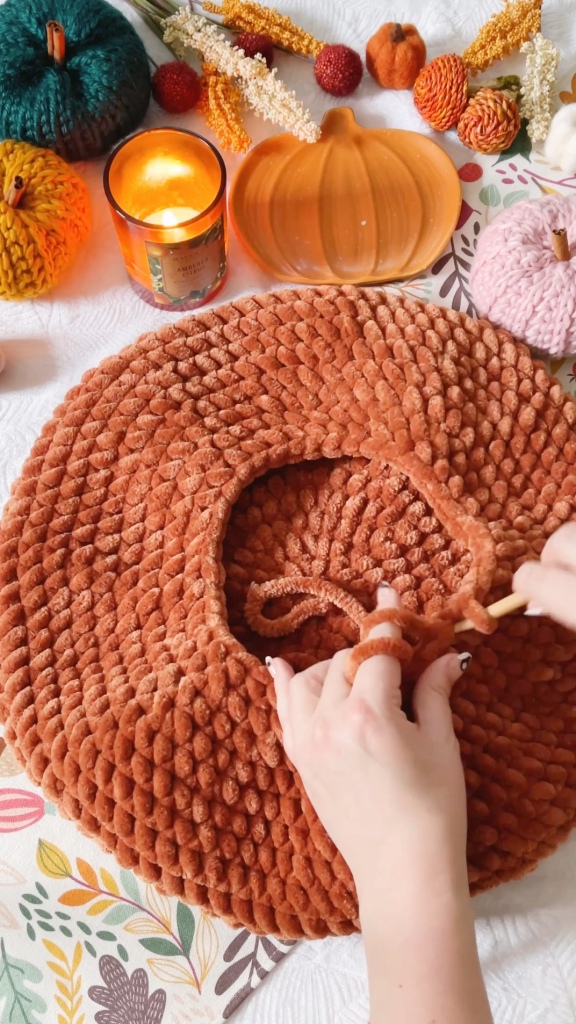
R11-18: SC around. (80)

R19: SC 4, DEC. *SC 8, DEC*. REP * to * until last 4 STS, SC 4. (72)

R20: SC 7, DEC. REP. (64)

R21: SC 3, DEC. *SC 6, DEC*. REP * to * until last 3 STS, SC 3. (56)

R22: SC 5, DEC. REP. (48)

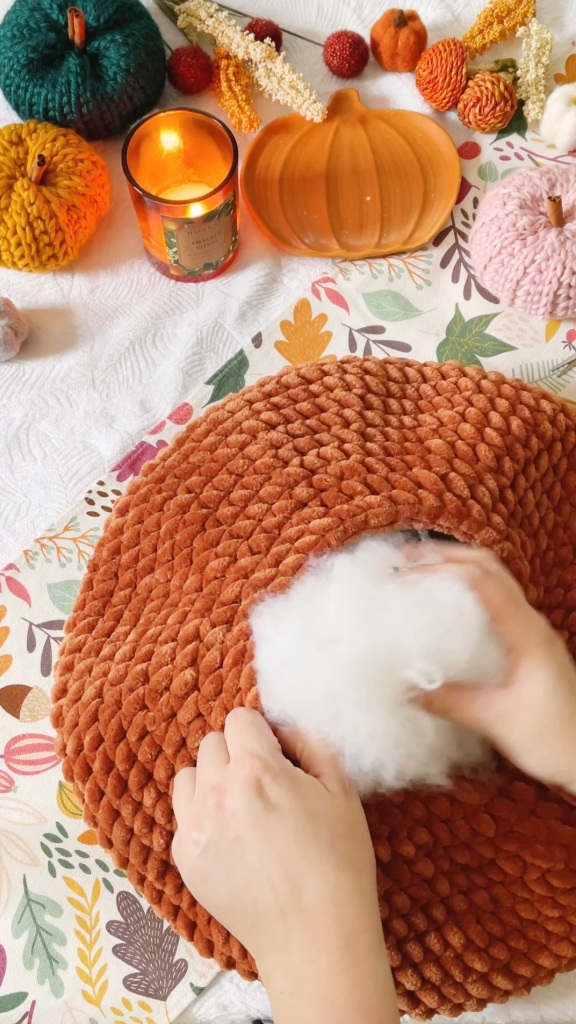
*Pause to fill pillow 90% full with stuffing. Overstuff to get ideal pumpkin shape.

R23: SC 2, DEC. *SC 4, DEC*. REP * to * until last 2 STS, SC 2. (40)

R24: SC 3, DEC. REP. (32)

R25: SC 2, DEC. Rep. (24)

R26: SC, DEC, REP. (16)

R27: DEC around. (8)

Stuff with additional stuffing if needed. Detach yarn, leaving a long yarn tail and weave through each ST with sewing needle to close hole*. Tie off, continue to stem.

*Tip: to get a dip in the top of the pumpkin, after weaving the hole closed pull tail through the middle of the pumpkin until it comes out the bottom. Tie the tail to the bottom center in a way that isn’t noticeable, then push tail back into cushion and cut off any remaining tail.

STEM INSTRUCTIONS:

STEM:

With Color B, start with MC. CH 1, SC 6 into MC. Do not join. (6)

R2-4: SC around. (6)

R5: SC 2, INC, SC 2, INC. (8)

R6: SC around. (8)

R7: INC, SC 3, INC, SC 3. (10)

R8: SC around. (10)

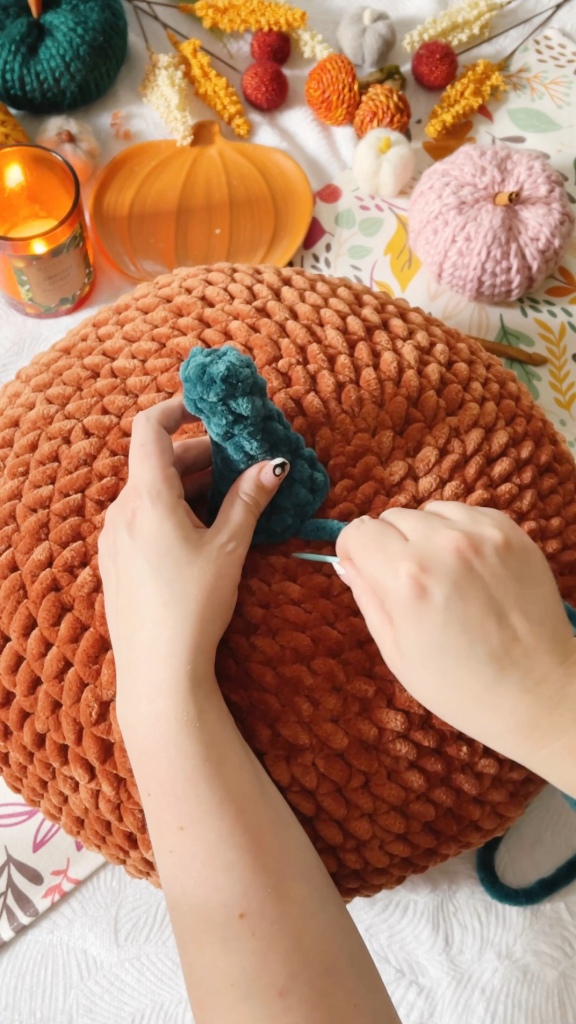
Leave long tail and attached to the top of the cushion using a whip stitch around. Weave in ends and enjoy!

I hope you love this cushion as much as I do! If you make one be sure to tag me on Instagram!

This is an original pattern by Christina of February Sky Designs.  Please do not claim this pattern as your own. If you wish to share this pattern, you may link to it but please do not reprint it on your site or sell it.

You may sell products made from this pattern but please clearly credit the design to me, Christina of February Sky Designs, and link to my blog februaryskydesigns.com. Thank you for respecting creators and their work!

The Better Days Crochet Pillow

Every year when January rolls around and the Christmas decorations are finally put away I look around my living space and feel like it looks…boring. All the pretty lights and ornaments are gone and I’m craving brightness and something new. This year in particular I want to make my home as cozy as possible, and what’s better than a new set of throw pillows to brighten up the couch!

This pattern is beginner-friendly and uses the same stitch pattern as my Golden Hour Throw. You’ll use super bulky level 6 yarn (I chose Lion Brand Wool Ease Thick and Quick), so this is a fast project that you can finish in a day. The stitch repeat gives the pillow a subtle cable/knit look, and the color combinations are endless! I chose a muted rainbow for my pillows because rainbows are a symbol of hope. When times are tough it’s good to be reminded that there are better days ahead!

***I have a beautiful, low-cost version of this pattern available on my Etsy that includes pictorials and is printer-friendly. You can find the PDF here! ***

The technique used in this pattern that gives the raised braided texture to the pillow is single crocheting in the third back loop of the previous row of half double crochets. If you haven’t worked in this loop of a half double crochet before, you can see it pointed out with an arrow below when working on the back side of each panel.

The single crochets push the top two loops of the half double crochet down, so you get the great texture that looks a bit like knitting!

Once you complete two panels you’ll single crochet them together, insert a pillow form, and finish the pillow off with some cute tassels! Let’s get to the pattern.

If you’d like a printable, ad-free PDF of this pattern, you can grab that here!

BETTER DAYS PILLOW COVER PATTERN

Stitch abbreviations:

-Chain- (CH)

-Single Crochet- (SC)

-Half Double Crochet- (HDC)

-Stitch(es)- (ST(s))

Materials:

  • For one pillow: 2 balls of Super Bulky Level 6 yarn in main color, about 10 yards each of 6 assorted colors of Super Bulky yarn.
    • Shown is Lion Brand Wool Ease Thick and Quick in Fisherman for the main off white color, then for the rainbow Spice, Pumpkin, Butterscotch, Cilantro, Succulent, and Charcoal.
  • Size N/15 9mm crochet hook
  • 16×16” pillow insert
  • Large eye sewing needle
  • Scissors
  • Tape measure

Notes:

  • The SC rows are done in the third loop of the HDC’s. This loop is behind the top two loops of the HDC, and will be the loop closest to you on the wrong side of the blanket. See photos above for more details.
  • The chains at the beginning of each row do not count as stitches.

Final measurements:

Fits a 16×16” pillow form.

Gauge:

4×4” = 7 rows x 7 stitches

Pattern:

Using main color, CH 31.

Row 1: HDC in 2nd CH from the hook and in each CH across. (30)

R2: CH 1. SC in third back loop of each HDC across (see notes). (30)

R3: CH 1. HDC in each SC across. (30)

R4-7: Repeat rows 2 and 3 twice more with main color.

R8-9: Join yarn that will be the bottom of your rainbow (color 2). Repeat R2 and R3.

R10-11: Repeat R2 and R3 with color 3.

R12-13: Repeat R2 and R3 with color 4.

R14-15: Repeat R2 and R3 with color 5.

R16-17: Repeat R2 and R3 with color 6.

R18-19: Repeat R2 and R3 with color 7.

R20-26: Repeat R2 and R3 with Main Color. Cut yarn.

Right side of one panel.
Wrong side of one panel.

Make second panel. Do not cut yarn.

Holding the two panels with the wrong sides together, SC along the sides with 2 CH’s at the corners, 26 SC along each side and 30 SC along the top and bottom. When you’ve done three sides insert your pillow form and then SC the pillow cover closed.

Optional Tassels:

Using any of your colors, wrap the yarn around a 6” book 12 times. Tie a piece of yarn around the top of the bundle and cut the other end. Tie a second piece of yarn an inch from the top of the bundle and trim the bottom strands. Add a bead to the top piece of yarn and tie securely to the corner of the pillow. Make four tassels for each pillow.

I hope you enjoy this pattern and use it to add some color to your space! If you make one please tag me on Instagram because I love to see and share your work!

This is an original pattern by Christina of February Sky Designs.  Please do not claim this pattern as your own. If you wish to share this pattern, you may link to it but please do not reprint it on your site or sell it.

You may sell products made from this pattern but please clearly credit the design to me, Christina of February Sky Designs, and link to my blog februaryskydesigns.com. Thank you for respecting creators and their work!